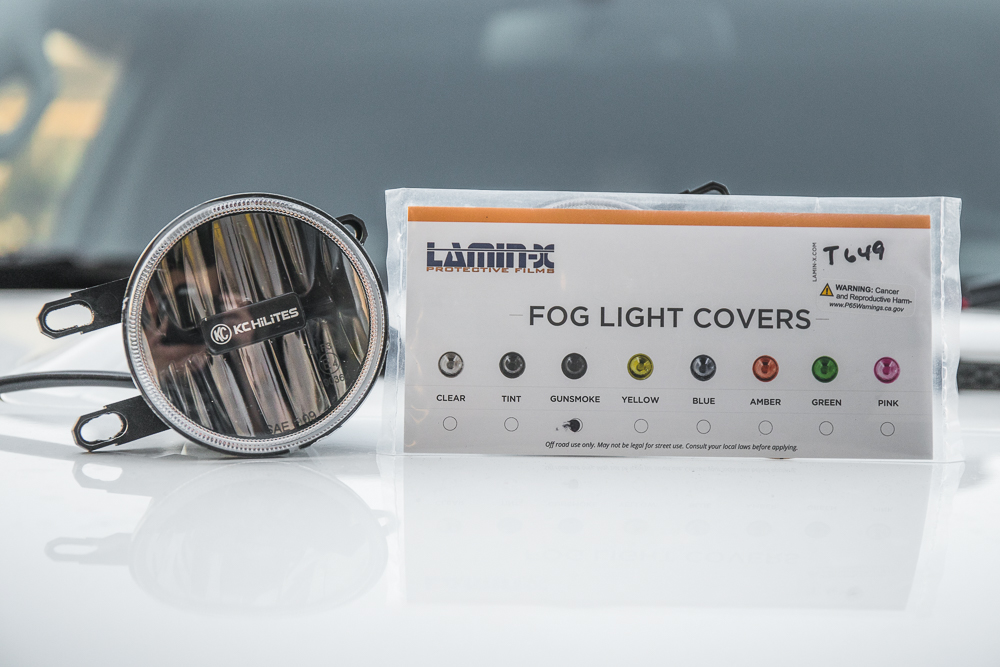
Lamin-X Filters on Aftermarket Fog Lights for the 5th Gen 4Runner
One of the easiest, cheapest mods you can do is add a set of Lamin-X filters to your fog lights.
The Lamin-X filters come in a bunch of different options and they fit all factory and most aftermarket fog light housings. This is an easy mod you can do for under $20 if you are looking to kill some time on the weekend. The company also offers the popular door cup protectors and door edge trim guards. If you haven’t seen those, you should take a look. They offer added protection to the 4Runner all the way around.
After writing our first post on the Yellow Lamin-X fog filters, I still had almost every color left. I originally got all the colors and planned on comparing each color filter back to back.
Well, that didn’t quite pan out as I would have had to strip each filter off and apply a new one. Instead, I decided to save them all for a rainy day.
Well today, I decided to add some Lamin-X fog filters to our current fog lights that we’re running.
On our white 2014 TEP (Trail Edition Premium), I decided to add amber Lamin-X filters over our KC HiLiTES Gravity G4 fog lights.
For our MGM 2016 TEP, I decided to add clear Lamin-X fog filters over our Morimoto XB LED fog lights, for an added layer of rock-chip protection.
Lamin-X Fog Filter Colors:
- Yellow: Check Price
- Amber: Check Price
- Clear: Check Price
- Gunsmoke
- Tint
- Blue
- Plastic Pry Tools: Check Price
- Microfiber Towels: Check Price
As you can see, there are quite a few options to choose from with Yellow and Amber being the most common for off-road applications. For options like blue and gunsmoke, you want to check your local state laws before committing to a purchase.
Clear is a good option if you want to add another layer of protection from rock-chips being thrown at your truck. When it comes to the application, the clear Lamin-X filters are the same as the colored versions.
Wet or Dry Application?
You have a couple of options for applying them to your fog lights. You can apply them wet, or dry. Both options are very simple. A wet application may be more forgiving as you can slide the film around until you get it in place. I would personally choose a wet install for a larger piece of Lamin-X, not something small like a fog light cover. For something small like fog light film covers, the dry application works just fine. For a wet application, you can reference the previous door cup installation that we did.
Leave your fog lights on or take them off?
Then, you can decide to pull your fog light housing off or leave them on. If you leave your lights on, you need to fit the edges of the film in between the fog light and the bezel. If you choose to take the fog light off, you have full control over placement and edge bubbles. I prefer taking the lights off for the application, I like control.
Lamin-X Application – Removing Fog Lights
For the KC HiLiTES Gravity G4’s I decided to take the fog lights off for the application and then later below, I left the Morimoto XB LED Fog Lights on to see if I noticed any difference in terms of difficulty or quality of the application.
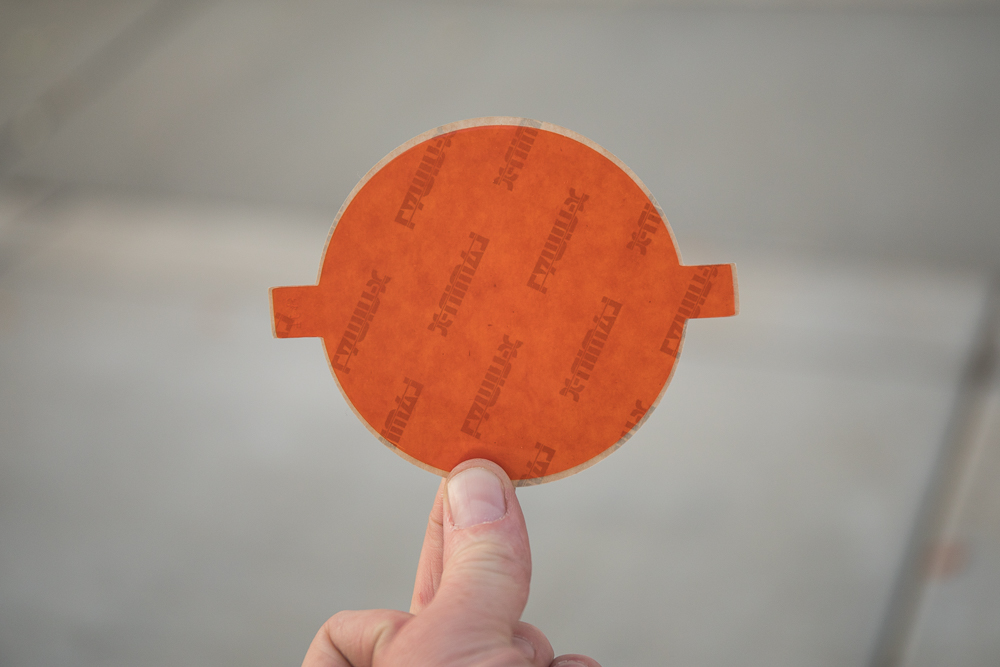
Step 1: Peel Back Lamin-X Fog Filters
Step 2: Clean Fog Light lense

Anything will work, just as long as the fibers don’t stay behind on your fog lense. Rubbing alcohol and a microfiber towel will work great. I prefer to buy the microfibers in quantities of 10-20. You always need good microfiber towels.
Step 3: Hold Tabs on Edge and Press onto Fog Light Housing

Step 4: Reposition Film if Needed

If you miss the mark, it’s ok. Just peel back the Lamin-X film and re-position them until you are happy with the application. For the most part, your bezels are going to hide the edges of the film so if it’s not 100% perfect, it’s not going to have an effect on appearance or color-changing the light output.
Step 5: Cut film edge tabs off
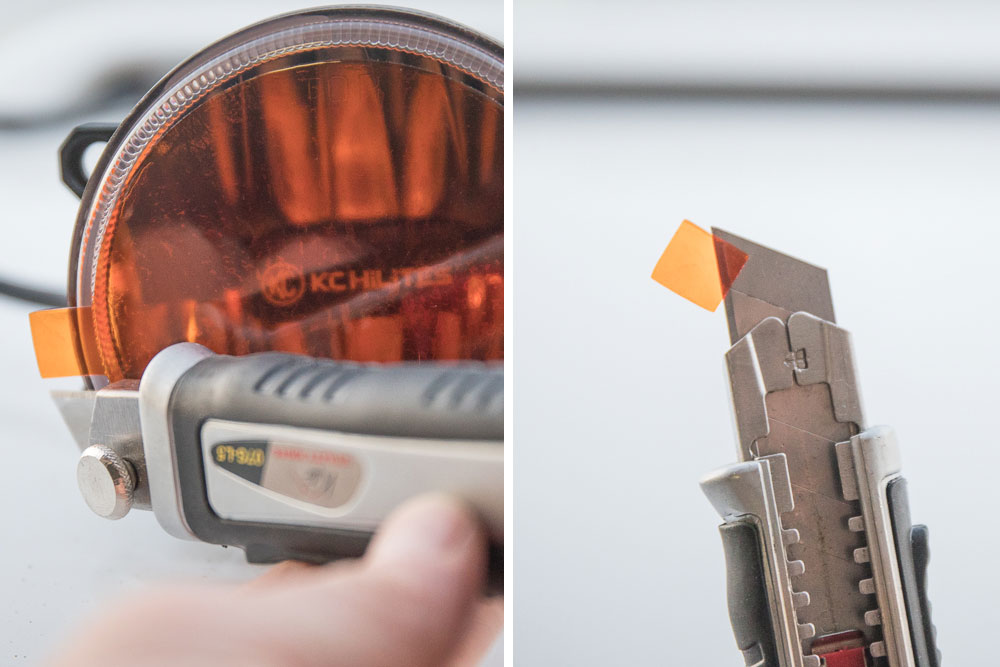
Once you are happy with the placement, get a straight edge utility knife and cut the tabs on the side off.
Lamin-X Application – Without Removing Fog Lights

I did a dry application on KC HiLiTES above and will do a dry application on the Morimoto XB LEDs. The only difference here is that I am leaving the fog lights in place.
Step 1: Press Lamin-X Film into place

Start by grabbing the edge tabs and press the Lamin-X film onto the center of the fog light housing. Depending on the fog light in which you are installing these, it may be hard to find the center as aftermarket fogs are not always 100% aligned with the fog light bezel. Just do you best in getting them lined up. In some cases, the center of the foglight is not the center of the bezel. Using your fingers, press the film gently from the inside towards the outside of the fog lights until you can’t reach in between the fog light and the bezel.
Step 2: Plastic trim tool & Micro Fiber
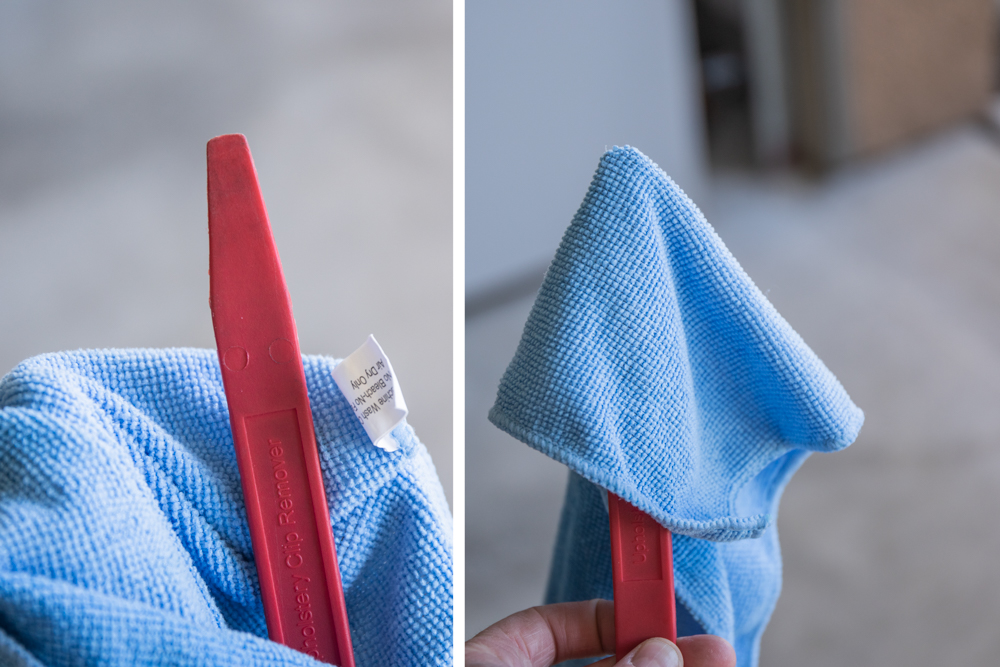
This was the best thing I could think of at the time. Prepare a plastic trim tool and a microfiber towel you used to clean the fog lights.
Step 3: Press out Air Pockets

Using the plastic trim tool wrapped in a microfiber towel, you can press any of the edge air pockets out until the film is perfectly smooth.
Step 4: Cut off Plastic Tabs

Cut the tabs with a utility knife and continue to press out any edge pockets that are present.
Final Thoughts?
The lamin-x film is great. The amber film really did turn my KC HiLiTES white lights to an amber shade and driving with them has made a difference for sure. I didn’t think the film was going to affect the color charge to the extent that it has. It’s quite impressive honestly for under $20.
As for the clear film on the Morimoto XB LEDs, it’s preventative maintenance more than anything. Adding clear film over any fog lights, factory or aftermarket is a great idea if you are looking for added protection. For the cost, it’s almost a no-brainer.
Another tip…it was cool the day I installed my Lamin- X filters so I GENTLY warmed the lens and film with a hair dryer. It made the film very compliant and the application was a breeze. I’m extremely happy with the performance coupled with the Philips H16 X-Treme Ultinon LEDs.
Hi I noticed when you applied with the clear film over the lens on the outside of the vehicle. That you seem to get wrinkles as you moved your way to the ends, were you able to get that out?
Not really, the wrinkles are still there. I prefer to remove the lights. Not to say you can’t get the wrinkles out without taking the lights off, because you can for sure. It helps when the film is warm as well. I did my install on a cold day so maybe that had something to do with it.
Thanks