
In the world of vehicle modifications, your options can be categorized into a few different buckets:
- Functional modifications
- Creature comfort upgrades
- Putting lipstick on a pig
- Building a sleeper
- Run-of-the-mill mall crawler packed with AutoZone stick-on specials
Either way, everyone has an idea in their head for the dream build. Then, you stumble upon products you didn’t even know existed and now suddenly need.
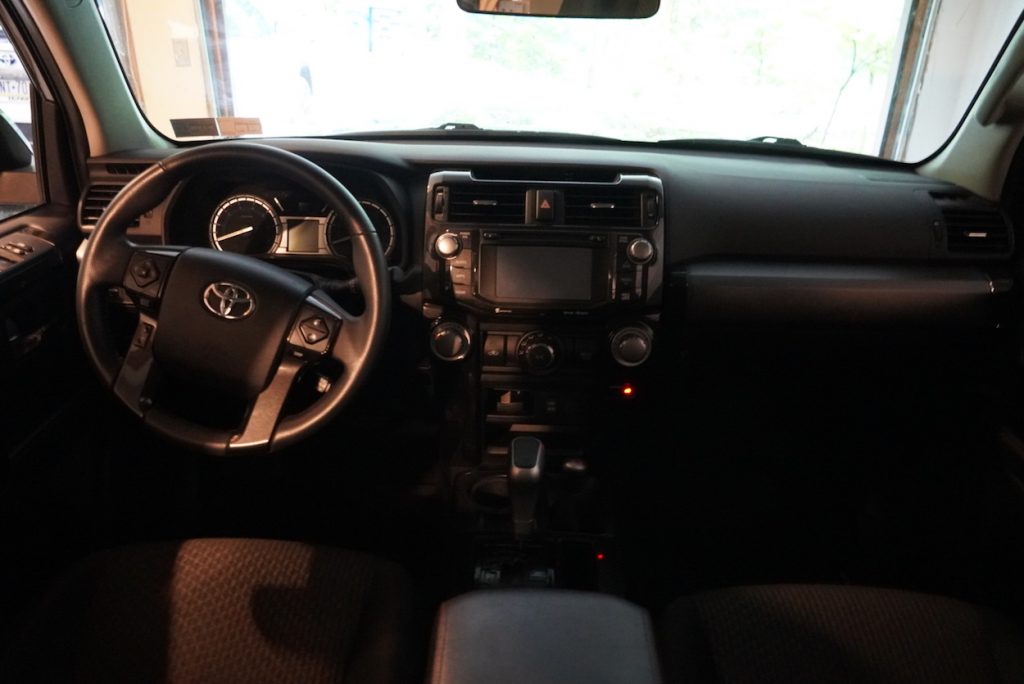
I’ve mentioned before that the 5th Gen 4Runner is known for a lot of things, but modern interior technology and conveniences are not one of them. My 2019 RAV4 has tons of little features that, when you add them all up, make for a great little car.
Once I saw that people were adding footwell light kits to their cars, it dawned on me that the RAV4 has footwell lighting, which made me love that car even more than I already do. Curious, I hit the web and found that VLEDS makes a footwell light kit specific to the 5th Gen 4Runner.
VLEDS has been around for quite some time. If you’ve ever visited their website, you’ll notice that most of their featured vehicles are Toyota models. Although they make a lot of universal parts and accessories, they make a ton of 4Runner-specific products. We’ve covered a number of their products on the site, including swapping out your interior lights, their super bright universal reverse lights, and their Micro Extreme LED low beam headlights. Since VLEDS is no stranger to the 4Runner world, I figured I’d take a look at their new footwell light kit.
Find it Online:
- 2010 – 2022 Toyota 4Runner LED Footwell Kit (Dual Output Front): Check Price
- Rear Footwell Light Kit Add-On: Check Price
Additionally, the footwell light kit comes in seven (7) different colors:
- 5000K Natural White
- 5500K Pure White
- 6000K Cool White (pictured here)
- Blue
- Red
- Aqua
- Coral Pink
Table Of Contents
Installation

Pictured above: Front Footwell Light Kit
Installing the footwell light kit is a fairly straightforward process. All in, it should take roughly 20-25 minutes. From perfectly measured 3M adhesive strips to harnesses and even a plastic triangle pry tool, VLEDS includes just about everything you need to get this kit up and running.
If you’ve purchased the add-on for the rear footwells, installation steps are also included below.

Pictured above: Rear Footwell Light Kit
Tools & Materials
- 10mm socket wrench
- Scissors (or wire cutters)
- Rubbing alcohol and a clean terrycloth (or alcohol wipes)
- Wire fish (or a flattened coat hanger)
Step 1. Remove The Negative Battery Terminal

Before getting started on any electrical projects in your 4Runner, it’s a good idea to remove the negative battery terminal. This is a good precautionary step to ensure you don’t short out any electrical components you’re working on.
Additionally, you’ll be removing plastic trim near an airbag in the A-pillar, so you don’t want that blowing up in your face!
Step 2. Remove The A-Pillar Trim

The VLEDS kit comes with a wiring harness that you plug in between the OEM harness in the A-pillar, so you’ll need to access the area to make the connection.

Start by using the triangular plastic pry tool included in the kit to remove the “SRS Curtain Airbag” plate covering one (1) 10mm bolt.
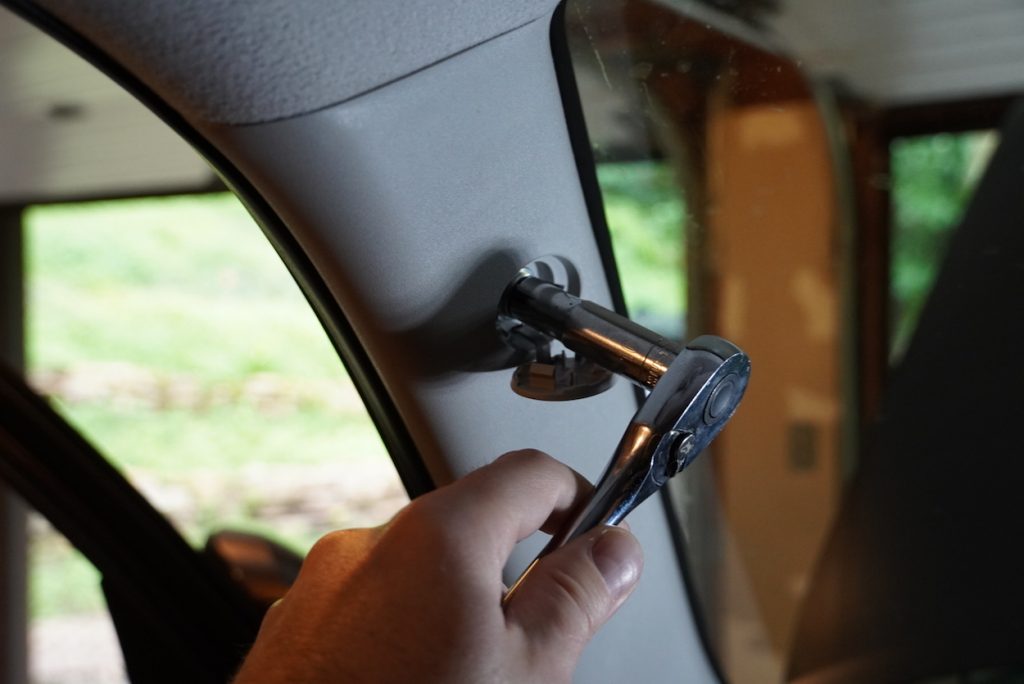
Pop open the cap and remove the one (1) 10mm bolt holding the A-pillar trim in place.

Once the bolt is removed, gently pull the plastic cover from the top of the A-pillar trim downwards. Be sure not to pull on the airbag itself! Set it aside and out of the way.
Step 3. Install VLEDS Footwell Light Kit Harness

The included harness plugs directly into the factory harness coming up from the dashboard and into the left-side connection point. Depress the clip on the OEM harness on the left side of the plug assembly. Plug the VLED harness into place.
Step 4. Route Wire Down The Dash Opening
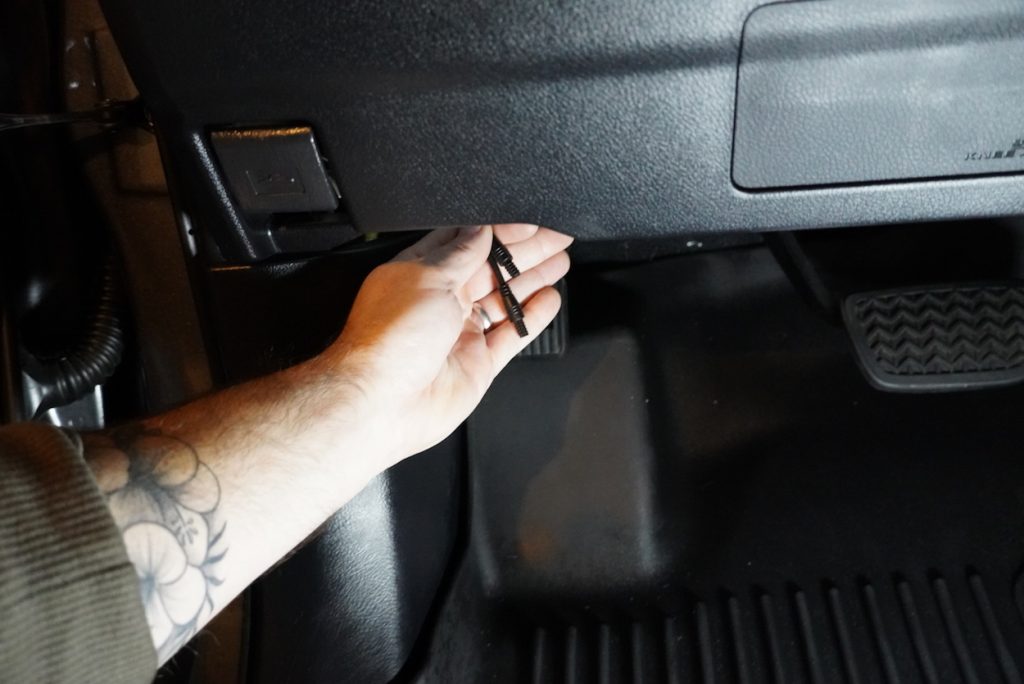
Now, route the longer wire with the two plugs on the end down the left side opening of the dashboard. It may take a few tries to find the end of the wire, but be patient.
If you have a second set of hands, it might be helpful to have one person hold the wire in place underneath the dash in the opening while another person fishes the wire down. You won’t find many obstructions down that channel, so it shouldn’t take more than a minute.
Step 5. Attach the PWM Dimmer To The Plugs

Each of the two plug-end wires is labeled “LOW” and “HIGH,” and they correspond to matching connection points on the PWM dimmer unit. Make the appropriate connections. At this point, set aside the unit.
Reinstall A-Pillar Trim & Connect Battery
Reverse the steps as described above to reinstall the A-pillar trim. Carefully drop the A-pillar trim back into place, hand thread in the one (1) 10mm bolt, and tighten down with your socket wrench.
Next, reconnect the negative terminal on your battery.
Step 6. Mount PWM Dimmer

Locate the wide rectangular piece of double-sided 3M tape in the kit and attach one side to the back of the PWM dimmer. You’ll want to adhere the dimmer unit to a spot that’s easily accessible, should you decide to change the dimmer settings post installation. We mounted ours to the outside of the fuse box as suggested by VLEDS.
Step 7. Clean The Area & Mount First Light

Before mounting the first (driver’s side) footwell light, now is a good time to plug it in and test the connection. The light might be brighter than you want at first, but it could be because the driver’s side door is open. When the doors are open, the lights are in “Courtesy Mode”, which is the full output of the light/color you went with.

Once you’ve confirmed the light works, clean the area where the light will be mounted with rubbing alcohol. This will ensure the 3M adhesive backing on the light will adhere better, but be sure to let the area dry first.
We opted for just behind the small hump underneath the dashboard.

Using one of the thinner 3M adhesive strips, affix it to the back of the light and press it into place, leaving the right side plug temporarily dangling.
Step 8. Connect & Fish Extension To the Passenger Side

While you might not need a wire fish to pass wires behind the center console/dashboard, it never hurts. I just so happened to have one close by in the garage.

To make for an easier pass-through of the 4′ extension, I removed one of the kick plates on the driver’s side. I ran my fish through the driver’s side and pulled back the 4′ extension.
Step 9. Mount & Connect Second Light

The passenger side of the 4Runner does not offer the same “hump” to hide the secondary footwell light, but the LED shines fairly bright, so placement shouldn’t be a concern. Be sure to clean the area of the desired location with alcohol, allow it to dry, add the remaining piece of 3M adhesive, and press the LED into place.
Tuck and Zip Tie Loose Wires
Last but not least, be sure to bundle up any loose wires and tie them together with the provided zip ties. Tuck the wires away, and the front footwell light kit install is now complete!
Step 10. Remove Kick Plate & Panel

Now that you’ve successfully installed the front footwell lights, passing two additional lights to the rear adds another 10 minutes, tops!
Rather than tuck wires underneath the kick plates/panels, I decided it was just best to remove them. Start by removing any floor mats from the front passenger side and rear of the 4Runner.
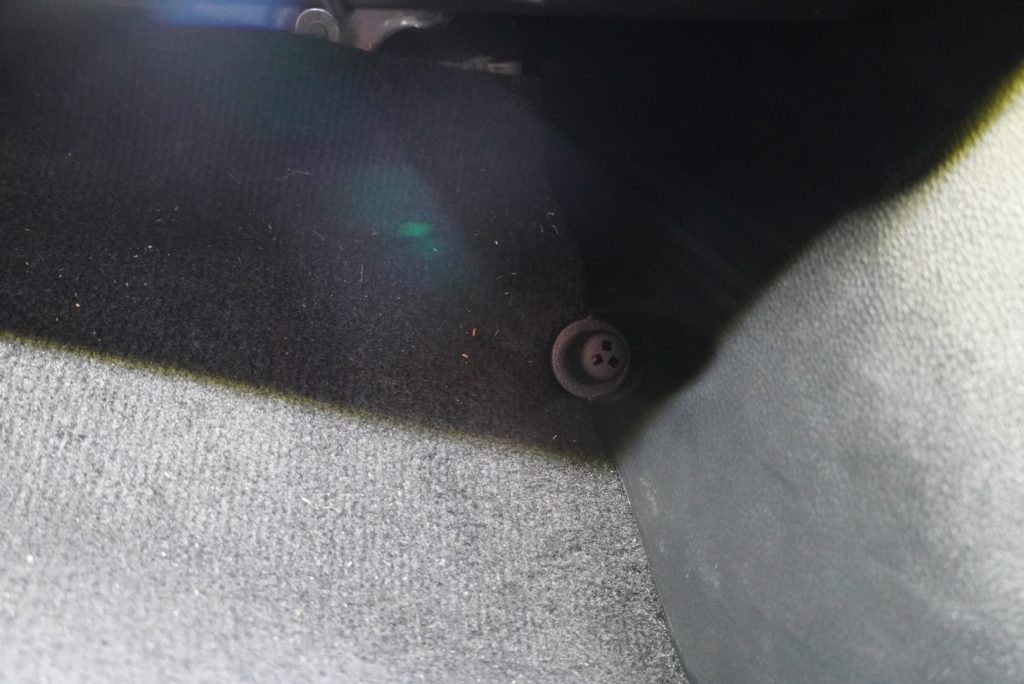
Locate the cap on the passenger side kick panel and slowly twist it counterclockwise. Eventually, it will back off of the nut it’s covering and can be pulled off.

Remove the kick panel and set it aside.

Next, remove the passenger side kick panel. This piece is only held down by clips. Slide your hand underneath and slowly loosen the clips holding the panel, making your way from the front to the rear.
Step 11. Fish 8′ Extension To Rear

Connect your 8′ extension to your passenger side front footwell light and fish the wire underneath the retaining clips along the kick panel.

As you make your way into the rear of the 4Runner, fish the 8′ extension underneath the carpet and out of the pre-cut opening.
Step 12. Connect The Third Light

Now that you have the 4′ extension passed to the rear, do a quick test to ensure continuity by connecting the third light.

Assuming you have power to the third light, apply one of the two velcro adhesive strips to the back of the light.

Find the ideal location, and connect the third light to the underside of the seat.
Step 13. Run Final Extension To Driver’s Side Rear
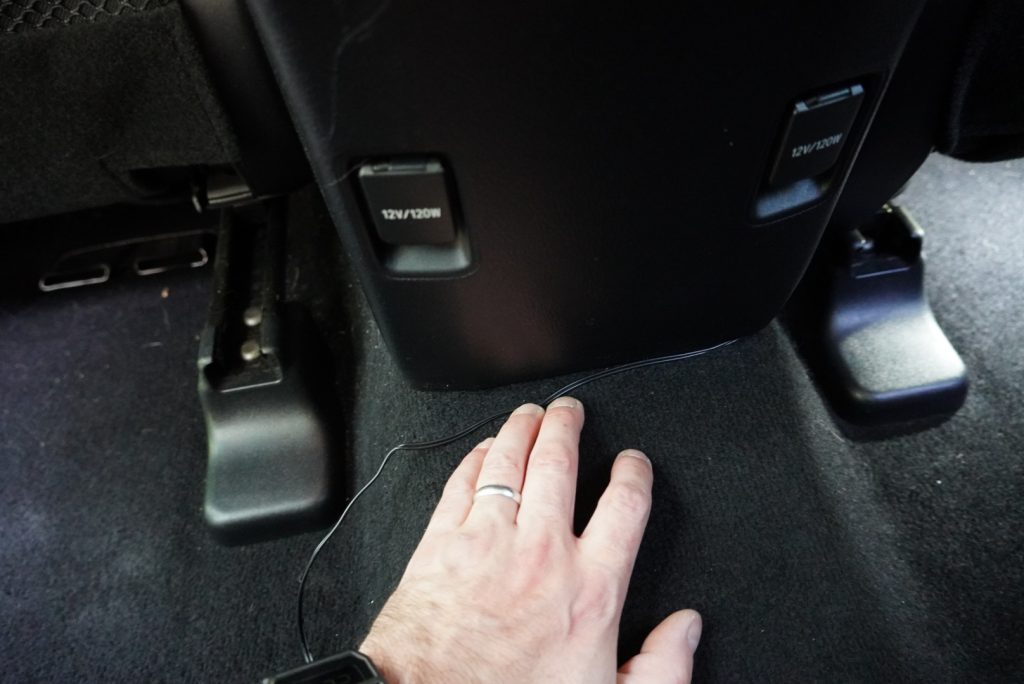
Make your final connection from the third light using the 4′ extension. Knowing that these areas are prone to wandering feet, pass all wiring tightly around any seat brackets.

To pass the wire from the passenger’s side rear to the driver’s side rear, it’s best to tuck the wire underneath the center console, then give it a slight tug once you’ve made it to the other side. This will ensure the wire makes a straight pass underneath and is very unlikely ever to slide back out.
Step 14. Connect 4th & Final Light

Having installed three lights at this point, you should be familiar with the process by now! Test your connection, affix the adhesive 3M velcro strip to the back, and mount it in its final location.
Finally, clean up all excess wiring by using the provided zip ties.
Make any adjustments to the night mode light output by tweaking the PMW dimmer, and the installation is now complete!
Final Thoughts
Pictured above: Before the VLEDS kit
Pictured above: After the VLEDS kit
This light kit speaks for itself. It’s not an overly complicated install, and the kit comes with everything you need to get it wired up in a matter of minutes.

Adjustments to the light output can be made directly on the PWM unit with the provided flat-head screwdriver. In fact, it requires minimal turning to adjust the light output up or down. By default, the light output is set to the highest setting. Two other features worth noting are:
- Courtesy Mode: The lights are at full output (200LM per side) when the door is open and fade out with the map and dome light when the door is closed.
- Night Mode: This gives you an adjustable low-output light when the door is closed and the parking or headlights are switched on. This drops the output to approximately 10LM on the lowest setting. If you want it brighter, use the included screwdriver and turn it up to your liking.

Pictured above: Courtesy Mode

Pictured above: Night Mode
One of the biggest signs that this was not only a high-quality kit, but also a well-thought-out product, was the included OEM splitter harness. I’ve seen many other universal electrical products that offer a wiretap connection, where the majority of the time, the product or the connection fails. This kit was specifically designed for the 5th Gen 4Runner, and it shows. Everything is plug-and-play!
If you’re looking for a bit of an upgrade and want to add a flair of luxury to the interior of your 4Runner, you should seriously consider this kit.
Any idea if you could use this set up and tap the high output and use as a trigger for rocklights?
I installed these in my truck but the rear lights don’t shine as bright as the front. Where did you mount them under your seats? Mine are zip tied on the plastic bracket holding the seat cushion. Also I went for read in the back and white up front. I truly love them and how easy they were to instal.
The “mall crawler” thing is getting really played out. Especially when every rig I see at meet-ups has their instagram handle decal on the side.
Cool.
It is in fact not cool to continue to become a 4runner weeb.
Who cares bud?
Are these always on or is there a way to turn them off? I would like them to only turn on with courtesy/dome lights when the doors open. Don’t need them on when driving. Please advise, thanks!
I just installed the full set (front and back kits) and yes, you can have these NOT turn on while driving! Follow all steps above in this excellent install guide but on Step #5 – simply do not connect the “LOW” wire to the PWM Dimmer control box. Done.
I installed mine as described and didn’t care for the dim light while on my test drive. It was just too much for me and a distraction. So I figured I’d try unplugging the “LOW” wire from the control box and bam! That did it! The lights all still illuminate with the dome light but DO NOT illuminate when the rig is in gear. PERFECT!!
They’re always on but I have them on the lowest setting when driving and so it’s very subtle. The pictures make them look a bit brighter than reality. Also, they’re only on when your low beams are on.