
Diode Dynamics Lighting Overhaul: SS3 Fog + XPR Backup LED Lights Review + Install For 5th Gen 4Runner
If you’ve spent much time on this blog, you’ve noticed that lights are kind of a thing. The OEM lights are halogen and suck. I’m not going to rehash all that.
I decided early that I needed to replace all of my lights and started doing research. I’ve already replaced all the interior and minor exterior lights with VLEDs and even replaced the side mirror turn signals with the Cartrim sequential dynamic turn signal lights.
However, I’ve saved arguably the most important lighting mods for last. I will start with the reverse lights, then mention my headlights and then finally the fog lights. This is the ultimate Diode Dynamics 4Runner lighting upgrade page for you to reference.
Diode Dynamics 4Runner lighting upgrade
- YotaMafia.com: Check Price
- Reverse Lights
- Tail as Turn Module
- Low Beams
- High Beams
- Fog Lights White (SAE/DOT)
- Fog Lights Amber (SAE/DOT)
Reverse Lights
In the rear, I decided early to go with the Diode Dynamics Tail-as-Turn module to help more than double the light output in reverse. I chose the XP80 white LEDs to replace the turn signal lighting and the new XPR 921 LEDs to replace the existing reverse lights. The XPRs replace the previously offered XP50 LEDs.
They’ve designed the XPR lights with reliability in mind. Diode Dynamics seems to understand the major killers of LEDs and so the lights have outstanding heat sinking capabilities to keep them cool. They have also included a feature that reduces output from an initial value of 1600 lumens (whoa!) after a few minutes of on-time to a minimum stable value of 720 lumens to protect the life of the bulb. It also has built-in circuit protection that prevents common voltage spikes from damaging the light.
Factory Reverse Lights

Compared to Diode Dynamic LED Reverse Lights

The added illumination was actually quite shocking when I first turned everything on. It’s a lot of light and not just immediately behind you either, but to the sides as well. The image from the backup camera is much clearer now too.
Before we jump into the fog lights, the headlights I decided to go with the Diode Dynamics SL1 low and high beams.
Diode Dynamics SS3 Fog Light Install on 4Runner

Additionally, I wanted to update my fogs. Diode Dynamics has a new light type that fits this role perfectly. Baja may have some new competition in the high-end pod lighting market. What’s really exciting? These lights are actually affordable compared to Baja and are damn near on par with Baja but we will see how they pan out in the long term. At first glance though, WOW, these are impressive.
Introducing the SS3 LED pod and fog lights
I purchased the white Sport SAE/DOT fog style kit which spreads the light in a wide flat arc. They have 2 power levels, Sport and Pro.
They also have 2 colors, white (6000K) and yellow (3000K) and multiple beam patterns (plastic shield covers) to choose from.
They’ve created multiple variants that can be used in almost any location and for any purpose. I’m starting with the fogs, but I’ll definitely be contacting Diode Dynamics again for future lighting needs, again… these lights are very impressive.
The remainder of this article will be about the installation of the fog lighting kit.
Diode Dynamics SS3 Fog Specs:
- Diode Dynamic SS3 LED Fog Light Kit (pictured): Check Price
- Light Source: 4x Luxeon Z ES, Cree XP-L HI
- LED Optics: TIR (Total Internal Reflection) optics
- Intensity: 1520 Lumens/fog light (measured)
- Kelvin Rating: 6000K (true cool white) or 3000K (yellow)
- Input Socket: Deutsch DT Input (with H11 adaptor included)
- Weather Rated: IP67 Weatherproof
- Lense Material: Polycarbonate
- Shell / Heat Sink: Aluminum Casting Pin-Fin
What’s in the box?

- SS3 LED Fog Lights
- Fog pocket kit for 4Runner
- Mounting Brackets
- H11 Adaptors
- Light Mounting Hardware
- Installation Instructions
Step 1. Assemble Fog Lights in Brackets

The bracket attachment is easy. The Nylock nuts fit in small slots included in the rear of the fog light.
The brackets and lights are side-specific. The lights can be identified by matching the curve of the light shroud with the curve of the bumper and placing the connector on the bottom of the light (above shown upside-down).

The brackets have a small identifier letting you know which side they will mount to.
Tilt the lights in the brackets so they will be facing down slightly and tighten the mounting screws. I’ve added red lines below to highlight the tilt.

These lights are adjustable, but not easily done once installed like the Morimoto XB or even the stock fogs.
The only feedback I have for Diode Dynamics would be to add an angle adjustment screw to the setup.
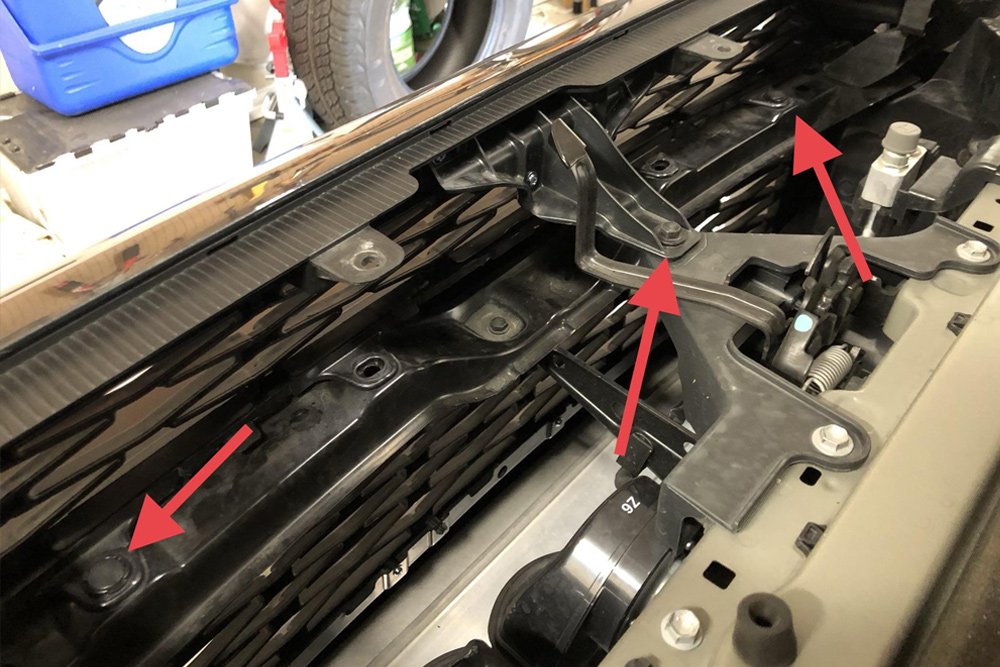
Step 2. Access Existing Fog Light Housings

There are two options at this point. First is to access each housing through the wheel well as Brenan did for the KC Gravity G4 fog lights installation.
The second option is to remove the front bumper which is detailed in the C4 Fab front bumper installation. I chose to remove the front bumper to give me plenty of space for the installation and to test the lights easier.
Step 3. Test Lights

The H11 adapter is polarity dependent and needs to be oriented the correct way.
If the light doesn’t come on, reverse the plug. Once it’s in the right orientation, it’s helpful to mark the adapter to make sure it gets plugged in correctly when the bumper is installed. I used some painter’s tape.
Step 4. Remove Stock Fog Light Housings + Install SS3

Remove the 2 screws that fasten the stock housing and slide it out.
Keep the screws to reuse to install the SS3 lights. You will notice how much more sturdy the cast aluminum SS3s are than the stock plastic housings. Installation was simple with no modification to the bracket like other fog light designs. It’s obvious they did their homework.
Step 5. Install Bumper + Retest Lights
Put the bumper back into place and insert the 10mm bolt and 2x clips (shown) to hold it in place. Connect the lights before fully attaching the bumper.

You should have a small gap along the bottom as shown here. This lets you know you have correctly angled the fog lights downward. Finish installing the bumper.
Final Impressions + Comparison
1. Stock Low Beams

2. Sl1 Low Beams

3. Stock High Beams

4. Sl1 High Beams

5. Stock Low Beams and Fogs

6. Sl1 Low Beams and Ss3 Fogs

Final Thoughts
I’m very impressed with how much light is put out by all of these lights.
The pure white color is much more appealing than the stock halogens. The low and high beams are brighter and the SS3 fog lights spread the light far better than the stock lights. The picture was taken 25 feet from the garage and there is plenty of light the full width of the photo. I will make a height adjustment to the fog lights so that the light extends a bit further.
Other than that, I’m completely satisfied with this setup.
The SS3 fog lights from Diode are very nice. They feel, look, and perform like a very high-end light.
Installed the Diode Dynamics SS3 white sport fogs today! Perfect fitment on my 2020 Off Road TRD. The fit and feel is near perfect, they are very sturdy lights and have a great quality feel about them. Install was around an hour due to having to make some bracket adjustments after installing them. The passenger fog had some sort of shroud covering that caused a bit of time delay but it came off eventually. Despite what you may have heard, you do not have to remove the bumper. Light output was a bit better than expected but then again these fogs are pricey. Light is bright, but not overbearing, clean and precise. I passed a few vehicles at dark after installation but was not flashed. I assume they must be tolerable to oncoming drivers. The DD SS3’s are a welcomed addition and compliment my HID headlights. I would purchase these lights again and I would certainly recommend them.
Good article. I just recently installed my SS3 fog lights and this definitely helped. However, I didn’t want to pull the whole bumper off so, I appreciate the hyperlink to Brenan’s article on his KC fog lights !
The only glitch I had was that weird bell housing on the right side behind the right fog light. Had I looked closer at your picture, I would have seen that oddity and been more prepared…By the by any idea what that is for?
Trail Safe
-JB
That’s actually the main reason I took the bumper off to begin with. I started by trying to do it just by pulling the fender liners back like you did, but that housing was causing me so many problems, I gave in. lol
It’s obviously some sort of protection housing, but I don’t know why they’d need it on one side and not the other. It is on the same side as the windshield washer fluid reservoir so maybe it’s a shield to protect in case there’s a leak…I don’t know. I’d love to leave it off, but unless I know what it’s doing, I’m leery to do so.
The cover is only on the passenger fog light as a splash guard due to the perforated fender liner on that side in the wheel well. The perforated fender liner is there to allow more airflow to the engine air cleaner box which draws air from the passenger fender well. I confirmed my theory with a friend who is a Toyota Master Tech.
Well… I come from a old Dodge Mega Dually with all it’s quirks. I’m use to prying stuff that won’t budge. So I guess my mindset was the same as it eventually came off! Ha!
(And I put it back on too😬)
Thanks again. Trail Safe.
J.B.
You can located the tabs on that bell housing with your fingers (one on each side towards the top), then using a small flat head screwdriver to compress the tabs it comes off relatively easy. In the end I left it off cause I didn’t see the point in it. Hopefully my lights don’t short out haha
Curious if you think the Baja Squadron White SAE lights are worth the extra $230 over the Diode Dynamic SS3 White SAE fog lights?
Nope. These are better in performance in every metric compared to the Baja SAE.
Seeing how there is a gap between the low beams and the fogs on your set up makes me think I probably have mine not tilted enough. Purchased my set of amber pods back in November and after installing them, I noticed the light bled into the low beam. I plan on taking them out and readjusting now. Also, they are only $200 at the time of this comment post! I think I bought them around $300 back in November. Still very inexpensive in comparison to competitors! Love them.
I tilted down as far as they could go as a baseline, but as I mentioned, I plan to adjust them up a bit. The instructions call for a gap, but ultimately adjustment is your preference. I think they include that so the fogs won’t be shining in people’s eyes. It would be easy to accidentally install them so that they angle upwards and so the instructions help to prevent that mistake.
I’m going to attempt to adjust mine with them installed so I can check the levels on the fly, but this is where the recommended adjustment screw would come in handy. It seems like something could have been included to adjust easily without removing the bumper. It’s the only nit I picked.
I agree. Both of my pods are not even meaning one is more flushed on the top while the other one has the top poking out a bit. This is to get the two fog beams to lined up evenly. I find it slightly frustrating having to adjust back and forth with the bumper on or if you have the bumper off, you won’t know what it will look like until it’s bolted back on. It’s fine for now but it does bother me that the pods are uneven.
I ended up using a very sophisticated gapping tool, a wooden paint stir stick from the hardware store HAHA! Put it in front of the light on the bottom between the light housing and bumper, gave me a great angle for the lights and ensured they were equal on both sides
Diode Dynamics have seriously set the foglight game ablaze with their SS3’s. Can’t wait to get more!
Not only do they have the highest output but they also have a better cutoff than the Baja Designs “fix”
A lighting engineer tested all the main brands and shows Diode to have the best of everything.
TLDR: Rigid for best cutoff, Diode Dynamics for the best of everything, including body heat for melting snow and ice. Love my pro’s!
Wow, I hadn’t seen that. Thanks for sharing!