
Replacing a PCV (positive crankcase ventilation) valve is incredibly easy and crucial to prolong your engine’s life. The hardest part of this whole process was taking the pictures for this article!
I replaced mine as a preventative measure as the ball bearing within the PCV valve can get stuck or gummed up and eventually cause engine failure. At 60,000 miles, I figured it was about time.
Table Of Contents
What Is It?
Interestingly, Toyota does not publish a maintenance schedule for the PCV valve. I’ve met people who replace theirs with every oil change and people who have never replaced it and say it’s perfectly fine. I consider the PCV valve to be a wear item and honestly, it was a pretty cheap part. I think replacing every oil change may be a bit excessive and that never replacing it is asking for a problem.
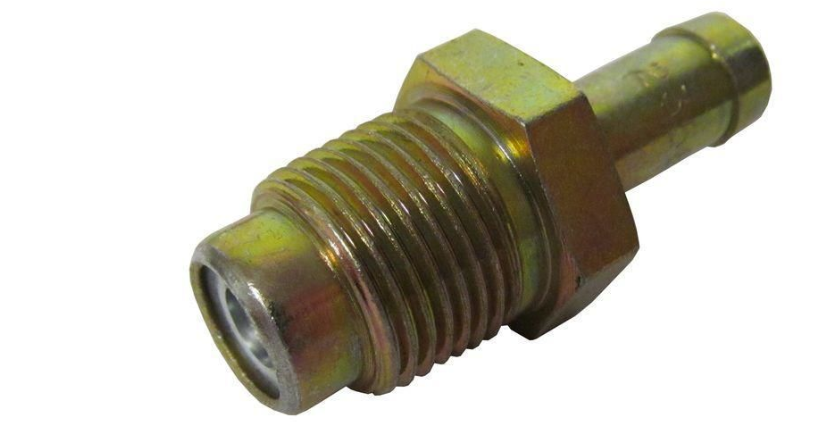
This is a one-way valve that is part of the PCV system which reduces emissions and prevents pressure from building up within the crankcase. It allows leftover unburned gasses within the crankcase caused by blow-by to be forced into the combustion chamber without flowing backward. This was an early form of vehicle emissions control as unburned gasses from petroleum products often contain more environmentally harmful compounds than the gasses do once they’re burnt.
If the valve gets stuck and seals itself closed, you can blow a gasket easily due to pressure building up within the crankcase. Or, if it is not opening at the correct time, it can cause rough idling, poor acceleration, and increase your vehicle’s oil consumption. If you’ve been having rough idle problems and you already checked your sparkplugs, I highly recommend checking this next.
Finally, if the valve is stuck in an open position, the mixture of fuel and air will no longer be proper which will affect engine performance and most likely will cause your check engine light to turn on.
PCV Mods (Oil Separators)
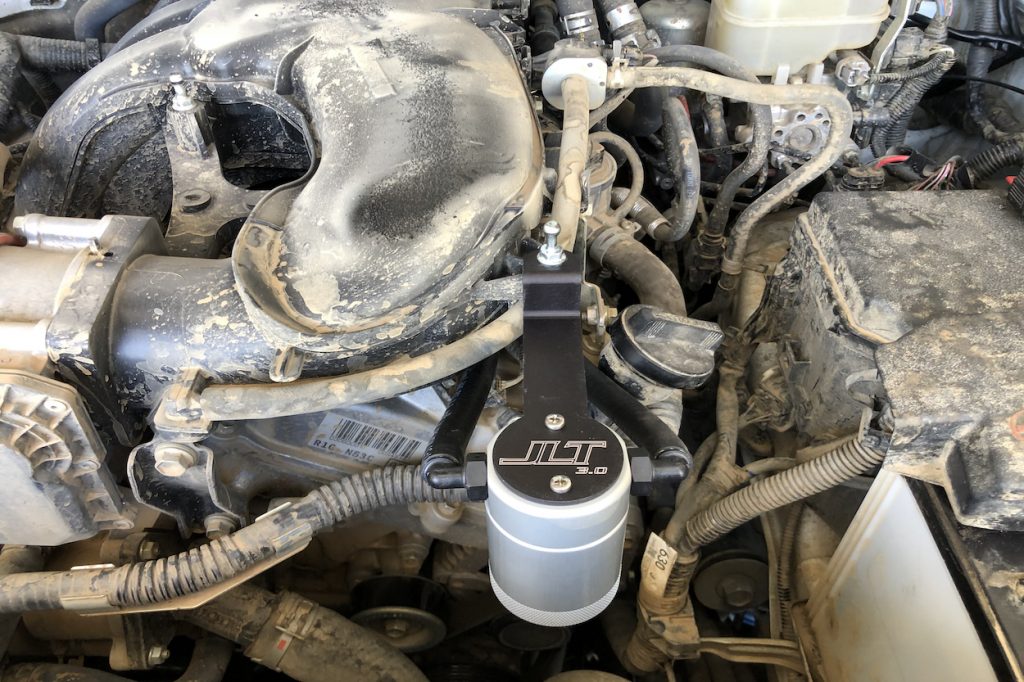
Unfortunately, due to the design, oil can build up within the intake system even with the PCV valve working properly as some of the blow-by is missed. To prevent this, you can install an oil separator. I haven’t added one yet mostly due to cost, but I think it may be the next step to increase engine life and efficiency.
Installation
Installation should take no more than 15 minutes and only basic tools are needed.
Tools & Materials
- 19 mm deep socket
- Torque wrench (set to 20 ft-lbs)
- Pliers
- Threebond 1324 (or Loctite of your choosing)
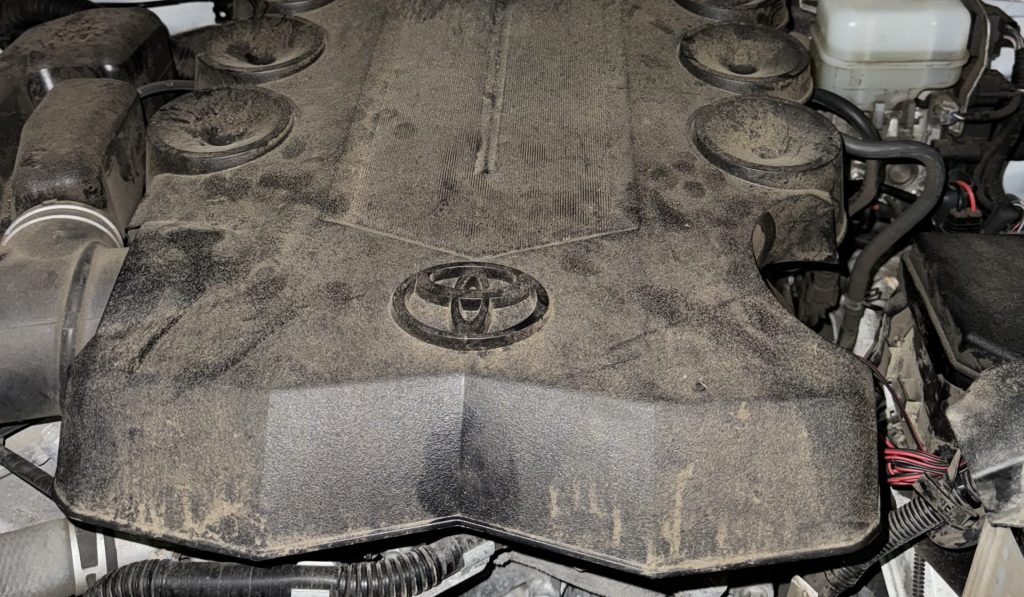
First, you’re going to want to take off your engine cover. From the front, give it a slight pull upwards and it should come right off.
Step 1. Locate PCV Valve
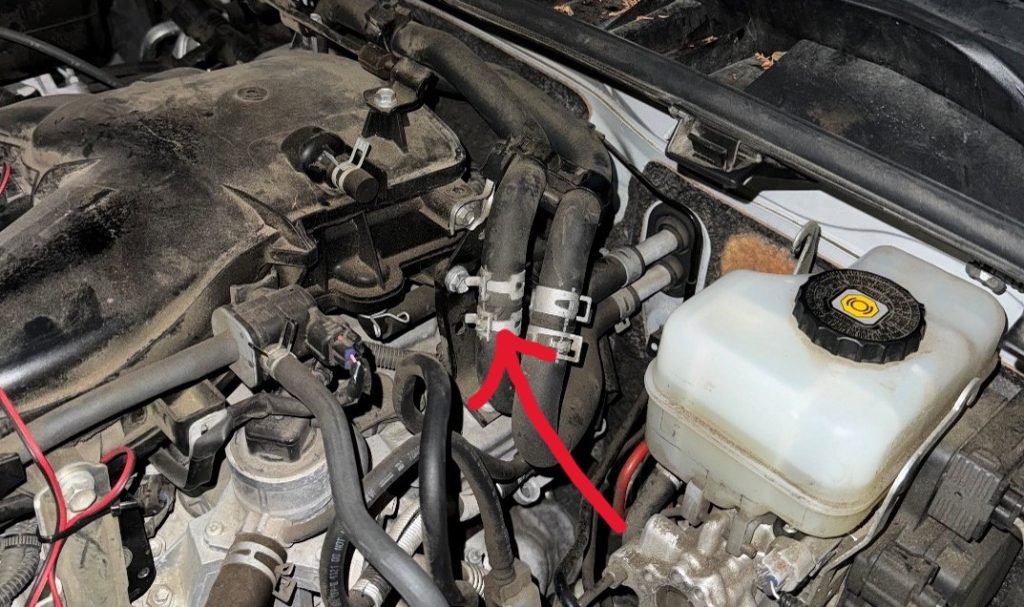
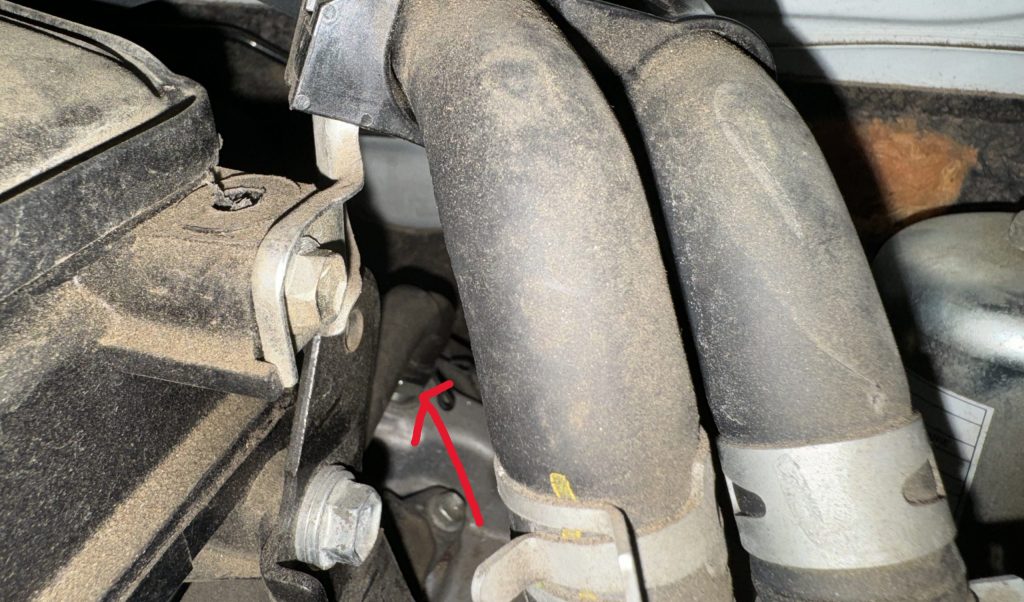
The PCV valve will be located on the driver’s side of your engine, at the back to the left (circled in red above). Follow the red arrows in the below pictures and it will show you where to find the PCV valve!
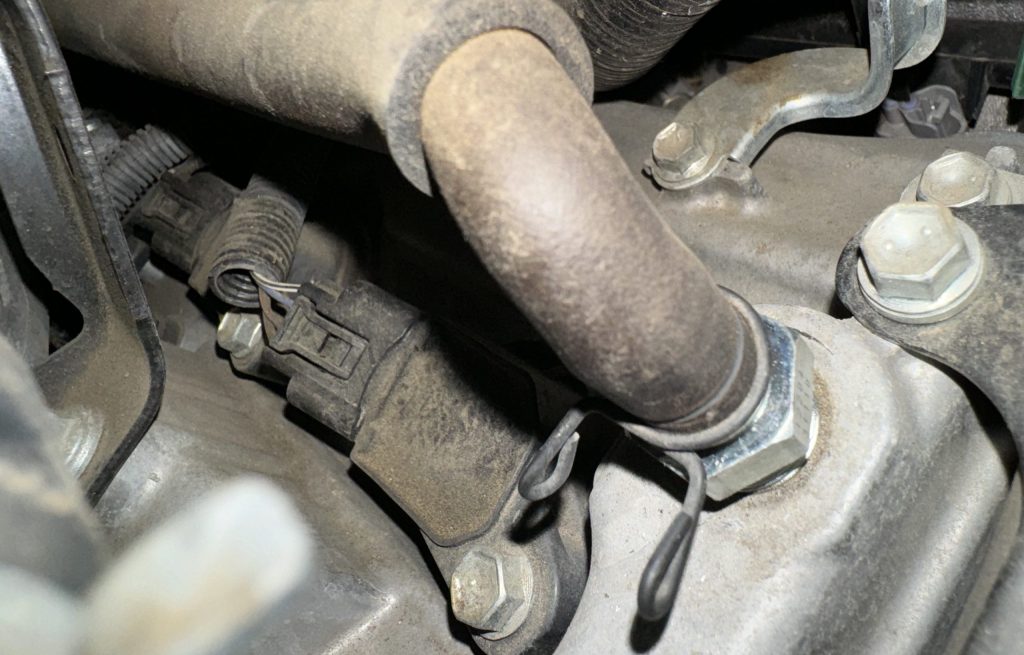
Rubber tubing will be attached to the PCV Valve. Take off the attached hose clamp using pliers. I moved the hose clamp high enough so that it was no longer securing the valve.
Step 2. Replace Valve
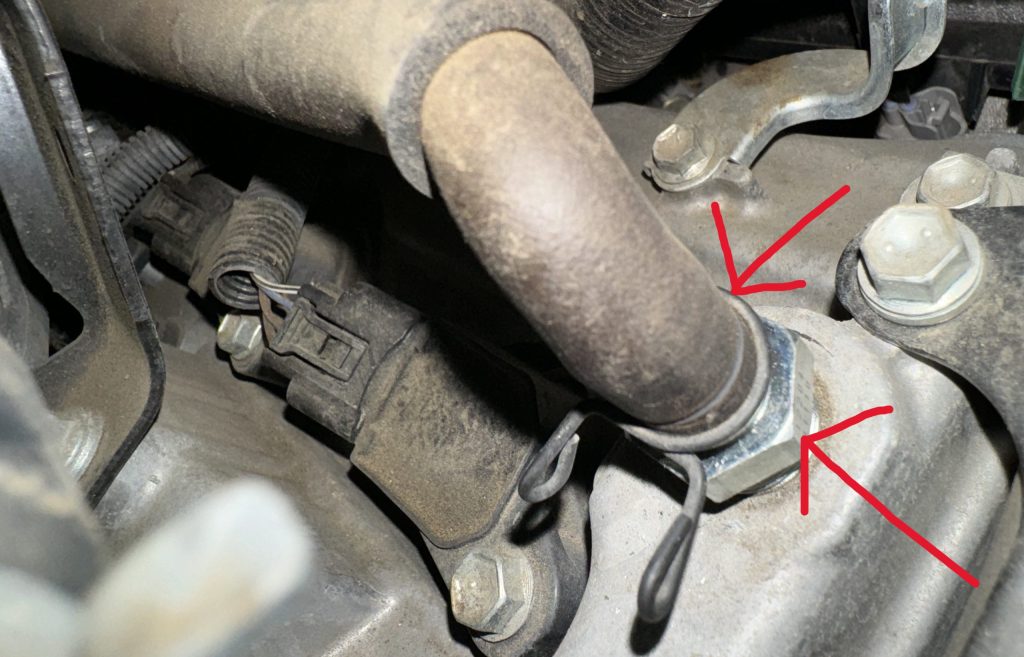
Remove the hose and unscrew the PCV valve using a 19 mm deep socket.
Shake the PCV valve and if you can hear the ball rattling, it is still good. If your PCV valve is clogged, I have been told that it is possible to clean it out. With the replacement part being so cheap, though, it’s most likely not worth your time.
Important: Be very careful not a get any dirt or grime into the hole once you take out the valve.
On the new valve, Toyota recommends using Threebond 1324 on the first few threads. Then, reinstall and torque it to 20 ft-lbs. It will not sit flush, so don’t worry about that.
Finally, reattach the tubing and hose clamp and you’re good to go!
Final Thoughts
Overall, this was an incredibly easy and affordable maintenance item. I may even go a little longer than 60,000 miles next time as my old valve seemed to be okay. Considering the low price, though, it’s cheap preventative maintenance.
In the future, I will look into getting an oil separator or catch to further ensure that this car runs as long as possible!
Did anyone run into the issue of the spring clip being very loose? The OD diameter of the hose is approximately the same as the ID of the circlip. I bought a new spring clip and it’s just as loose. The hose does not seem to be degraded. It is only about 5 years old. However, there is very little to no tension on the hose from the spring clip. Is this by design?
If you’re not replacing the PCV with the (mine is metal, not plastic) OEM part, I strongly suggest cleaning the one you already have with hot water, Dawn and a toothbrush. Soaking 30min in hot soapy water to begin with makes this an easy task. It’s been working out great for me with 215K on the clock. No problems!
I don’t see the part number listed for the PCV
Here ya go. Just did mine on my 2018 at 82,105.
Thank you for the article. Do you happen to have a link to the part or the part number?
Hey Reed, thanks for this posting on PCV valve replacement.
Question – what is “Threebond 1324”?
Thanks,
Scott
Read on another forum that Loctite 243 is what Henkel states as the sub for Threebond 1324
Scott, it is a mid-strength anaerobic thread locker. Loctite Blue 242 should be a readily available substitute,