
Photo Credit: Talus Expedition Gear
Picking a rooftop tent for your 4Runner typically requires a ton of research.
For one, it’s where you’ll sleep on camping trips. In addition to that, they’re not cheap. Most other mods can easily be researched and picked based solely on reviews. However, if you’re like me, seeing an item in person is a must. So, choosing an RTT based solely on pictures and advertising is difficult, to say the least!
I’m 6’4″ and 240 lbs, so it is incredibly difficult to cram myself into an RTT, let alone sleep comfortably for 12 hours. I had my heart set on a wedge-style tent because of the option to put more gear on top of it and its small footprint when closed. This is usually achieved with cross-members for lighter gear that doesn’t need to be frequently accessed.
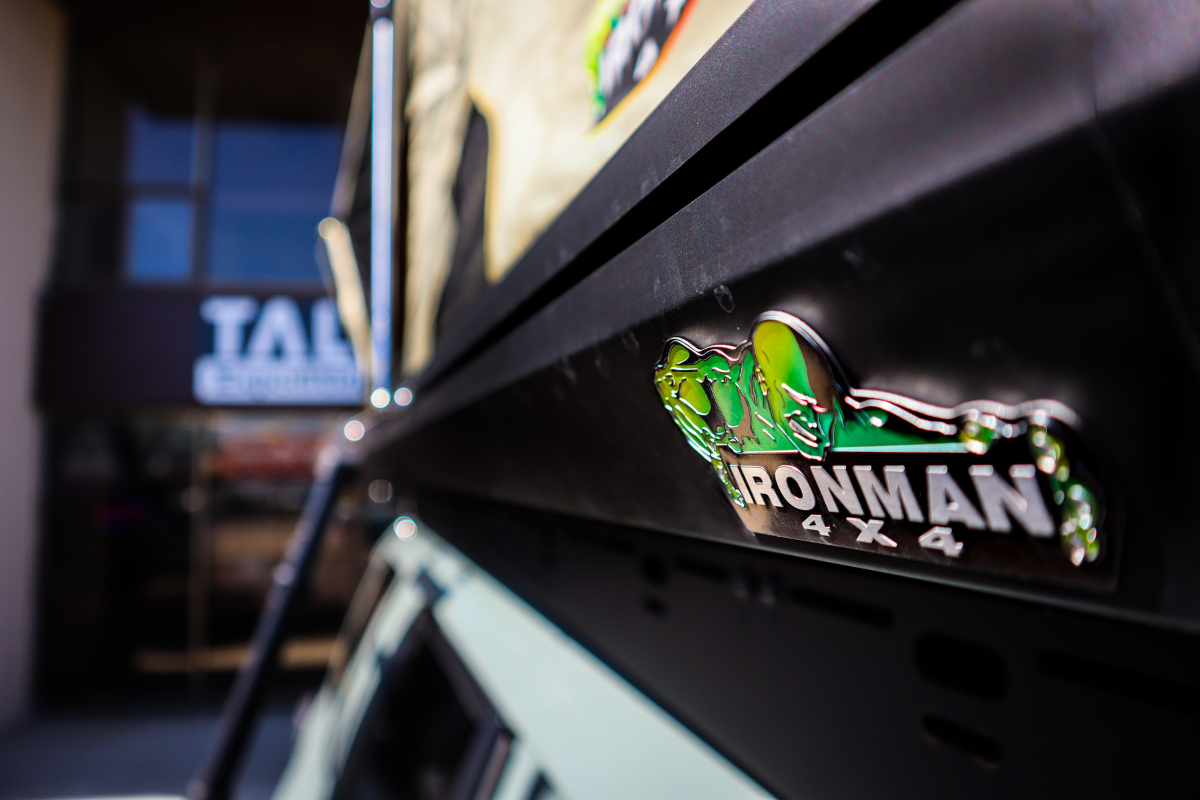
When my local shop posted the Ironman 4×4 Swift 1400 RTT, I immediately knew that was the one I wanted. I messaged the team over at Talus Expedition Gear and haven’t looked back since.
Find It Online:
- Ironman 4×4 Swift 1400: Check Price
Table Of Contents
Choosing My RTT
My Size
As I mentioned earlier, I’m 6’4″ and 240lbs, so I need an RTT with plenty of space. Sleeping, changing, and other activities require space, especially for larger people like myself.
Having a full-size mattress is super nice considering my wife and I go camping regularly, and I’m somewhat of a bed hog. The Ironman Swift 1400 RTT checked all the boxes for us as a traveling couple.
Tent Size
The Ironman Swift 1400 has a 7’2″ L X 4′ 6″ W mattress inside (roughly the size of a full-size mattress). It is also just over 5 feet tall when opened, providing ample headroom.
The closed height is about 6 inches tall without the cross-members installed. There is enough space in the tent for a blanket or some sleeping bags to be left in.
There are larger tents that can accommodate 4 to 6 (smaller) people. However, their footprint is massive, and you have to deal with sloppy coverings and a much taller profile when driving. Let’s face it, the 4Runner isn’t the most aerodynamic, so adding a gargantuan brick on top of an already lumbering rig doesn’t help.
Wedge
Wedge-style tents like the Swift 1400 are about as slim and low-profile as they come. While other hard shell tents can fit more people/have more room, they don’t offer extra storage on top as most higher-end wedge-style tents do. That feature was a must for me, so I knew that I would need to stick with the ladder option.
Weight
With all that being said, the Swift 1400 comes in at 215 lbs. It’s definitely not lightweight like some of the other hardshell tents. A suspension upgrade and a heavy-duty, full-length roof rack are suggested before installing it on your 4Runner.
What’s in the box
I wanted something that came with everything included and ready to go out of the box. I didn’t want to piece-meal anything together. The Swift 1400 came with everything needed to slap it on my roof rack and go. Here’s a list of everything included in the box:
- All tools needed to install
- The hard shell of the tent is assembled with the soft shell of the tent inside
- Mattress
- An anti-condensation pad under the mattress
- 2x Aluminum awning poles for the vestibule
- 1x Collapsible ladder and storage bag
- 2x Brackets to secure the ladder to the side of the tent
- 4x Tie-down eyelets with t-slot nuts
- 2x Latches to secure the lid to the base
- 2x Crossmembers and hardware to secure to the roof rack of your choosing
- 1x Collapsible pole on the interior of the tent to keep the top from falling shut on you as you sleep (as a safety precaution)
- 2x Load-bearing cross members for smaller/lighter gear (Maxtraxx and a shovel or high lift jack)
- 2x Gas tube shocks to assist in lifting and closing the roof
- 1x Bright orange shock cord for the interior of the tent to assist in keeping the tent material pulled in while closing
- 1x Shock cord for external use (already installed)
- 1x Pull strap attached to the roof of the tent to help pull the top down when closing up
What’s not included
- A sense of adventure
- Pillows and blankets
Installation

With a suspension lift and larger tires, my 4Runner is sitting about 4″ taller than stock. That means getting a couple of buddies to help lift and install the Swift 1400 was out of the question.
Luckily, the team over at Talus has a forklift and is skilled enough to maneuver it over very expensive vehicles.
To save you time and effort, all of the hardware that secures the tent to the rack needs to be installed beforehand. I would also advise installing the tent struts and latches before placing it on top of your vehicle. The guys over at Ironman 4×4 were generous enough to provide all the tools needed to get you on the road, but I found that a nice ratcheting wrench works best.
Once we got the tent off the pallet and unpacked, we scooted the Swift onto the extended forks and hoisted it high above my 4Runner. This is when I stood back, trying to swallow my anxiety, thinking about the worst. Fortunately, there were no issues sliding this behemoth onto my Westcott Designs roof rack. After getting the tent centered on the vehicle, everything was tightened down and secured in place.
My roof rack has very little clearance between its crossbars and the bottom bars of the tent, which causes noticeable vibration at speed. To remedy this, I loosened the brackets and slid some 1/8″ thick high-density rubber between the cross members.
Finding a location for the ladder brackets was easier than I thought. With my 23Zero awning mounted on the driver’s side of the vehicle, the only spot left was over the passenger back door, centered with the entrance of the tent.
Initial Impressions

The Actual Tent
This tent is stout! Even though the shell is made of aluminum, the overall weight of the tent is still 215 lbs.
The tent material is a very thick and robust ripstop fabric. The seams have been sewn and glued and are very well put together. The zippers are satisfyingly smooth and easy to use, and have a very wonderful tactile noise and feel when operating them. There is not much light that gets through into the tent when everything is sealed up, which is nice if you are someone who likes to sleep past the break of the day.
The locks and external components are effortless to use and overbuilt. The two latches that secure the top lid to the base of the tent are stout and relatively easy. However, they can be kind of a pain to install if you don’t read the instructions first. Installing the cross members is easy, and their quality is top-notch. I will talk about my loadout on the cross members later.
Basically, this tent is a bolt-on-and-go unit that is all-inclusive. The only thing you need to figure out is the lighting on the inside.
Interior Size
After climbing up into the tent and lying down, I can tell you that I was super excited! The legroom was sublime, and the headroom was second to none! I had my feet down at the narrowest part of the wedge and headed towards the rear of the vehicle. The roof of the tent is covered with a soft, felt-like material and features a giant panel with six large pouches for storage.
Windows & Zippers
Opening the windows and setting up the awning allows for a nice cross-breeze. When the windows are closed, it is like a cave of darkness, which is great for anyone who has trouble sleeping with ambient light. Granted, there shouldn’t be any light when camping until the sun comes up. The seams appear to be well-taped, and the zippers are tight. Time will tell how well we’re protected from the elements.
Take-Down
Take-down is just as simple as the setup process. There is an orange shock cord tethering the two walls together to help keep things in place. A larger shock cord wraps around the tent (stored at the base when opened), and a large strap with a rubber handle is attached to the roof portion of the tent.
Here is a rundown of the take-down procedure:
- Pull the shock cord up around the midsection.
- Pull the strap down, making sure that all of the extra material is folded into the body.
- Latch the two heavy-duty locks and climb down.
- Collapse the ladder and either store it inside the tent or inside the vehicle. I choose inside the vehicle so I can keep more blankets in the tent.
I also opted to install the cross members for my shovel and recovery boards on top of the tent. Initially, I had a huge Pelican case and a Waterport Weekender installed, but the tent struts couldn’t handle the weight. That made it incredibly difficult to open and close the tent, so I removed them in favor of lighter gear.
Camping Experience

As any enthusiast with a new piece of kit, I was elated to head to the mountains here in Idaho to try out my new tent! With my wife and gear all packed up, food chilling in the Dometic fridge, and the mountains calling, we headed out.
Setup
Setting up the tent was just as flawless as I had practiced in my driveway about 53 times and just as fun as the first time. As daylight dwindled and the stars crept out, I eagerly awaited calling it a night and climbing into the tent. With lots of blankets, pillows, and the hushing sound of the Boise National Forrest lulling us to sleep, I couldn’t help but think about how awesome my RTT was.
It wasn’t all sunshine and rainbows, however, and I slept horribly.
Mattress & Initial Comfort Level
It was very cold that night, and I could hardly sleep. The mattress was so hard that I woke up with a sore shoulder. This mattress isn’t very accommodating for side sleepers like me. This problem is easily solved with more blankets and a memory foam mattress topper for the time being.
Warmth
As for the cold, the frame of the tent is made of aluminum, which makes it ice-cold to the touch. I would suggest using a sleeping bag or extra blankets to prevent contact with the frame while sleeping. A diesel heater also would have been nice because it got down close to 30º Fahrenheit that night.
Then, the rain came, and while the noise was soothing and the tent was dry inside, I couldn’t help but wonder if I had made the right decision. Here I was a couple of hours from home freezing my butt off with my wife shivering, wondering if I should have gone a different route! The next night, we were better prepared, and nature decided to play nice by being a bit warmer and drier.
Final Thoughts

Despite freezing that cold first night, I have still concluded that I 100% made the right choice.
The inclement weather and lack of preparedness were not the fault of the tent. The Swift 1400’s price point, ease of use, durability, design, and customer reviews had all steered me in the right direction.
This is a lifestyle that I have sought after for years and have finally achieved. The tent does need some refining to make it perfect for me and my personal preference, but that’s the point of modifications. I also bought a brand-new 4Runner and tweaked it to meet my needs, which is way more expensive!
All in all, I feel that I bought the best RTT for my needs because it checked all the boxes:
- Long enough for me to lie down and wide enough for my wife and me to sleep in it together.
- A small profile that does not take away from its robustness and capability.
- Great design & aesthetics!
- Immediately available (I’m an instant gratification kind of guy).
In conclusion, I will tell you that for the price (especially with Ironman 4×4’s frequent sales), it is 100% the tent for me, and one that you should definitely check out!
You’re right the mattress is horrible like a rock. You know why…take a look under the mattress…here are about 8 huge nuts locknuts with caps on. If its not hard you’re feeling them under your back, At the end of the day the most important thing is the mattress to be comfortable and if you’re not sleeping properly it’s really bad. My shoulder and hips were in pain . When I’ve complained about it iron man just said oh lots of people like it hard hmmm. No rain cover either and with it being single skin on the sides in some areas it condensates badly in cold weather with moisture in the inside. I do love it and its predominantly warm where i am which brings its issues with the single skin and sun hitting the sides…
How was the installation on the Prinsu rack, howd you get your hand under to tighten it? Did you have to get the Prinsu mounting feet ?
Dustin, I’m considering the Swift 1400 for my first RTT. Your review is great. Looked at your IG and noticed you have moved on to a new setup. Was there anything you didn’t like personally, or the performance, of the Swift 1400 that made you decide to go in a different direction? Thanks in advance. Appreciate any feedback you have to offer.
I have the Swift 1400 on my 4runner as well. I love the tent itself. It meets my needs for being able to carry things like my kayaks or extra storage on the top of it as well we being super easy to setup and take down. I spent 3 nights in thunderstorms in Shenandoah in August and it couldn’t of held up better…or dryer. The site next to me literally washed away, but not me, lol. I’d be interested to know more about exactly how you used the forklift.
You have “quiet” spelled wrong in your bio.
Thanks Dave! ill get it fixed asap
Great article, appreciate the honesty and details. Not currently In the market for these but always been intrigued. I know I’ll check this one out first if I ever get to!
Appreciate the feedback! Thanks for stopping by and reading!
One thing you will always get from any veteran is a in depth detailed list on how to. Well at least all the guys I know. Very informative even tho I don’t own an Ironman nor a vehicle to put it on I now know where to look of I decide to get one. Great read my friend
Thanks very much!