
I’ve wanted to modify the front end of my TSS-equipped 4Runner since the day that I picked it up. However, the TSS sensor’s position in the lower part of the front grille makes my 4Runner incompatible with a full aftermarket bumper. That is no longer an issue with the C4 TSS relocation bracket!
TSS-compatible bumpers do exist in the form of lo-pro hybrid bumpers with either a full-height hoop or no hoop, which will not interfere with the sensor at all. They also offer winch capability and decent approach angles when paired with the viper cut or high clearance additions. These are great for an OEM+ look, but only protect a portion of your front end.
For people like me who dig the look of 4Runners with full-width front bumpers, whether full plate or hybrid, there was no way of achieving that until now.
Table Of Contents
What Is TSS?

Toyota Safety Sense (TSS) is an advanced suite of active safety features that is designed to support driver awareness and safety across a range of speeds and driving conditions.
TSS versions vary slightly depending on the vehicle model, but they generally have the following features:
- Pre-collision system
- Lane departure alert
- Dynamic radar cruise control
- Automatic high beam
- Lane tracing assist
TSS offers some great safety features and makes long drives more enjoyable, especially with dynamic cruise control. However, for those who want to add an aftermarket front bumper for a winch or extra added protection and clearance, the sensor’s factory location gets in the way of that.
For 4Runners, TSS was made standard starting with 2020 models. A quick way of telling from the exterior is the black sensor plate that sits beneath the Toyota emblem.
No one wants to spend a small fortune on a new 4Runner and give up the TSS technology. In addition, disconnecting the sensor causes the dash to light up like a Christmas tree!
What Is The TSS Relocation Bracket?

The C4 TSS sensor relocation bracket moves the TSS sensor (not to be confused with the rectangular plastic plate on the grille) to the upper part of the grille garnish. By doing this, the sensor is out of the way when you need to cut the factory bumper to accommodate a full aftermarket bumper and retains all the TSS functionality – so awesome!
Again, this TSS relocation bracket is relocating the sensor, not the plastic cover that covers the TSS sensor. This bracket does not relocate or remove the rectangular cover. If you would like to remove or replace the large rectangular plastic TSS cover, you would need to swap in the lower portion of a non-TSS bumper.
The sensor module is designed to sit behind plastic and essentially see-through plastic, so by moving the sensor higher up on the grille, resting behind a different piece of plastic (the top TRD pro garnish location), it’s still doing its job, it’s just seeing through a different piece of plastic.
As with all C4 products, the bracket feels sturdy and is built solidly.
Features:
- Made of 12-gauge steel
- Compatible with 2020+ 4Runner model years
- Works with both TRD Pro & Standard Toyota grilles
- Compatible with both C4 Hybrid & Overland series front bumpers (Will not work with mid-height bull bar options)
- The bracket has adjustments built in for fine-tuning placement
- Bracket ships unpainted
Hardware Provided:
- 2 – 5/16 x 1 Bolts
- 4 – 5/16 Flat washers
- 2 – 5/16 Locking nuts
- 2 – ¼ x1 Bolts
- 4 – ¼ Flat washers
- 2 – ¼ Locking nuts
Installation

Parts/Tools Needed:
- Screwdriver
- Socket – 10mm, ¼, & 5/16 inch
- Wrench – ¼ & 5/16 inch
- Ratchet with a long extension
- Knife or Tin Snips
The installation process is pretty straightforward. First, open the hood and remove the clips holding the plastic piece sitting on top of the radiator. To remove the clips, push down in the middle and lift them from the side with a flat-head screwdriver.
Step 1. Remove TSS Sensor

Locate the TSS sensor wiring harness behind the grille and remove it from the metal support bracket by squeezing the plastic tabs. Next, unplug the wiring harness plug from the sensor itself by pressing the tab on the connector. The actual TSS sensor is held in place with two 10mm bolts and one Philips head screw. Remove all 3 to remove the sensor.
With the sensor out, mount it to the C4 bracket. Keep in mind which sides of the sensor are front and back while doing this.
Use the supplied ¼-inch bolt, washer, and lock nuts to hold the sensor in front of the bracket. The bolt will install from the front side with the washer and nut on the back side.

There are slotted holes on the C4 bracket to provide some adjustability of the sensor if needed.
C4 suggests moving the sensor all the way to the top so that the sensor is parallel with the top of the bracket, to begin with.
Step 2. Modify Grille For New Sensor Placement
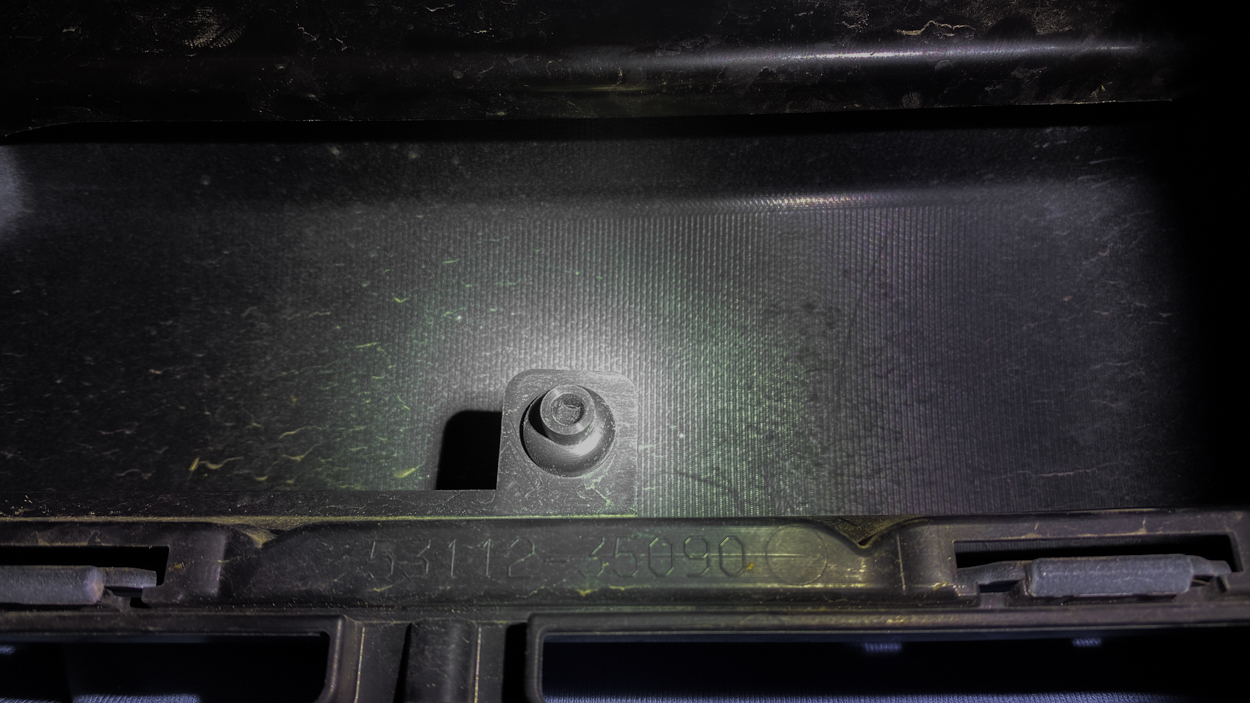
Next, I had to notch a little plastic piece to clear the line of sight for the sensor. This small plastic piece, as shown, sits below the metal cross-member behind the grille area. I used a tin snip for this, but you can use whatever works best for you.

Next, there are two more plastic clips on top of the metal cross-member, which need to be removed before the bracket can be secured on the metal cross-member itself. Use a flathead screwdriver to remove these clips.
Step 3. Install TSS Bracket

Secure the bracket with the sensor installed to the holes where the plastic clips were using the provided 5/16 bolts and washers. Do not tighten the bolts all the way yet.

Since the TSS sensor now sits to the left of the vehicle, we need to make some adjustments so that it functions properly. To do this, make sure the bracket is pushed all the way towards the front of the vehicle. Next, move the bracket end, which is close to the center of the vehicle, backward just a hair, maybe ½ an inch, so that the bracket is tilted at a slight angle.
Do not overtighten the bracket bolts as they sandwich the plastic grille tabs with the metal support. Secure the wire harness to the metal bracket and plug the harness into the sensor, and you’re golden!
Finally, reinstall the large plastic radiator cover piece and its clips.
Final Thoughts

I tested the C4 TSS relocation bracket around the city, on windy roads, and wherever I was able to engage cruise control. I also took a 200km highway road trip and am happy to report that TSS worked flawlessly in all scenarios.
The C4 TSS relocation has both top/bottom and left/right adjustability built in, which should help you with any fine-tuning as needed. This bracket is a small, yet very effective modification that ensures you retain the full TSS functionality of your rig when you upgrade to a full aftermarket bumper.
All in all, I have no concerns about relocating the sensor and making room for a full-size front bumper. With the TSS sensor now properly relocated, I’m looking forward to installing the C4 Overland Series front bumper next!
Will this void your Toyota warranty tampering with it’s safety features? It’s not discussed in the article and as this applies to only the 2020 + 4runners, I think it should be at the very minimum, mentioned for those that just bought their new Runner and have a current 3yr/30,000mi warranty.
I’m already past that point with my 2020 so I’m all in to this mod should I ever go from my SSO Slimline to a full beast of a front bumper.
Thanks C4 for stepping up to the plate!