
Car Trim Home Automatic Window Switch Module For 5th Gen 4Runner (2014-2021) – Windows Roll Up Via Keyfob, Plug And Play Wiring Harness
Can we just take a moment to appreciate Harbor Freight Tools? You hear people say things like, “If you don’t want to spend an arm and a leg on a great quality tool, go to Harbor Freight.” I don’t know about you guys, but I love Harbor Freight and every time I walk in there, I end up buying things I didn’t plan on buying. My wife recently had the pleasure of accompanying me into the store, and she was blown away at how affordable things were and also had good quality.
Harbor Freight’s store modo on their logo is “Quality Tools, Lowest Prices.” Now you’re probably thinking to yourself, “Joe…what does Harbor Freight have to do with an article on an Automatic Window Switch Module?” Let me elaborate…
If you take a look at my author profile, or anywhere on Trail4Runner.com, you know that the site is full of installs and reviews from Car Trim Home. The reason I mentioned Harbor Freight Tools earlier is that for me, Car Trim Home fulfills the spot when it comes to quality car parts and mods at an affordable price. See? I was going somewhere with it!
Car Trim Home’s site is packed full of mods for many makes and models. You’ll find all sorts of items from things that change the appearance of your 4Runner, to things that are functional mods. The Automatic Window Switch Module pictured here on this post is definitely a functional part, especially during the summer in warmer climates.
I now proudly own three products from them, and I plan on buying more in the future! They really strike a balance between quality and price. The part we are discussing today can be found at the link below.
Find It Online
- Automatic Window Switch Module: Check Price
Automatic Window Switch Module Install Guide
Install Overview

Installation Guide
- Difficulty: Easy
- Time: 30 Min
- Number of People: 1
Tools and Materials:
- Plastic Pry Tool or Screwdriver
- Your 4Runner Key Fob
From what I can tell, this harness may have different applications depending on your model year and/or trim level. In the case of my 2017 TRD OffRoad Premium, after pressing the unlock button twice (once to unlock the driver door, a second time to unlock the other doors and tailgate) I hold down the unlock button on the third press. This rolls down all of my windows, except the rear window for some reason.
When locking the car, all of the windows roll back up. Again, this does not apply to the rear window for me. I also do not have a sunroof on my 4Runner, but I imagine it should open and close as well. Please let us know if you snag one, and what it does for your model year and trim in the comments section below so we can update this article!
Now that you are all warmed up on what this thing does, let’s dive into the install.
Step 1. Remove The Driver’s Side Floor Mat

I would recommend removing your floor mat and giving the area underneath a quick vacuum.
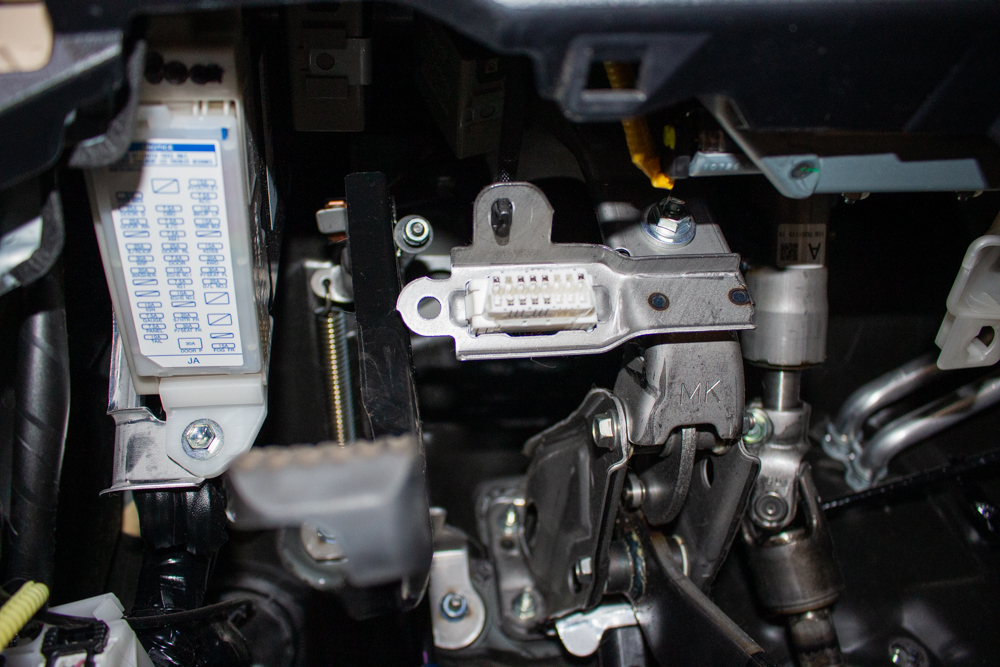
Step 2. Remove Kick Panel

First, we want to remove the floor panel. Take your plastic pry tool and pull it up just enough to place your hands underneath to give it a good yank.
Step 3. Remove Kick Panel
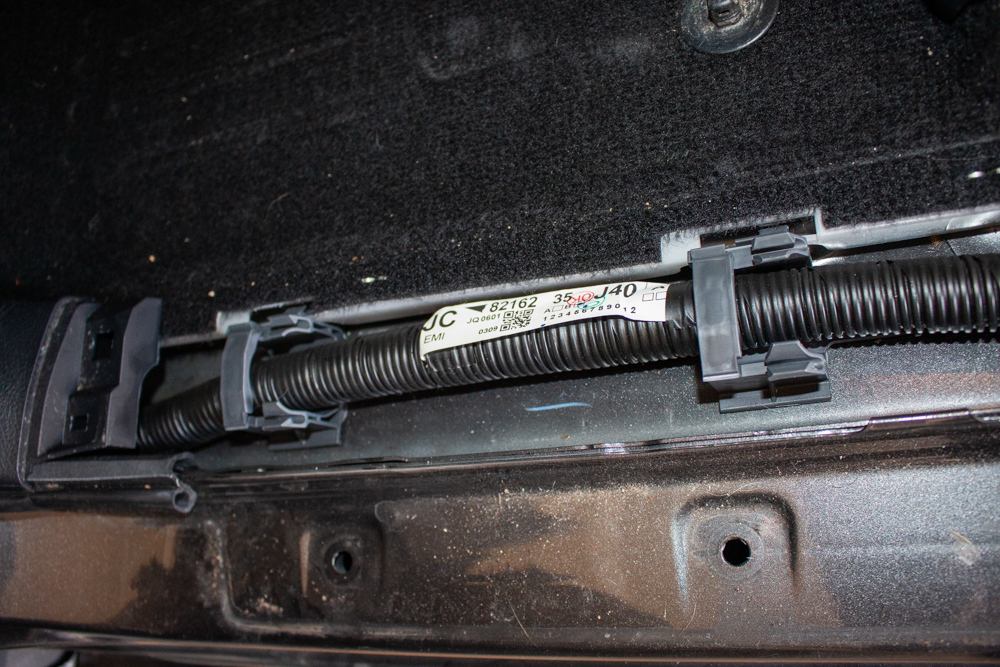
As you can see, the wiring harnesses are exposed here. This is a good opportunity to give that area a good vacuum or clean.

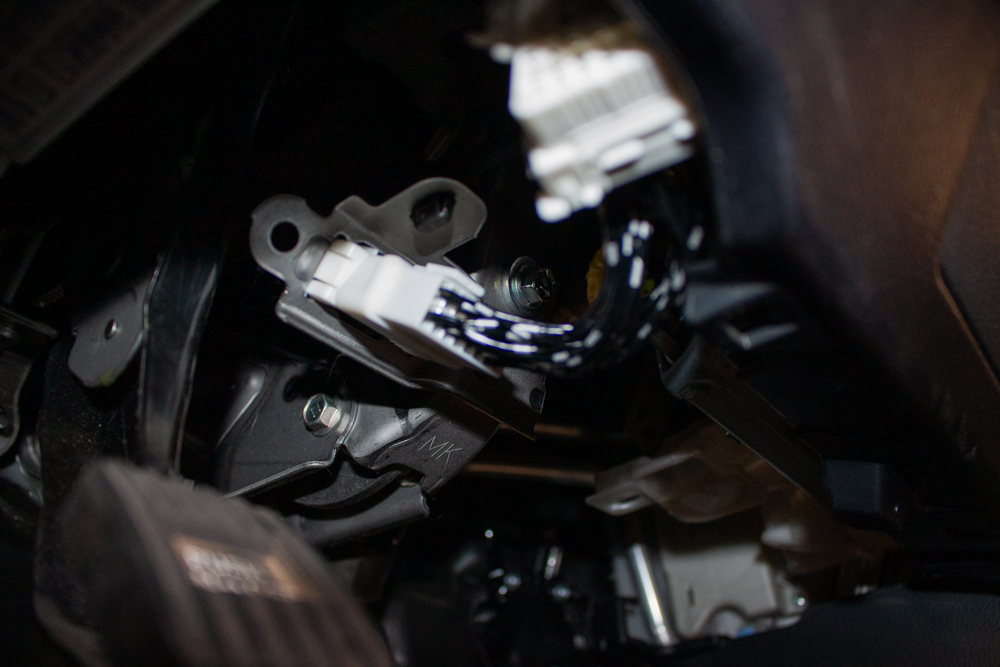
Next, we need to remove the panel that sits to the left of the emergency brake.

This next part is pretty tricky, as there is a screw in a tight spot. I had to place my index finger and thumb around it and untighten an eighth of a turn at a time. The problem is, you cannot really place a pair of pliers back here because it is such a tight spot; so I felt like I had no choice.
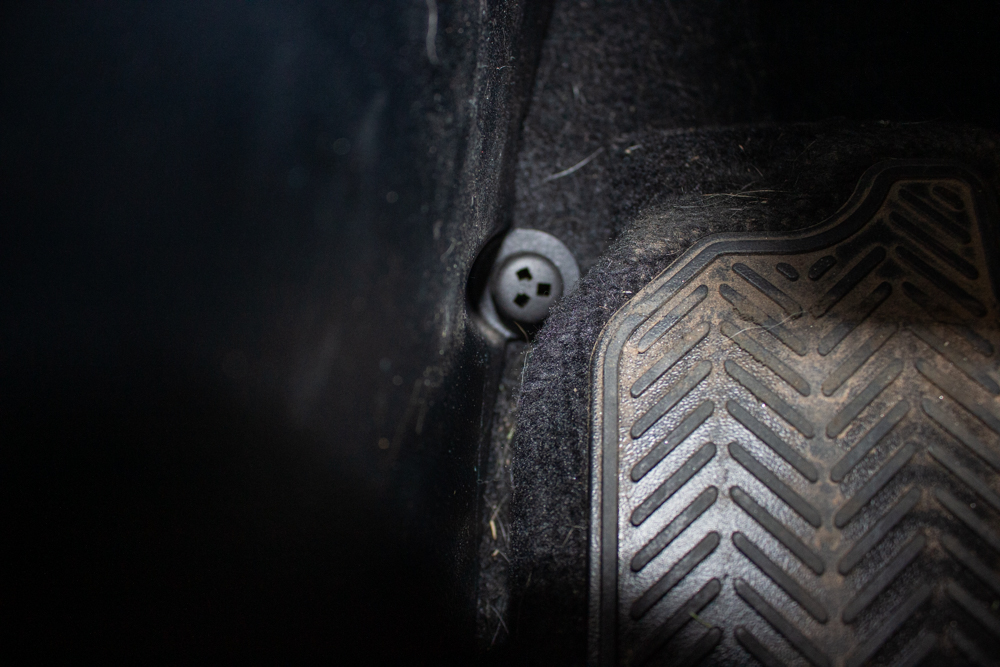
Here is a close-up of the screw location. I had to use a flashlight to even see it!
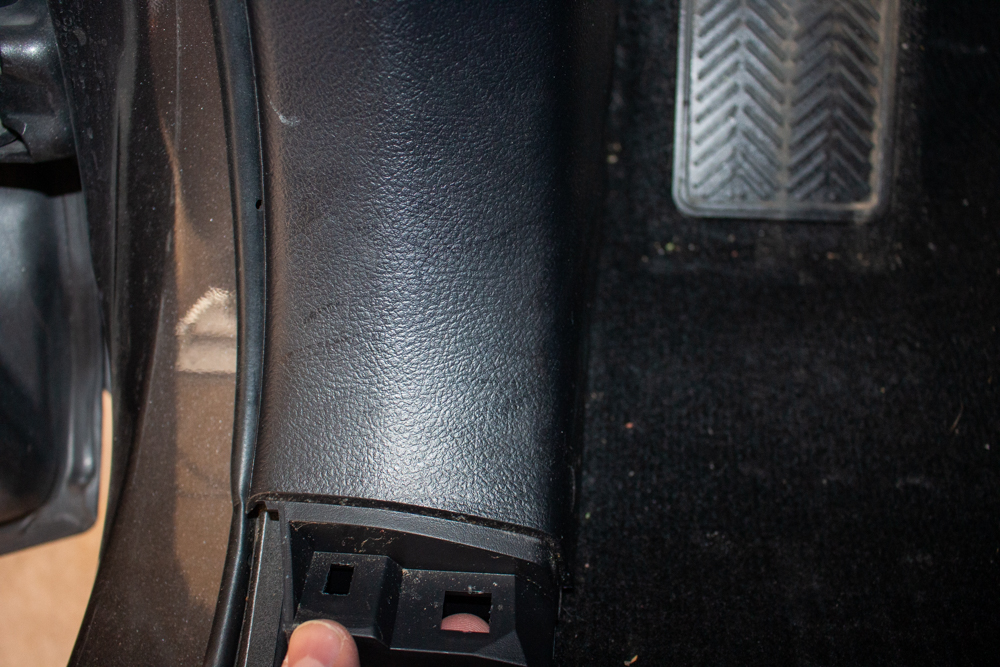
Give this a “light” yank to unclip it. I say light in the previous sentence because of the next step.
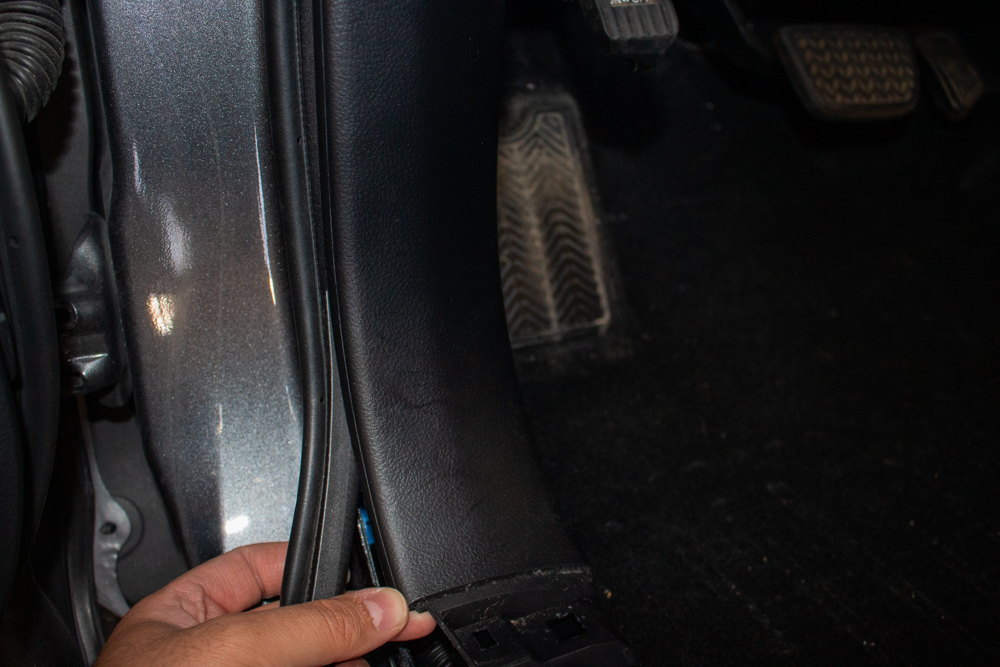
Now for the next tricky part. The rubber seal that keeps your door sealed is tucked behind this thing and held in place by a clip. You can either pull back the seal from the plastic or just move the plastic out of the way. Either way, be careful not to tear this as the clip holding this has metal prongs on it and this thing is fragile.
Step 4. Plug Harness Into OBD2 Port
First, locate your OBD2 Port for the next few steps. If you have not ever had to use it, it is tucked underneath to the right of your emergency brake.
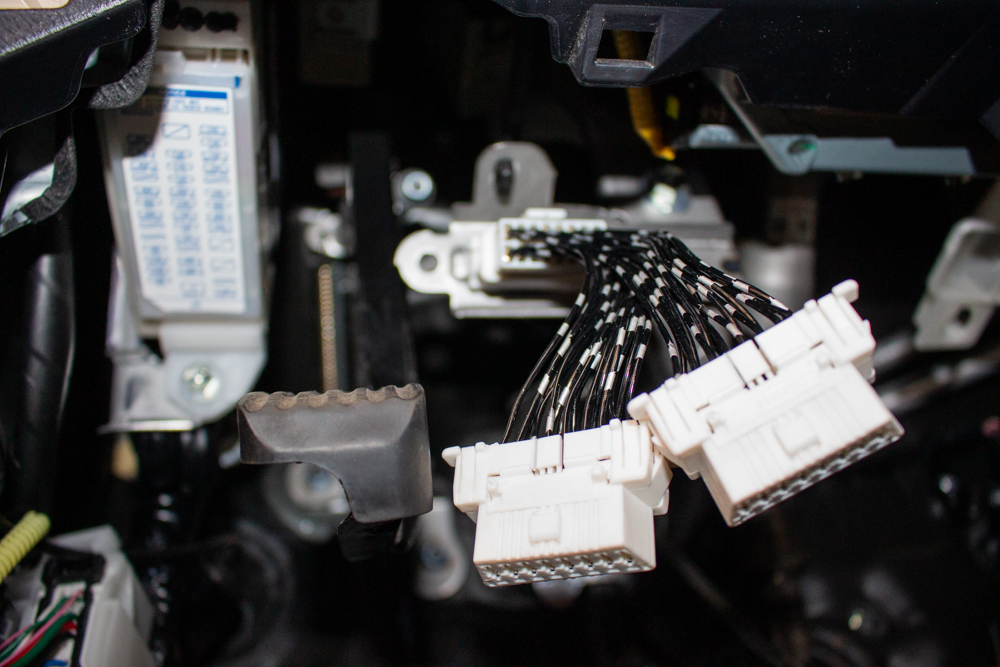
The kit includes a splitter, that way you do not have to give up the ability to diagnose your vehicle or use the port for the myriad of other uses it has. Plug this in next.
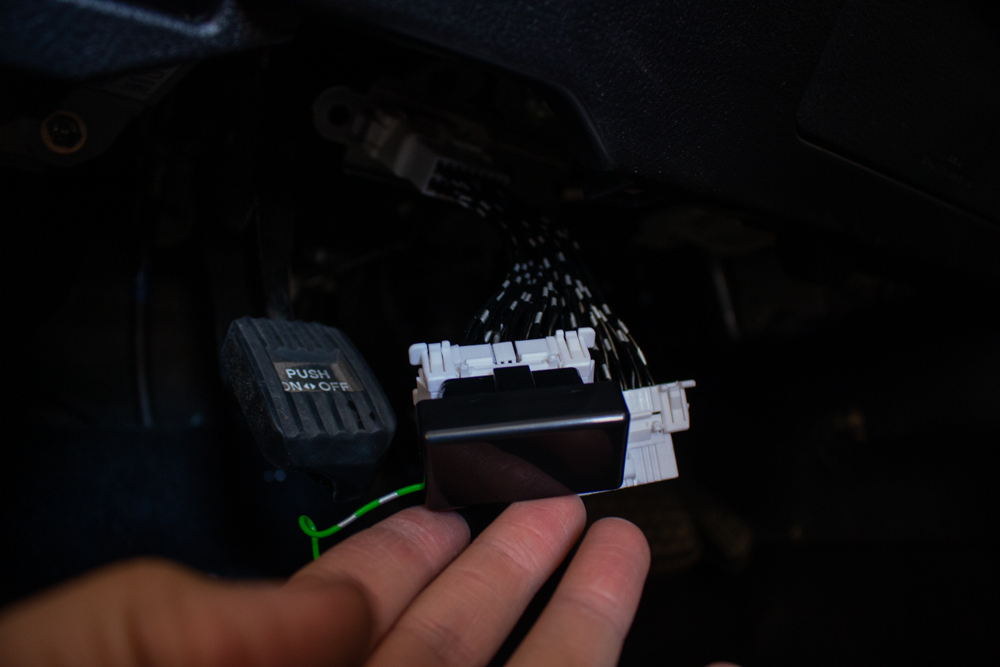
Now for the fun part! Plug the black OBD2 plug (the one that has the green wire connected to it) into the port of your choice. I tested this with both, it really doesn’t matter. But, I chose the one on the left, as it is closest to where the wiring harness plugs into.
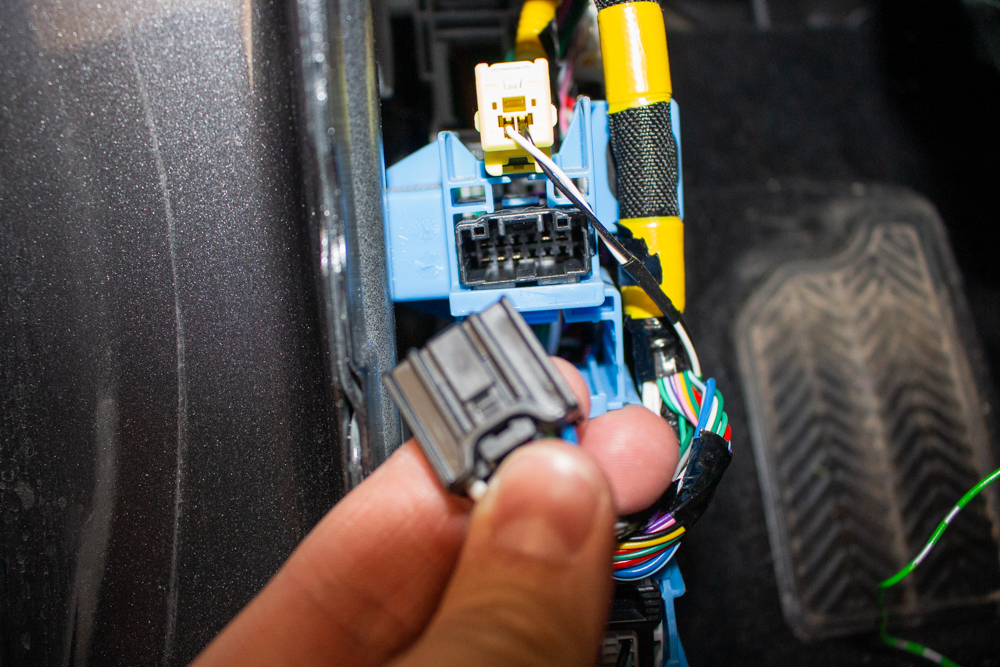
Once you have that part done, we need to remove the black plug pictured above.
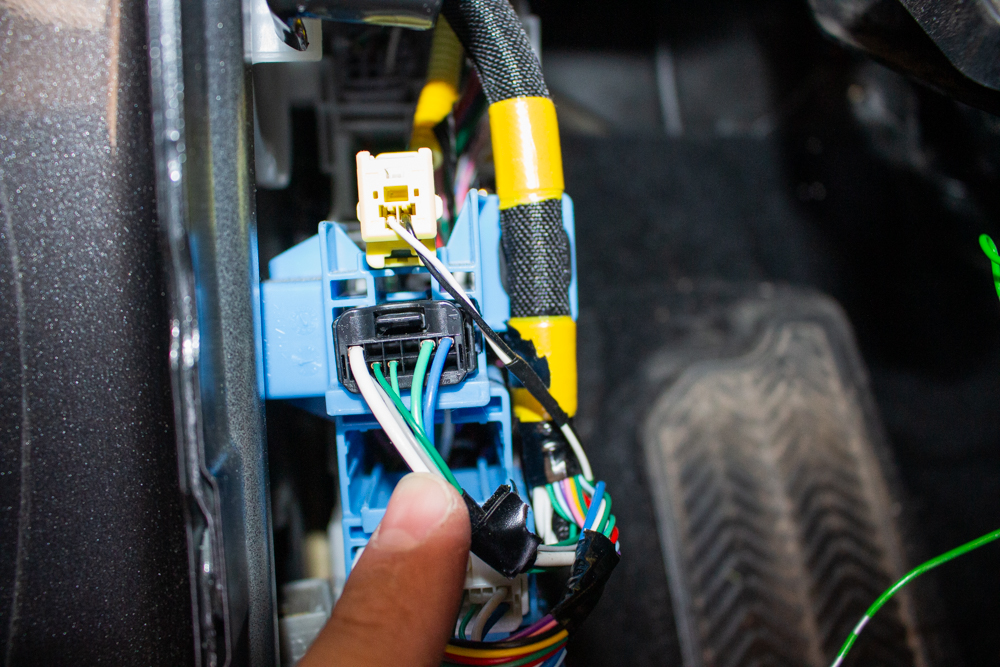
Take the wiring harness with the green wire mentioned earlier, and plug the white female port into the spot we just unplugged the factory plug from.
Now, take that factory black plug from the step above, and plug that part into the male port of the new wiring harness.
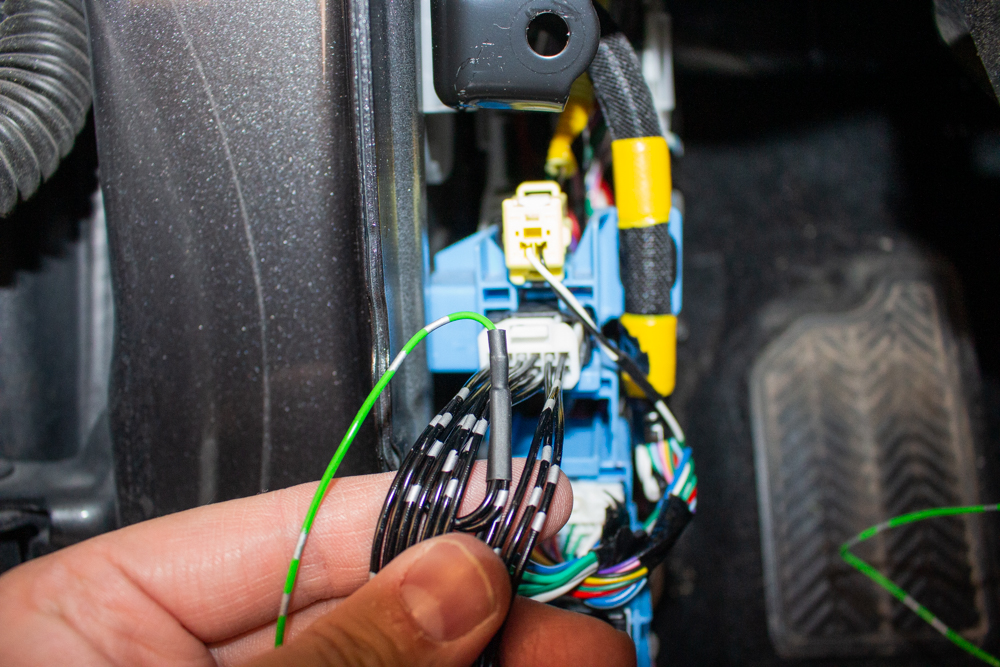
BEFORE YOU CONTINUE….this is a good time to test the keyless entry to make sure this works!
Step 5. Test Your Key Fob
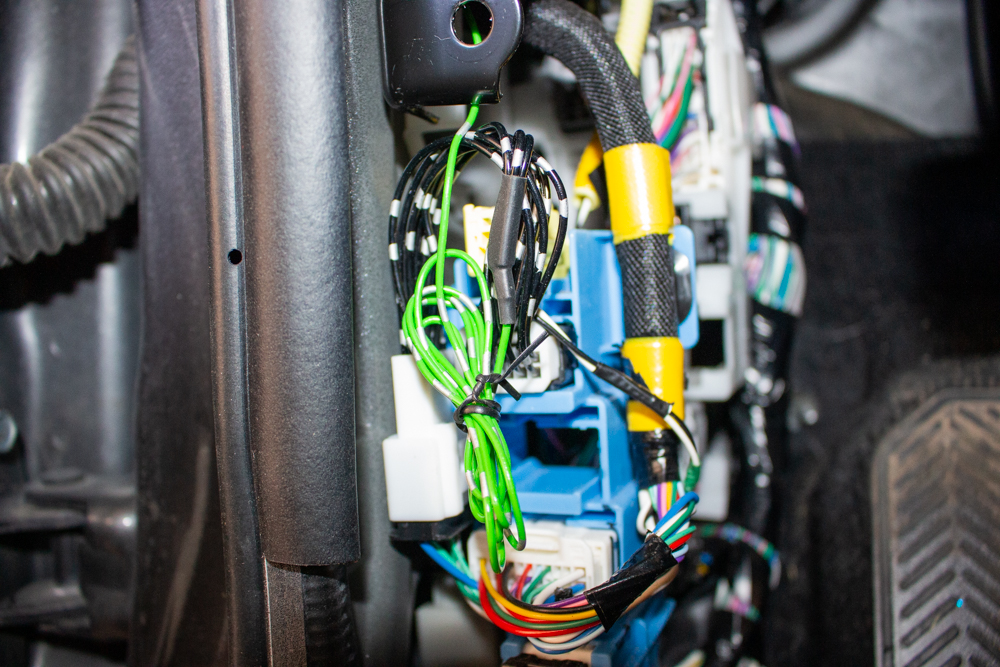
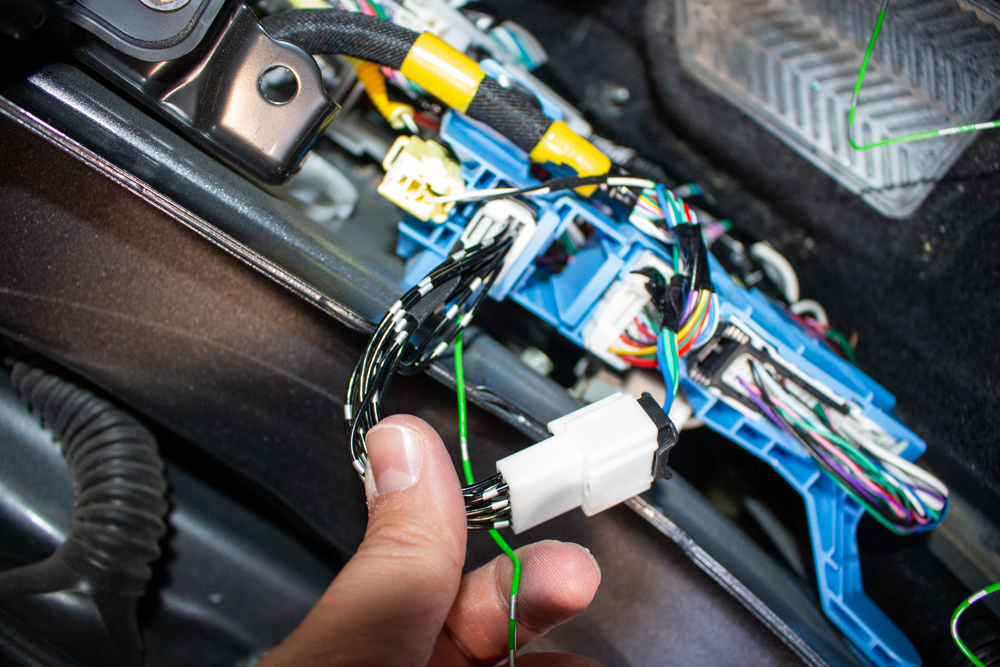
Tuck the new wiring harness in on the left, and/or organize the wires how you prefer. I just re-used the twisty tie that came with the kit to clean it up a bit.
I then tucked both parts of the splitter underneath the knee airbag on the driver’s side. This way I do not hit it with my foot when I engage the emergency brake.
Reinstall Plastic Trim Parts: Reverse the steps that you took above to put back the panels, and you are all set!
Final Thoughts

As I said in the intro, this thing is awesome! Roll up and roll down your windows via the keyfob! Please keep us posted in the comments section below on how this works with your model year and trim!
If you enjoyed this article, check out my author profile for more, by clicking on my name at the top! Feel free to drop a comment below!
I installed this on my 2020 and only the windows go down . It won’t let me bring them back up
Mine came today followed the video step by step will roll down but not up! Any advice?
Mine too
How is this any different from programming/unlocking this exact feature already built into the 5th gen? I set mine up with Carista back in 2017 and it’s always worked flawlessly except for the rear hatch window which seems to also be a limitation with your approach.
My understanding is also that this works best to roll up the windows; which happens automatically when you lock the car via the key fob.
I’ve never been able to roll my windows up with the key fob using Carista or other apps.
I have 17 SR5P and I can, and did, set all of this up with Carista. Plus got rid of stupid green Eco light on dash.
That’s good to know. I’ll check it out. Might be major user error. I can roll the windows down with the fob but can’t roll them back up without using the physical key. This is on 2020 Limited.