
Whether you picked up a brand new, or “new to you” set of SCS wheels – congrats!
We all know how elusive they can be to obtain. The following write-up applies to anyone with the Ray10, BR6, or SR8 wheels with a black outer lip who wants to repair mild trail rash. In my particular case, I picked up a decently used set of Ray10s in matte gunmetal grey from a friend. This project will likely be a multi-day one, allowing at least one day for paint & prep, and at least a full day for drying before the finishing touches.
Here are the following supplies used in this project:
- Power drill (optional)
- 10mm socket
- Palm sander
- 120, 220, 320, and 600 grit sandpaper
- Tack cloths
- X2 cans of spray paint
- Spray paint can trigger (optional)
- Painter’s tape
- Plastic bags or paper for masking
- 0000 Steel wool (optional)
- Carnauba wax (optional)
Table Of Contents
Step 1. Prep & Clean Wheels

First things first, we need to get eighty (!) faux-bead lock bolts off the wheels. These use a size 10mm socket, and I would highly recommend using either a power or impact drill to save your arms from the manual labor of using a ratchet socket. As an optional step, I also soaked all the bolts in dish soap to loosen any caked-on dirt from their previous life.
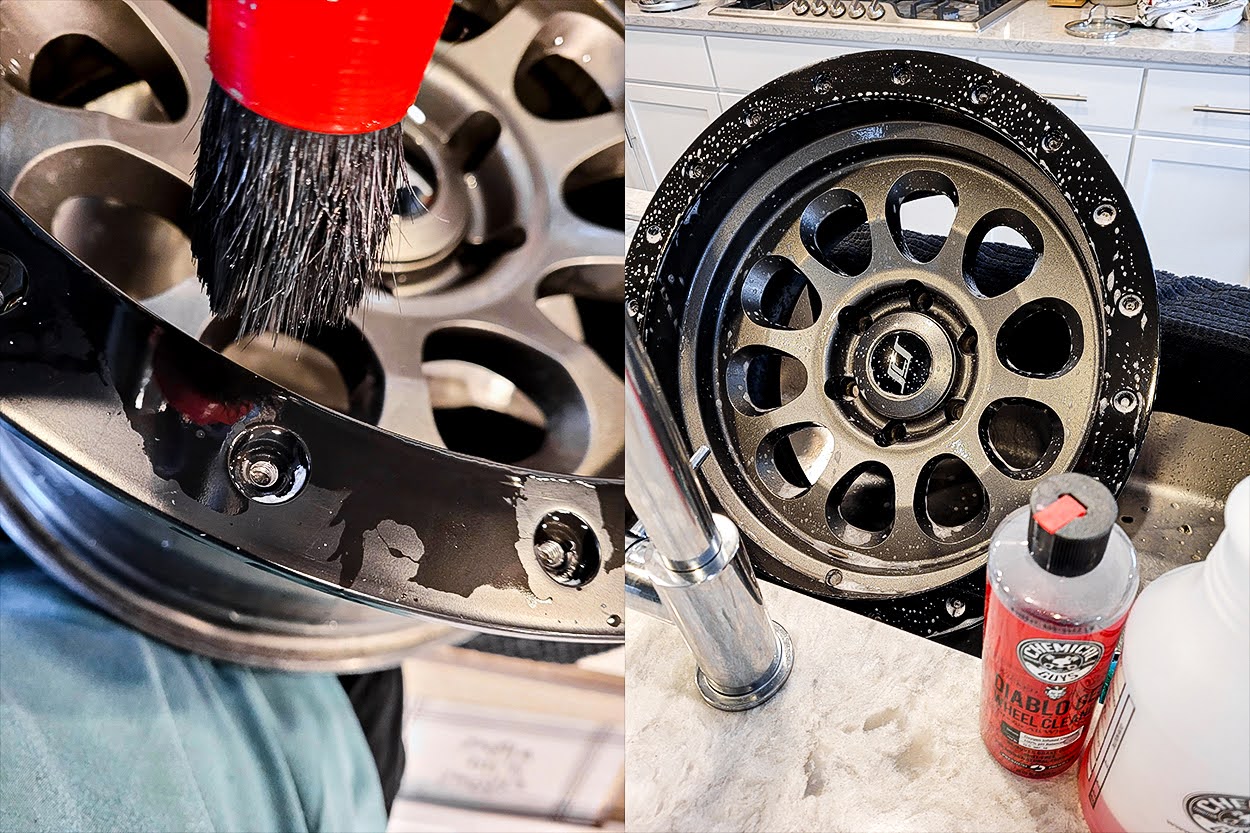
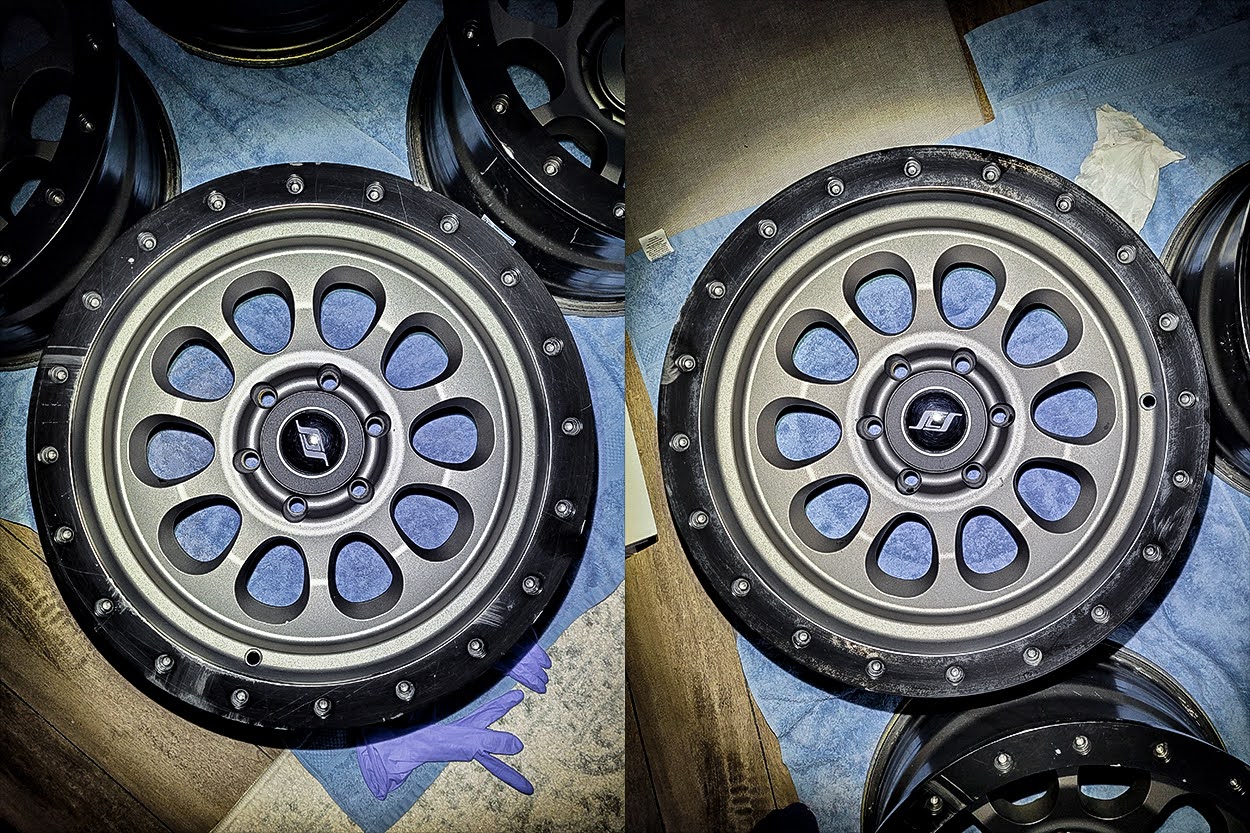
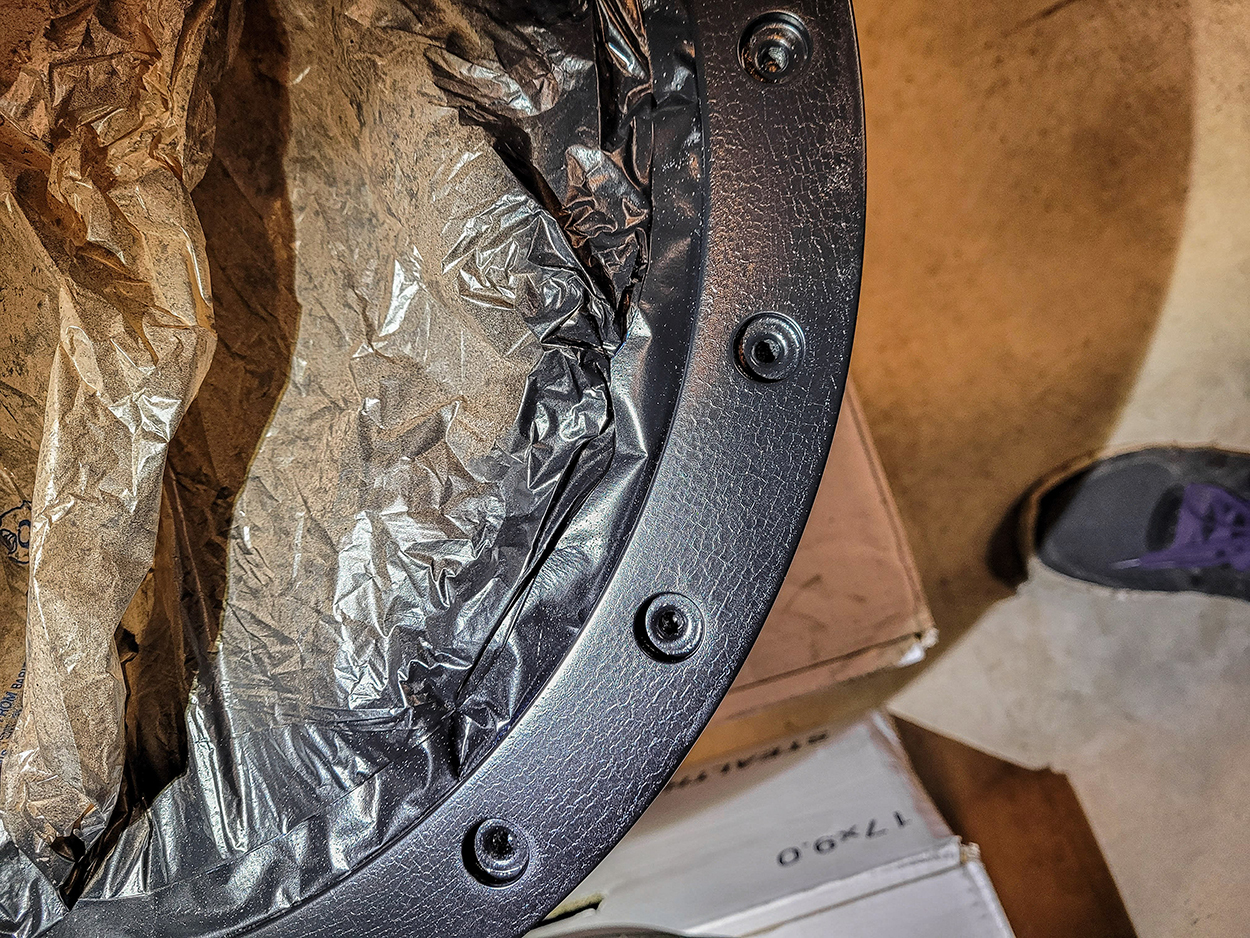
Once all the bolts were out, I thoroughly cleaned the wheels to see how much cosmetic damage they had. In the pictures above, you’ll see that they had some mild trail rash from things like tree stumps, but nothing major from boulders or the like.
Step 2. Repairing Trail Rash
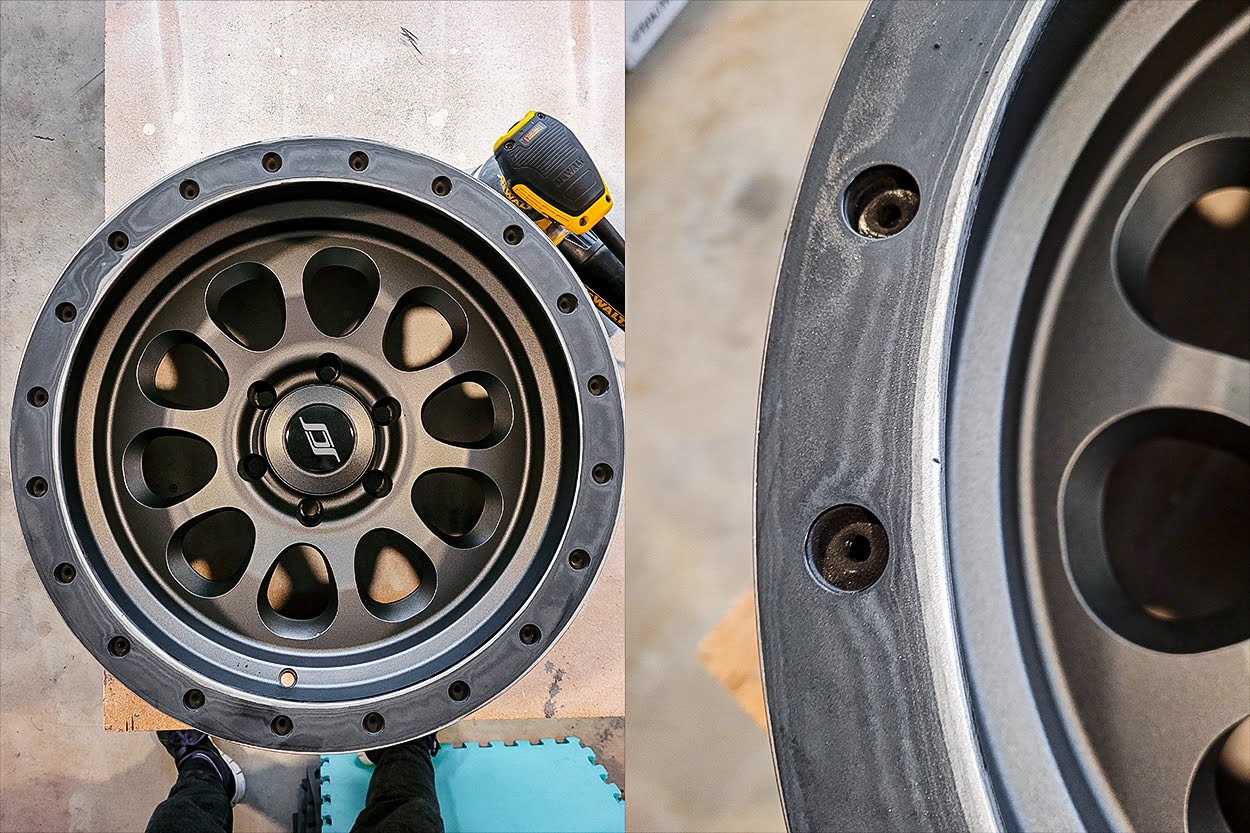
This next part is the scary part, be sure to wear safety glasses and a mask as there will be micro specks of paint and metal coming off the wheels. I would recommend doing this in the garage or another area protected from the elements, but not in your direct living quarters. Using a palm sander and 220-grit sandpaper to start, gently start to etch away at the outer ring of the wheels. This won’t take much pressure, and you’ll see the semi-gloss factory finish turn dull grey. Try to maintain even pressure and keep your palm sander flat.
Once you have sanded down the semi-gloss coat, you can either continue to use 220-grit or move to a more aggressive 120-grit to start knocking away the more noticeable dings and scrapes. Once those have been sanded away to your satisfaction, use 220-grit sandpaper in a sweeping motion to even it out with the rest of the wheel lip. If you have more severe trail rash that can’t be removed with sanding, you may want to consider using some metal-reinforced Bondo to fill in the gouges and sand over once it’s dry.
Step 3. New Paint

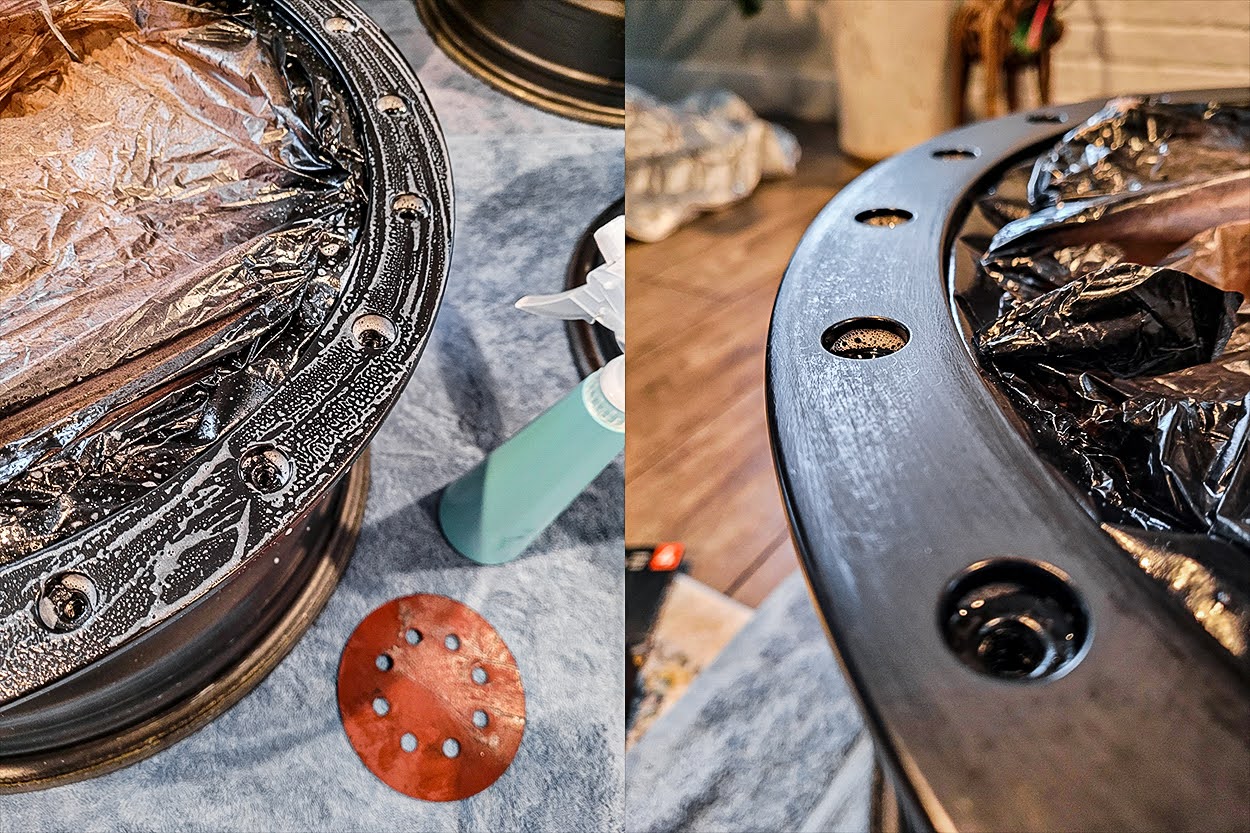
After all the sanding is done, use tack cloths and a shop vac to clean up the sanding debris from the wheel surfaces, then prep for paint. Once all the paint surfaces were clean, I used painter’s masking tape and plastic grocery bags to mask off the main part of the wheel that I did not want to get spray paint on.

As you start painting, you’ll want to do light, even coats in a sweeping motion, slowly working your way around the wheel. I used a satin black paint + primer from Krylon and went through about 2 cans to give each wheel around 5 coats. I found that using a spray paint can trigger worked wonders in keeping the coats even and controlled. After finishing the paint, make sure the wheels have a place to dry that is preferably climate-controlled, as temperatures that are too cold will result in prolonged drying times, and too warm or humid will result in paint cracking.
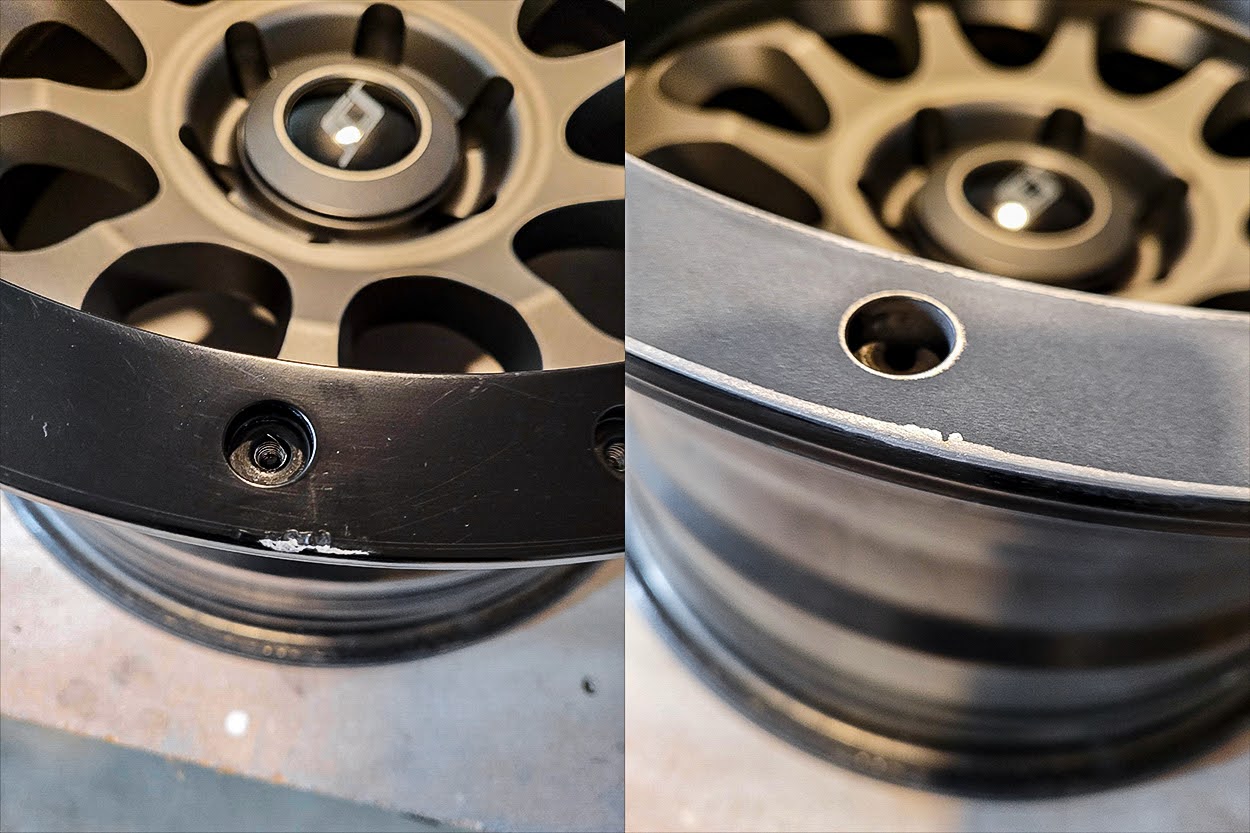
Pro-Tip: Pay VERY close attention to the specific additional coat/dry times of the paint you choose. I did not, and this led me to messing up the paint finish, which resulted in me having to redo this entire process again! Against my better judgment, here are a few pics of shame from my mistake.
Step 4. Finishing Steps
Once all your wheels have been painted and allowed ample time to dry, I found it useful to make a make-shift Lazy Susan to ensure I could smooth out the paint as evenly as possible. At this point, you’ll no longer want to use an electric palm sander and do this step manually. With some 320-grit sandpaper and mild soapy water for lubrication, run it along the flat portion of the lip as evenly as possible, then slowly move to the inner and outer edges. Repeat this process until there are high spots in the paint, then again a few more times with the 600-grit sandpaper. This should leave your paint finish feeling pretty smooth.
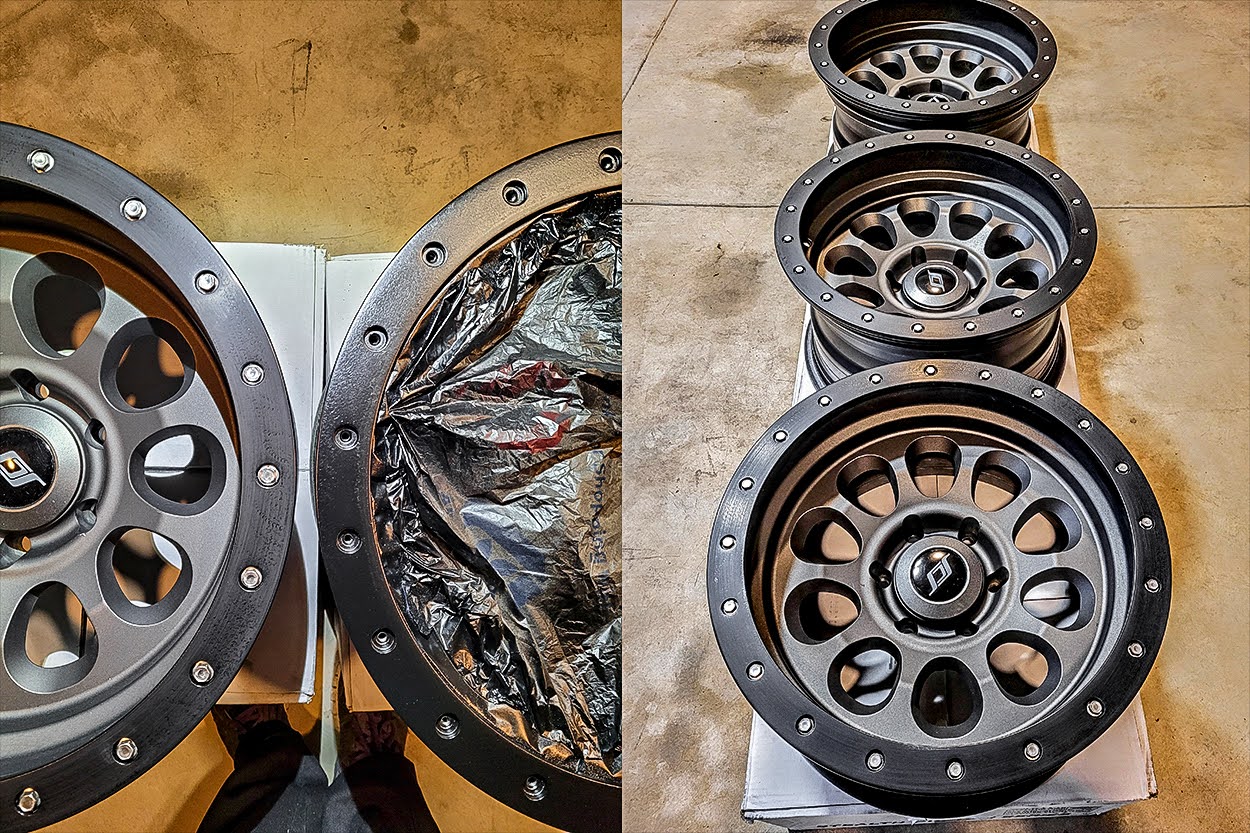
This next step is optional, but since I went through all this work, I wanted to make my wheels a little more unique and give them a brushed-metal-like finish. To do this, I just repeated the final sanding steps with 0000 steel wool (sounds scarier than it is) until the desired effect was achieved.
As a final (and another optional) finishing step to help protect this fresh coat of paint, I applied a generous amount of carnauba wax and buffed it in for some UV protection.
Final Thoughts

My friend also tracked down some black plastic bolts (seller unfortunately no longer exists) to replace the metal chrome ones – this was an unplanned part of the wheel restoration project. Still, I think it actually worked out better for my whole “unique” goal.

Overall, I learned a lot from this project. Could I have done a better job? Sure. However, I’m still very pleased with the outcome, despite some sanding imperfections still visible. Now that these wheels have a fresh start on my rig, what are your thoughts? Leave any future trail rash alone, as a badge of honor, or touch them up every now and then to restore some of their original glory?
Thanks for taking the time to read, and I hope to see your SCS wheels out in the wild!
Thanks for the write up and step by step! Def gonna try this!
No prob! Let me know how it turns out! I’ve already got a bunch of new rock rash, but at least this time, it’s mine LOL