
Prinsu Design Studios Ridgeline Handles For the 5th Gen 4Runner – Full Review and Install
After having my roof rack for a few months, I realized what a pain it was to try and find good places to grab onto. My Prinsu Rack certainly had more handholds than the factory roof rails, but no great spots to hold. That’s why Prinsu designed their new Ridgeline Handles. These handles screw into place so you can mount them to any roof rack, but they are designed to fit perfectly for a Prinsu Roof Rack. If you are not into the CNC look and want something different, you should look at the Agency6 billet grab handles.
Made of 1/8″ aluminum, these handles can handle just about anything (see what I did there). They come in a variety of powder coat options, from black to blue to orange, the choice is yours. So these are not only great for safety and accessibility, but they can also add to the aesthetic of your build.
These handles come with all the necessary mounting hardware and are under 1 lb per handle. What’s not to like?
Find It Online:
- Prinsu 4Runner Roof Racks: Check Price
- Prinsu Ridgeline Handles: Check Price
- Prinsu Summit Handles: Check Price
Other Prinsu Accessories
- Awning Quick Release Bracket: Check Price
- RotoPax Dual Mount: Check Price
- 4Runner Ladder: Check Price
- Shop all Prinsu Accessories: Check Price
Prinsu Ridgeline Handles Review & Install
What’s In The Box

The handles come neatly wrapped in plastic with lots of cushioning to ensure a safe arrival without any damage. The bolts and washers for the handle are in the box as well.
The handles are extremely low profile, Prinsu has meticulously designed these handles to create absolutely no wind noise on the road. After a few weeks, I can confirm that there isn’t a peep from these handles.
If you have ever had a Prinsu product or know someone who has, then you know that these handles have been very well thought-out and will last a lifetime. All of Prinsu products are made in the US (another bonus).
Lighting
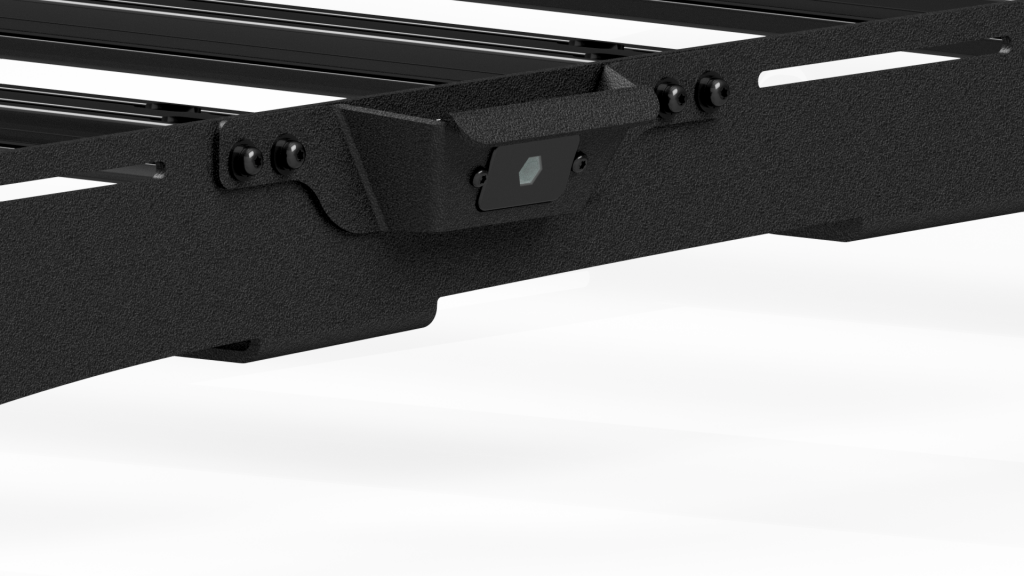
These handles are also mounting brackets as well. In the center of each handle, there is a removable logo plate that can be replaced by a Baja Designs Rock Light. If you wanted scene lighting for your roof rack but didn’t want bulky pods, this is perfect.
UpTop Overland is the only company with a remotely similar product with their Scene Pods, but those are only for UpTop Racks and not handlebars. All this to say that the Ridgeline handles are a super unique and functional product unlike anything on the market.
I have not purchased the Baja Rock Lights for my handles yet, but it is certainly an awesome feature that is included with the product.
Do You Really Need Grab Handles?

CNC Roof Racks, like the Prinsu Rack I have, are thin with sharp side rails. By adding grab handles to your rack, you will have a much more comfortable way to reach the top of your roof rack. Grab handles make it a lot easier to hold on while getting your gear off the top of your rack.
I have noticed just how helpful it is to have these handles when I’m washing my car. When my hands are wet and soapy and I’m trying to hold brushes and hoses, I don’t want to be leaving my safety to chance. The handles make it so much easier to climb up and stay up while I’m cleaning my 4Runner.
If you have lots of storage boxes, skis, kayaks, water packs, fuel packs, anything that’s causing you to be reaching up on your roof rack often. Having handles is a necessity, even more so if you’re alone in the wilderness where a fall could turn into an extremely dangerous situation.
Install
The install couldn’t be more simple; it took me less than 15 minutes. I mounted my handles into the cross rail holes on my Prinsu Rack. If you have a different rack or want to mount the handles in a different location, you may want to look at Brenan’s article here, where he drills his own holes for the handles he used.
Tools Required for Install
- Power Drill
- Screwdriver
- Towel
Step 1. Unscrew Cross Rails

Using your power drill, remove the screws holding two of your cross beams together. Only do this on one side of the rack because you don’t want the cross rail to detach completely.

Place a towel under the cross beams because, once you unscrew the cross rail, it will fall and could scratch the roof of your 4Runner.
Step 2. Assemble Handle

This step can be done at any point in the install but I found it easier to do before the handle was attached to the rack. Just screw the logo plate onto the handle using the provided hardware from Prinsu. If you were adding Baja Designs Rock Lights, I would do that here as well.
Step 3. Mount Ridgeline Handle

I would suggest having two people for this part of the install because it’s a little tricky, but I did it by myself. It’s difficult because you have to screw the handle into the cross rail, but the cross rail is loose. I put two screws on the side of the handle I wasn’t screwing in and slid them into the cross rail slots. This got the handle aligned in the right location so that I could use one hand to hold the cross rail in place while I used the other to hand tighten the screws.
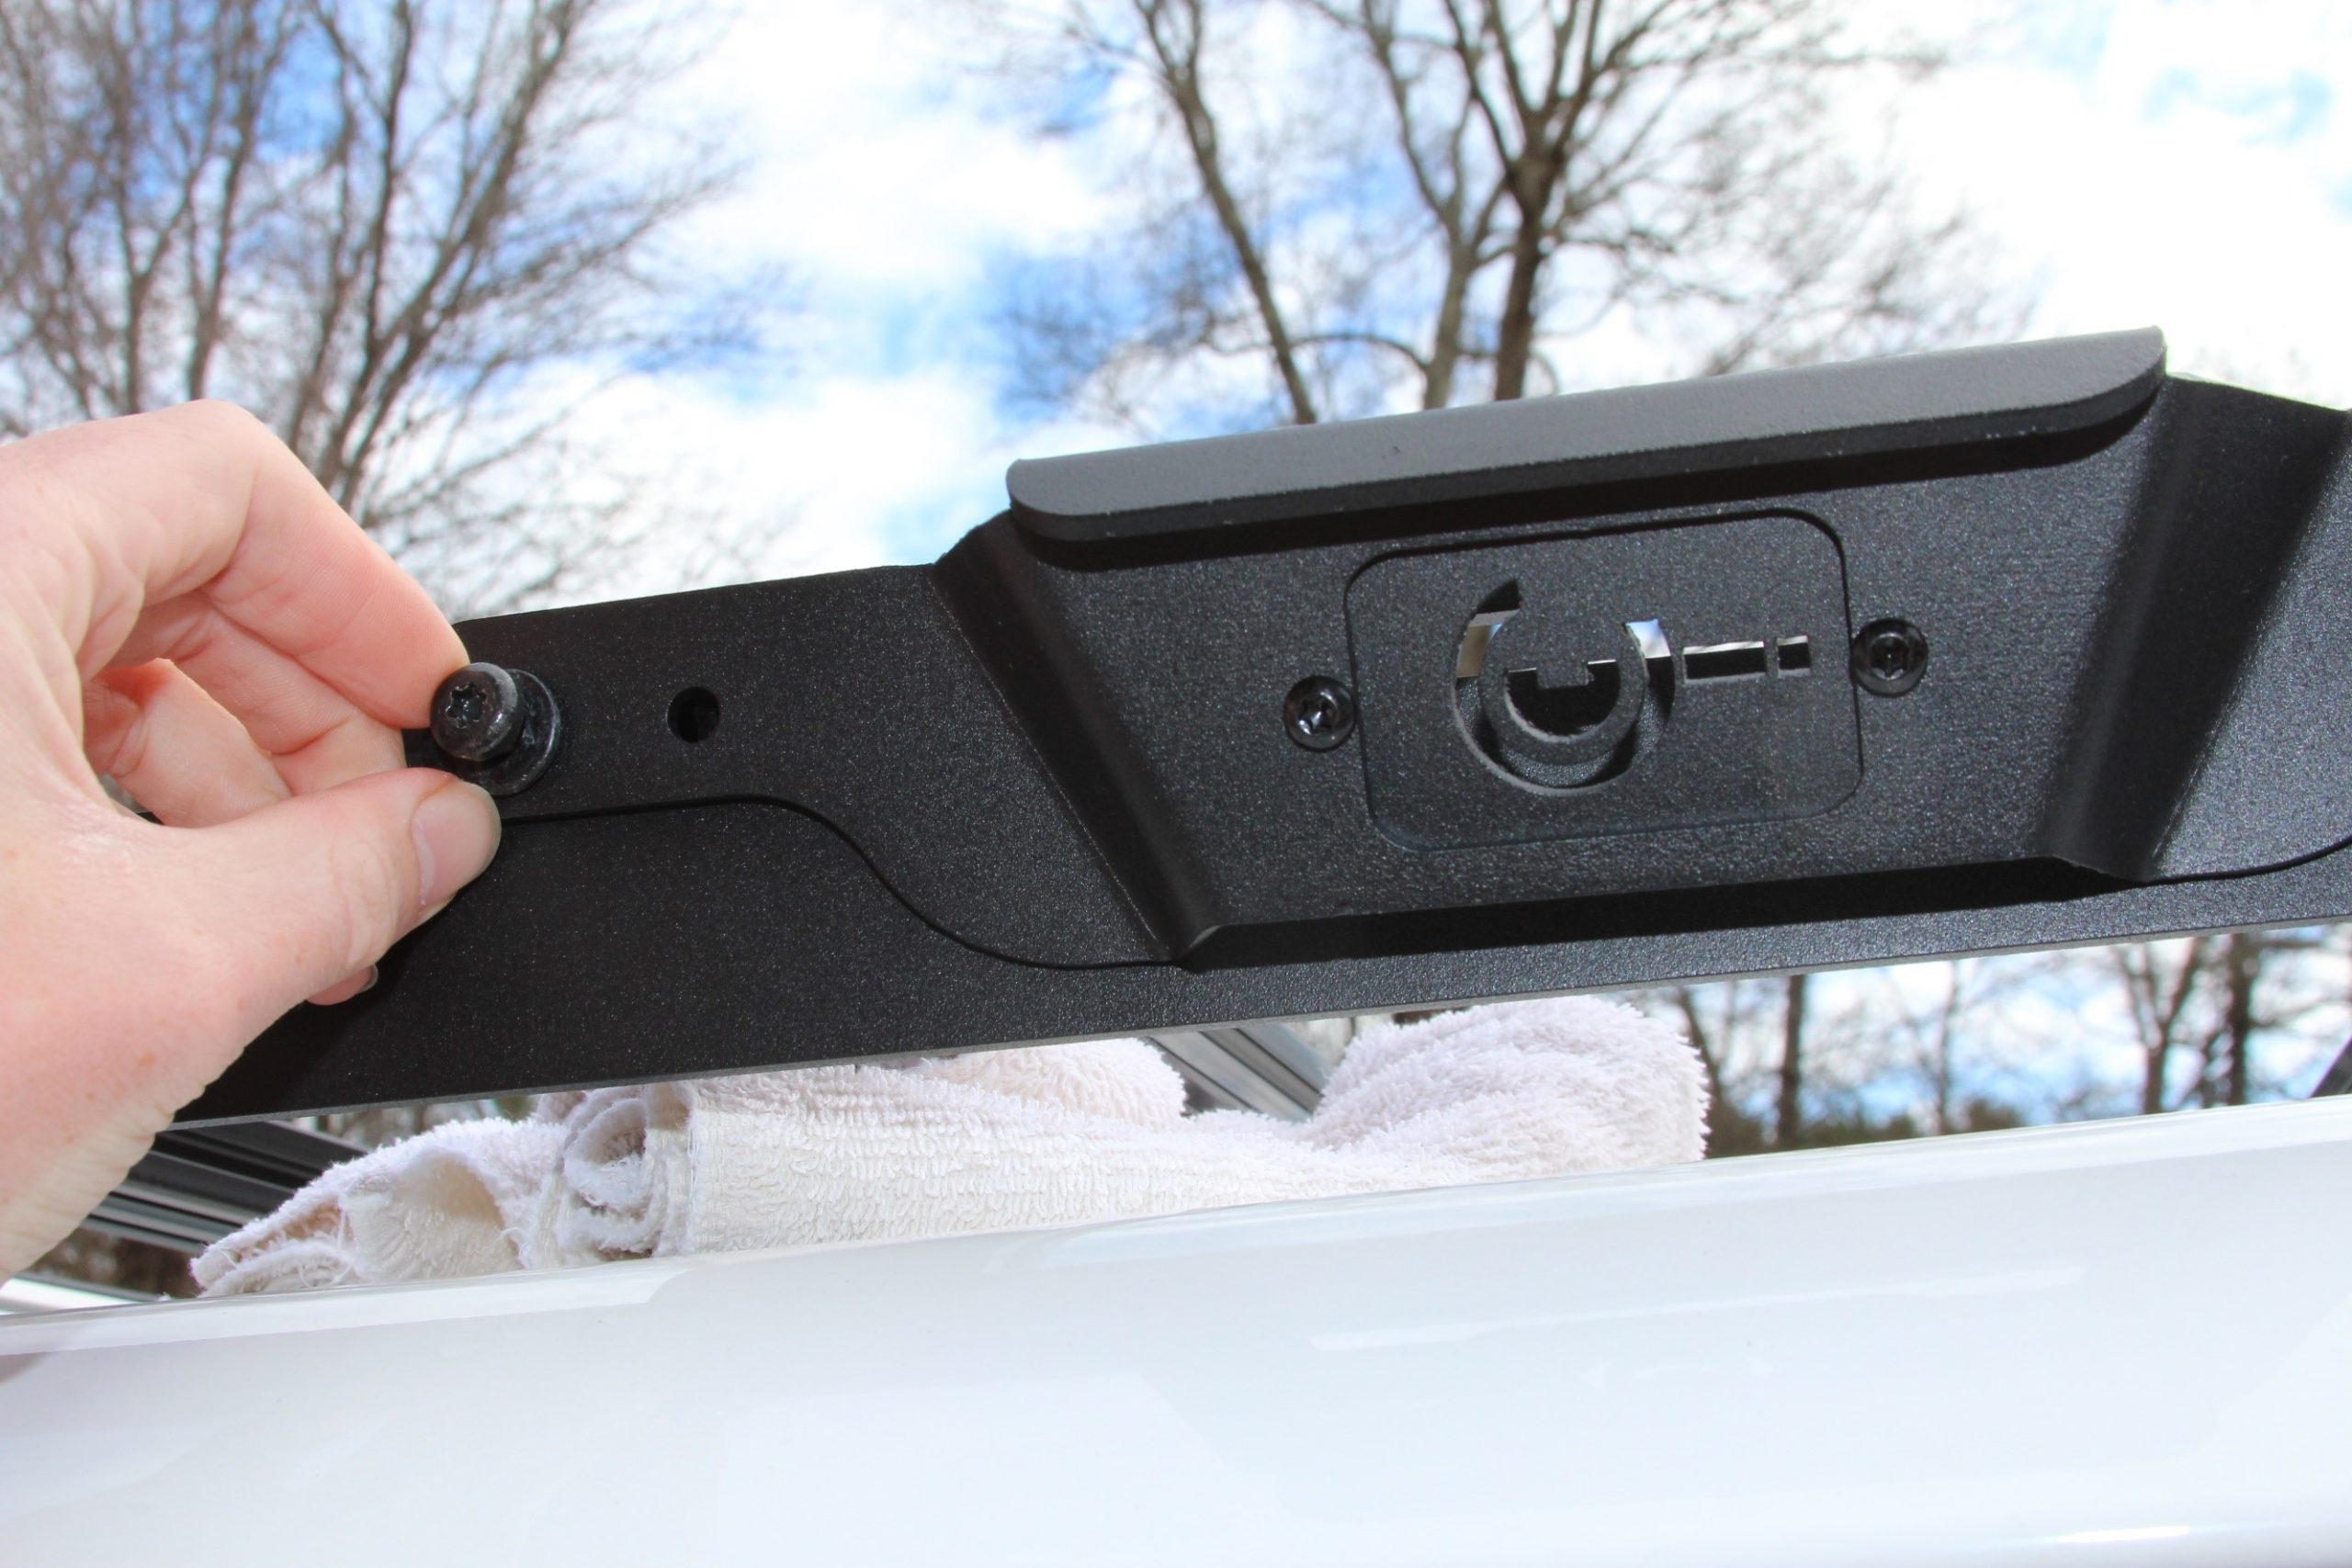
Hand-tighten the screws; this helps prevent stripping and makes sure the alignment is correct. Then move to the other side of the handle, line up the cross rail, and hand-tighten the screws.
Step 4. Tighten Screws

Using your power drill, tighten down all of the screws completely. You might want to torque down the screws as well. Once all these steps are completed, follow steps 1-3 for the other handle on the opposite side of the rack. Test the handles to make sure they are secure, and you’re finished!
Final Thoughts

Right now, I only have one pair of handles, but in the future, I might get a second set and add Baja Rock Lights. The only downside to that is cost, for four handles it’s about $160 and to add the rock lights it’s another $200+.
I think these handles are totally worth it—the premium quality and ingenuity of these handles are worth the cost. With all the color options and possible uses of these handles, it’s hard to find a competitor for these handles. The rock light mounts are super functional and a great addition to an already great product.
While I’ve only had the Ridgeline Handles for a few months now, I can still say that they are extremely durable and look the same as the day I took them out of the box.
Would like to add these to my Front Runner SlimSport rack but can’t seem to find the bolt hole to bolt hole width, as I’d like to add these without drilling custom holes if possible. (I know Agency6 holes are 7.25″ center to center). Does anyone know the measurements, it would be greatly appreciated. Thanks.
Great write up! Have you noticed any added wind noise with the handles being on?