
Cali Raised LED OEM Style Accessory Switch – How to Wire, and How to Install on the 5th Gen 4Runner
Most lighting products on the market come with wiring harnesses included. This makes it easier for the installer to have a smooth install with fewer bumps in the road. I greatly appreciate having all of the necessary components because it’s a real hassle to source your own parts. However, almost all of these harnesses come with ugly red toggle switches that look terrible.
Cali Raised LED is best known for its high quality, yet affordable lighting products and brackets, but they also make OEM Switches. OEM stands for original equipment manufacturers, basically, Cali Raised designs these switches to match the look of switches you would buy straight from Toyota. The switches are low profile and fit right into factory push switch locations inside the vehicle. There are many other options on the market as well including AOB and Mictuning on Amazon. I will link them below. Regardless of which switch you choose, wiring a factory-style switch on the 4Runner remains consistent.
Find Them Online
- Cali Raised OEM Style Switch: Check Price
- Mictuning OEM Style Switch: Check Price
- AOB Switches: Check Price
Cali Raised LED OEM Switches
Why Cali Raised?

Cali Raised LED is a well-known, reputable company with plenty of positive reviews to back up its products. They are also an American company which I like, I didn’t want to buy some cheap switch off Amazon for $5 that would break or malfunction when ultimately it’s just $10 more for a Cali Raised Switch.
You can also buy butt connectors with the switch from Cali Raised, which you’ll need to replace the switches. Just another way Cali Raised goes above and beyond the competition.
The Switch Itself
The switch looks great, it isn’t bulky it just has a simple, low-profile design. It has a blue back-light, making it super easy to locate at night. There isn’t a whole lot to say, it is just a switch, but it looks very clean and is exactly what I wanted.
Install
The install is incredibly simple and should take less than 15 minutes. All you have to do is cut off the old switch and attach the new one with connectors. If you’d like to see an install video, I suggest you watch this one by TRD Jon.
The switch I installed was for footwell lights from Diode Dynamics. I already had the blank switch removed and had the toggle switch in my desired location. If you are performing this install while simultaneously installing a lighting product, you’ll have to remove a blank switch in order to place the Cali Raised switch.
Tools & Materials Needed For Install
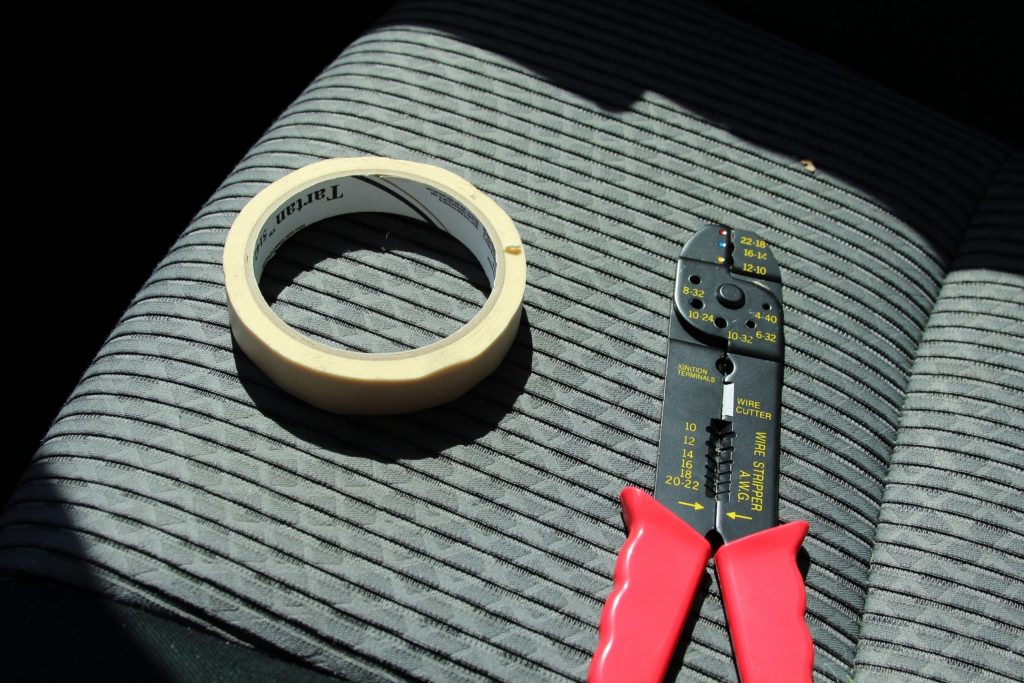
Including but not limited to:
- Klien Tools Crimps
- IRWIN Wire Cutter
- Channellock Pliers
- Heat Gun
- Surgical Scissors (great for cutting wire sleeve)
- Utility Knife – Razor Blade
- Alligator Clips for testing connections
- Masking Tape
- Zip-Ties
- 10-22 AWG ring terminals
- 10-22 AWG connectors
- 10-22 AWG wire
- #8 and #10 nuts and bolts from Home Depot
- Universal heat shrink
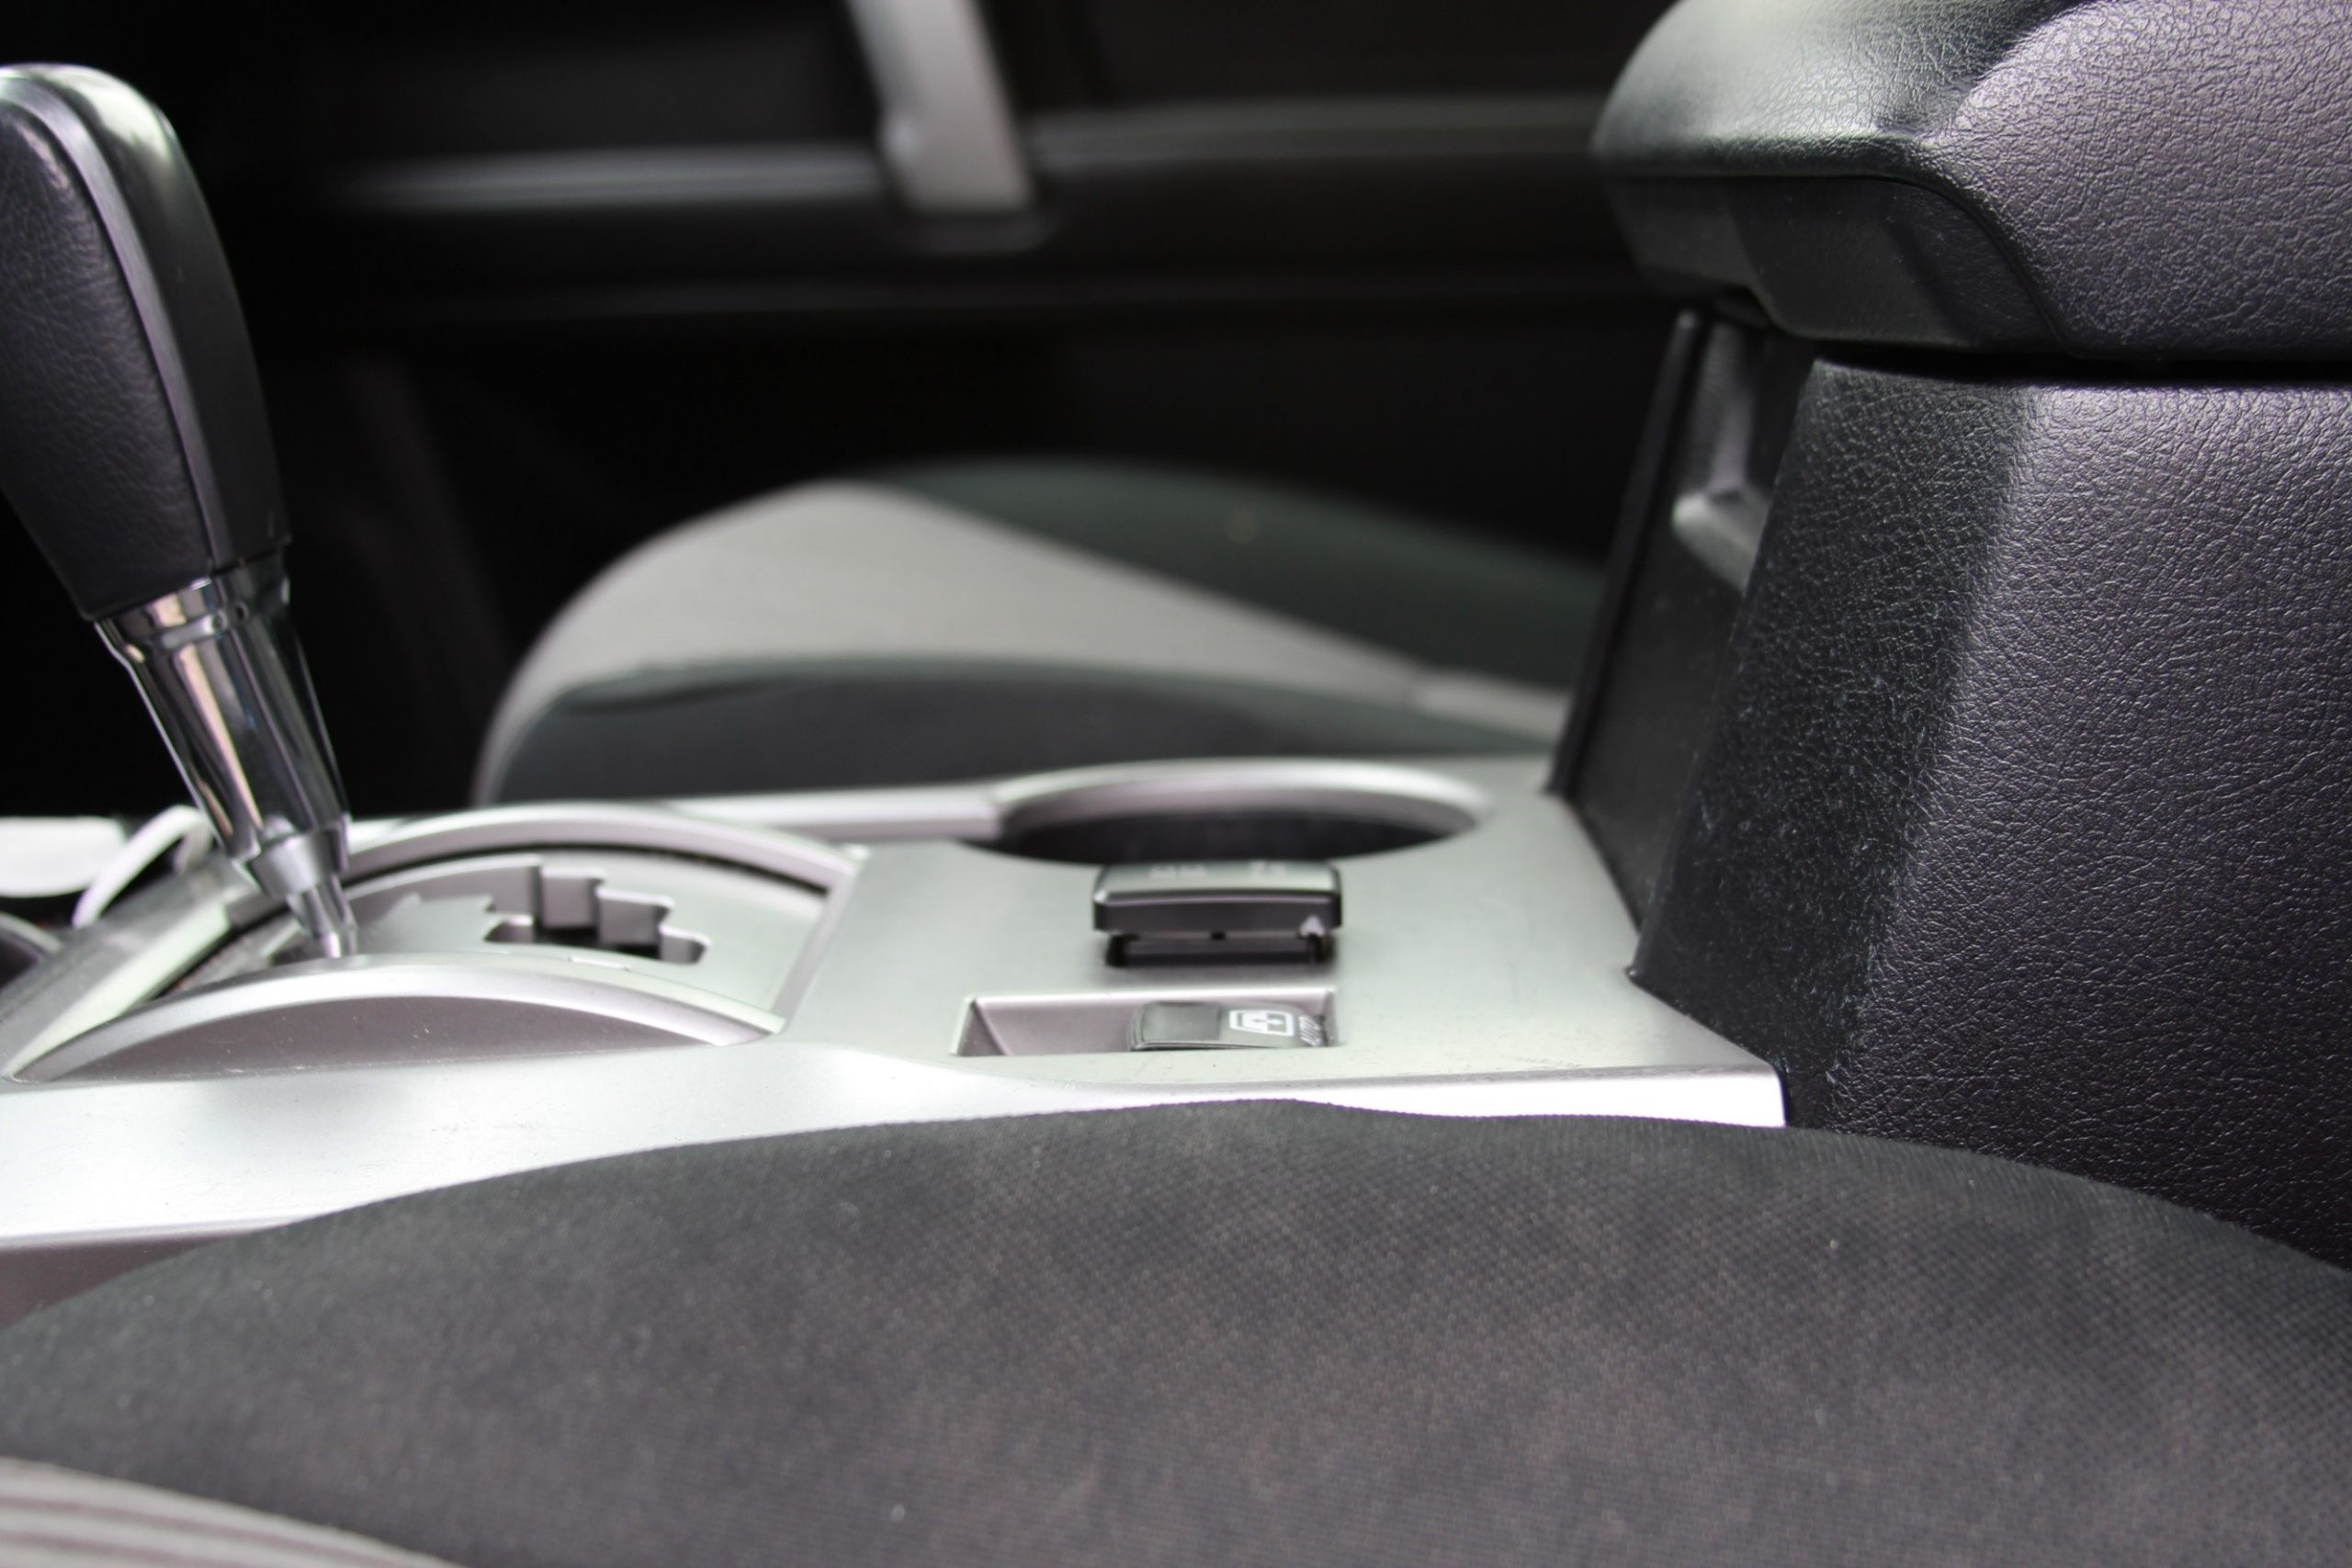
Step 1. Tape Wires

I installed this switch on my center console. I did not want the wires to fall into the console because it would have been a pain to detach the console to retrieve the wires. So, I taped the wires down to prevent them from moving.
Step 2. Cut Wires

Take your wire cutter and cut all of the wires connecting your toggle switch. I suggest pulling the wires out so you have room to work.
Step 3. Strip Wires

There are four wires that come off the Cali Raised switch; strip all of them. I would say 1/4″ is plenty, also strip the wires from your accessory after you’ve cut off the toggle switch.
Step 4. Crimp Wires

This is the wiring diagram provided by Cali Raised. The black wire from the switch goes to the ground wire, the Red 1 Wire goes to the positive wire, and the green wire goes to your fuse wire. I did not use the Red 2 wire.

Slowly place the black wire from the switch inside one of the butt connectors and crimp the butt connector down; give the wire a light tug to make sure the connection is secure. Then take your ground wire and put it into the other end of the connector and crimp down. Also, give this wire a tug to ensure connection. Repeat this for the other wires, make sure that the correct wires are connecting to each other.
Step 5. Test Switch

First, turn on the ignition, and the blue backlight should come on. Then push the switch to turn it on, and your accessory should come on. If either of these things do not occur, you should go back and check your connections. It could be that you didn’t crimp the wires tight enough or that you mixed up the connections.
Step 6. Place Switch
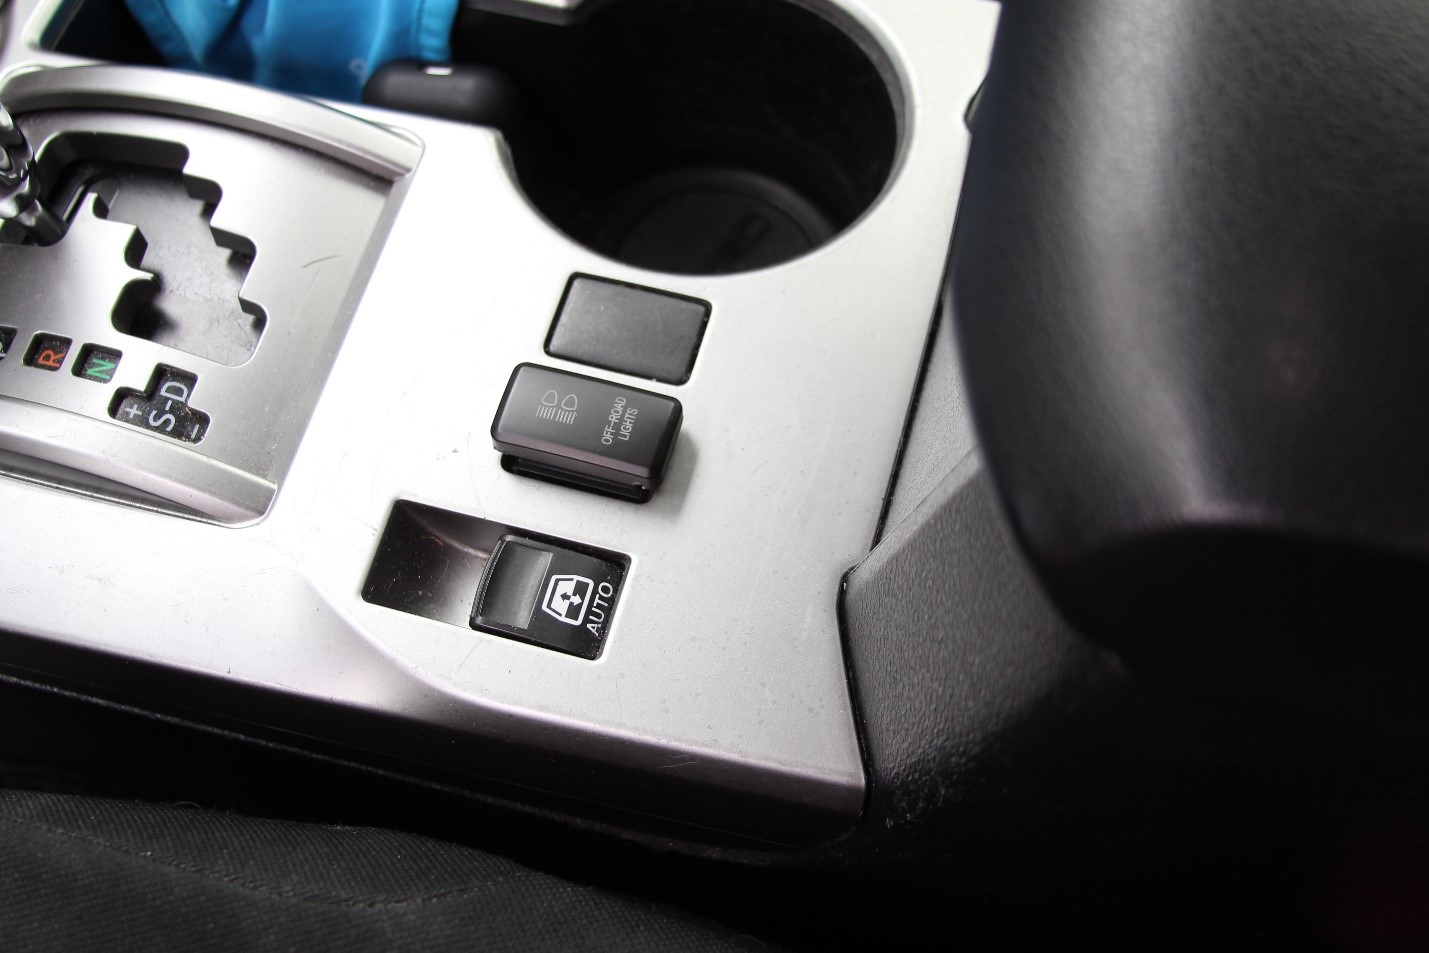
Now just push the switch into the hole where you removed the blank, it should just click into place. Now you’re done!
Disclaimer: The switch I used was a large switch. I was not aware of this when I bought it, so when I went to put the switch in the hole, it did not fit. The location I used needed a small switch. I realized that the clips that would typically click the switch into place were preventing the switch from fitting. So, I used a Dremel to cut them off. The fit is snug but if you push the switch down in the hole it fits just fine.
Final Thoughts

Overall I’m very pleased with this OEM Switch. I really like the blue backlight and so far I have had zero problems. It looks 10x better than the red toggle switch I had before. If I could change one thing I would have gotten the small switch that fits correctly, but there is no such thing as a perfect install. I highly recommend this switch to anyone interested.