Overland Depot Raptor Lights Install and Full Review – (Smoked Lens) White Raptor Light Kit For the 5th Gen 4Runner
Adding Raptor Lights to your 4Runner is an easy and inexpensive mod that looks great. It can be a great first mod for your 4Runner because it is a plug-and-play mod, meaning you can do it without any professional experience.
I recently purchased and installed my Raptor Lights from Overland Depot. I purchased them as a package deal with the TRD Pro Grille Replica. It takes about 30 minutes for each but the end results were definitely worth it.
I installed the grille about 2 months ago without any problems but, when I went to install the wiring harness for my lights, I realized I was sent the wrong one. I sent multiple emails but didn’t get a response, so I did some digging and got a phone number. They sent me the right parts and I installed the lights.
Sadly, they would not come on and I called Overland Depot back. They told me what to do to try and get the lights to come on but nothing worked. So they sent me an entirely new kit. Their customer service was extremely helpful and made sure I had a functional product.
Find it online
- White Raptor Light Kit from Overland Depot: (Discontinued – Link Broken)
- (Smoked Lens) White Raptor Light Kit from Amazon (SR5 Grille): Check Price
- (Smoked Lens) White Raptor Light Kit from Amazon (TRD PRO Grille): Check Price
- Universal (multiple options) 5th Gen Raptor Light Kit: Check Price
Step-By-Step Install of Overland Depot Raptor Lights
This install is specifically for the three-piece kit. A four-piece kit just clips into the grille whereas the three-piece kit screws in.
Tools & Materials
- 10 mm Wrench
- Crimping Tool
- Flashlight (any light to see the fuse box and wiring will do)
- Tape (masking tape works just fine)
Let’s get started!
Step 1. Remove Radiator Cover
 First, pop the hood of your car and remove the radiator cover.
To remove the radiator cover, you have to take off the plastic tabs holding the radiator cover down. Some installs use flat head screwdrivers to remove these, but the easiest way to take them out is to press down on the middle of each tab and then pull them out.
Once all of the plastic tabs have been removed, take the radiator cover off and set it to the side. Make sure to keep track of all of the removed pieces so that they can be put back later.
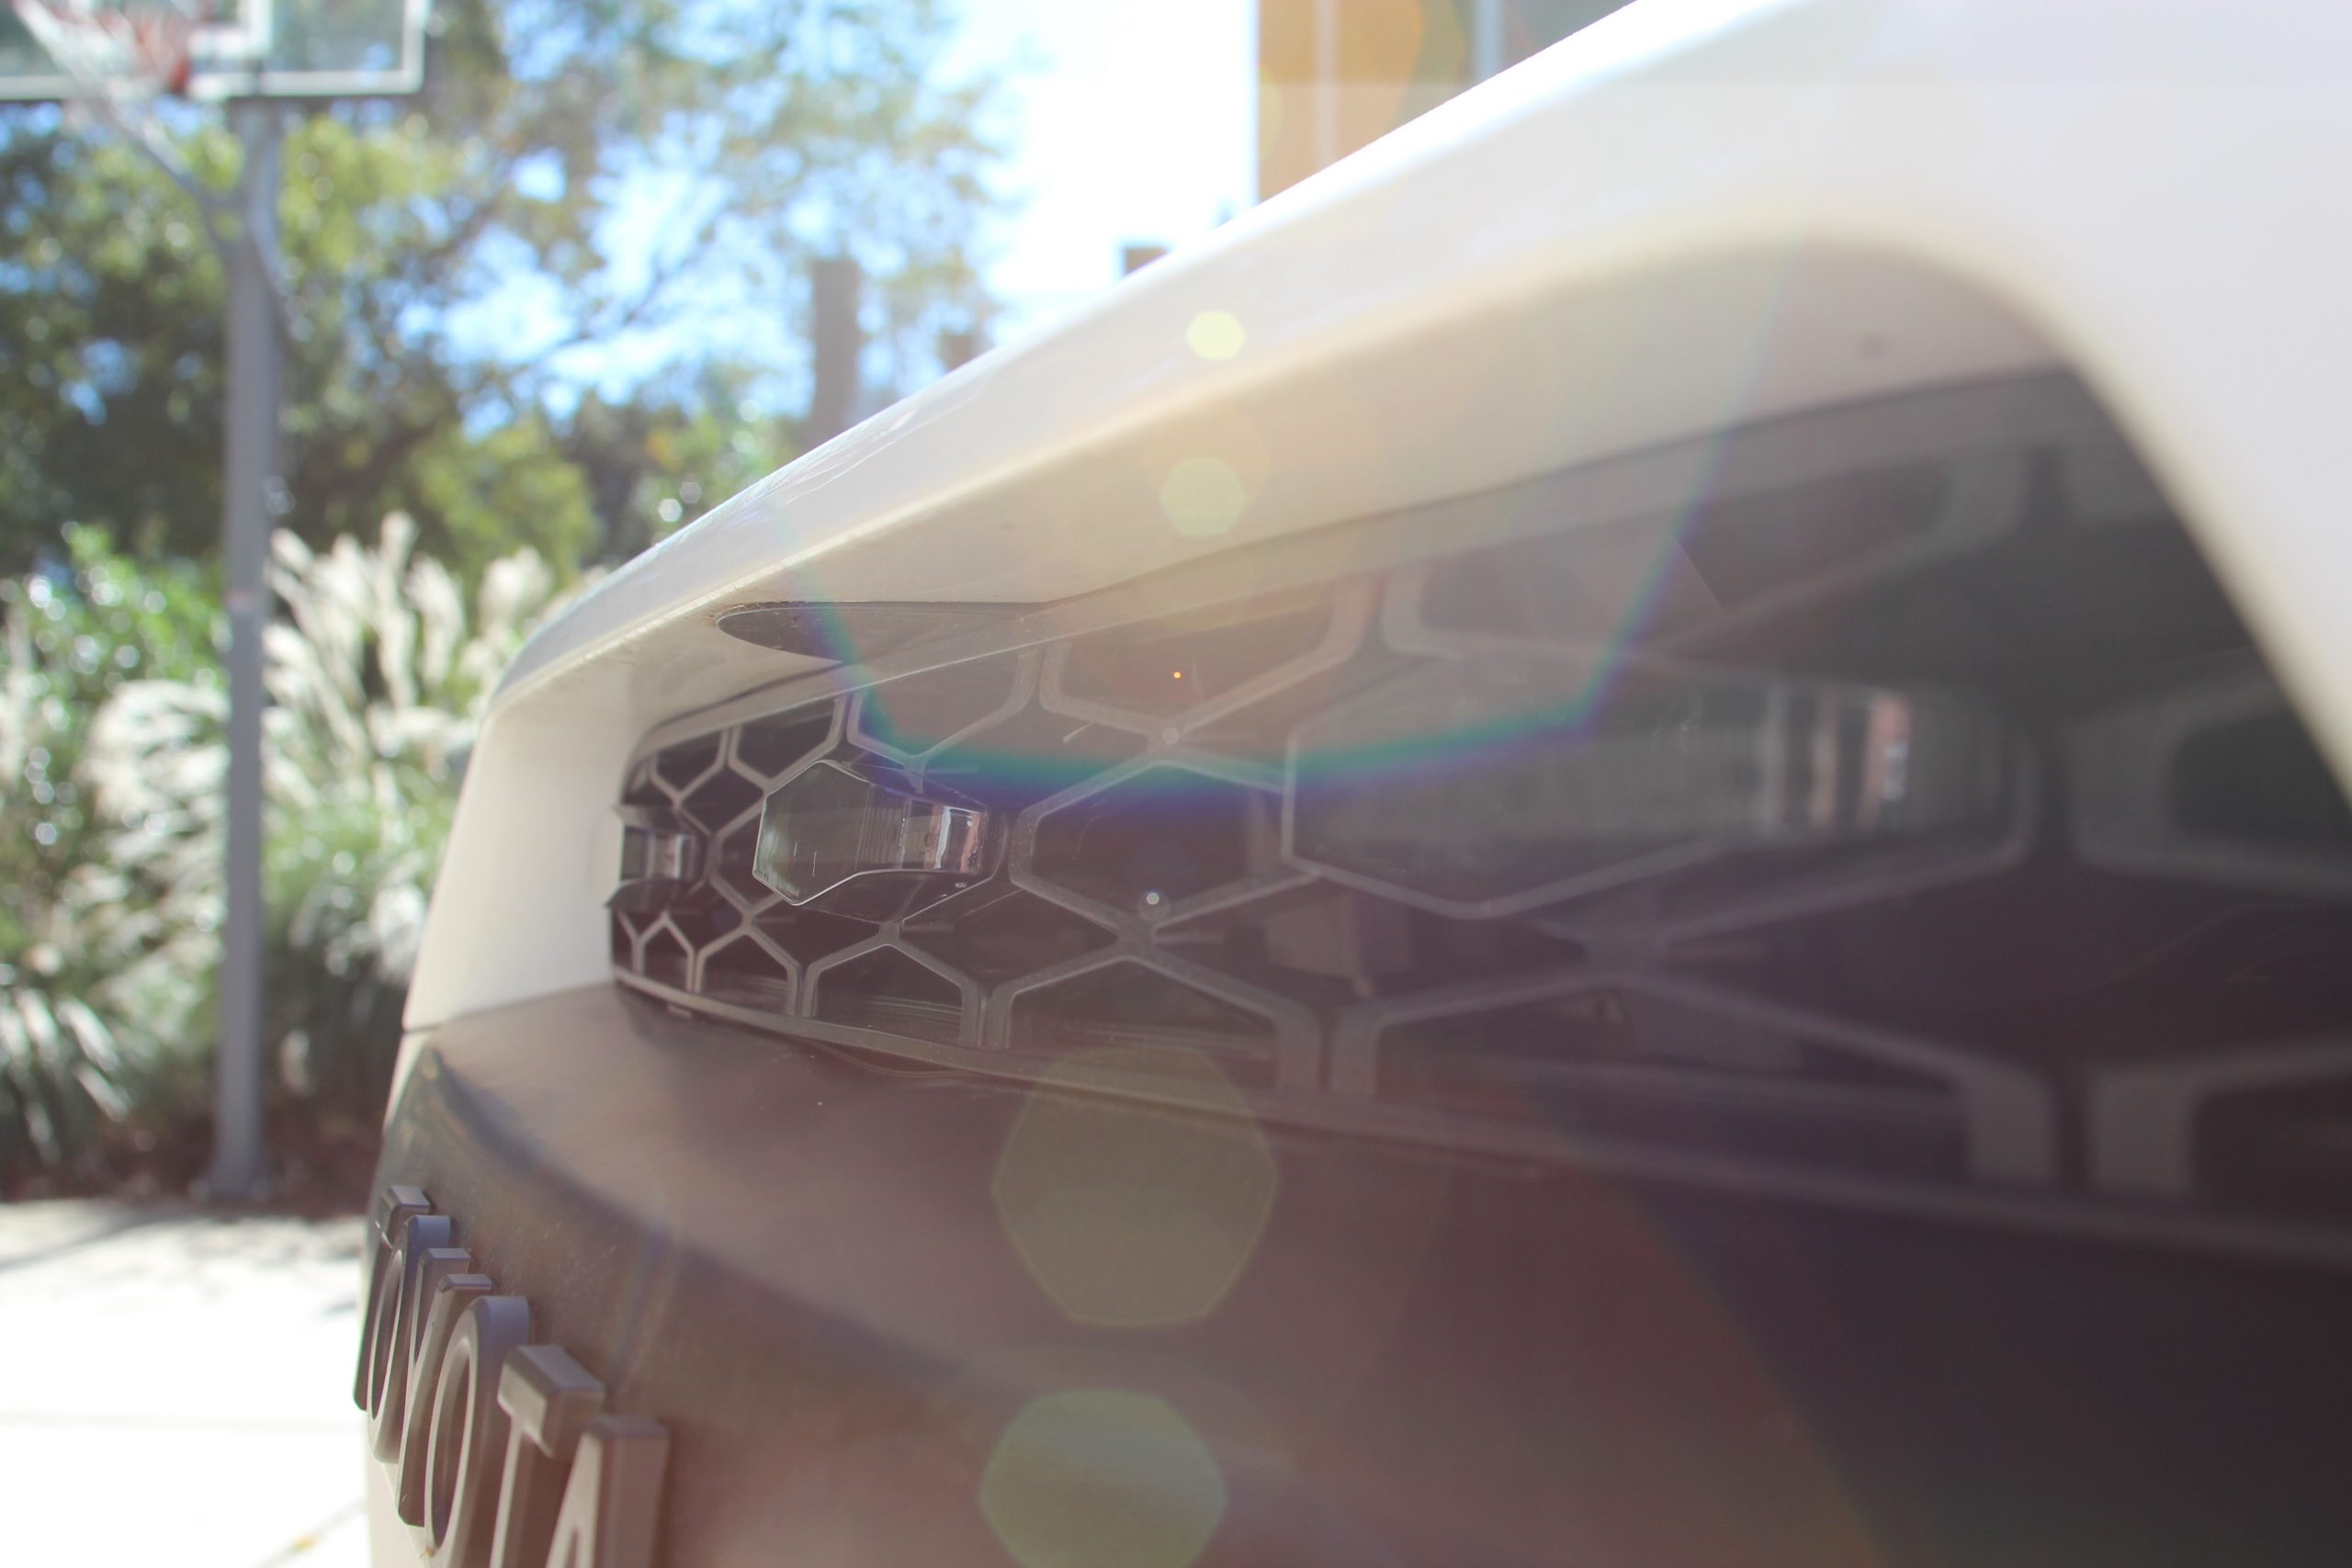
Step 2. Attach Raptor Lights On Grille
 The next step is to place the raptor lights on the grille.
To position the lights, you’ll need to pull the wiring through one of the diamond-shaped holes in the grille. Then maneuver the plastic backing piece through the hole so that it is on the inside of the grille. After that, screw the backing onto the lights at the designated holes. Repeat these steps for each of the lights.
Step 3. Clip Wiring Harness To Lights

Clip the wiring harness to the lights. It doesn’t matter what order you clip the lights in and it doesn’t matter which clip goes with which.
However, the harness should go under the center bracket that attaches the grille to the car. If the harness is on top of the bracket, it will be crushed when the hood is shut, potentially causing damage to the harness.
Step 4. Run Wiring Harness Towards Fuse Box

Take the wiring harness and run it towards the fuse box. The fuse box is located below the steering wheel on the driver’s side of the car. The easiest way to run the wiring is to follow the edge of the engine bay, going around the battery. The next step will show how to reach the fuse box.
Step 5. Tape (+) and (-) Wire Ends

Any tape will do. It just makes it easier to feed the wire to the fuse box.
Step 6. Feed the Wiring

Remove the plastic tab located on the driver’s side at the back of the engine bay. In some 4Runners the tab is clearly visible but in my 4Runner there is a part of the engine halfway blocking my view of the tab. This tab can be popped off easily just with hands.
Once the tab has been removed, tape the positive (red) and negative (black) end of the wire together and begin feeding the wiring through the hole. Feed the wire down a few feet and it should pop out near the pedals. This usually takes a few tries but if the wiring is fed down far enough into the hole it should pop out. When it pops out pull it through until you have a few inches of the wiring to work with.
Step 7. Insert Wire Into Ring Terminal & Clamp Down Where Wires Meet

Take the tape off of the wiring. Remove the wiring covers on both the black and red wires. Take the black wire’s now exposed copper end and twist it. Next, insert that wire into the ring terminal. The wire should be pushed into the terminal until the wire is inside the metal part of the terminal. Then, take your crimping tool and clamp down where the terminal and wire meet. When the terminal has been crimped onto the wire give the connection a gentle tug to make sure the wire won’t fall out and that the connection actually exists. Set the black wire and terminal to the side once they have been crimped together.
Next, take the red wire and its exposed copper end and twist it around.
Then insert the wire into the fuse box connector, pushing it into the connector until the wire is inside the metal part of the connector.
Then take your crimping tool and clamp down where the connector and wire meet. When the two have been crimped together give them a gentle tog to ensure that the connection is strong.
Step 8. Unscrew 10mm Bolt From Fuse Box

The fuse box for this install is located on the drive side footwell. It looks like a rectangular white box with the cover on. Take your 10mm wrench and unscrew the 10mm bolt from the fuse box. Next, put the bolt through the terminal ring connector. Screw the bolt back into position until tight.
Step 9. Remove Cover From Fuse Box

Take the cover off of the fuse box. The cover is only attached by a few small clips so it should come off very easily. The fuse box connector has two-prong like metal pieces on the end. If you were sitting in the drivers seat this fuse would be on the right side of the fuse box and closer to you. There will be a set of fuses that go, “10, 10, blank, 10,” in that order, from closest to you to furthest from you. You will insert the two prongs straight up into the fuse.
Step 10. Pull Wiring Back Through The Engine Bay

Pull the wiring harness back through the hole in the engine bay until taught. This will prevent the wiring from getting caught in the pedals.
Using zip ties, tighten up any loose wires to prevent movement and get rid of clutter. I also zip-tied the excess harnessing around the grille so that it wouldn’t be visible from the outside.
Step 11. Turn On Ignition & Test Lights

Now turn the ignition on and the lights should come on!
If they do not, re-work all the steps to ensure that the installation was done properly. Supposing the lights still don’t work, contact your supplier for replacement parts or further advice.
Final Thoughts

I have had my lights installed for about a week now and couldn’t be happier.
They look great and give my 4Runner a distinct look. Installing the Raptor Lights was a fun way for me to start adding mods to my 4Runner and it was inexpensive too.
I have a 2020 TRD ORP.. what fuse slot did you put them into? I was told the TAIL position but I dont want to have to have my low beams on which makes my entertainment cluster dark every time I want the raptor lights on..
This guide is out of date for 2022 TRD Pro, the fuse location you’re recommending here results in the lights never turn off – Toyota had to change the end connecter and put it in the lower cig lighter fuse in the same spot to get it to work properly 🤷🏻♂️
LOVE THEM THOUGH!