
All-New Headlight Assemblies With Built-In LED Low Beams, Black Housings & LED DRLs for the 5th Gen 4Runner
Unique Style Racing recently sent me their all-new DEPO LED Headlights for review. They look similar in design to the factory lights but have a smoked look rather than chrome.
Find it online:
- 5th Gen 4Runner Blacked Out Retrofit Housings: Check Price
Specifications:
- Lexus-Style LED Strip DRL
- DOT/SAE Approved
- Stanley Electric Company LED Chips Sets
- 1800 Lumens per side, for the low beam
- 6000 Kelvin Color Temp
- LED Turn Signal Upgrade Option
- 1 Year Warranty
Reasons to Consider These

Notable features for the headlights include a “Lexus Style LED Strip” with built-In LED Low Beams with LED chipsets from Stanley Electric Company. Stanley Electric Co. manufactures parts for OEMs like Toyota, Lexus, and Honda.
Also, USR Auto included their optional LED Amber Turn Signals to try out. They pair great with these headlights.
Watch the Install Video
Why LED?
LED stands for Light Emitting Diode and offers more lighting for less power and heat. You can check out more information on LED and HID Headlights right here.
It can give a modern and custom look to any vehicle. It stands out on the 4Runner since these vehicles come with so many halogen bulbs from the factory. LED technology for headlights has come a long way, and it provides a power-efficient alternative to HID bulbs and ballasts.
LED vs. Halogen

Here is a direct comparison between these new lights with LED low beams and the factory lights with halogen bulbs.

Complete Step-By-Step Installation
Step 1. Remove Bumper Cover

First, to access the headlights, the bumper cover needs to be removed.
Remove the engine bay plastic tray with clips. There are 4 clips holding the grille on as well. Next, there are 3 10mm bolts attaching the bumper cover to the wheel well on each side.
Lastly, there are 6 bolts total on the bottom side of the bumper cover.
Step 2. Pull Off Bumper Cover & Remove Fog Lights
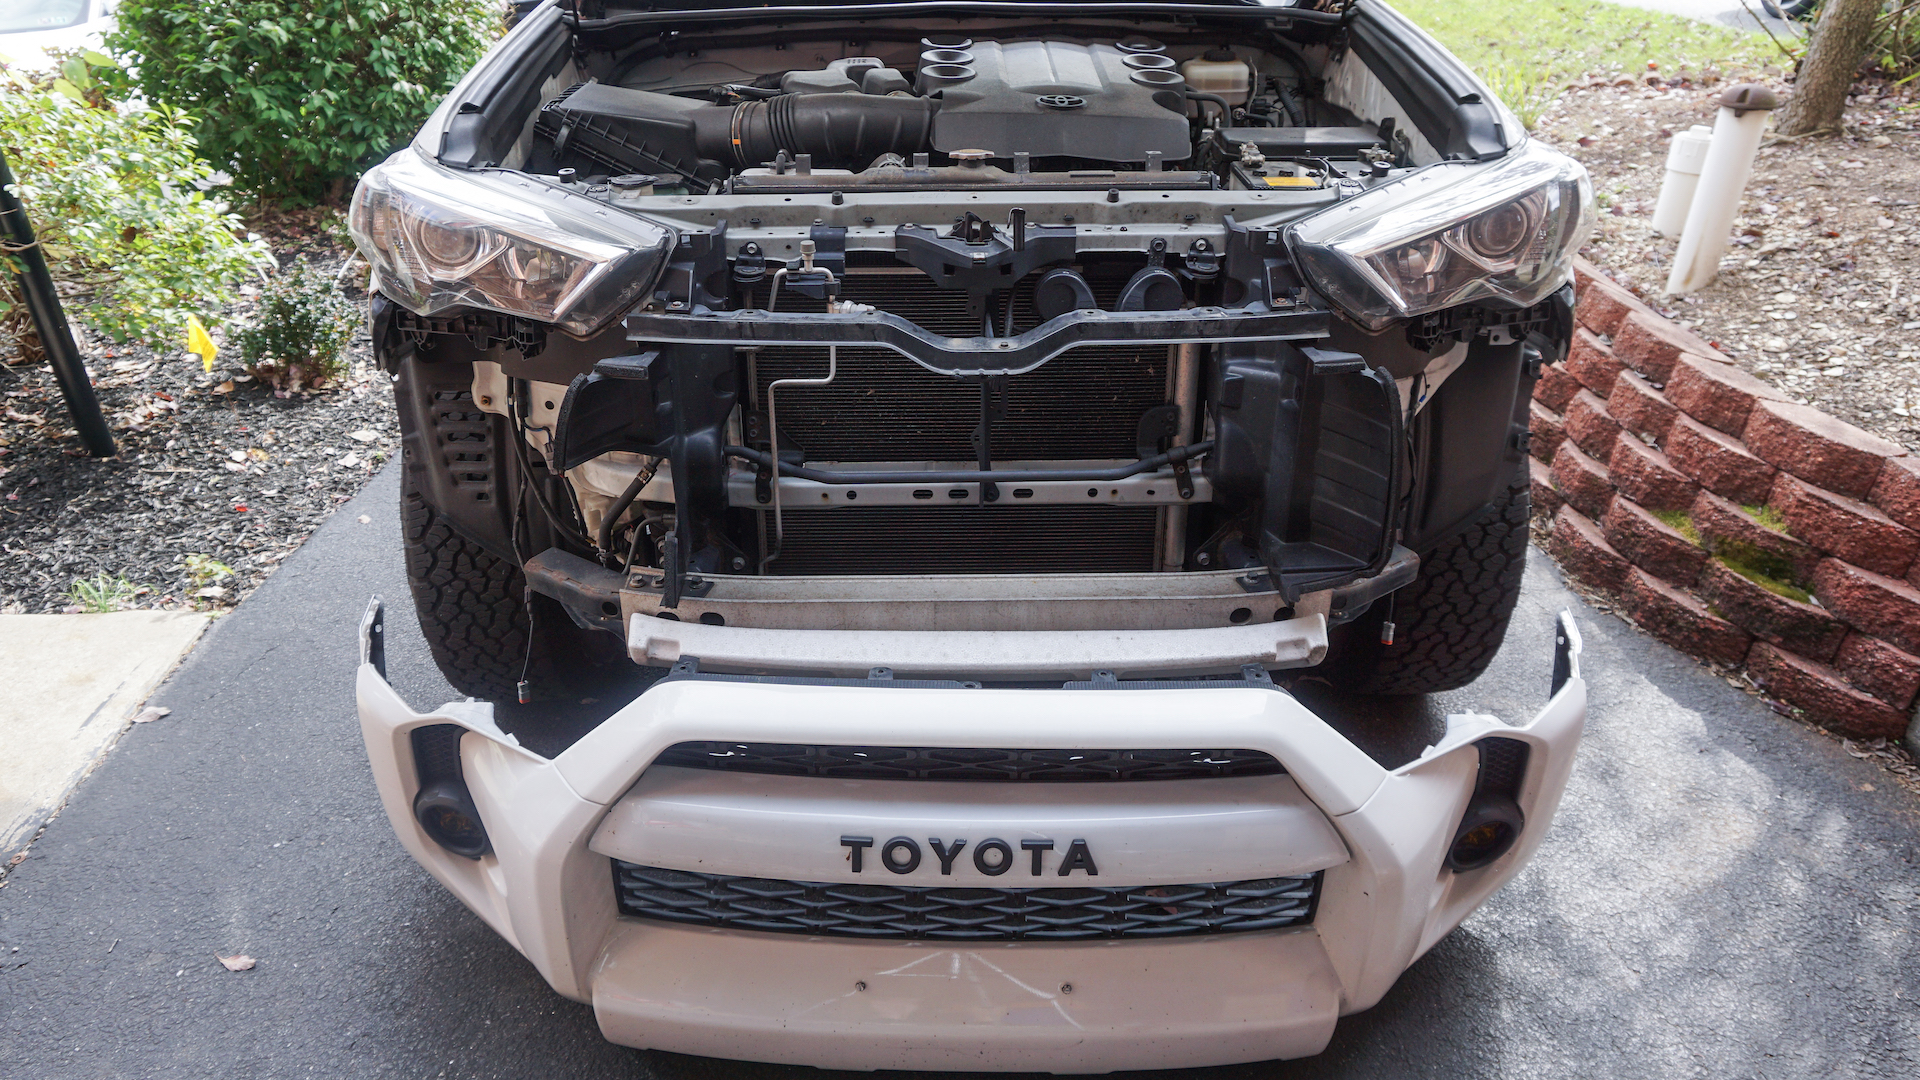
With all bolts and clips for the bumper removed, the bumper can now be pulled off and fog lights can be disconnected.
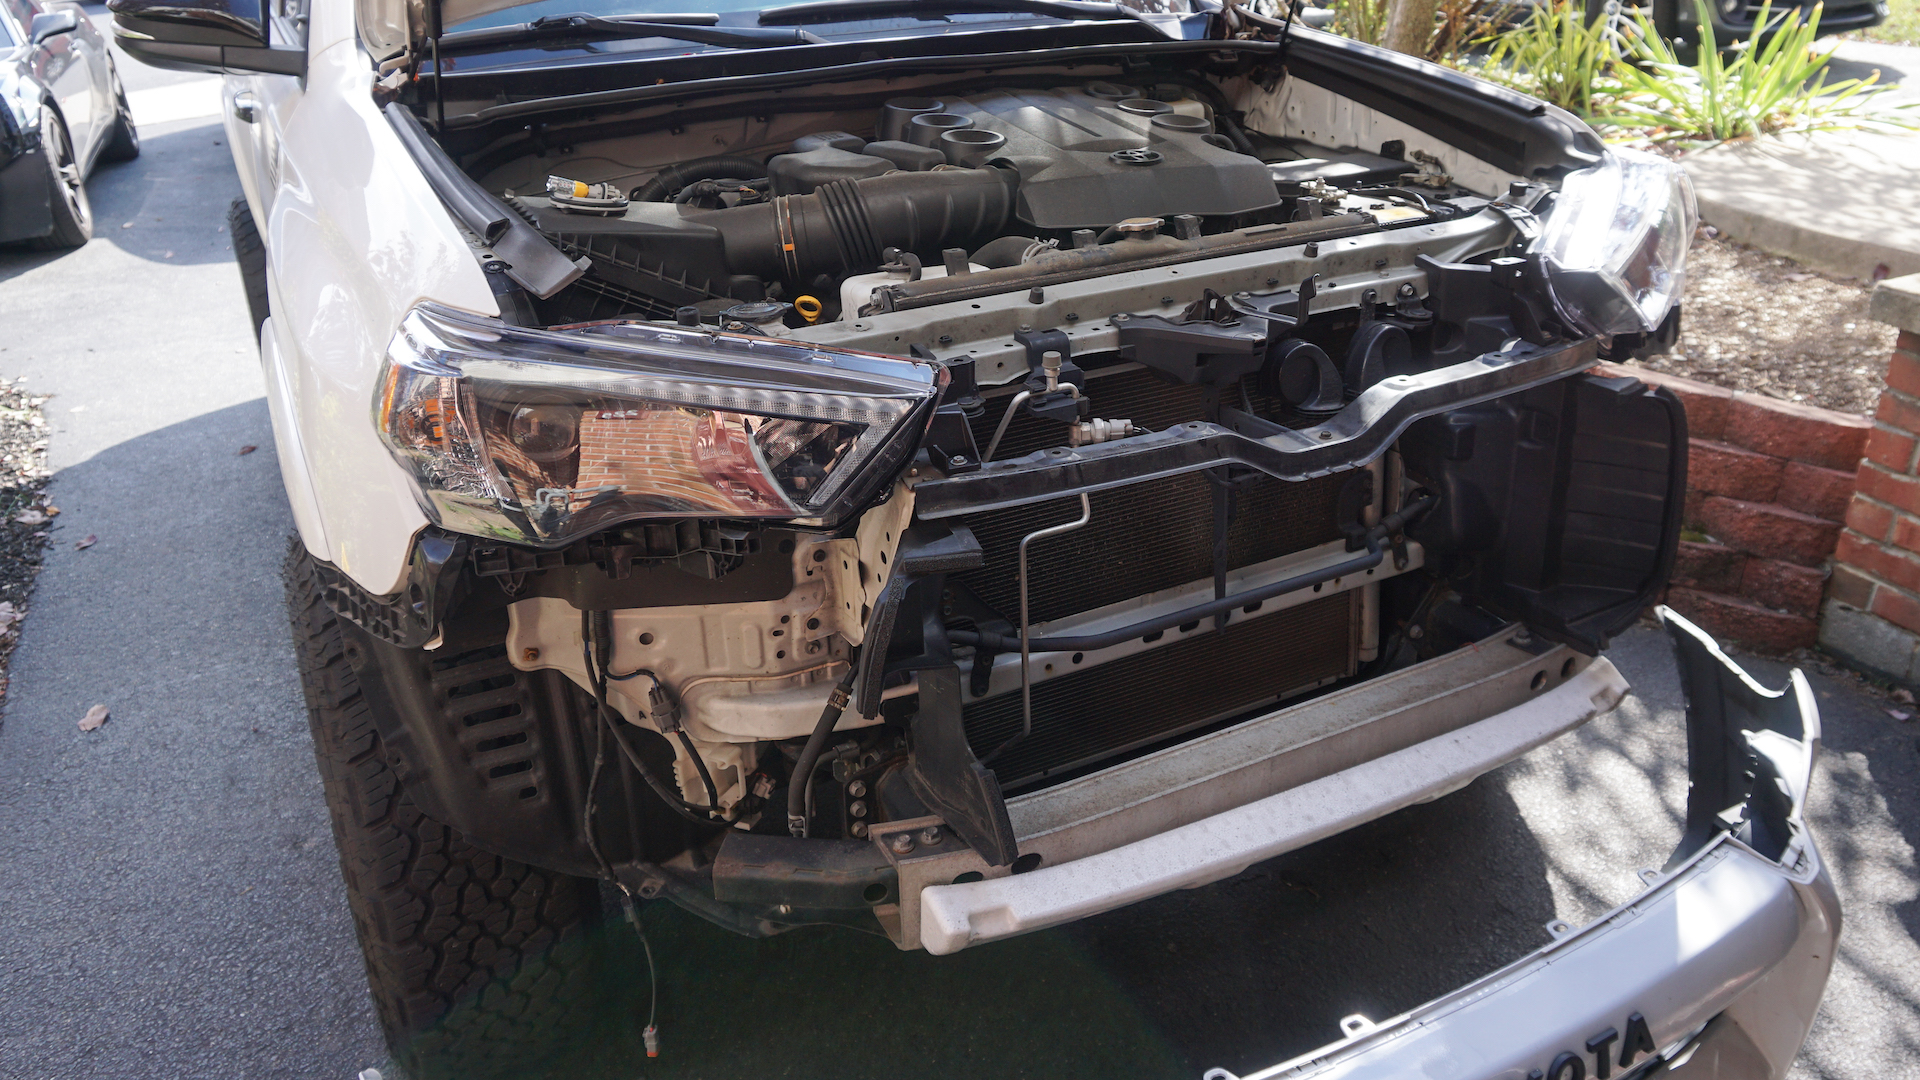
Step 3. Remove Factory Headlights

When the bolts holding in the headlight are removed, the whole assembly will come out.
There are 4 connections in total per headlight:
- Low Beam: White Connector
- High Beam: Brown/Black Connector
- Parking/Running Lights: Brown Connector
- Turn Signals: Gray Connector
Step 4. Transfer Headlight Brackets

Once the factory headlight assembly is removed, the underside bracket will need to be removed and transferred to the DEPO light assembly. There are 3 screws that hold that on. This bracket is what the bumper clicks into and is necessary.
Step 5. Install All Light Bulbs
Once both factory headlights have been removed and brackets transferred, the next step is to transfer any other bulbs like parking light bulbs, high beams and turn signals.
In this case, we went with the optional LED amber turn signal bulbs with built-in resistors from Unique Style Racing.
Step 6. Install New Headlights
Both headlights can be connected and bolted back in at this point. Make sure to connect the high beam using the black connecter from the DEPO headlight.
Step 7. Connect DRL Harness

To enable the LED DRL bar, the included harness will need to be used. On each headlight, the blue wire connects to the harness. Then, the black/brown factory high beam connector is connected to the black DEPO connector to provide power to the DRL and high beams. Lastly, the ring connector should be connected to the positive terminal of the battery, as shown.
Step 8. Test Lights
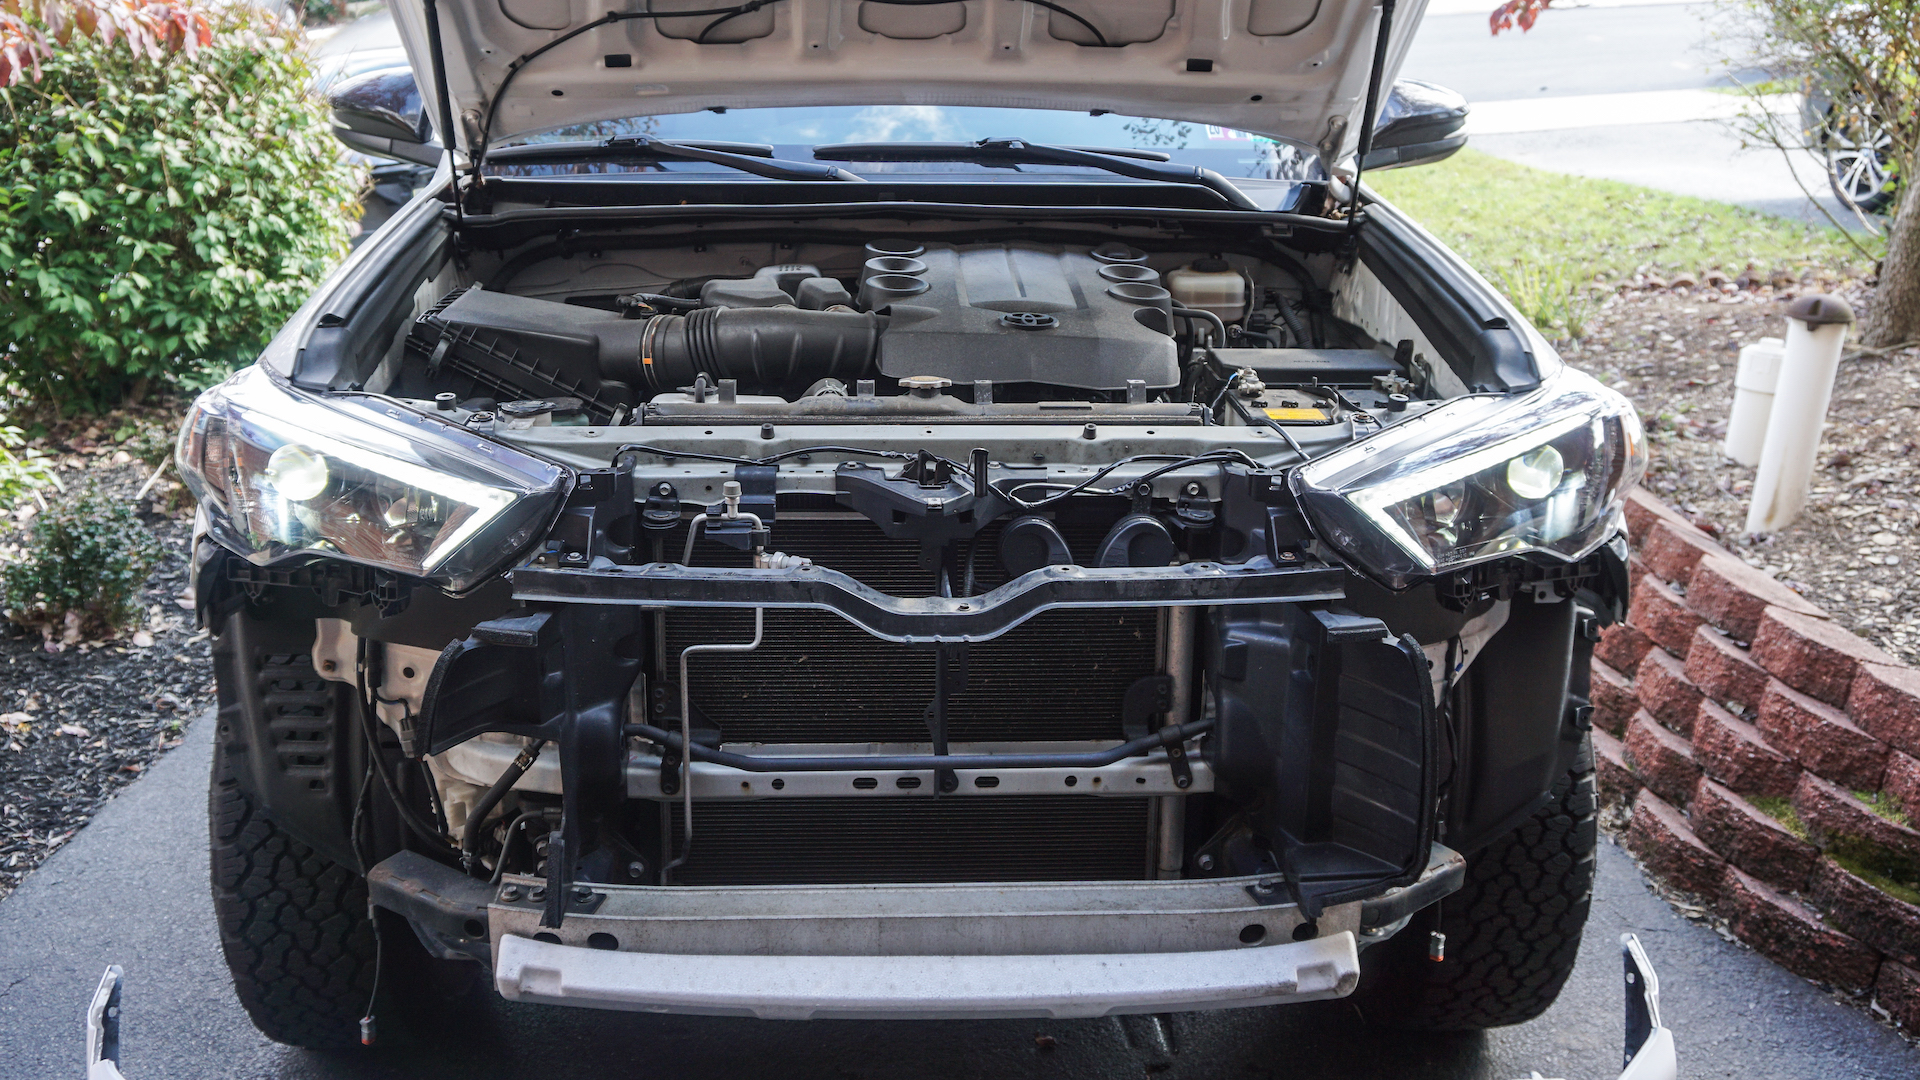
At this point, the headlights are hooked up and all features should work, like the DRL. You should notice that the first lighting position, “DRL”, makes the LED daytime running light strip brighter for visibility during the day, compared to when it is on with the running lights or fully “ON” position.

Step 9. Reinstall Bumper Cover
Now that everything works, the bumper cover can be re-installed in reverse order it was removed.
Step 10. Adjust Lights
The last step is aiming the headlights so they are even and don’t blind other drivers, all while getting a good range. To adjust, use the small bolt on the back, the top side of each headlight. This adjustment allows up and down movement for the low beam.
Congrats, this installation is complete!
Final Review
After about two weeks of using these in the real world, I couldn’t be happier with the product. The light spread is even, and the quality is great. The lights look aggressive, and so much better than the chrome factory housings with the halogen running light. I took the 4Runner on an almost-700-mile weekend trip through cold and warm Pennsylvania weather, with some mud and lots of rain. I didn’t see any leaking, flickering or quality issues. My favorite part is the Lexus-style LED eyebrows and OEM+ look.
I am pleased with these lights and would recommend them to anyone looking for an upgrade. The output is good and they are the best bang for the buck!
I have everything hooked up correctly. Even had my shop electrician check them out. My LED DRL’s work when the high beams are on or even when I just have it switched to just the DRLS’s, but they do not work when my low beams are on. They don’t even dim they just got completely off. Any idea as to why this is happening?
Martin,
Happy Holidays.
Been reading 4runner forums and need to make a decision on replacement headlights for my 2020 ORP 4runner.
Already been thru expensive European market h11 haloben bulbs which presently are in the truck. slightly better but quite frankly very bad spread, same with a “higher end LED bulb that i used for a week before removing them.
These Unique Style headlights, you are only one on you tube with review vs the “other” manufactures.
cant afford to spend hi $$ on headlights, so budget is around 600.00
do you recommend I get the HI beam led bulbs that they sell? same with led “option bulb front turn signal from this manufacturer vs purchasing and using Lasfit switchbacks
any issues on headlights. Only issue I have is having to tear down the front end because the LED electronics went bad.
Say safe and Merry Christmas
Pepe,
If you’re looking for a more budget friendly option, but one that is also an awesome performer, check into the Xtreme HID low beam setup from Xenon Depot. I’ve been running it, along with their LED high beam/DRL setup for ~2 years, and a very happy with it.
There is a good article that covers the installation of those HIDs at https://trail4runner.com/2018/03/13/xenon-depot-hid-install/
Hey Martin,
Thanks for the write up. I love these headlights. One thing I recommend you should mention on your write up is that if one choses to use halogen bulbs for the turn signals, MAKE SURE to switch the bulb to the 7440 (one filament – same one that is in the rear turn signal). The two filament 7444 that comes with the stock 4runner for the front turn signal will result in hyperflashing! Took me an hour to figure this out. Otherwise, these headlights are awesome and the DRL’s are identical to my wife’s Lexus RX! highly recommend them!
I couldn’t have done it better myself. Thanks for the step-by-step guide!