
RCI Off-Road Gas tank skid plate installation on 5th Generation Toyota 4Runner
The fuel tank skid, otherwise known as a gas tank skid plate is one of those skid plates that if looked over can cause a multitude of problems if hit too hard.
I think it goes without saying, but if you smash your factory aluminum skid plate, you risk puncturing the tank ending up with a leaking tank on the trail.
Depending on how hard you are going to push your 4Runner off-road, installing a gas tank skid plate might be a good option.
RCI Off-Road offers a couple of different options when it comes to material.
If you are looking to keep your truck light, while avoiding rust, go for aluminum. This skid weighs in at only 26lbs. If you are looking at the most protection possible, you can go with a 10ga (9/64″) steel plate or their 3/16” steel plate. See weight specs below on steel.
We went with the aluminum skids as keeping our truck light is very important considering our daily driving habits and for what it’s worth, taking in our MPGs.
RCI Gas Tank Skid Plate Specs
- Full Set: Check Today’s Price
- Gas Tank Skid: Check Price
- Material Options: 3/16” Steel or 1/4” 5052 Aluminum Alloy
- Powder Coat Options: Black powder coat or bare metal
- 3/16” Steel: 52lbs
- 10ga Steel: 38lbs
- Aluminum: 26lbs
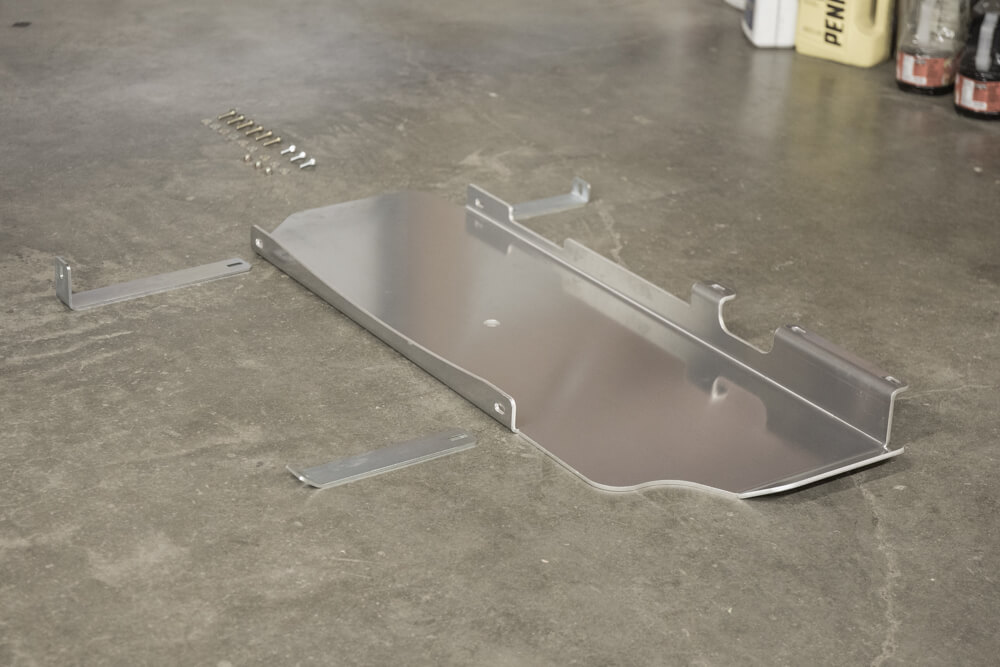
Step 1: Understand the orientation of Legs and the Plate
Step 2: Remove factory skid plates

Start by removing the OEM gas tank skid plate.
The factory gas tank is held in place by six bolts. There is one at each long leg and three along the lower edge. The long legs that hold the gas tank in place are in a tight location.
You can access the hardest bolt (seen above) and all others with a simple ratchet drive and socket.
Step 3: Provided Legs for Gas Tank Skid

The longest leg goes on the rear passenger side corner and bolts directly above the driveshaft.
The shortest leg goes over the rear driver side corner, and the medium leg with a 37° angle goes on the front passenger side corner.
These two legs mount to the same location as the factory skid plate.
Step 4: Mounting legs to 4Runner
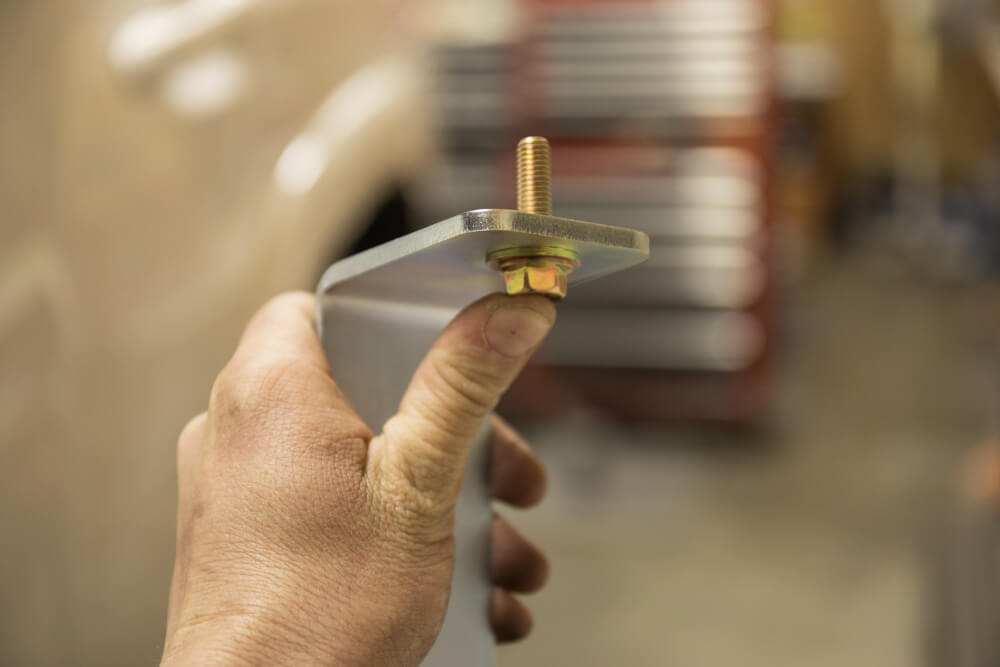
Start by mounting the legs on the 4Runner first instead of mounting the legs to the skid plate first.
Install the legs with the elongated hole toward the skid plate and the angle sides up towards the bottom of the truck.
Use the supplied 30mm bolts with washers and loosely secure each of the three legs in the position before installing the skid plate to the legs.
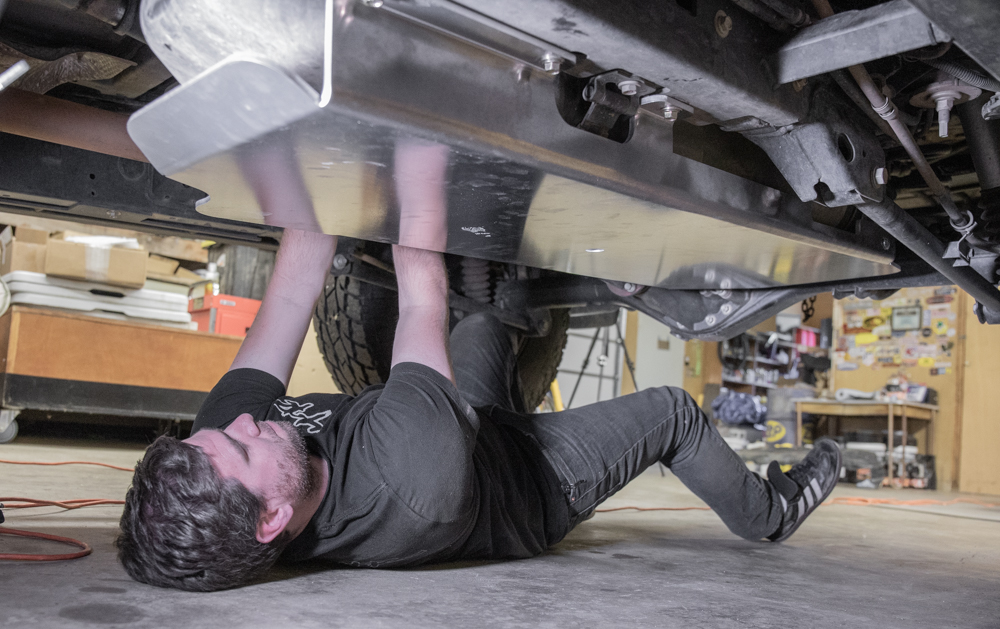
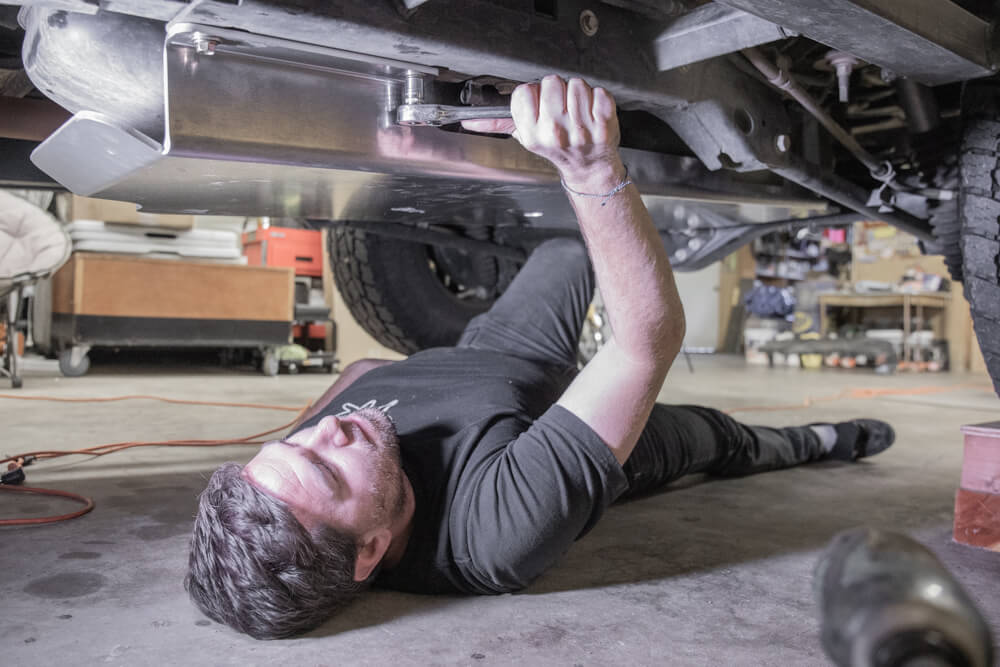
Step 5: Lift skid plate into place

With the help of another person, lift the skid plate into position.
If you do not have another person helping you with the install, you can use a floor jack to jack the skid plate up and into place in order to connect the skid plate to the legs.
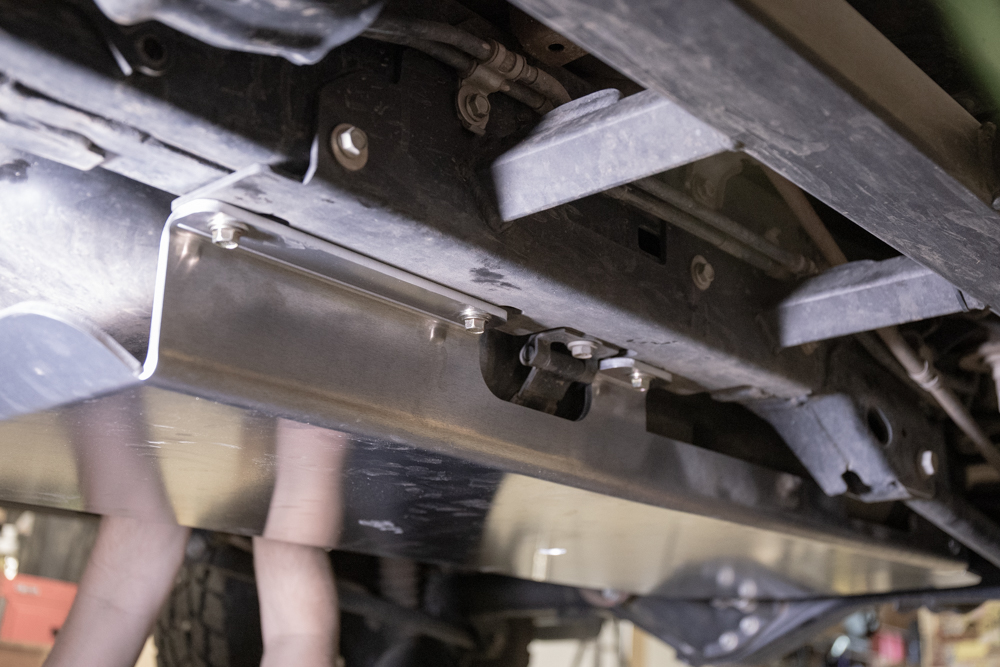
Step 6: The orientation of Skid Plate
The front of the plate is the side with the upward angled lip.
The mounting legs should be mounted on the inside flange of the skid plate. The 3/8″ x 1″ carriage bolts can be inserted toward or away from the fuel tank, just verify there is adequate room between the bolts and the tank.
We installed the carriage bolts from the inside out with the brackets on the inside of the skid plate as well.
We found that it was easier to get an open end box wrench around the nut.
Step 7: Check Fitment and Clearance
Once the skid plate is self-supported, align the front driver side mounting holes and install the 30mm bolts with washers.
Check for fitment and clearance of the fuel tank, and then fully tighten. Pay special attention to the middle of the fuel tank on the driver side as there is a small bump in the gas tank where the leak might rub if not given enough clearance.
Step 8: Tighten the remaining bolts
Fully tighten all six bolts securing the mounting legs to the frame into the plate flange. If the plate needs to move up or down to level it, the elongated holes will allow the ability to do so prior to tightening.
I also have been running the RCI gas tank skid and the c4fab diff skid. All was great with a 2inch lift, but I just installed the 3inch Dobinsons rear long travel kit. When fully stuffed on the driver-side rear, the drive shaft nuts will hit the gas tank skid, as well as the c4fab diff skid. I will be Installing a Panhard bar relocation kit, hoping this will solve the issue. In the meantime, I needed to go back to the factory gas tank skid.
I spoke to the design team at c4fab, they designed their gas tank skid with the Dobinsons long travel kit installed. This may be a better option for those who use any type of long travel rear kit.
Just installed a Dobinsons 3” long travel and have the RCI fuel skid and am having the same problem. Did you ever find a solution?
Angle grinder…?
Does this gas tank skid hang lower than the stock skid? The RCI front skid I installed hung about an inch lower than the stock skid plate. Since I am still at stock ride height it is important to me that I’m not losing any ground clearance in the undercarriage due to lower hanging skid plates.
I’d like to know the answer to this as well.
Sorry for the late response here. The RCI skid plate does hang down lower than the factory gas tank skid. You are looking at 2″ lower than the factory plate.
I’ve heard these have interference with C4 sliders. Did you have any issues?
No problems with the sliders. We did have an issue with the lower links and the sliders but nothing with the gas tank and the C4 rock sliders, no.
Good stuff. I’m very happy with my RCI aluminum gas tank skid plate, as well as the rest of my RCI skids.
Pro Tip: Use some thread locker, like Loctite Blue 242 on all the fasteners, to ensure that nothing comes loose down the road/trail.