
RCI Lower Link Skids Installation on The 5th Gen 4Runner
The brackets for the rear lower links are exposed and inline with the tires so they are likely to get hit.
The RCI lower link skids add some great protection and are fairly easy to install:
- RCI Lower Link Skids: Check Today’s Price
- Protects Lower Links
- Built of 3/16″ CNC Cut Steel
- Rust Resistant, Durable, and High-Quality Finish
- Easy Install Within Minutes
- All Hardware and Installation Instructions Included
- Includes a Heavy-Duty OEM Hardware Replacement
RCI SKID PLATE HARDWARE:

Other than the plates themselves, the kit comes with 2 bolts, 4 washers, 2 locknuts, and 4 self-tapping screws.
The bolts and locknuts will replace the existing OEM hardware. The washers are used with the bolts and locknuts, and the screws will keep the whole skid from being able to get pulled down by a rock.
Some other companies use welding instead of screws. Welding provides less for a rock to grab onto, but welding is not feasible for many DIY installers.
LIFT THE REAR TIRES:
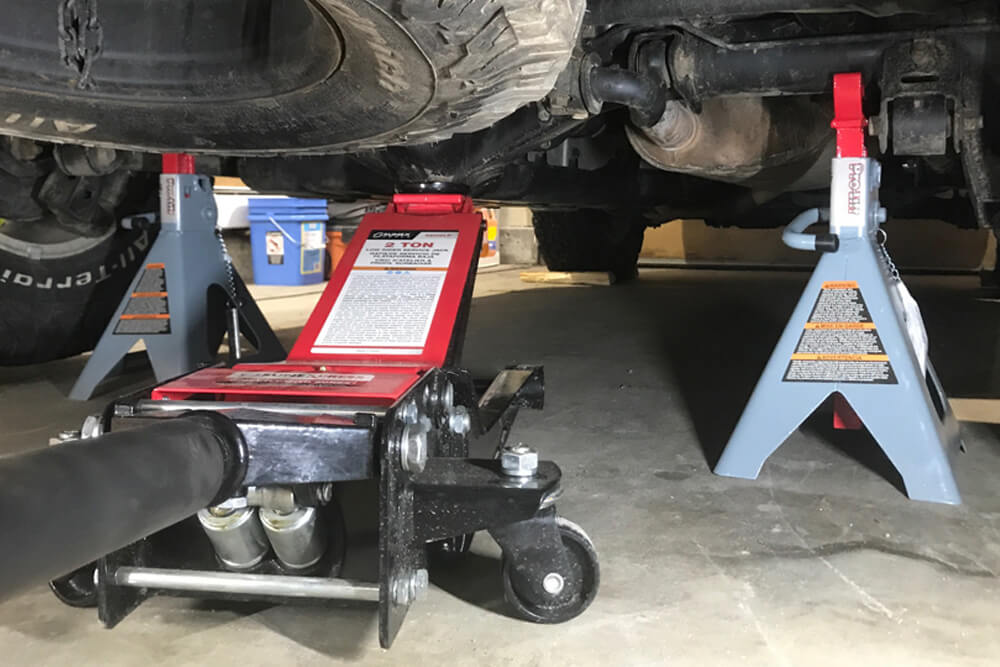
Place blocks on the front tires to prevent the car from rolling.
Lift the rear axle and support with jack stands. Place blocks on the rear tires to prevent the axel from moving backward once the lower links are disconnected.
You will want to do this install one side at a time.
REMOVE OEM HARDWARE:

Remove the OEM bolt, washer, and nut.
Hold the nut in place with a 19mm wrench and remove the bolt with a 19mm impact wrench. Alternatively, a breaker bar would also probably work, but it would likely be easier to remove the nut instead of the bolt if using a breaker bar.
In general, it takes less torque to remove a nut instead of a bolt. The lower link should not be under much tension.
MARK SKIDS FOR DRILLING:

Slide the skids in place and temporarily slid the OEM bolt back in to hold it in place. Mark the two holes in the front with a silver sharpie or some other marking tool.
Then, remove the skid.
DRILL:

Drill into the frame at the location of the marks with a ¼” bit.
I used a high-quality cobalt bit as well as some cutting fluid to drill into the frame easily.
ATTACH THE BOLT AND SCREWS:

Place a washer on the bolt. Then, insert the bolt into the frame.
Place the second washer on the other side followed by the locknut. See the next section for troubleshooting inserting the bolt.
Next, insert the self-tapping screws. I used an impact driver (NOT impact wrench) with some cutting fluid to get them in easily.
TROUBLESHOOTING INSERTION OF THE BOLT:

There may be a small amount of tension that could prevent the bolt from going in all the way.
There are a few ways of solving this. I was able to use a long screwdriver braced against the frame to pull the bolt into place while at the same time using a drill to spin the bolt to get it in.
You can also try raising or lowering the rear axle with a jack to move the lower links.
ADD THE NUT:

Add the locknut to the new bolt.
Tighten to 96 ft-lb. Repeat everything on the other side of the car, but mirrored, and then you are done!
I just had these installed a few weeks again and want to know if anyone had any issues with them?
I am having some noise issues coming from my rear after I installed these and wanted to see if anyone else had that issue too
I’ve never had that issue. I’d check it and make sure everything is still tight.
I’ll start.
I like the style. Plates seem to compensate for the uneven surfaces of the frame with the offset but have run into problems with the welds on the frame. Don’t want to grind on it so I’ll notch the plate on the mounting surface. Don’t like the heads of the self tapping bolts sticking up and will go with flat head stainless bolts countersunk. That said, i’m designing a set of my own to be similar to these except out of aluminum plate. The inside flange can be built to better suit the offset I think. Been playing around with my own design for awhile trying to engineer the best fit. Don’t have a tig but i’ll feed aluminum wire through my mig running 100% argon to just tac them together and have my machinist finnish weld them. I’ll keep you posted on what I come up with. The aluminum plate won’t be quite as strong but will do the job sufficiently.
Someone’s gonna do the same and make millions but ohwell.