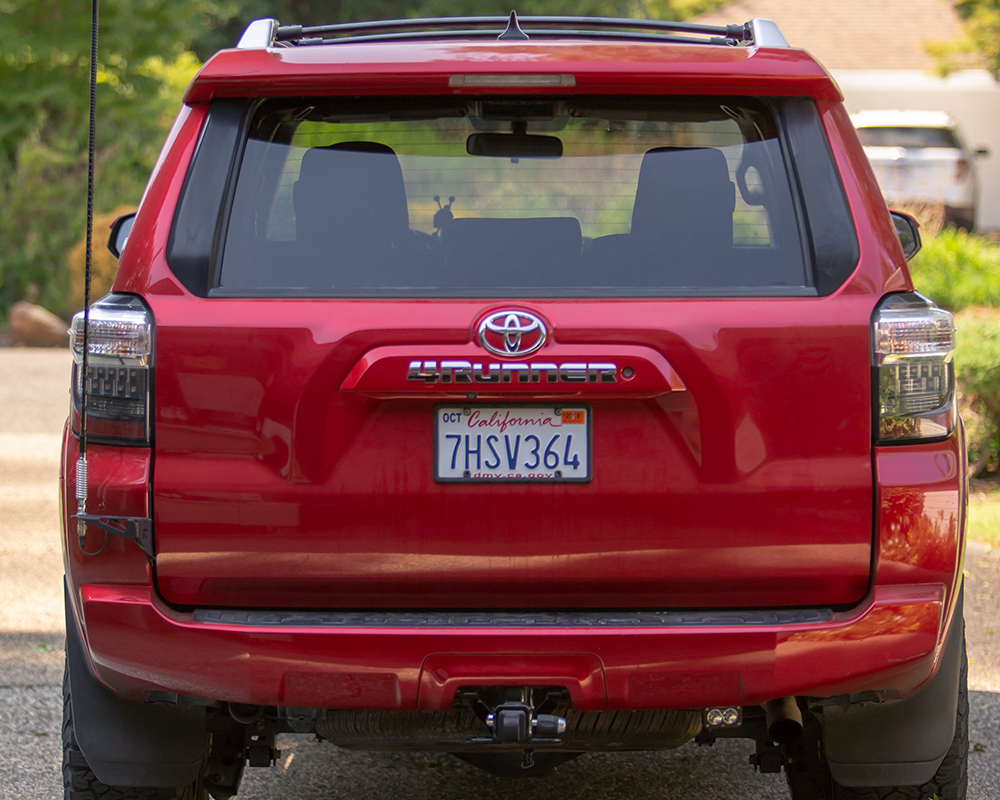
TufSkinz TOYOTA Letters Swap from OEM 4Runner Badge

5th Gen 4Runner rear Emblem Removal and replacement with TOYOTA Lettering
Peel. Stick. Increase HP. Simple as that.
Okay, maybe that’s not how it works, but in the spectrum of 4Runner modifications, this one falls in the purely aesthetic category.
For me, I have had a love-hate relationship with the Blade Runner-esque chromed letter on the rear hatch of the 5th Gen 4Runner. A lot of owners have found a way to black out the letters either though an overlay kit, or though the use of plasti-dip. I opted for a third option, remove them all together. The goal was to replace the “4RUNNER” letters with the more classic “TOYOTA” letters, paying homage to the 1st Gen 4Runner.
Let’s begin.
Install Time:
- 1 Hour
Parts Used:

- TufSkinz 4Runner Toyota Letters
- Alignment Jig ($9.99)* To special order an alignment jig, please contact: brad@tufskinz.com
- Price: Check Price
Coupon Code: “T4R10” for 10% off & free shipping in the USA)
Tools and Materials:
- WD40
- Dental Floss or Fishing Line
- Hair dryer (if necessary)
- Scratch Resistant Cloth
- 50/50 Mix Isopropyl Alcohol/Water
- Tape Measure
- Scotch Tape
- Sharpie
- Mist Bottle with Clean Water (if necessary)
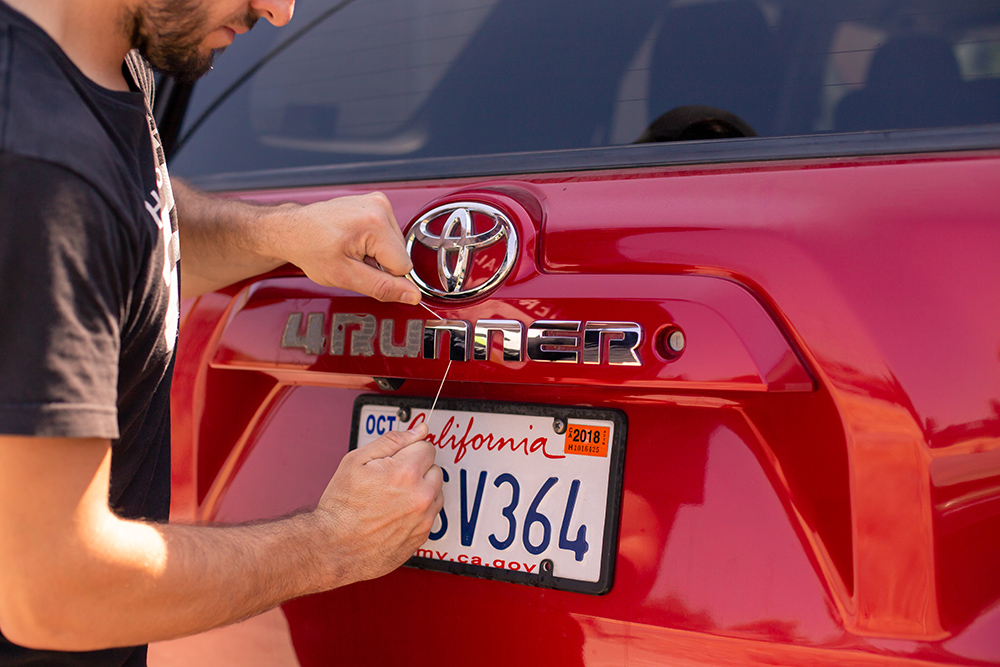
STEP #1: Removal of 4Runner Letters
To remove the OEM 4Runner letters from the rear hatch, I layered up lengths of dental floss, working it back and forth to slowly break the letters away from the adhesive.
STEP #2: Remove Adhesive
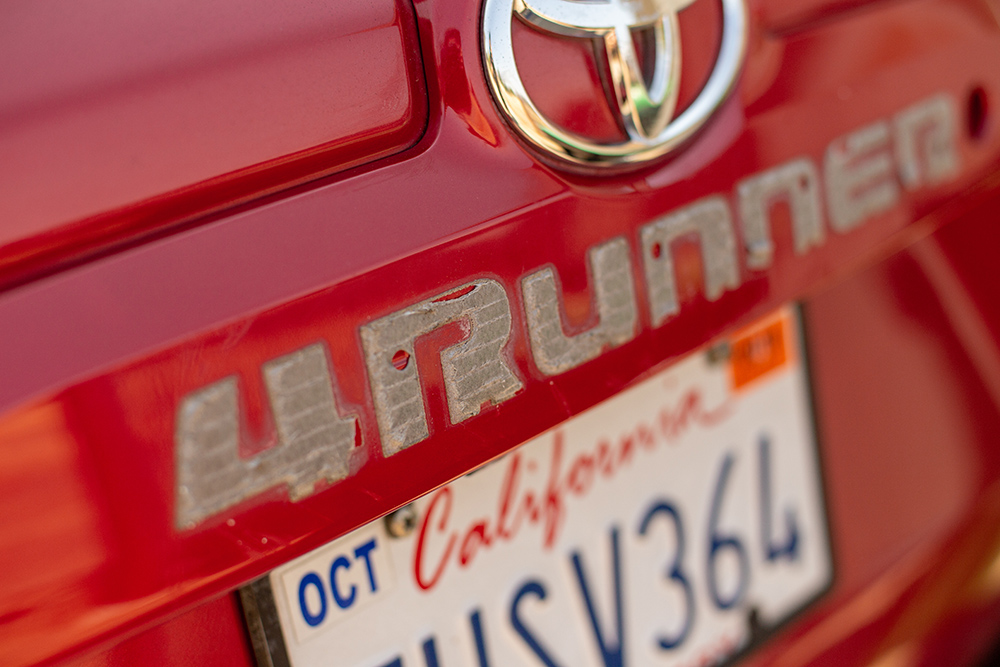
Begin by using your fingers to peel away a bulk of the adhesive backing from what was left of the OEM letters.

Use a scratch resistant cloth, clean away the adhesive using WD-40. This step may take lots of elbow grease.
NOTE: I was able to remove a bulk of the adhesive using this method, and cleaned up the area using a finishing polish and orbital cleaning pad. You may also use your own preferred method that you are comfortable with to clean away the adhesive.
STEP #2a: Installation Preparation
Apply alcohol and water cleaning mixture to a scratch resistant cloth. Do not apply cleaning mixture directly to vehicle surface. Clean installation surface area thoroughly and while dry immediately with new clean cloth. Do not allow cleaning mixture to air dry. (When installing on vehicles that have been detailed with “Armor All” or other silicone based products it will be necessary to repeat the cleaning process 2-3 times to properly remove all contaminants.)
Ensure parts AND vehicle surface is between 70F and 110F at the time of installation. *If necessary a hair dryer may be used to reach the desired temperature.
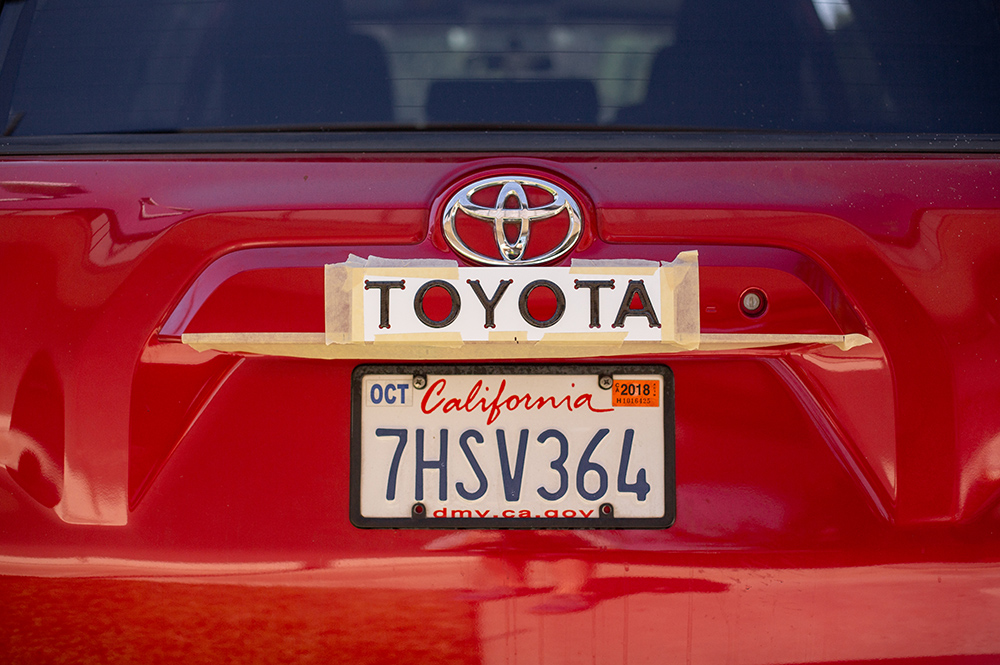
STEP #3: Prepare Placement

Using the supplied alignment jig, measure out the placement of TOYOTA letters. In this case, I chose to mount mine dead center, equal length from side to side.
I chose to match dead-center of the alignment jig, with the center of the hatch piece. I held the alignment jig in place using scotch tape. Remember, check your measurements before finding your final placement.
NOTE: Depending on the supplied alignment jig, this step may differ.
STEP #4: Installation
First, dry fit parts on installation surfaces to check for proper fit and placement. Remove the adhesive liner from the letters and fit each letter into the alignment jig one by one. Remember, do not touch adhesive backing during installation.
TIP: If necessary, lightly mist adhesive with clean water to allow for slight adjustments
Align part over the factory surface. Once positioned correctly, press firmly on overlay staring from the center outward toward the edges to ensure maximum adhesion contact
FINAL THOUGHTS:
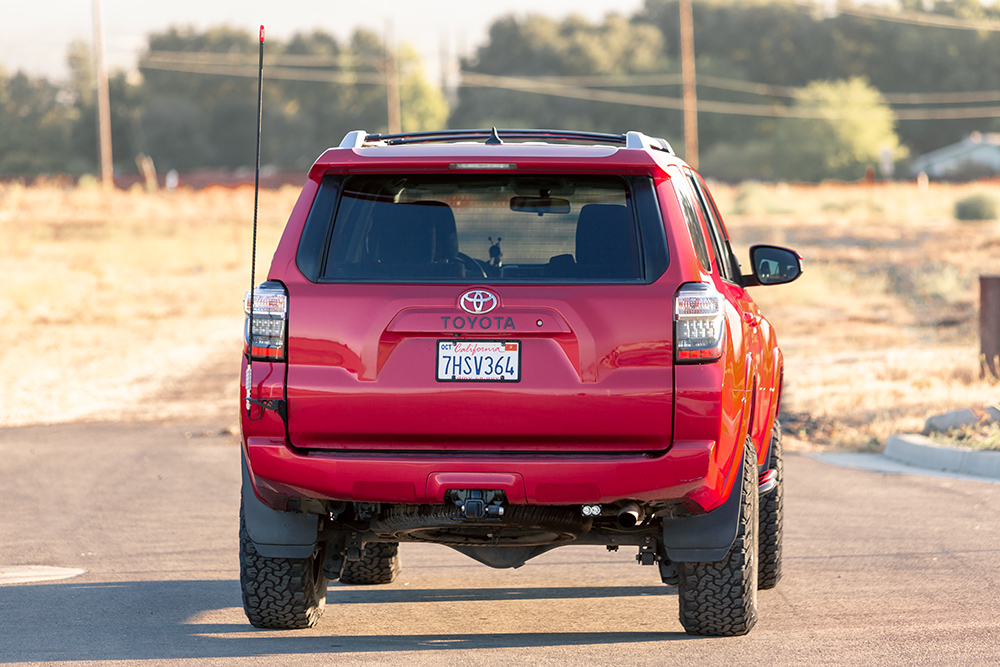
Even though I wasn’t cutting or drilling, I went into this with a no turning back mentality because there was no going back to those perfectly placed OEM letters. Once everything was all stuck on, and the jig was pulled off, I was happy how the new TufSkinz TOYOTA replacement letters came out.
Now to figure out what to do about the chrome logo above.
The real test would come down to wear and abuse. After a few 100F days and multiple times through the drive-through car wash, it looks like these letters are holding up and here to stay.
We’re you able to hide those dimples,
with the new TOYOTA letters,
when you removed the 4Runner
emblem? Thanks, Tom
I recommend either getting the blackout badge that goes over top the chrome badge or see if there is a black metal badge available. I’m sure they have them on eBay.
That’s the plan Rodney! Been thinking about how I want to black out the emblem next.