We’re back with another installation and review of the Prinsu rack accessories! Today, I’m covering a quick but awesome accessory for roof racks: noise-reducing edge trim.
Taking just a few minutes to install, this seemingly small modification can noticeably reduce wind noise produced by your front wind faring. Your Prinsu roof rack should have come with some, but you can also use this on other brands as well!
Use code – TRAILCO – to save an extra 5% off! Usually stacks with any sale going on.
Table Of Contents
Overview
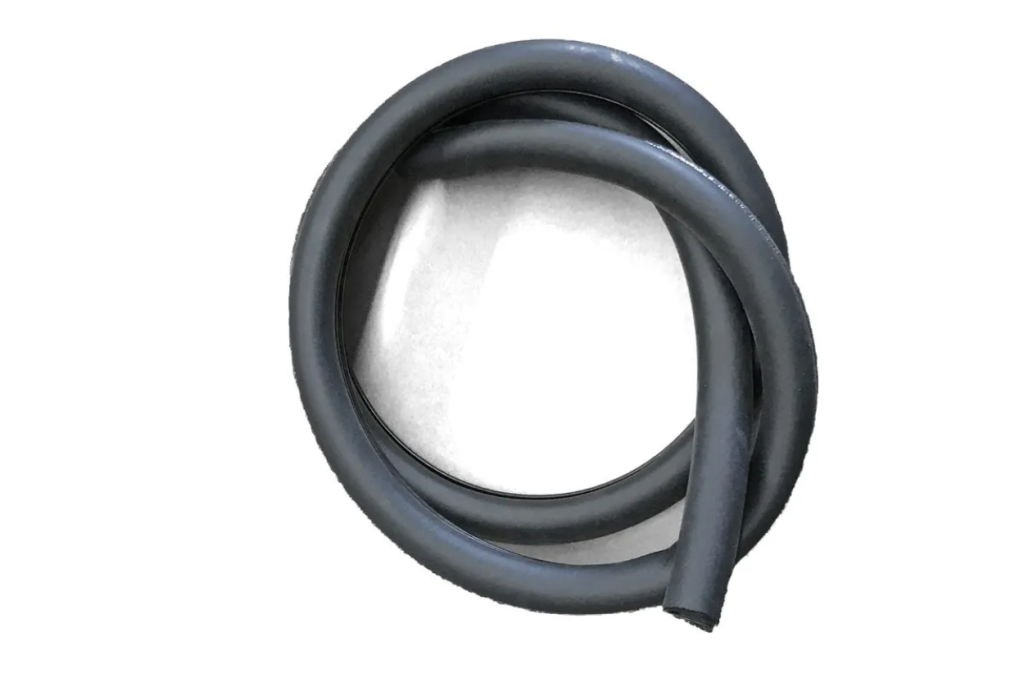
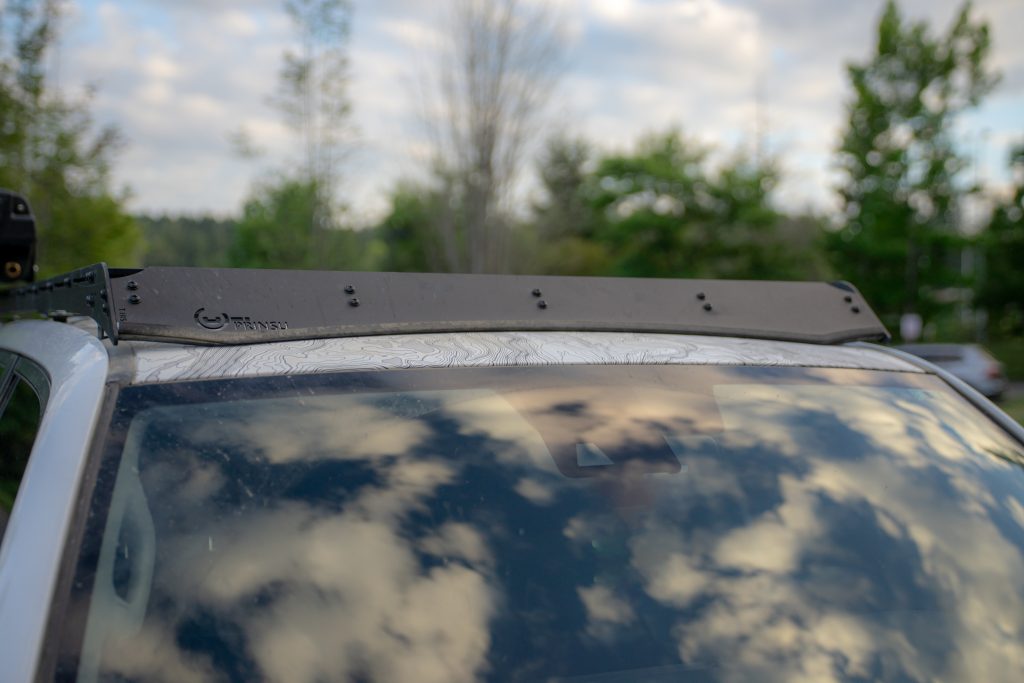
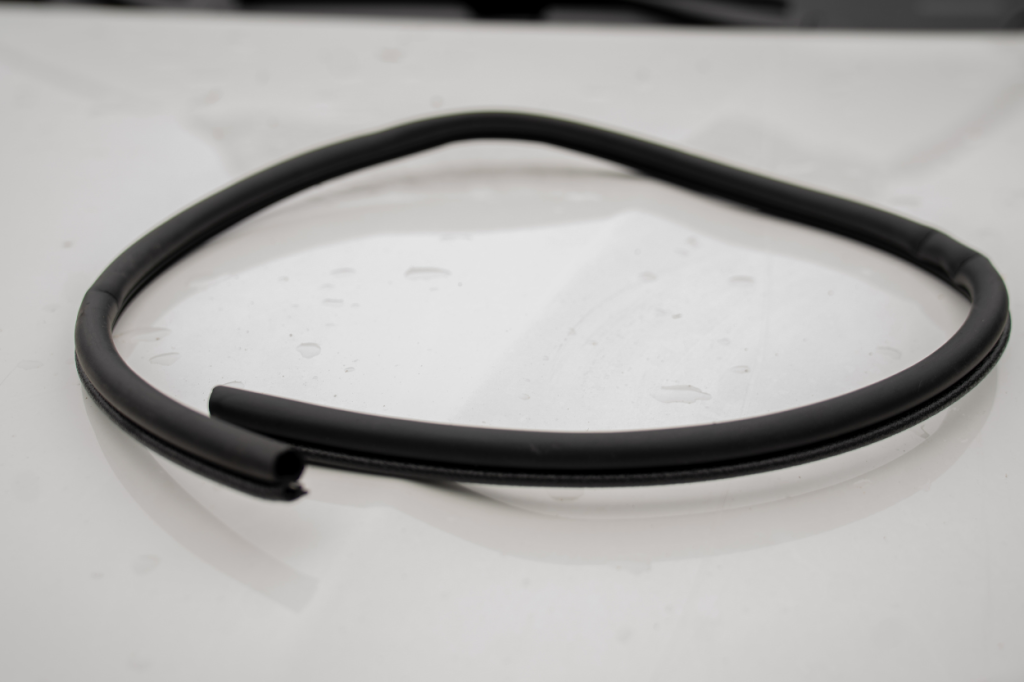
The Prinsu Noise Reducing Edge Trim is a must-have accessory for your Prinsu rack. It features a side bulb seal that significantly reduces wind noise generated by the rack’s front wind fairing.
Available in six sizes, ranging from 44″ to 54″, users can easily find the perfect fit for their specific rack. The trim is also very easy to cut down to length.
Installation
Installing the noise-reducing trim is incredibly simple. The entire process should take you less than 10 minutes.
Tools Required
- Power Drill or Ratcheting Wrench
- Torx T-30 Bit
Step 1. Remove Wind Deflector
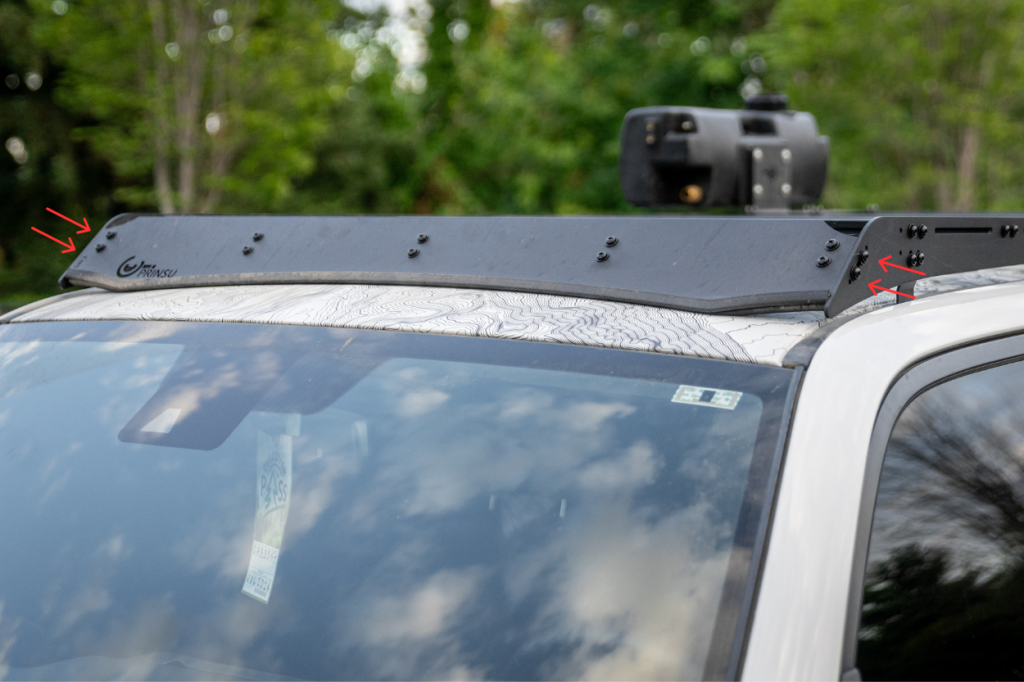
Use a T-30 bit to remove the (2) bolts securing the wind fairing to the side rail. There are (4) bolts in total, (2) on each side. Be sure to hold the fairing in place as you remove the bolts so it doesn’t fall and slide down your windshield.
Step 2. Install Trim
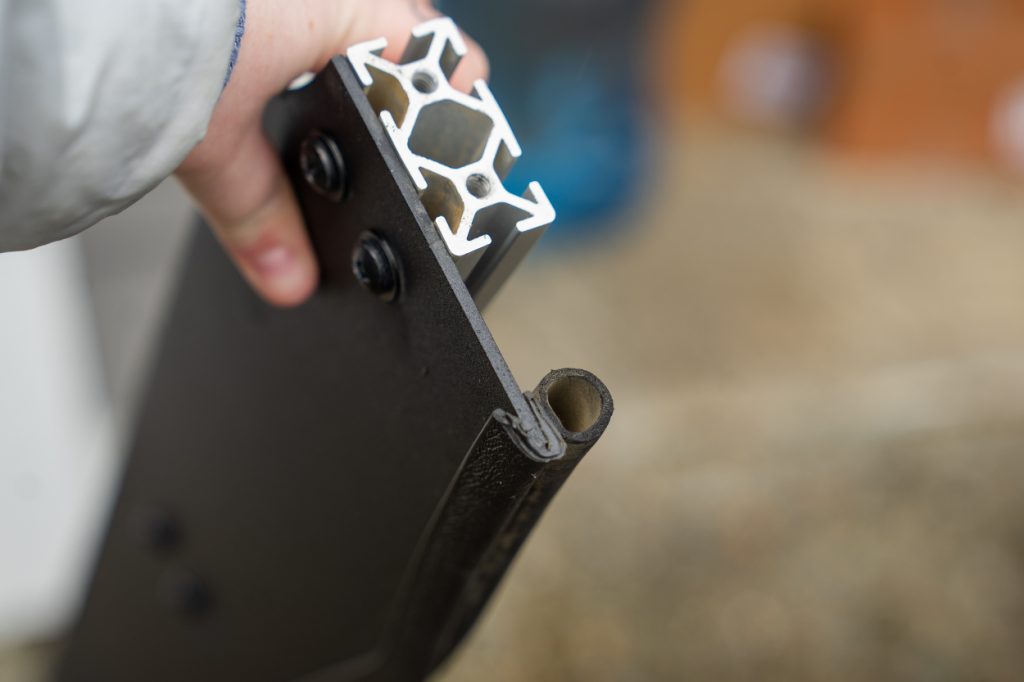
Next, slide the fairing into the crease of the rubber trim. Make sure that the non-textured rubber is on the back side of it. If there’s any excess trim, trim it to be flush with the edges of the fairing.
Then, reinstall with the (4) bolts and your installation is complete!
Final Thoughts
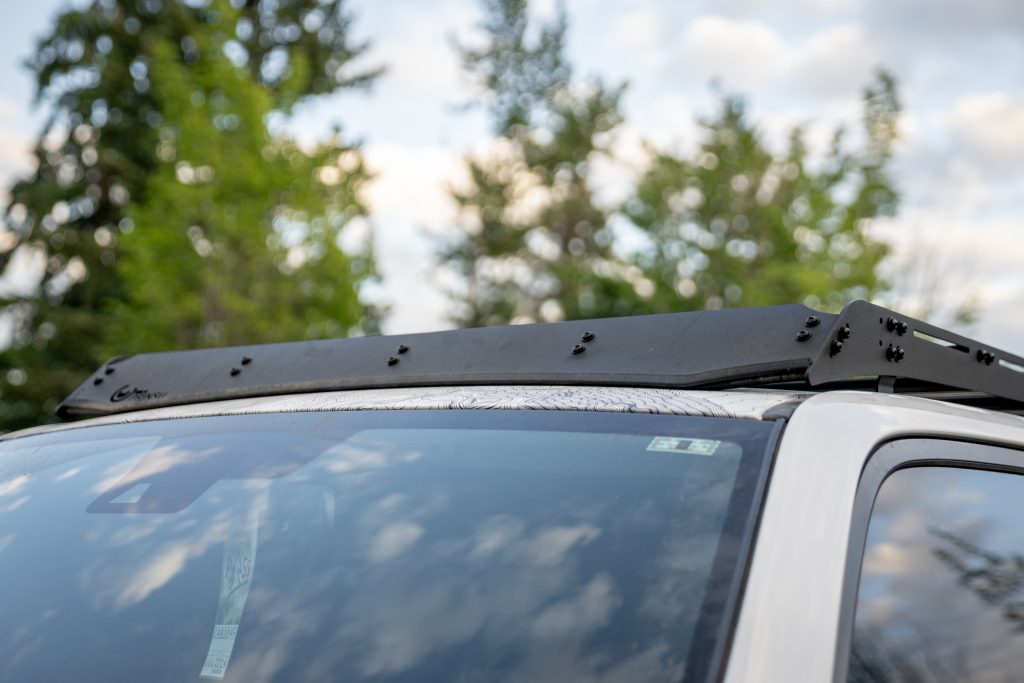
Although this simple piece of rubber trim may seem minor, in my opinion, it’s one of the best additions that you can make to your roof rack. Comparing the wind noise level before and after installing it, I can attest that this works – especially when driving at highway speeds. The trim significantly improves the driving experience by offering a noticeably quieter ride.
I also appreciate its subtle appearance as it seamlessly blends into the rack. If you don’t currently have noise-reducing trim on your roof rack’s wind fairing, I highly recommend it for your next mod!
Heads up this will rub the paint over time on your roof. Had my Prinsu for over 3 years and then sold it and now have a rubbed mark where this used to be.
Easily solved. I bought some paint protection film, 6″ x 48″, and it costs less than $20. Now the paint under the front of the Prinsu rack will never get damaged.
Henry, Kind of figured that would happen which is one of the reasons I stayed away. Did you have issues with the front feet of your Prinsu rubbing down/tearing your rain channel rails. I have an UpTop Overland Bravo rack and I’m considering replacing the front channel rain rails under the feet. UpTop has come out with a permanent mount now like the Front Runner rack that adds a nut-sert in the front channel to go ahead and bolt it down.