
One of the most necessary items for our vehicles, off-road or city, is lighting. We often overlook a major area of concern which is under the hood. Toyota and other manufacturers have neglected lighting solutions in the engine bay for years.
The struggles of juggling flashlights when something is wrong can be maddening. Even more so when you are alone and need both your hands to fix the issue. Wiring any light under the hood can be an easy project.
This is where Mox Motors has stepped up. They have taken their incredible ROX light and made it simple to install it under the hood of almost any vehicle.
Find It Online:
- Mox Motors ROX Light Under Hood Kit: Check Price
- Replacement Hood Insulation Clips (can break during removal): Check Price
Table Of Contents
Overview

The ROX light was developed to be an all around utility light by the team at Mox Motors. I think they knocked it out of the park for sure. The lights themselves are compact and pack a punch in terms of brightness. Their construction is super solid, with anodized aluminum backing.
Mox Motors realized the need for lighting in the engine bays of most vehicles. They started offering a preset wire kit that can be installed with two of their lights. They even sorted out a magnet for the lights that makes this a no drill solution.
Kit Contents

- 2 ROX lights
- Preassembled wiring (switch, loom, etc.)
- 6 zip ties
- 2 (very strong) magnets
- Hardware
- (2) M5 6mm long stainless steel bolt
- (2) M5 stainless steel washer
- (2) M5 stainless steel lock washer
- (2) 3mm bullet connectors (male + female) with rubber cover
- (2) M5 Allen bolts
Installation
Installing the kit itself is pretty simple. I would budget 30-60 minutes depending on how you decide to run the wiring and install the switch.
Tools Needed:
- 12mm Socket & Ratchet/Wrench
- Upholstery Removal Tool
- 3mm Allen Key
- Drill
- 1/2″ Drill Bit
Step 1. Unpack Kit

The kit comes very nicely packed in a large zip lock style bag. I do recommend unpacking this on a table or flat surface.
The magnets are separated by a piece of cardboard and are powerful enough to launch toward each other. I did this a couple of times while trying to get everything in frames for pictures. Fortunately, neither of them broke, but I always cringed when it happened.
Step 2. Attach Magnets To Lights

Adding the magnets to the lights will take the beveled screw, magnet, and a lock washer.

Insert the screw through the magnet with the beveled side to the screw head.
Add the lock washer to the screw. The magnet will try to play with the washer but it’s also nice since it just sticks if you drop it.

Tighten everything into the back of the light housing with the Allen key. I used enough to torque to engage the lock washer but not enough as to risk cracking the housing.
Step 3. Pick Mounting Location
The magnets make it easy to mock up your mounting locations. I recommend marking your location but not cutting or making additional moves until you actually get the lights in. I highly recommend placing a towel or tarp over the engine bay while doing this. If one of the lights happens to fall or slip into the bay it is a pain to try and find it. Just trust me.
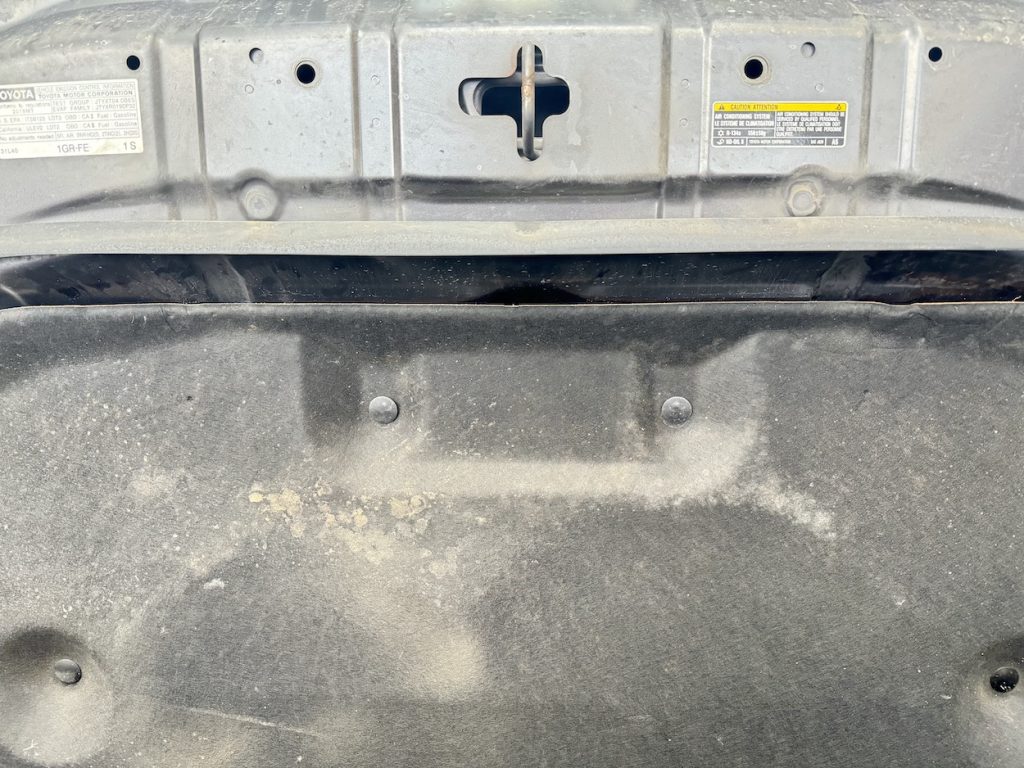
Step 4. Partially Remove Hood Insulation

For the 5th Gen 4Runner, the insulation is held in place with upholstery clips. These are a pain to pull out in one piece. The easiest way that I found was to insert the thicker side of the tool around the clip and rotate while exerting a small amount of force out. This still bent the clip a little when they popped out, but they weren’t broken. I do recommend purchasing a pack of replacement clips for cheap and simply replacing them.
I removed the two clips at the top and the two on the right battery side. This could differ based on your setup.
Step 5. Run Wiring Harness

Looking at the wiring harness, there is a long and short side which makes the installation process easier. I will say that there is a significant run of wire included so that you can run it wherever you need.

Start by threading the light side of wiring behind the strut bracket and insert it behind the insulation.

I added a zip tie to hold the wiring to the bracket.

Finally, you will pull all of the wiring through.
Step 6. Connect To Battery

Attach the red wire to the positive side of the battery and the black ground wire to the ground side. This kit comes with an inline fuse on the positive side.
For my setup I needed a 12mm socket for an OEM battery setup.
Step 7. Tidy Wiring

This kit comes with enough wire to fit almost any wiring setup. That said, there was a ton of extra for this simple of a run.
I went the easy route and simply looped the wiring and secured it with zip ties. I did this closer to the light side of the run so that I could hide the coil between the insulation and the hood. Another option is to bundle it and hide it in the engine bay itself, but I felt that looked more cluttered.
So far this option has not led to any rattling or issues with the operation.
Step 8. Connect Lights

Attaching the lights to the harness is very simple using the pre-wired bullet connectors.

Attach the male end into the female and push firmly but delicately. The rubber cover from the larger female side should be pushed over the connection point, and the smaller male side inserted into female one.
I had a tough time using the provided clear connection shrink wrap, and ended up replacing it with my own.
Step 9. Mount Lights To Hood

At this point you can attach the lights to your designated location using the magnets.
Now reinstall the insulation. Add new or existing clips back into the insulation holes to secure it in place.
Step 11. Mount Switch

This part of the process is where you can let your creativity shine. The switch itself is a taller and is a universal fit – which means you need to get a little creative. I tried to zip tie it near the battery, but it wasn’t secure enough for my liking.

I went with a drill option using a 1/2″ drill bit in the front fan shroud. This gave me the most security and strength when using the switch.

I do like it how upfront it is but I know others may opt for a more hidden location. I do think it is more centered than I would like and will end up moving it in the future.
Final Thoughts
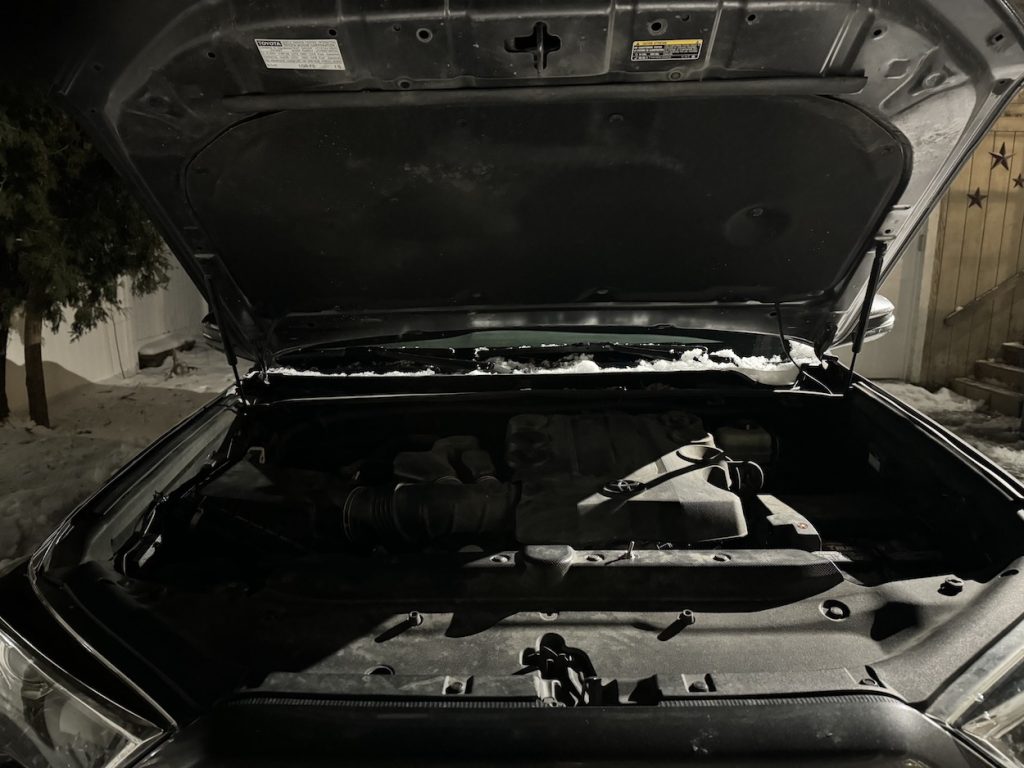
No auxiliary lights. Just the plain engine bay, lit on the side by my garage lights.

The light output is impressive, for two small lights. No more fumbling at night in the engine bay.
This kit is everything that you can need to light up the engine bay – as you can see. The installation process is simple as can be with the wiring kit preassembled and magnets attaching the lights. The kit comes with extra wiring that you will need to deal with. I do wish there was an option to select how long of a run you need.
The magnets have not moved at all and are rock solid. The ROX lights are incredibly bright given their size. They designed to be placed anywhere and I can see myself using them in a few other locations.
Overall, I think this kit is worth every penny and solves a solution that should be addressed by manufacturers. Until that time at least the crew at Mox Motors is thinking of us.
Very nice write up. I’m planning on doing the same thing, but probably wiring through an “ignition-on” relay, both for the usual reasons and so I don’t leave it on by accident 🙂
Hi, I would definitely recommend installing the switch out of the way in order to prevent it from being damaged or flipped to ON inadvertently. I would also consider a location free of road salt spray and corrosion.
Nice write up and pics. Thanks
Nothing two free magnet lights from Harbor Freight can’t fix! Jk. These look awesome.
A
And Harbor Freight’s lights are only $4.99 each.