
Armor comes in many forms, especially for the 5th Gen 4Runner. There are options ranging from front and rear bumpers to gas tank skids and washer fluid reservoirs armor. Many of the popular companies in this space produce armor in varying materials and price points. Either way, you probably can’t go wrong with any of them.
If you are looking for a reliable product at a reasonable price, take a look at Runnin4Taco’s (R4T) lower control arm skid plates. R4T has been around for a good while now and is starting to offer armor for the 4Runner, FJ, and GX. They have historically been a vendor for popular brands, so it’s awesome seeing them start to produce in-house products.
Find It Online:
- Runnin4Tacos Lower Control Arm Skid Plates (5th Gen 4Runner): Check Price
Table Of Contents
Initial Impressions

Note: This kit is not compatible with KDSS
The R4T skids come neatly packaged in a box with filler to help prevent the powder coat from being damaged during shipping. They also come with all the hardware necessary for installation.
You can pick between a couple of powder coating options at check out; TRD skid plate silver and black. I went with the latter, due to not having a TRD front skid. The hardware included works for the Tacoma, 4Runner, and GX. The skids are also cut to ensure they work with all skid plates and have drainage holes to help prevent water and debris from collecting.
The weight of the skids comes out to about 16 lbs. for the pair. Since the only option they have is steel, consider this when adding a full set of skids or armor.
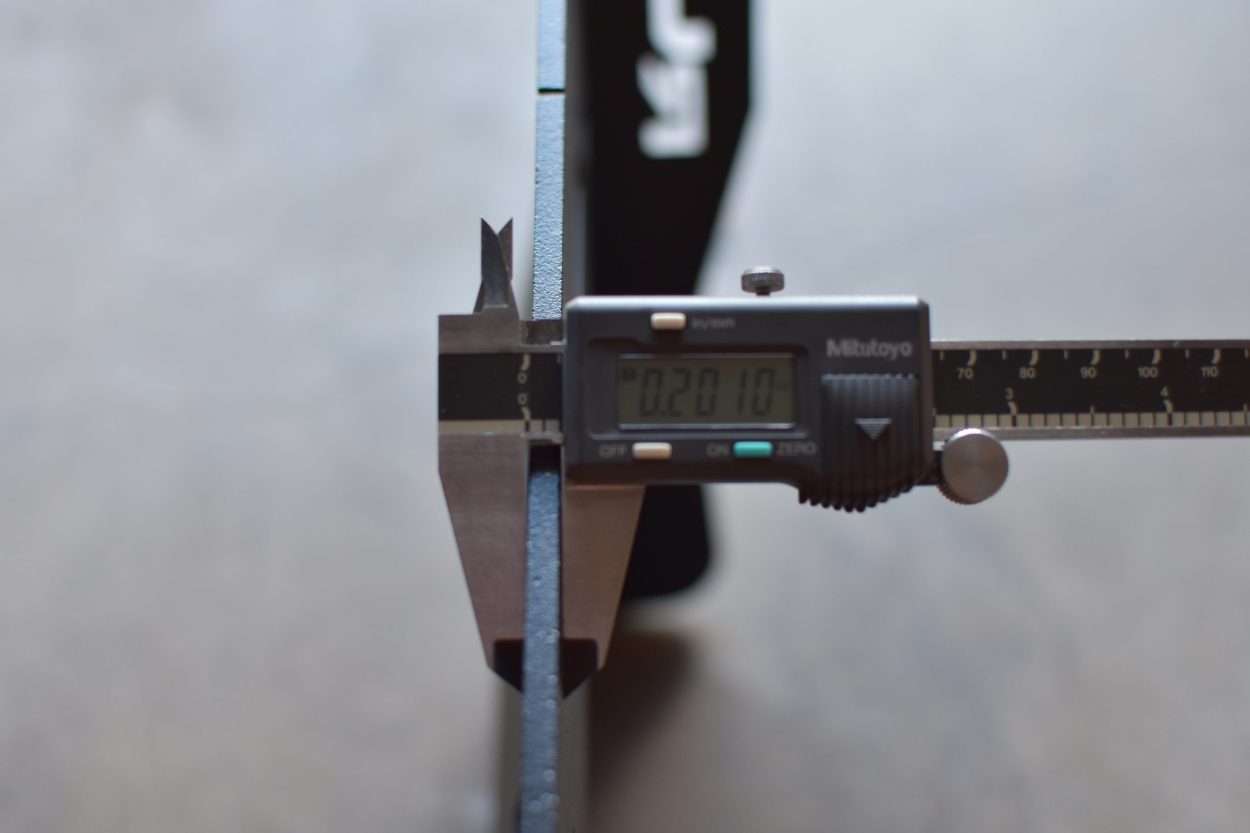
The skid plates with the powder coat measure in at .20″ thick or 1/5″. For reference, the stock skid plating is .065″ thick, so you’re getting some pretty good protection. Compared to many of the other options on the market using 3/16″ steel and offering a powder coating of choice, they are on par.
Installation

The tools and supplies used to install the skids are very minimal. They recommend using an automotive lubricant such as WD-40 on the carriage bolts to help prevent them from seizing, Also, do not use impact/power tools.
Tools & Supplies Required:
- 7/16″ Combo Wrench
- 9/16″ Combo Wrench
- Fluid Film or Other CPC (Optional)
- Automotive Lubricant (WD-40)
Fluid Film isn’t really necessary, I personally just like to maintain the undercarriage and prevent rust. I used Fluid Film to coat the underside of the control arm and spray it into the crevice that is now created by installing the skids.
Step 1. Nut & Bolt Placement

The kit comes with forward and aft long and short larger diameter carriage bolts, along with smaller diameter short and long carriage bolts. All of these have their own washer and self-locking nut. Four spacers are included for the large-diameter carriage bolts.

The (x4) large-diameter bolts will be used on the inboard side of the skid, the side that faces the vehicle. The shorter bolt is the forward one, and the longer is the aft one.

For the smaller diameter bolts, you will use the longer of the two. The shorter one can be put away in your miscellaneous parts bin. No spacer is required for the outboard bolt (away from the vehicle).
For the skid plates, the “R4T” should face forward. They also have “L” and “R” cut out in the metal.
Step 2. Install Carriage Bolts & Spacers
The holes in the lower control arm are lined up so everything should be smooth. Installation is pretty minimal and does not require much work. The correct bolt placement is cut out into the metal, carriage bolts go into the boxy cutouts.
Before installing, spray down the bolts with WD-40. When installing the bolts and spacers, I found it easier to install the inboard bolts first and then do the outboard bolt last, due to not having to install a spacer.

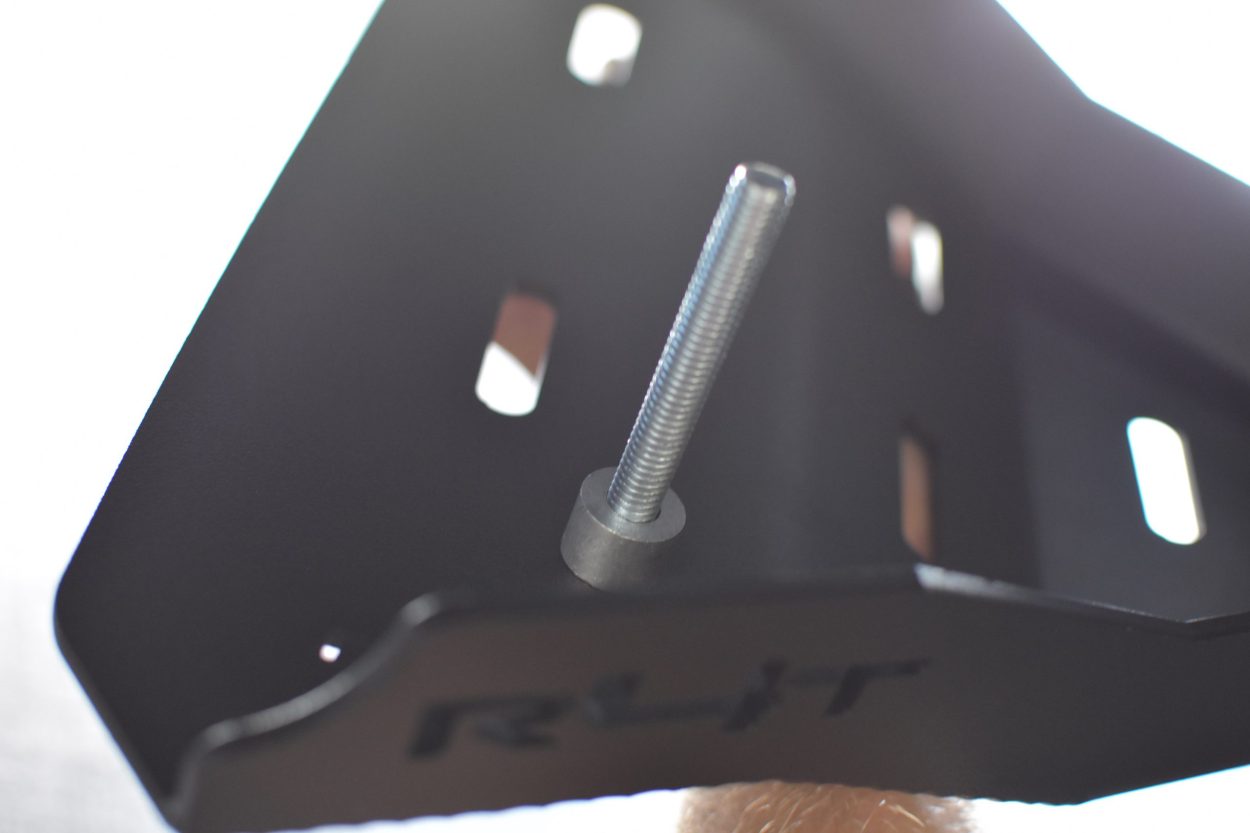
Push the short bolt through the front hole enough to install the spacer. Then, push the bolt through the hole lined up on the control arm. On the top side of the control arm, place the washer and nut. Start the threads of the nut and let the skid hang in place while you install the other inboard bolt.
Once the second long aft inboard bolt is in place with the washer and nut, install the outboard bolt. Do the same here, making sure you are using the longer of the two smaller diameter bolts. If not, you will notice a long portion of the bolt will protrude through the nut, placing it closer to your CV boot.
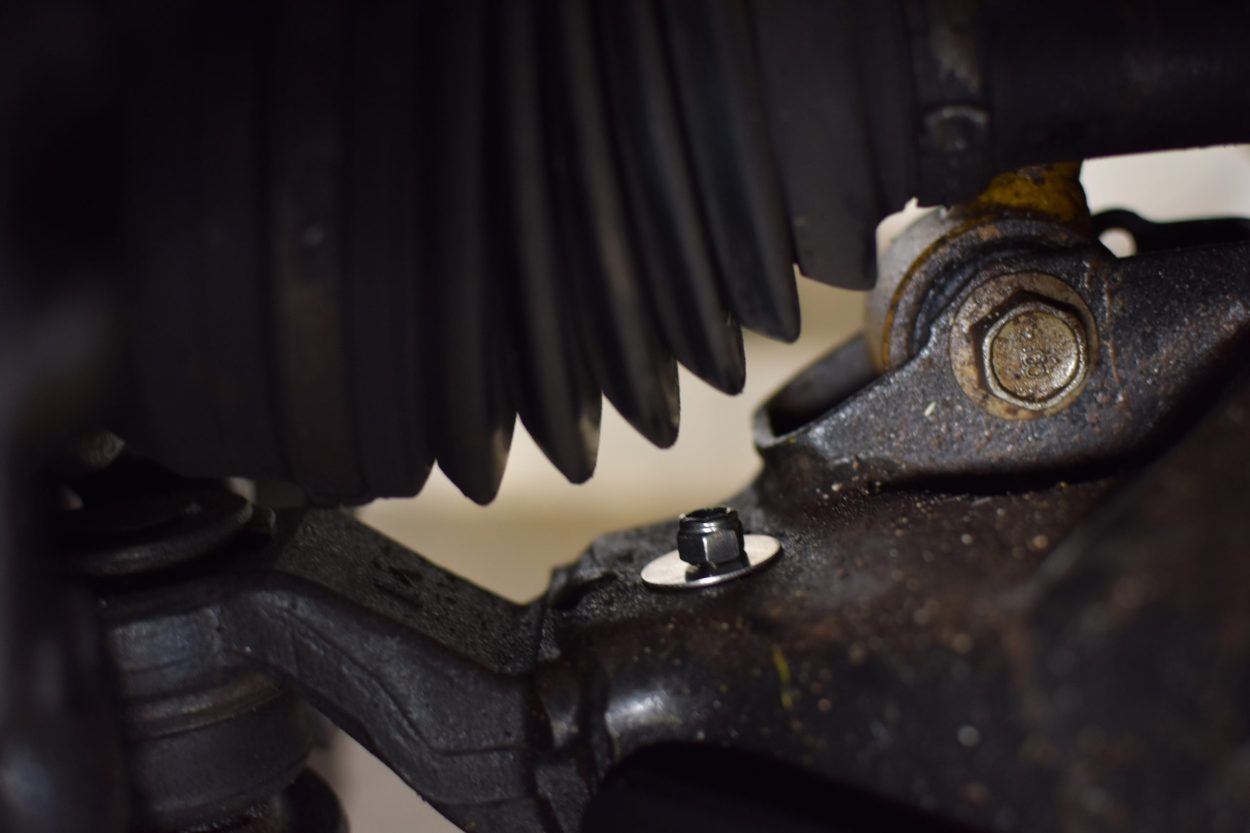
Step 3. Tighten Down Self-Locking Nuts

Tighten down all three self-locking nuts using a combo wrench. No torque is given for this, but everything should be tight and the carriage bolts should line up in their slots on the skid plate and sit flush like below.
Final Thoughts

Overall, I’m very pleased with the product. They should help keep the undercarriage protected from impact, especially considering that the LCAs hang lower than anything else up front. I also like the clean design and solid construction.
The installation is extremely easy and very straightforward. Honestly, the hardest part is determining which bolt goes where.
The goal here is added protection, and I look forward to seeing if R4T has more skids in the works for Toyotas across the board. Whether you are wheeling hard or not, protecting your undercarriage could make or break you out on the trail, so why not beef up the protection?