Unique Style Racing Presents Their Prebuilt LED DEPO Tail Lights for 5th Gen 4Runner – Step-by-Step Install Guide & Overview
Upgrading the stock tail lights on the 5th Gen is never a bad idea. Most of the halogen bulbs that come equipped in the housings are useless and all the chrome is a pretty basic look.
There are lots of options out there for upgrading reverse light bulbs, tail as turn signal mods, and even full reverse light bars over the license plate. While all these options are cool and provide better light output, they don’t change the appearance of the 4Runner.
Enter the USR blacked-out tail lights with a full LED light upgrade. As we mentioned in a previous article on the USR headlights, DEPO is the brand of housing and USR builds and customizes those housings. When you buy from USR, you get DEPO housings with USR customization.
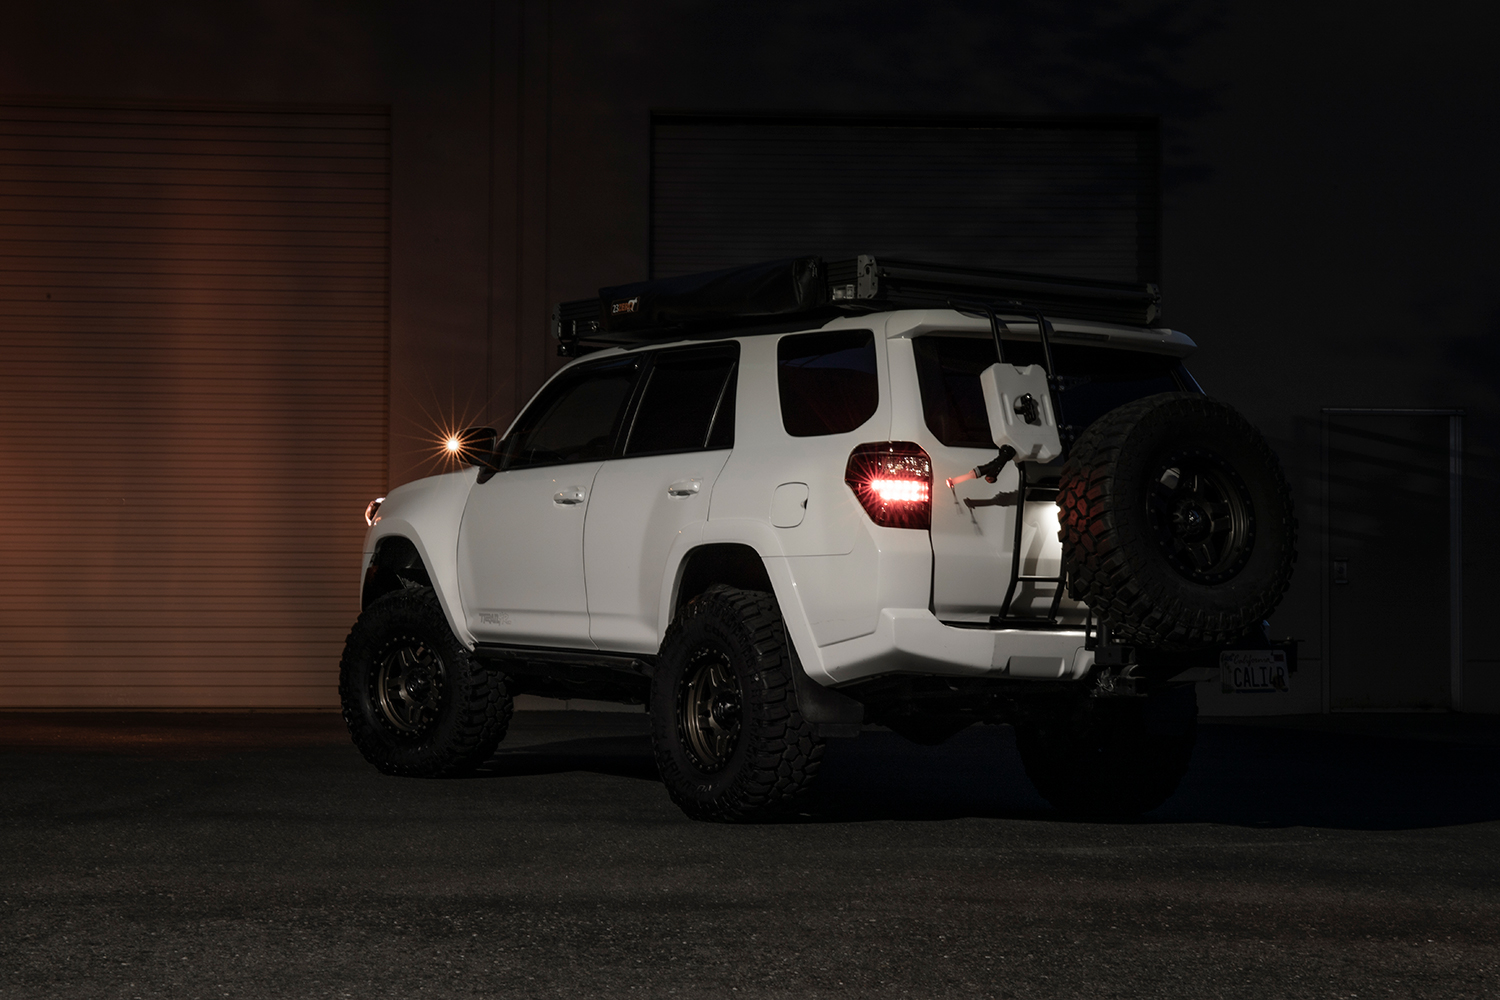
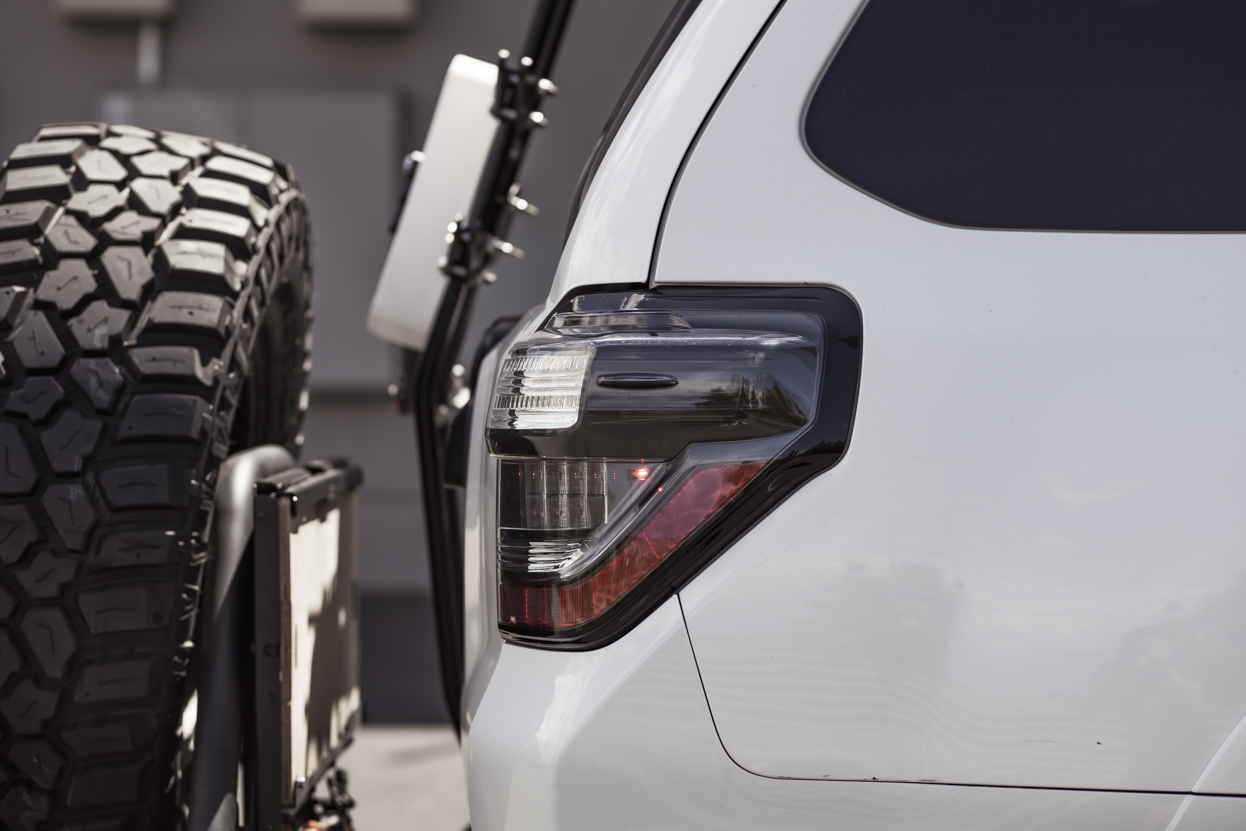
These blacked-out tail lights from Unique Style Racing (USR) are the perfect replacement for your stock tail lights. They retain the OEM look while substituting the chrome accidents with black, and they provide much brighter light output from the running lights, turn signals, and reverse lights. There was a previous article on these housings however, they have recently updated the LEDs with new and improved 7440 2000-lumen ambers LED turn signals & 921 900-lumen white LED reverse bulbs.
These new reverse lights are INSANE bright!!
Find it online
- USR Blacked Out Tail Light Housing: Check Price
- USR Blacked Out LED Retrofit Headlight Housings: Check Price
USR DEPO Tail Light Install
DEPO Tail Lights

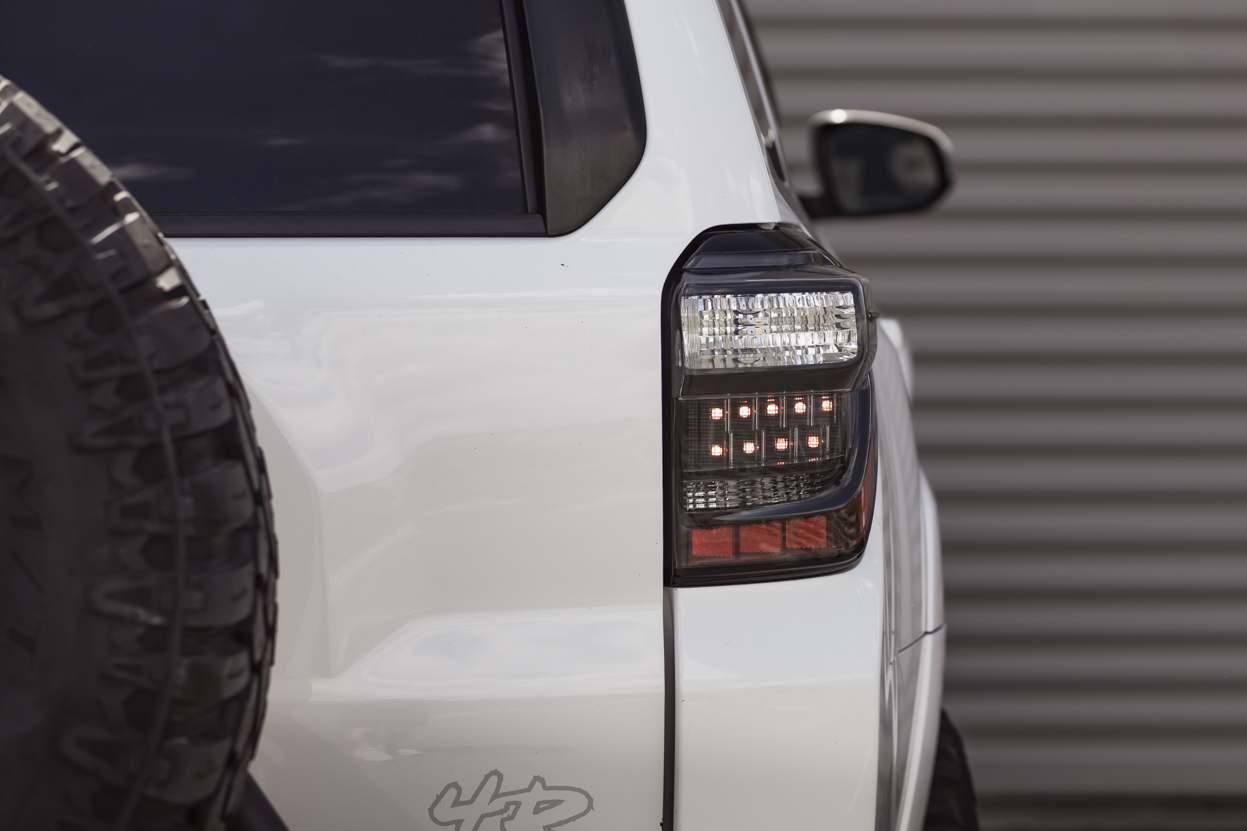
When it comes to tail lights, performance should be a priority over cosmetics and USR freaking nailed it on this one! They now offer a much brighter output and a slight cosmetic upgrade. These tail lights look very similar to the OE lights but there are a couple of differences.
For starters, much like the previous version, these tail lights are also blacked out. This is strictly cosmetic and does not limit visibility at all. The lens itself is clear and all the reflector bowls are still chrome to reflect light.
These tail lights also come with LED everything—running lights, brake lights, turn signals, and reverse lights. This is a pretty big upgrade considering this is how other drivers spot you while driving at night.
Features
- Blacked Out Housing
- LED Turn Signal
- LED Reverse Lights
- LED Running Lights
- LED Brake Lights
LED Running/Brake Lights
The LED running and brake lights are very similar to the stock lights. The running lights specifically appear a little brighter in direct sunlight when compared to stock 4Runner tail lights. Much like the stock tails, the LED chips that are responsible for the running lights are also responsible for the brake lights.
LED Reverse Lights/ Turn Signals

This is where I was blown away.
Our first time testing the reverse lights after plugging them in, I was seeing stars after accidentally staring at the spot where the turn signal would usually be. The LEDs in the turn signal spot are responsible for the revere lights as well. And they are crazy bright.
The revere lights activate in two different spots on the tail light which provides enough light to see anything and everything behind you.
The LED turn signals are just as awesome. The bright amber LED is very visible during the day, and the best part is there is no hyper flash.
Comparison to OEM Tail Lights
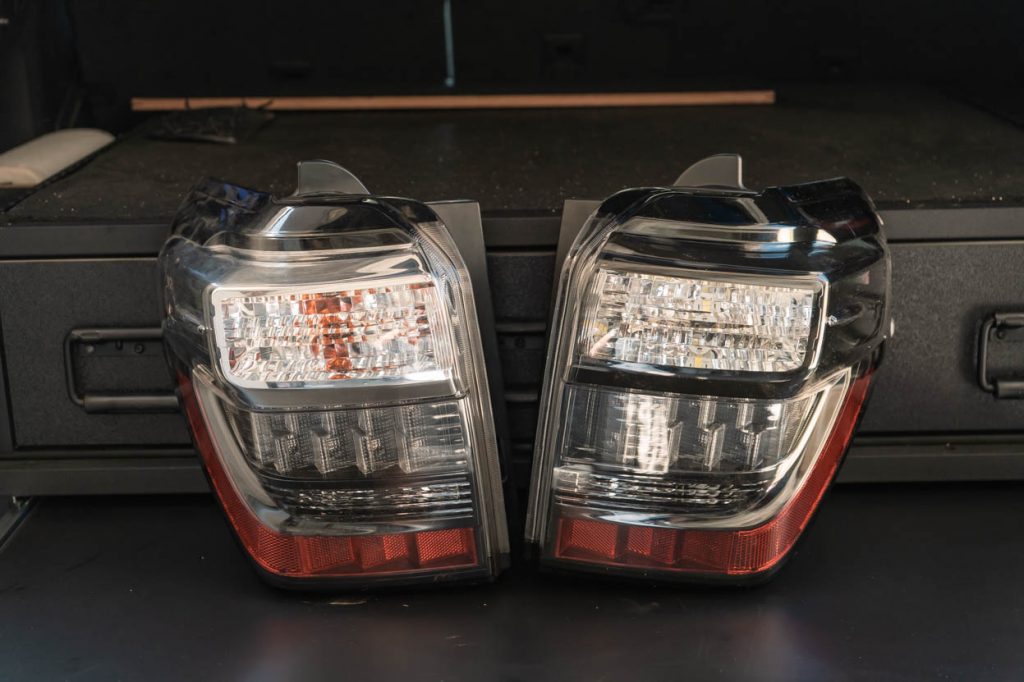
OEM Tail Lights Left and USR DEPO Tail Lights Right
One of my favorite things about these tail lights is how they retain the factory look. They’re not too flashy but provide much better output. Although they look similar, there are a few noticeable differences between the two lights.
Blacked-Out Housing
The top part of the DEPO tail light is black which looks extremely good. You’ll notice on the OEM tail light (pictured on the left), the very top part of the housing is black but just under it, the housing is chrome. USR made these lights look so much better by blacking out that whole piece.
LED Turn Signal
Not only does the LED turn signal provide a much brighter light, but it also looks a lot better in the DEPO housings. The reason for this is so you don’t see the obnoxious amber bulb through the tail light lens—another reason why the DEPO tail lights look much cleaner than OEM.
Double Trouble Reverse Lights
The reverse lights that are in the DEPO tail lights are wired through the LED turn signal and an LED bulb where the reverse light usually is. This makes for crazy bright reverse lights that can help illuminate everything behind you. This is super helpful for getting the most out of your reverse camera.
Install Overview

The install of the tail lights is extremely easy. Although it’s a one-person job, removing the headlight from the body clips is definitely easier with two people.
Tools and Materials:
- Drill driver
- Ratcheting driver
- Metric Sockets
- Mini Screwdriver
- Open-End Wrenches
- Plastic Pry Tools
- Plier Set
- Needle Pliers
- Bent Needle Pliers
- Lineman’s Pliers
- Cutting Pliers
- Utility Knife – Razor Blade
- Zip-Ties
Step 1. Remove Plastic Cover
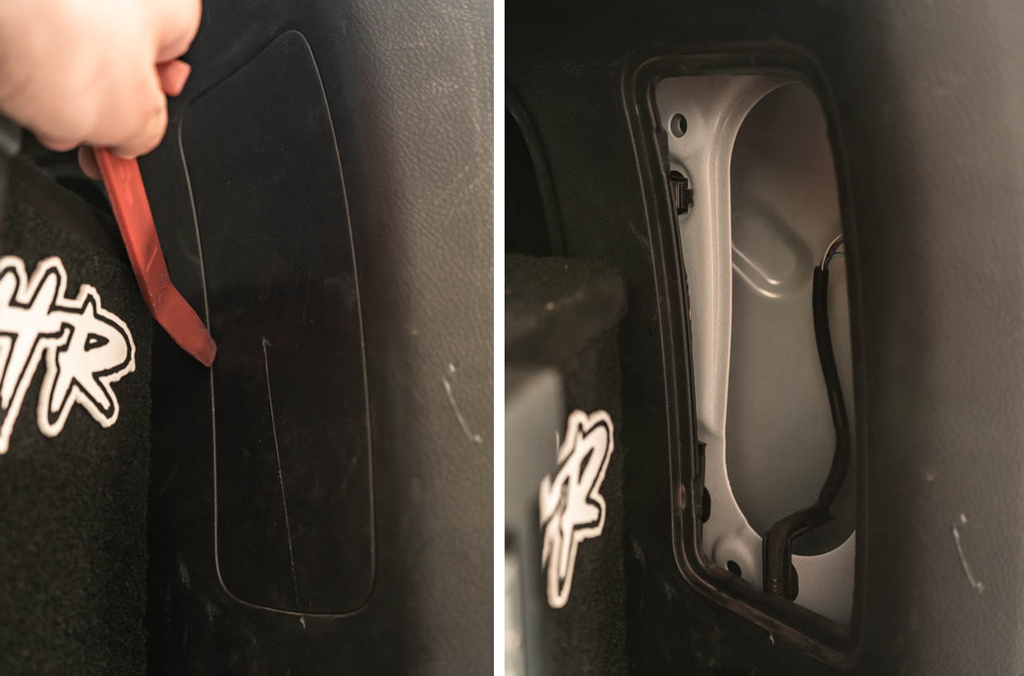
The first step is to remove the plastic cover on both sides of the cargo area with a trim tool. A screwdriver will definitely scratch this piece, so get a plastic trim tool for this step if you don’t have one already.
Step 2. Remove Taillight Hardware

Next, remove the two 10mm bolts holding the tail light in place. You’re going to need a deep dish 10mm since the nuts are threaded on a longe stud that is attached to the tail light itself.
Step 3. Remove Housing

Once the two 10mm nuts are off, all that’s holding the tail light in are the two body clips. This is the hardest part of this install as those clips can be a little stubborn. We found it easiest to do this step with two people to avoid damaging the clips or the housing. Have one person pull on the inside edge of the housing, and one person push from the opposite side.
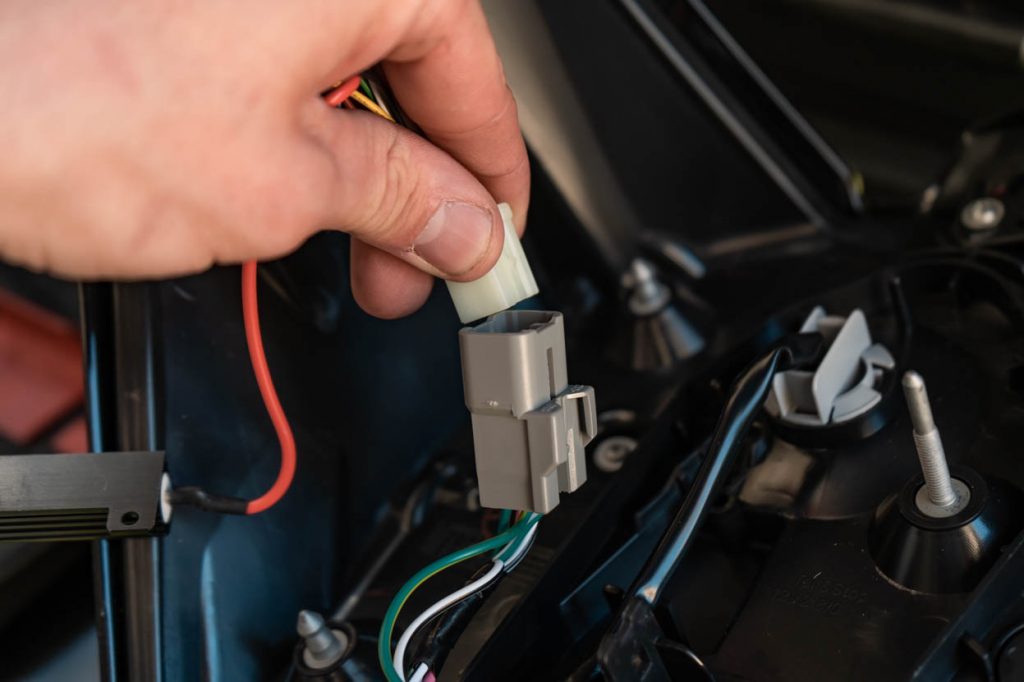
Step 4. Unplug Harness

Once the housing is away from the body, unclip the single harness responsible for powering the tail light.
Step 5. Unclip New Harness
Once your OEM tail lights are out, you can start getting the new ones ready. Start by unplugging part of the new harness to allow the weather seal to fit onto the new housing back.
Step 6. Apply Weather Proof Seal

To install the weatherproof seal, remove the backing from the seal and slide it onto the housing. Once it’s on and all the pre-cut holes line up, use your hand to wrap it around the edge of the housing.
Step 7. Zip Tie Wires

This step is optional but recommended. We took a minute and zip-tied all the wires for a cleaner look. Notice how we left the load resistor away from the wires. This is because these are known to get a little warm. Warm enough to melt the wires? Probably not, but better safe than sorry.
Step 8. Connect OE Harness

Next, take the harness you removed from the new housing and connect it to the OE harness.
Step 9. Zip Tie Load Resistor

Before you connect the last piece of the harness, zip-tie the load resistor to the body of the truck. This will keep the resistor away from any wires and plastic body panels.
Step 10. Connect Harness

One of the last steps is to connect the new harness to the new housing.
Step 11. Reinstall Hardware

And finally, install the new housing along with the two 10mm nuts. Once everything is back in place, don’t forget to put the plastic covers back in.
Final Thoughts
This install was very easy. Simply remove the factory tail lights and put the new ones in. No additional wiring is needed as this kit is a true plug-and-play setup.
These tail lights are perfect for anyone who wants to upgrade from the factory tail lights without being too flashy. Not to mention the light output from these tails are much better than a set of factory tail lights.
Overall, these new lights look great and their output (especially the reverse lights) is next level. The sophisticated OE look and amazing LED light output should be more than enough to convince anyone to get a set of these tail lights.
Hi,
Can you please explain the difference in the two configuration types on the product page (USR Plug and Play vs USAM Module Upgrade)? I’ve got a 2021 TRD Pro, would one be better than the other? And do I need any of the additional bulbs? Thanks!
Hey Nick, I’m having the same issue, but with both headlights. They were working fine and then *flicker*. Any word on a solution for yours?
Did you add a resistor, or did the resistor referenced in Steps 7 and 9 come attached to the USR housing?
The product page, using the link provided in the article, doesn’t say whether a resistor is provided. However, it does say that hyperflash can occur if the vehicle also has LED headlights and that the way to cure this issue is by adding a resistor.
The resistor is provided in this kit, yes.