
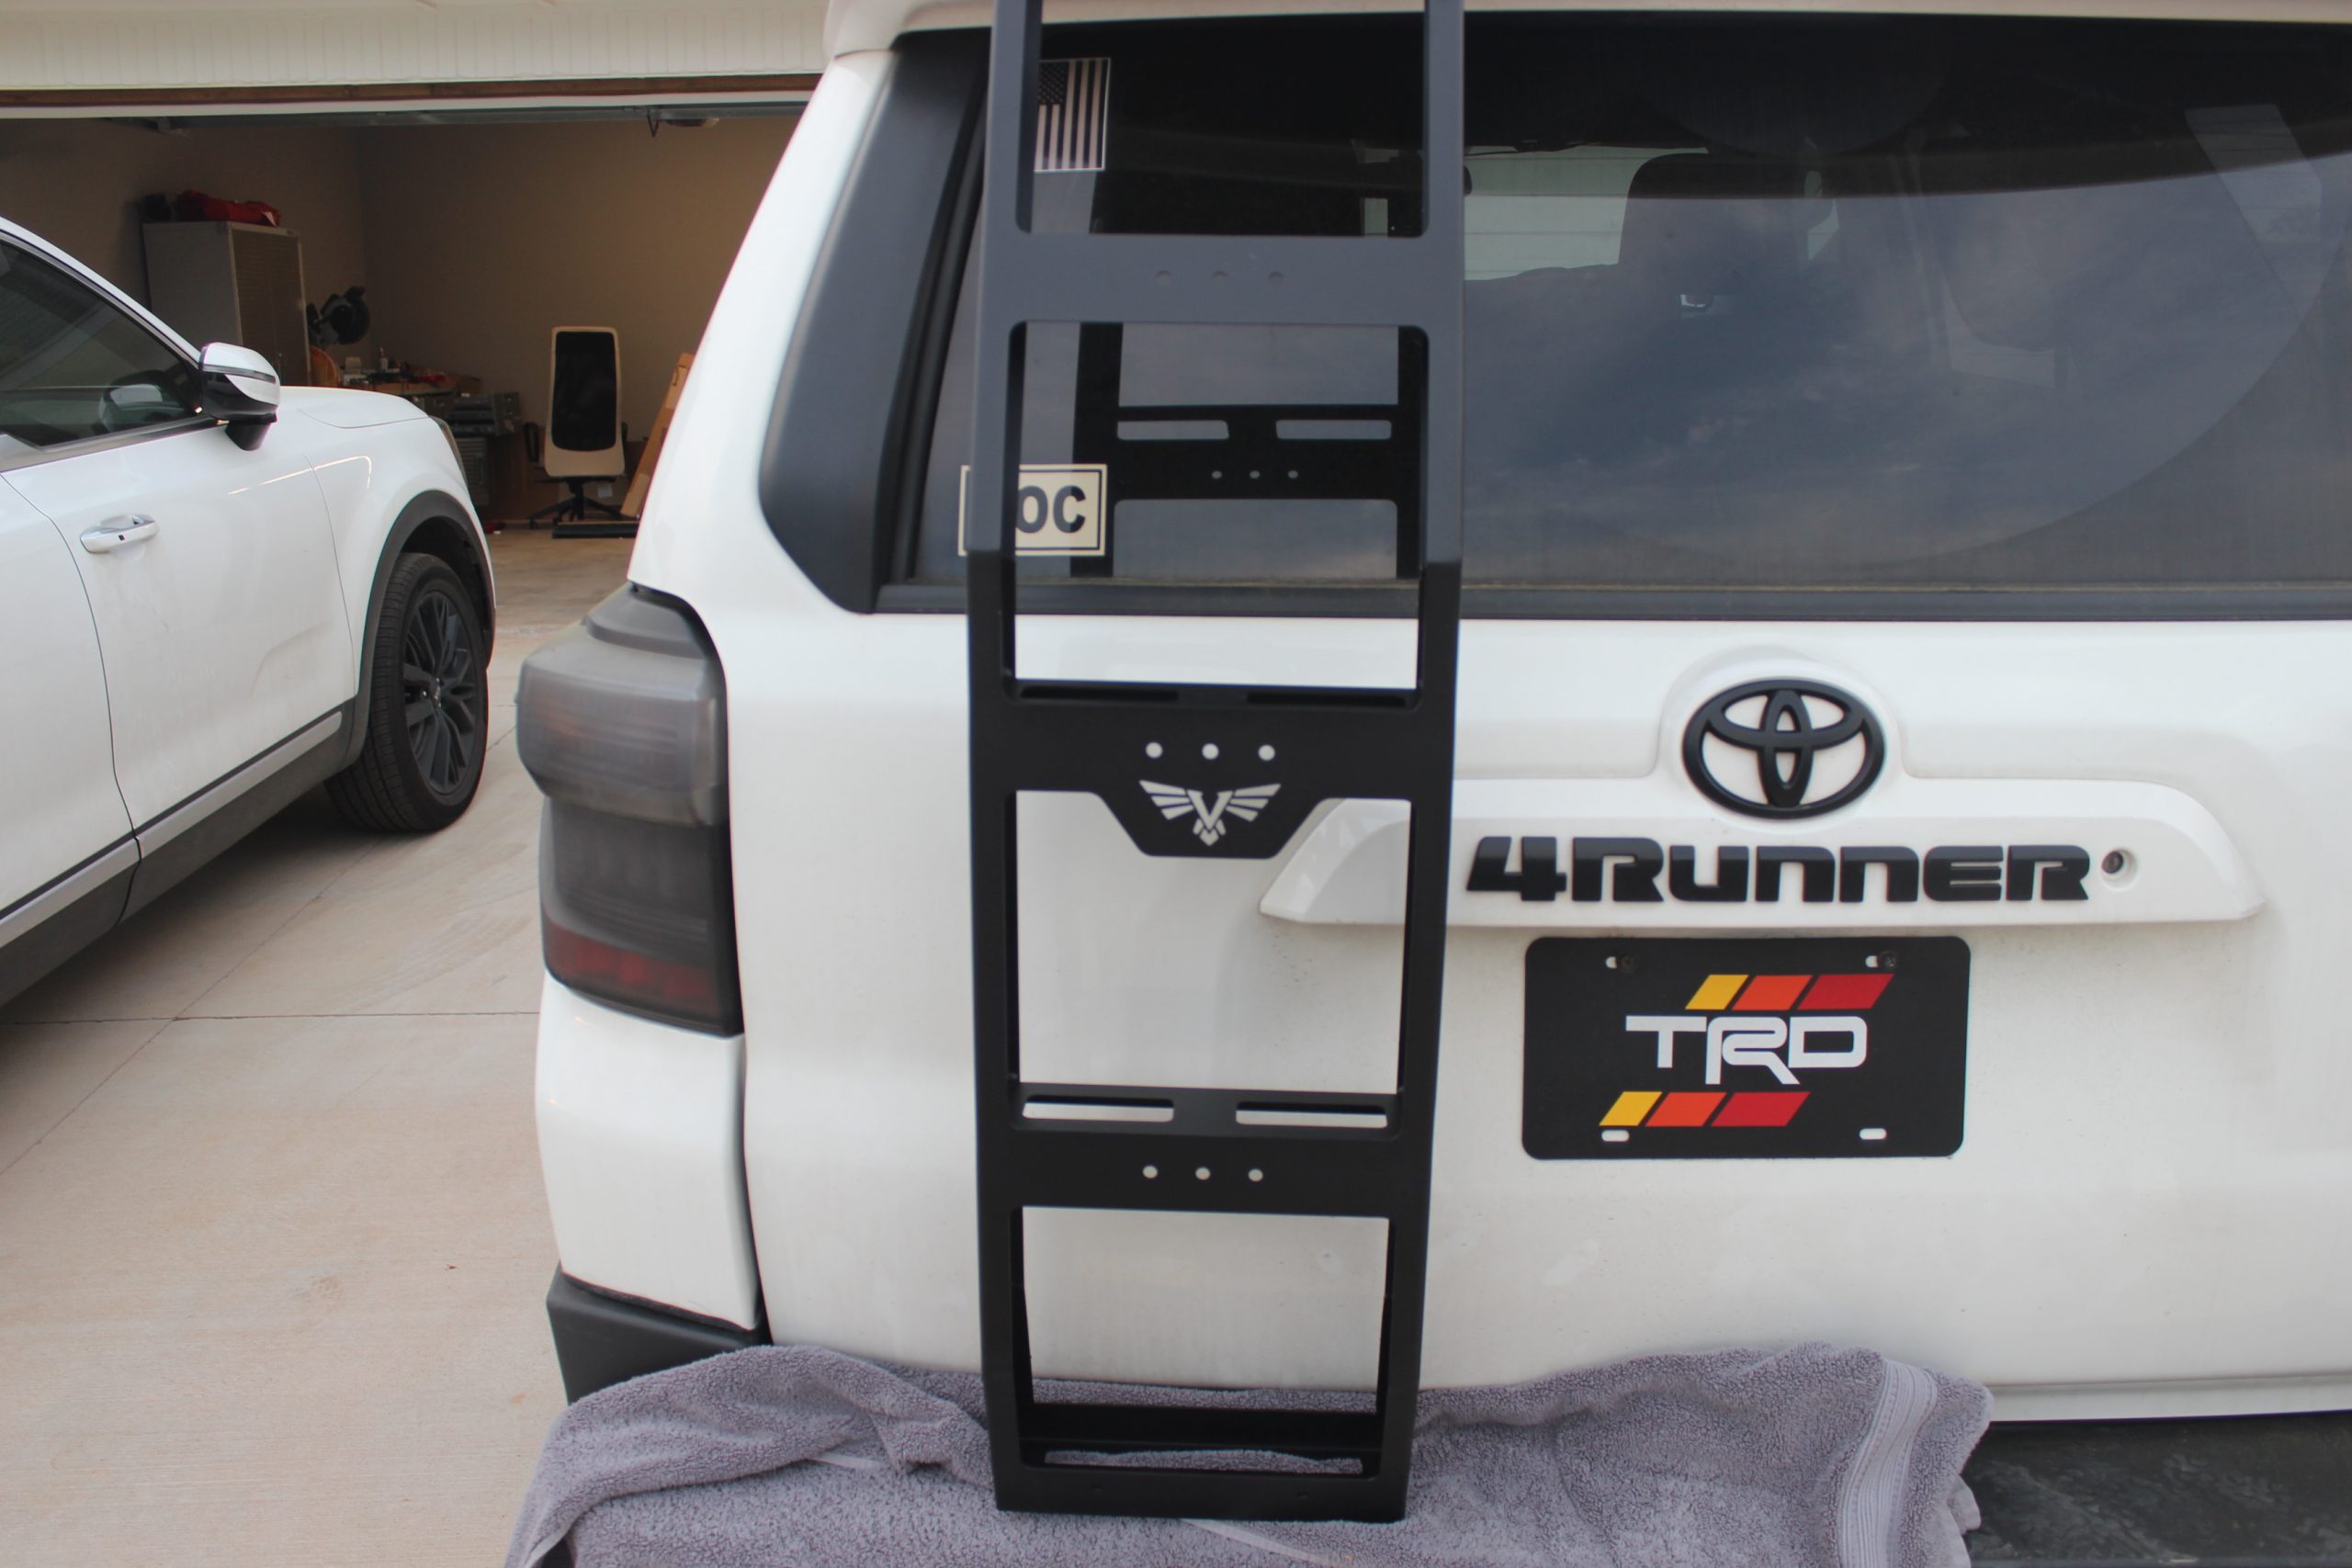
Victory 4×4 Hatch Ladder Step-By-Step Install and First Impressions Review For the 5th Gen 4Runner
As of now, this ladder will only mount on the driver’s side of your 5th Gen 4Runner. I find it hard to believe that Victory will not find or offer a solution for passenger side mounting.
Although I am running the Victory rear bumper, the ladder does not require the use of the Victory rear bumper. I do have the Victory full-length roof rack installed. I cannot confirm the ladder will work with other roof racks, but I see no reason why it would not.
Victory recommends upgrading the 4Runner struts on your hatch if you plan to mount a bunch of accessories to the ladder. Normally, I mount everything to my roof so I did not think it was necessary at the time.
However, if you can afford it, I would go ahead and make this purchase.
Features:
- .074 black, Powder-Coated Steel
- Multiple Mounting Locations for Accessories
- Made in the USA
- Driver’s Side Mounting Only
- Does Not Require Victory bumper
What’s in the Box:
- Victory 4×4 Hatch Ladder: Check Price
- Bottom Ladder Step
- Topside Mounting Bracket
- Bottom Mounting Bracket
- Mounting Hardware
- Two Pieces of Edge Trim (1 Large + 1 Small)
- 4 Squares of Double-sided 3M tape

Tools/Supplies Needed:
- Upgraded struts (Heavy Duty)
- Level
- Tape
- Pencil
- Scissors
- Drill
- 5/16″ Drill Bit
- 1/2″ Socket Wrench
- 3/16″ Allen Wrench
- Towel or Blanket
- Additional Edge Trim
- Additional 3m VHB Tape
- Rubbing Alcohol or Any Cleaning Solution
- Exact-Match Toyota Touchup Paint (always nice to have on hand)
Victory 4×4 Hatch Ladder Step-By-Step Install
Step 1. Open Trunk & Remove Grab Handle

Grab a beer and pop the trunk. Remove the left plastic grab handle. Mine was black. Yours may not be. I was able to simply pull it out with my hand but when in doubt, use a trim tool. Close the tailgate and take a sip of beer.
Step 2. Cut Smaller Piece of Edge Trim in Half
Identify the smaller piece of edge trim and cut it in half. Grab the topside mounting bracket (the large bracket with a rounded and squared end) and place it flat side down.
For reference, the rounded side will be referred to as the “back” and the square side is referred to as the “front”. Place the edge trim on the bottom left and right edges of the bracket. This will prevent the bracket from rubbing paint off your vehicle.
Step 3. Place 4 3M Tape Squares Across Front/Back of Bracket

The next step will be to place the four 3M tape squares evenly across the “front”, bottom end of this bracket. This will help hold the bracket to the roof. First, I recommend cleaning both the roof of your rig and the “front” of the bracket with rubbing alcohol or your preferred cleaning solution to provide the most optimal surface for adhesion.
Once dry, adhere the 3M squares to the front, bottom side of the bracket. Feel free to remove the other side of the film.
Step 4. Measure 4.5″ From Leftmost of Rain Gutter

Grab the tape measure and measure 4.5″ from the leftmost edge of the rain gutter. Make a mark. This mark will be where the left edge of the topside bracket will align with.

With flat side up, hook the front end of the bracket onto the tailgate. Pull tightly to ensure a snug fit while being careful not to let the 3M tape touch the roof. Once satisfied, press the bracket firmly against the roof surface for at least 3o seconds.
Step 5. Place + Secure Ladder Onto Brackets
Carefully, place the ladder on top of the newly installed bracket.
It is recommended that you place a towel or blanket between the bottom of the bracket and the tailgate. Make sure to bring the towel about halfway up the ladder since there may be some rubbing in that area in the next steps. Use three button head bolts and flange nuts to secure the ladder to the bracket.
Step 6. Use a Level To Ensure Ladder is Plumb
For this next step, it may be easier to have a helping hand but if you are anything like me, you scoff at the idea of help.
Use a level to ensure the ladder is plumb by placing it on the side of the ladder. Use tape or a pencil to mark the bottom left and right edges of the ladder. This will ensure your ladder stays plumb.
Step 7. Place Edge Trim Onto Bottom of Tailgate
Grab the last piece of edge trim and place it on the bottom edge of your tailgate, underneath the ladder. This is where the bottom bracket will be going.
Step 8. Loosely Attach Bottom Bracket To Ladder

Loosely attach the bottom bracket to the ladder using two button head bolts, flange nuts and the 3/16″ Allen wrench. The pointed side of the bracket will face up. The edge of the tailgate, where you placed the trim, should fit snuggly inside the indention in the bracket.
Step 9. Firmly Press Bracket Against Tailgate Until Flush
Make sure your drill with a 5/16″ drill bit is within reach. With all your God-given might, press the bracket firmly against the tailgate. Ideally, the bracket should be flush against the tailgate. Triple-check that your ladder is still plumb and aligned properly.
If happy, drill the two holes using the 5/16″ bit. Use your paint to touch up the holes in order to prevent rust.
Step 10. Install Bracket To Tailgate (w/ Socket Wrench)

Install the bracket to the tailgate using a 1/2″ socket wrench, two hex head bolts, two washers and two nuts (washers on the outside).
Hopefully, you have small hands because you will need to squeeze your meaty fingers through the grab handle hole to start the nuts.

I went back in with a low-profile socket to ensure they were tight. Tighten the two button head bolts connecting the ladder to the bottom bracket.
Step 11. Place Bottom Step Inside Ladder
Place the bottom step inside the ladder. You may need to get rough with it. Install using two button head bolts and nuts. Lastly, double-check that all the hardware is tight.
Congratulations!! Your ladder is now installed. Be sure to climb the ladder to celebrate your achievement.
Optional Step: Since both mounting brackets have slotted holes, there is so adjustability to the ladder. Adjust the ladder as needed.
First Impressions

The installation took roughly 1.5 hours and was not difficult as the written instructions were easy enough to follow.
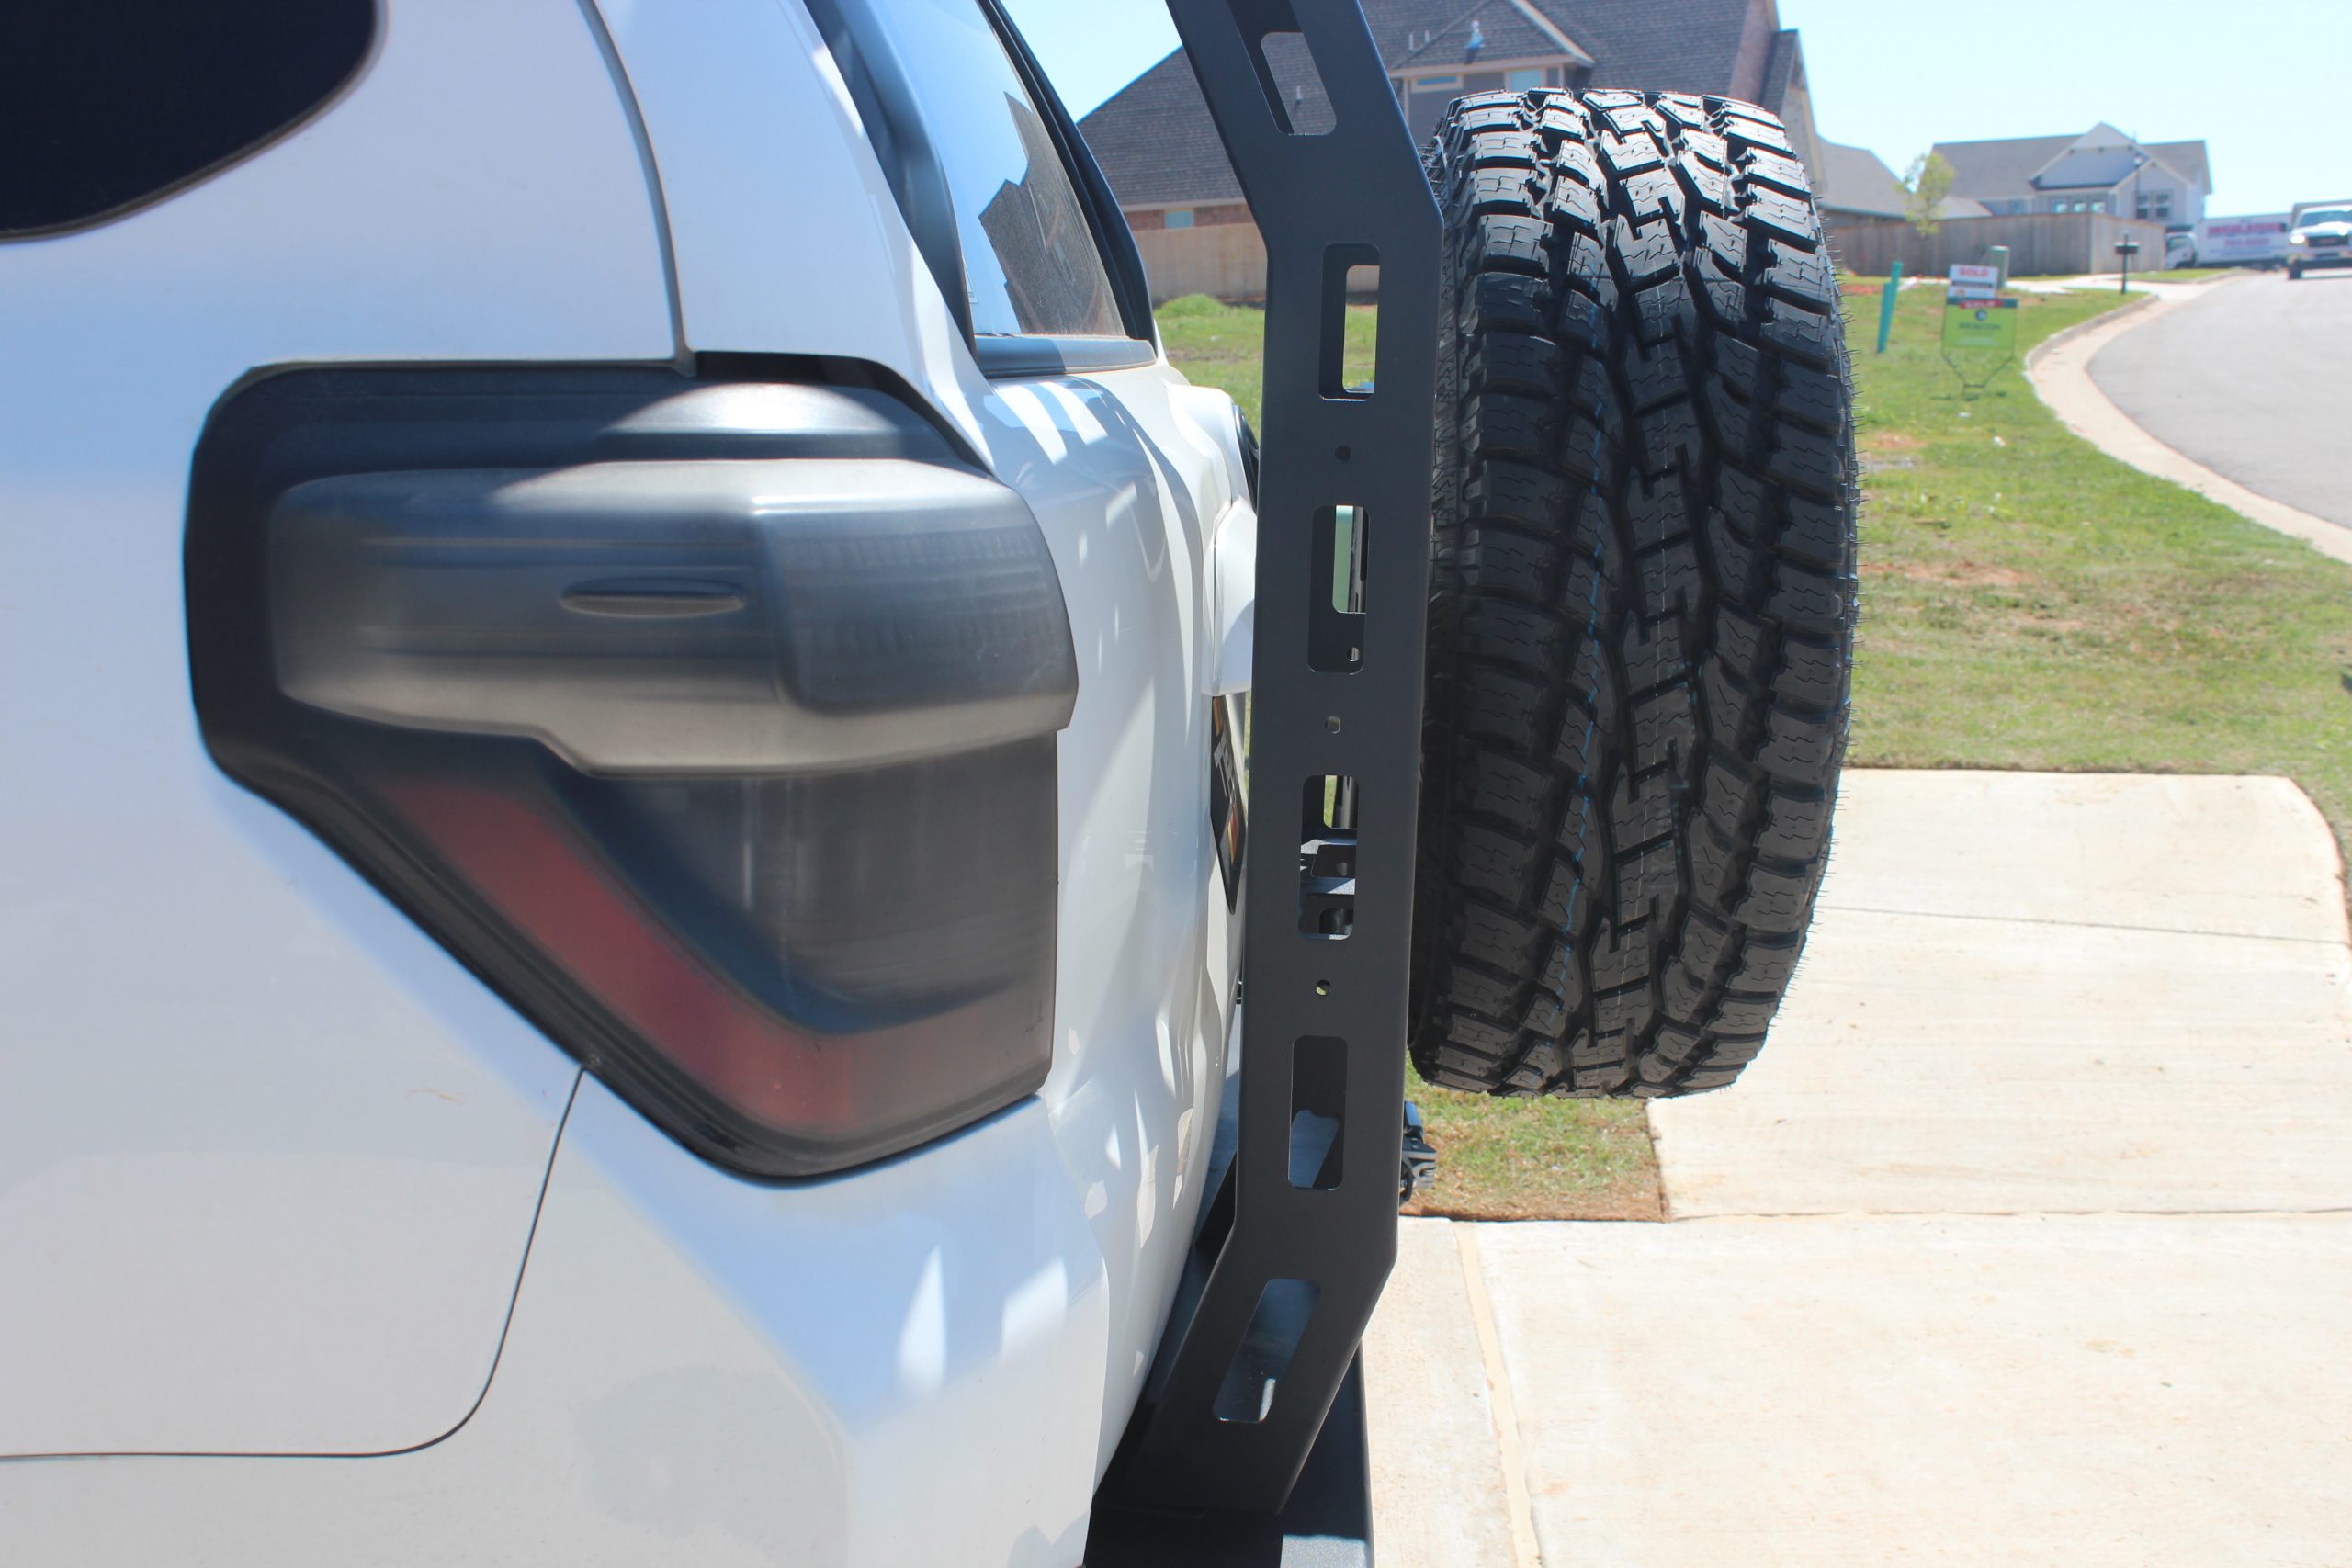
I weigh 175 and have had no issues climbing up and down the ladder. The width of the steps and ladder feel more than capable of handling my weight and the weight of my gear. The ladder, itself, does not protrude too far out from the hatch. As previously mentioned, I would recommend upgrading the struts just to improve the handling/weight of the hatch. Most importantly, the ladder feels secure to the rig with no signs movement while driving or while using the ladder.
Lastly, I just love the look of this ladder. Visually, I find the angularity and squareness of the ladder more appealing than the rounded ladders on the market. It just looks more durable and rugged while providing a better fit for my aesthetic.
Just installed my ladder and am very happy with this and all products I have received from Victory 4×4 so far. I used a small bar clamp to hold the bottom of the ladder in place by simply feeding one end through the hand hold, pushing the lower bracket into the desired place and racheting the clamp down tight. Be sure to double check your top bracket after you plumb it and before you move it or you will run the risk of scratching or denting your roof when you open the hatch. For me I had the best clearance when the ladder was adjusted fully in toward the lift gate.
Put my Victory ladder on back in April and agree with everything Nate has said about it. I also wanted a different look than the round bar ladders that are all over the place. But it doesn’t look like an erector set, like another ladder out on the market. Beefy look and feel. Holds all my 220 lbs easily. The stock struts easily hold the ladder by itself, but I recently added a shovel and now sometimes they hold the ladder and other times not. So new struts are on order! The powder coat could be stronger/thicker, as it scuffed easily when I was playing around with trying to mount my recovery tracks. But the Victory guys recommended Krylon rustproof paint and I now always have a can ready. Last but not least, the price is soooo much better than the rest!! Highly recommend this ladder.