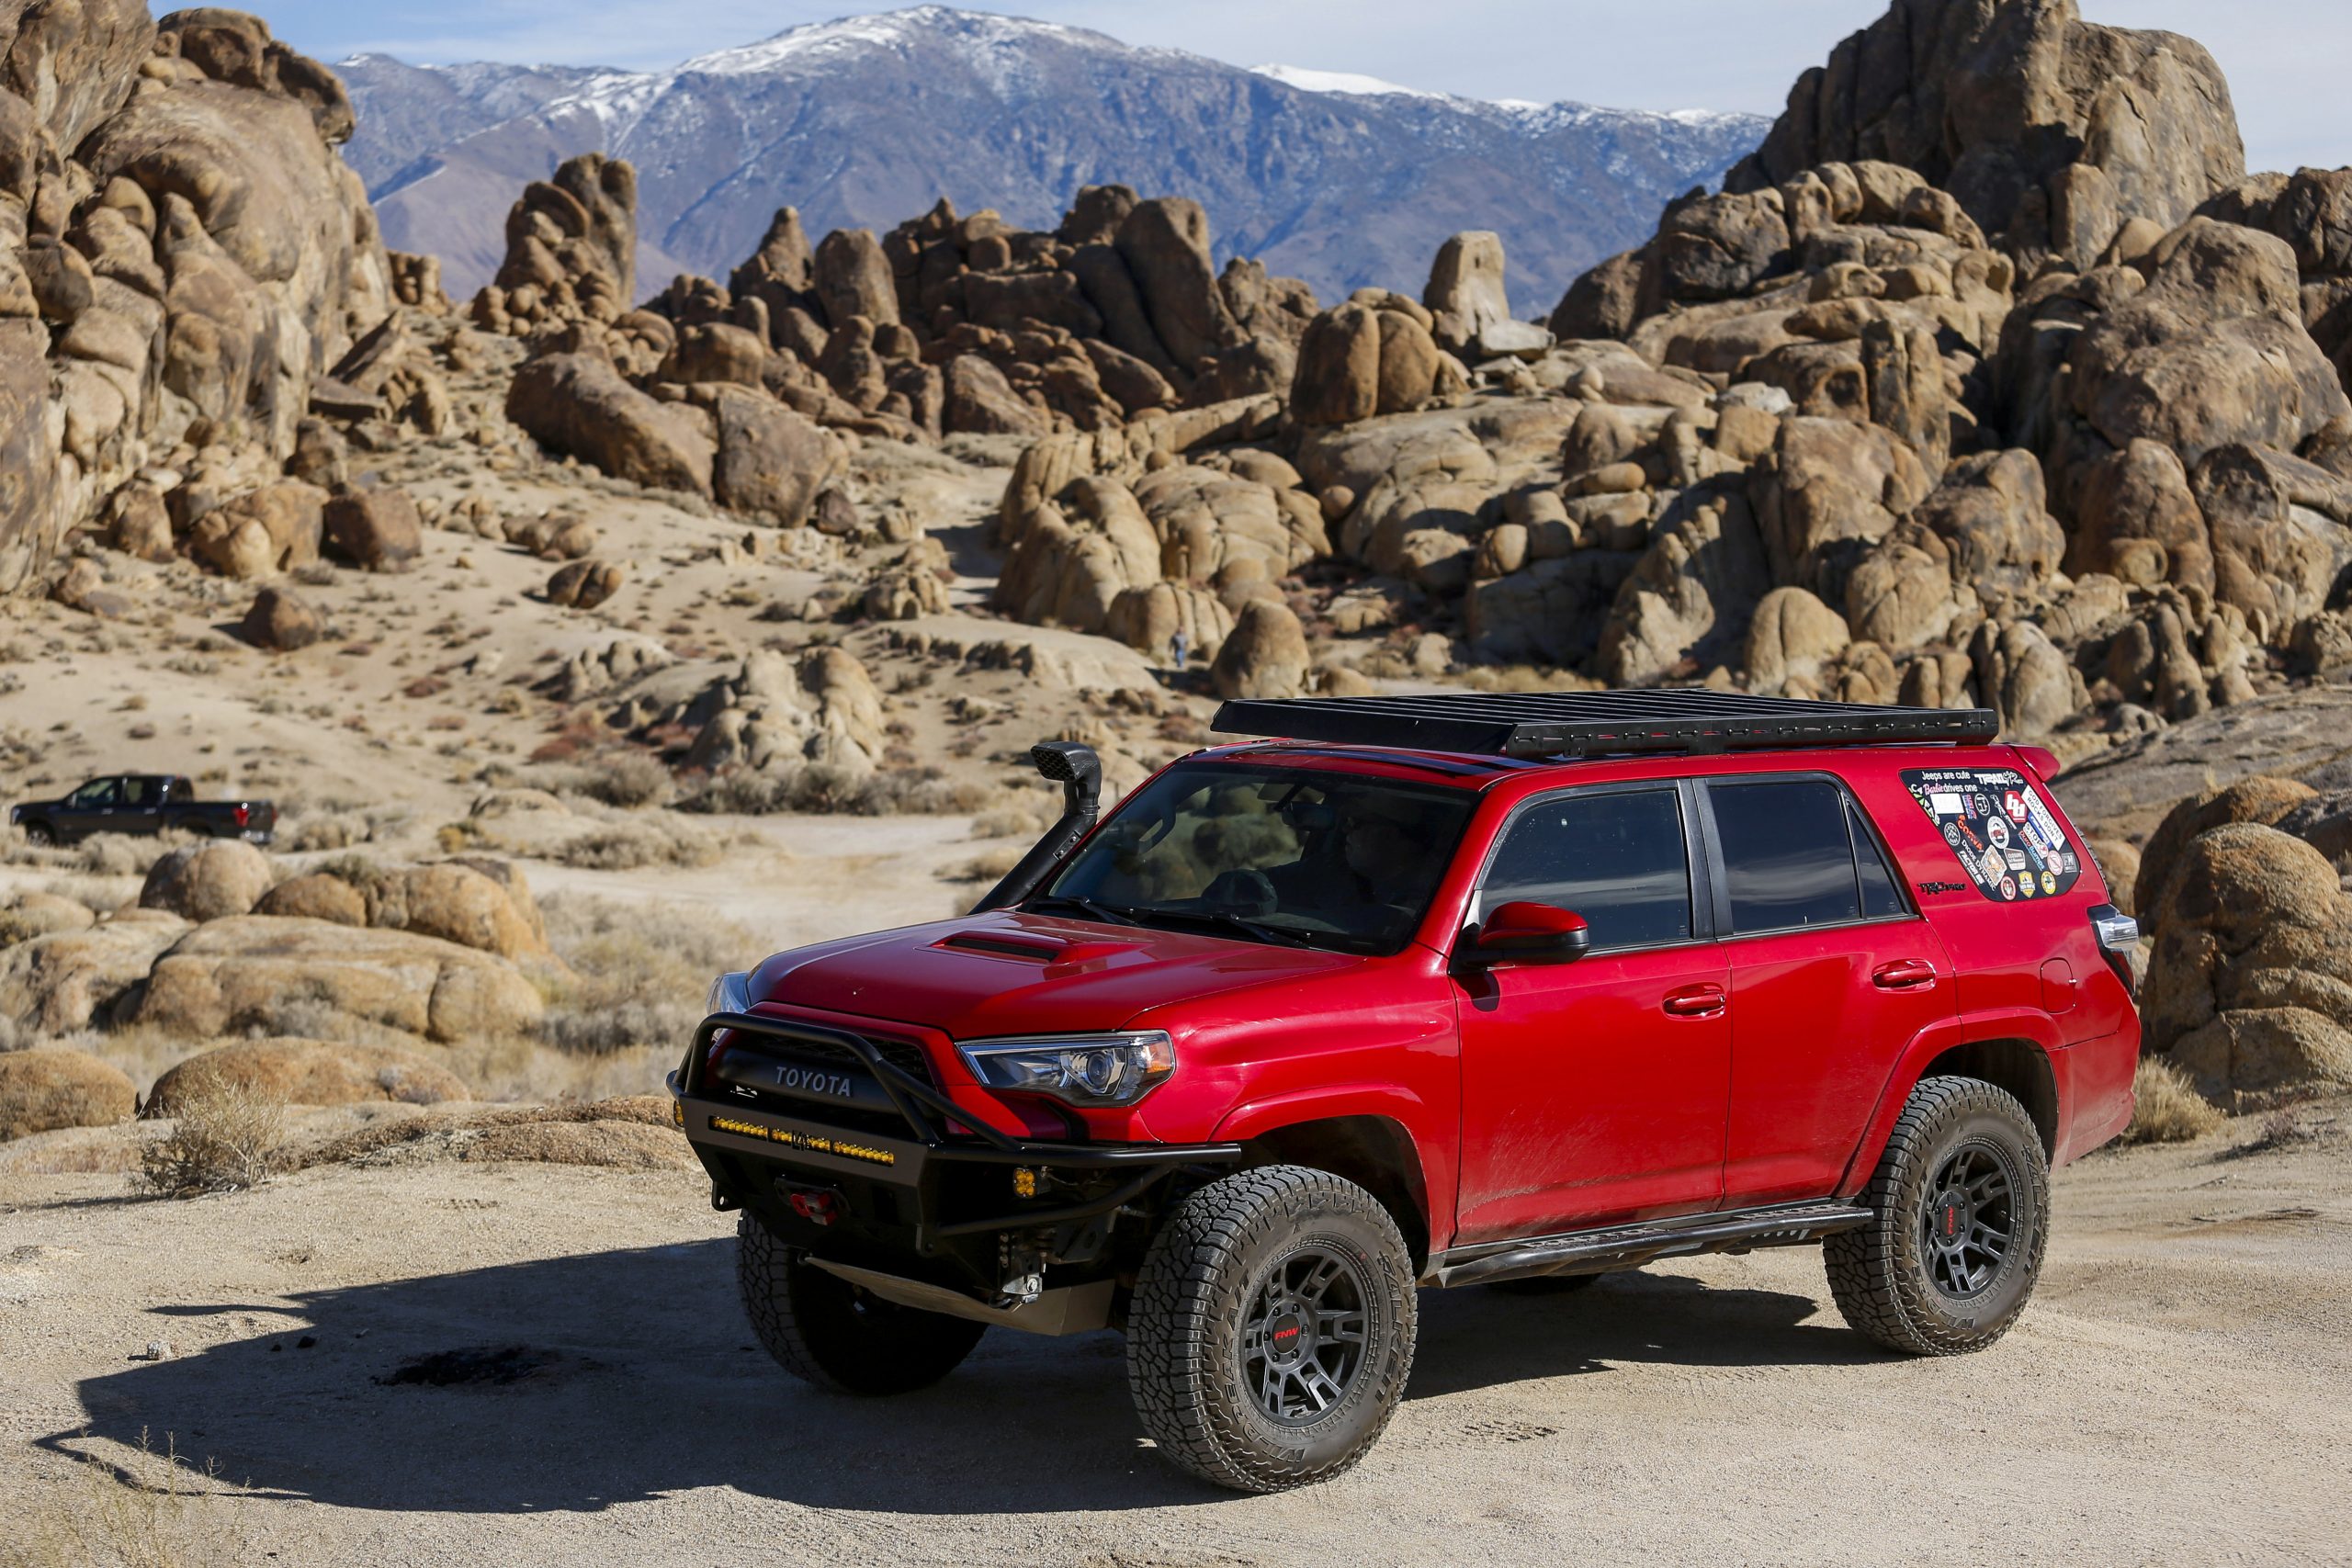
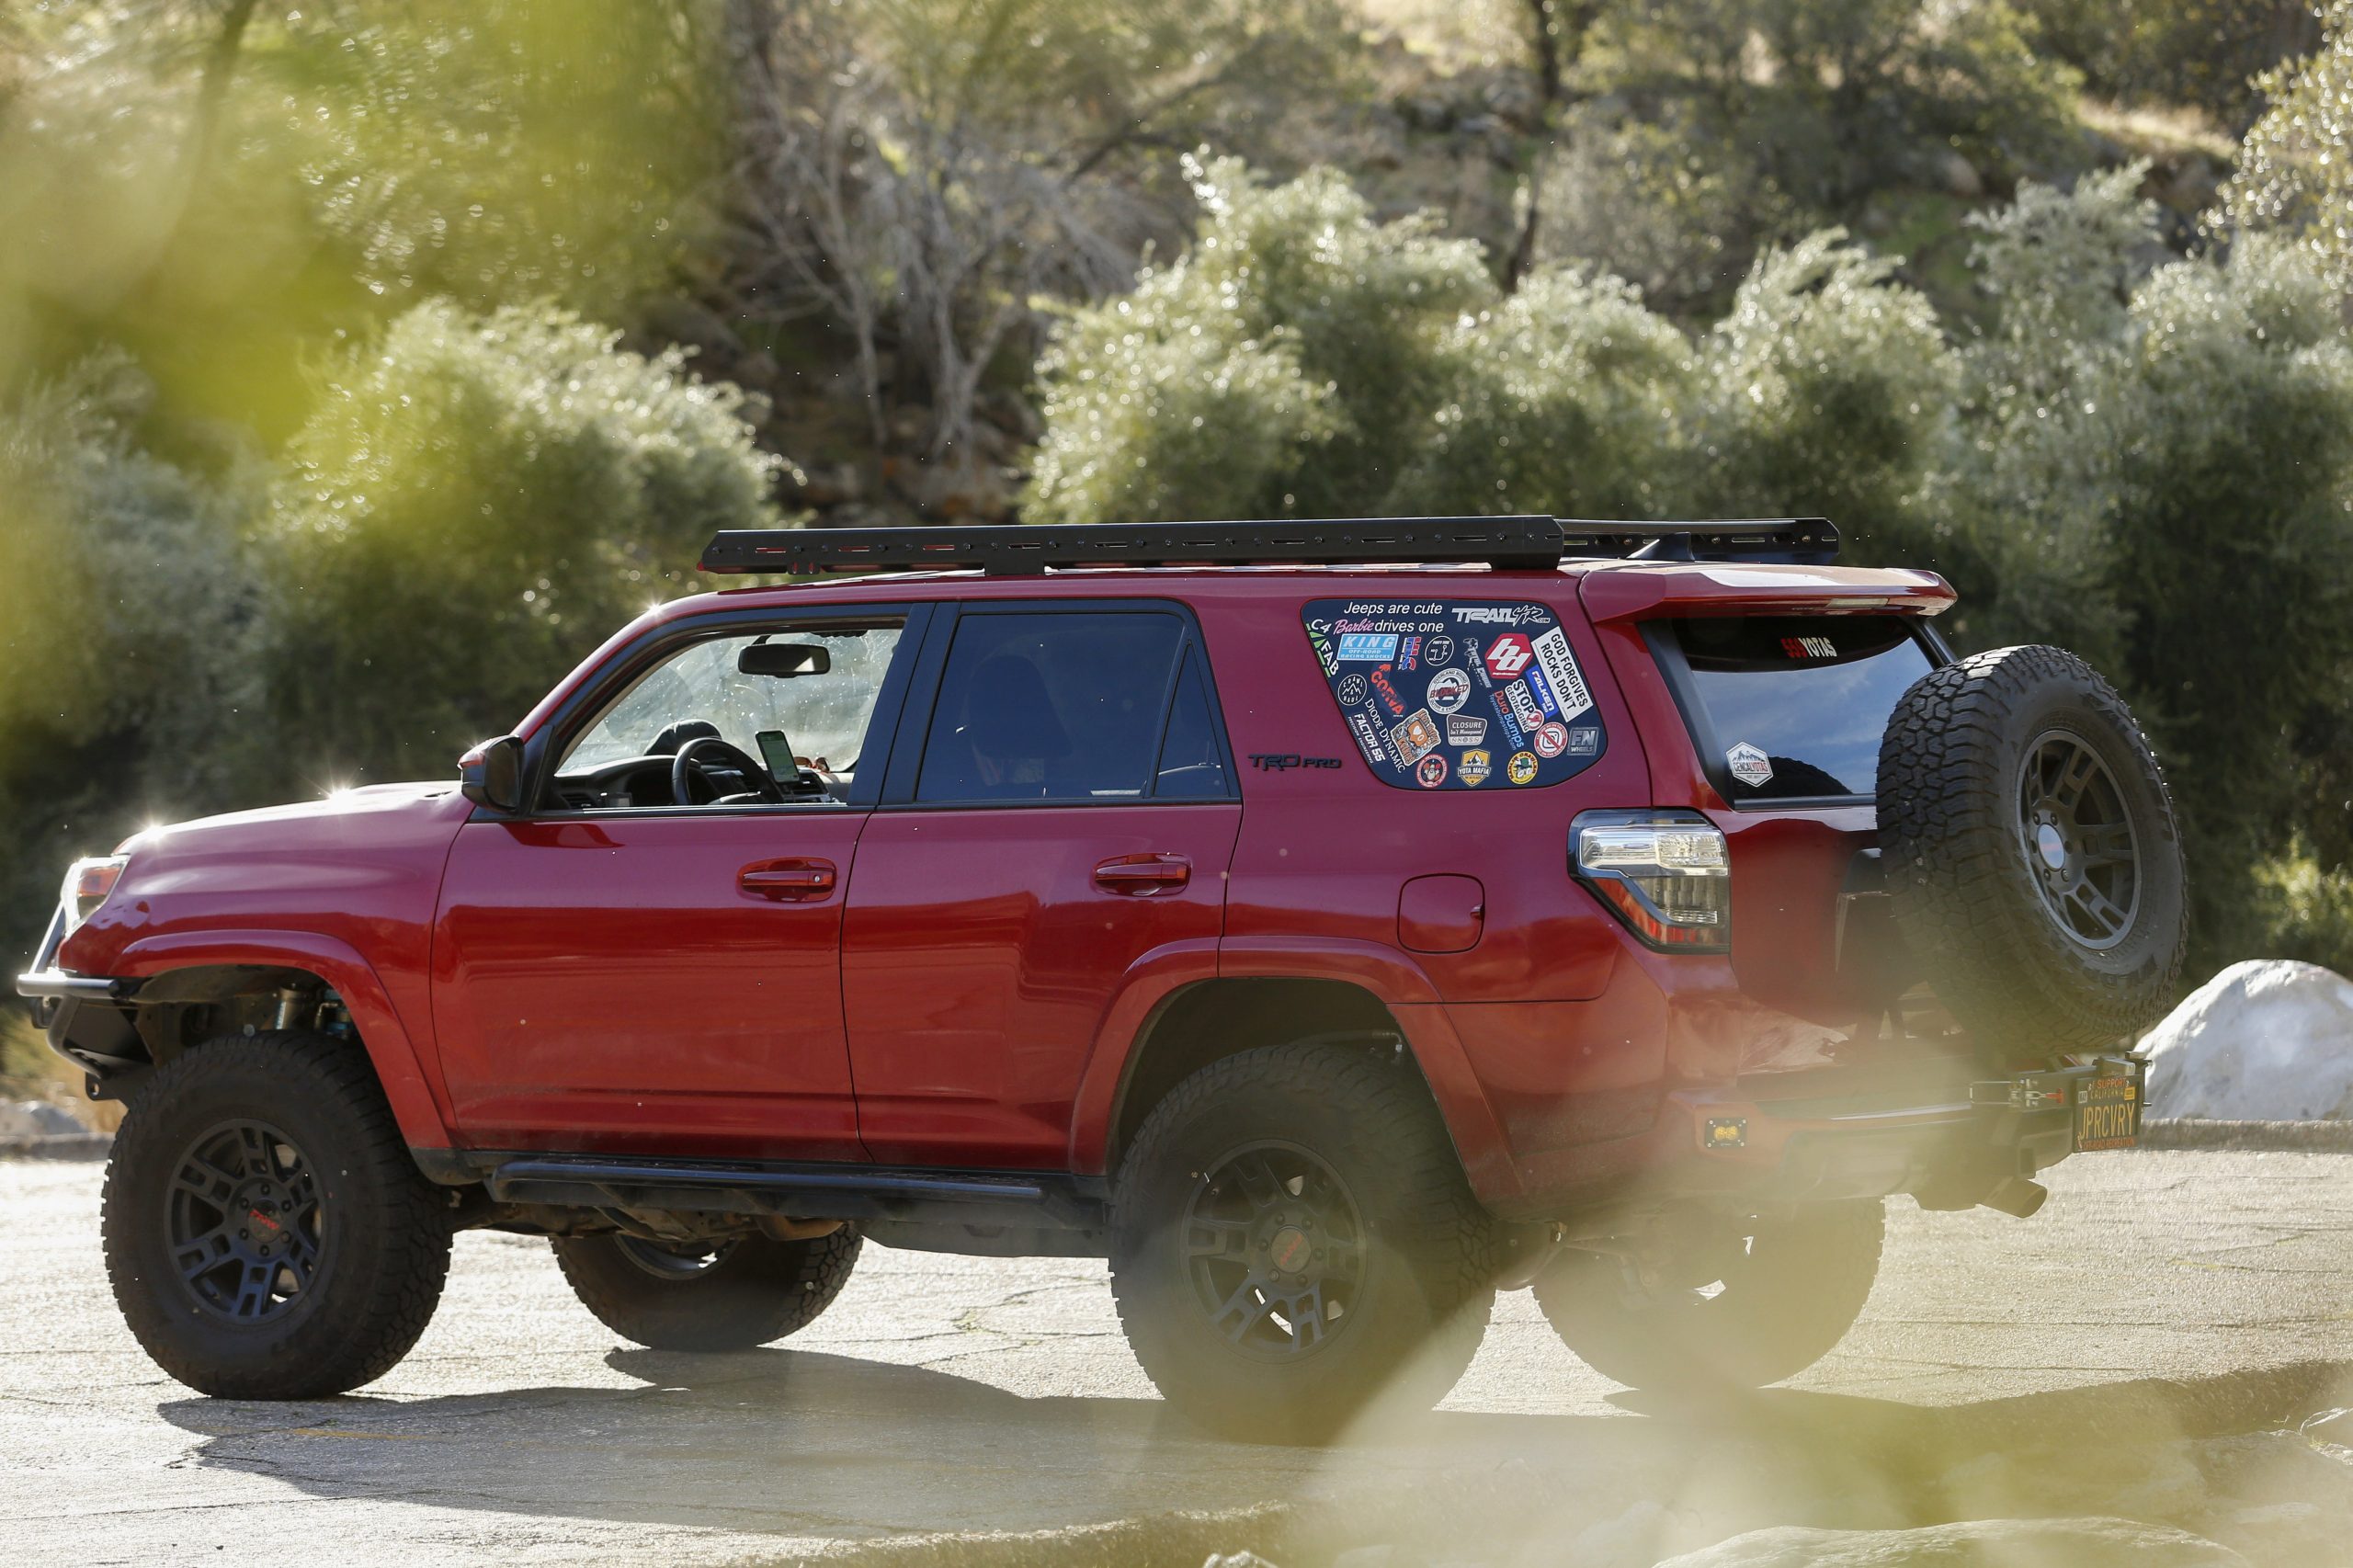
LFD Full Steel Roof Rack Installation & Review on 5th Gen 4Runner
With overloading becoming increasingly more popular by the month, a roof rack has become an essential piece of equipment to help haul all of your gear and other items for short and longterm camping trips.
As someone anti-roof rack for so long; mostly because of the need to drill holes in the roof, as well as the poor looks, I never thought about putting one on. However, since having a baby I saw the need for one to help increase the cargo room for other items such as a pack-n-play and stroller.
Where was all of my recovery gear going to go? Straight to the roof! Thanks to LFD I found a roof rack that was not only appealing to the eye but also durable enough to hold anything you wanted to throw at it.
Quick Pro’s and Con’s of LFD’s Roof Rack

Pros:
- Affordable: Check Price
- Multiple Sizes
- Low Wind Noise
- In Stock Ready to Ship
- Small Business
- No Drill
Cons:
- Bolts are bronze
- Lightbar bracket sits in front of windscreen
- Sensitive install
Much like most roof racks on the market, there are multiple sizes available for those of us who prefer full, 7/8th and 3/4th. If you want to be able to see out of your sunroof you still have that option, and if you want to cover the entire roof you have that ability as well.
LFD also makes a crossbar roof rack option (ruggedized crossbars) that works with your factory roof rails. This is going to offer additional strength and functionality while keeping the factory roof rack appearance.
One of the major things I like about the full roof rack is the ability to run a full rack without having to drill holes into the upper sections of the roof. While it’s not the end of the world, I have drilled plenty and cut plenty of the 4Runner, the roof is always a touchy place as if it isn’t sealed correctly you will have leaks. Living in Central California we don’t see rain all that often, but for those of you in wetter climates, this may be a selling point.
Rather than drilling, the roof rack has two support brackets that attach to the front of the roof rack. Because I currently don’t plan on running anything too heavy upfront, I have chosen not to install these brackets on the vehicle. However, if you do, they simply sit on top of the weather stripping on the roof rack.
Tools Needed For Install
- LFD Full Size Roof Rack
- Plastic pry tools
- Socket wrench
- Marine-grade silicone
- Extra-person (can be done solo)
- Paper towels to clean
- Bedsheet or towel
Begin Install

The first thing to do is to remove the plastic cap/cover of your OEM roof rack. While I went with the roof rack delete for many months, mine is a bit different. However, on either of them, you have two sections of the plastic covers that need to be popped up.
For both the OEM and roof rack delete, these clips are in the same locations. If you measure with a measuring stick from the front of the dust cover, the clips should sit at the 3” mark and the 7” mark. That is where you will want to pry up with your plastic removal tool. If for some reason you do not own a plastic one, you can use something else like a flat head screwdriver, but be aware that if you do not put some sort of protection between the screwdriver and body you risk denting the roof.
Once that is removed you will find two screws that need to be removed. These are metric size 12 bolts and remove like any other bolt. From the factory, Toyota used a thread locker which can make it a little tough, but use your muscles and they should break loose eventually. It is recommended to not use a power tool when removing or installing these bolts.
DO NOT throw away the bolts if you plan on tossing out the OEM roof rack after this install. The eight bolts that you will be removed, along with the rubber washer, will be reused with the new LFD Roof Rack you install.
Remove and Clean Roof Rack Points

Once you have removed the bolts and bracket you may find some sort of foam underneath to help seal the holes. For whatever reason, my 4Runner did not have this, but some do and that will also need to be removed.
After finishing the removal process you will want to ensure everything is clean underneath. You do not want to take this step lightly as anything that can prevent a seal for the silicone can cause eventual leaks further down the road.
You can use WD40 to help remove and break free any dirt or grime that may be in there that you cannot remove by wiping with a wet paper towel. If this is your first time removing the factory rack you ideally shouldn’t have much dirt to worry about cleaning off.
Prepare For Install
Once you are satisfied that the areas surrounding the bolt holes are as clean as possible, you want to go ahead and apply a decent size bead of silicone around each hole. Some people choose to put silicone down the bolt holes as well to help prevent leaks, but I have heard this can cause issues removing bolts down the road if you choose to. Be sure to get as close to the hole and body as you can as you want this section to be able to seal.
After putting down a nice bead of silicone, place the spacer bracket down in place of where the bumper covers originally sat.
Begin Installing Roof Rack Rails

You then will want to begin to install the roof rack rails. This part can be done solo, but I recommend if doing so that you lay a sheet down on the roof rack to prevent any scratches.
Do not tighten down the roof rails completely as you will need to adjust the roof rack at the end to ensure it is even and straight with the roof. This is an important step when it comes to the front bracket supports if you plan on running them. If the rack is not even they will be sitting on the roof itself, where they should be sitting on the weather striping. If you do not do this you will have rattling, along with the support bracket rubbing paint off the body.
Install Crossbars

Then you will begin to install the crossbars. This seemed to go a lot faster when a friend of mine came over to help finish installing the roof rack (thanks Nate!), but it can be done by yourself, just expect it to take a little longer. I chose to install the rear, front and middle section with steel crossbars and then proceeded to install aluminum in the other open spots. I felt that this would help evenly distribute the weight around depending on where I wanted to place things, and if over time I decided to change them around.
This is where the tricky part of the install comes in. The trick is to not tighten down the crossbars completely until after you ensure the roof rack is 100% straight. It may look like it, but be sure to check, especially with the front feet. After you are sure it is straight you can proceed to tighten down each of the crossbars. I feel this step helps keep the rails in position before tightening it down. Lastly, go ahead and tighten down the rails, but be sure not to over tighten them. This can be a bit tricky are they go in tight, but you should know when you reach the point of them being fully tight.
Extra Tips
A couple of things I did to help make sure leaks wouldn’t happy was to install plumbers tape around each one of the roof rack bolts. There are eight of them total, and it takes a matter of seconds to do a bolt. It’s very cheap insurance and I highly recommend doing it.
The other thing I chose to do was to paint the bolts black. Unfortunately, the ones that come with the rack are bronze in color, and while that’s not a huge issue as they work as they are intended to, the OCD side of me cringes at the thought of bronze bolts going down the side of a black roof rail. I threw some Rustoleum paint on them and they seem to be holding up fine.
Who is LFD Off-Road?
LFD is a small business based out of North Carolina and I highly recommend them. Odds are if you are on the East Coast you’ve probably already heard of them, but for those of you on the West Coast be sure to give them a look.
They also offer 7/8th and 3/4th roof racks in both aluminum and steel, as well as full front and rear bumpers, skid plates, rock sliders, and quite a few nice attachments for all. They were kind enough to deal with me as I went back and forth on wanting a roof rack, along with if I wanted a full rack or 7/8th rack.
Currently, LFD offers a variety of attachments for the rack, such as the Hi-Lift Mount, Awning brackets for rooftop tents, an accessory plate which is good for things such as MaxTrax boards, and a cargo bracket for bigger items and rear light mounting.
I have currently run my roof rack at highway speeds of 70-80mph and have noticed minor wind noise. On a scale of 1-10 I would put factory noise at around a 4 and the rack at a 5. It is noticeable, but nothing that should steer you away. One downside is if you plan on running a light bar, the bracket made for the rack requires the light to sit in front of the windscreen.
This may not bother some people, but to me, it’s not appealing and kills the build quality of the rack. If running one my plan would be to remove the windscreen entirely. Or sit it above the windscreen by either cutting into it or doing a custom bracket.
what is the weight of the rack with 6 crossbars?
Hi there. Was wondering if you could give some advice as to the pros and cons of doing a full rack vs 7/8th? From what I have thought of the obvious pros of full are bigger platform. But cons would be having to have pressure on weather stripping which is not factory? Not quite sure what advantages of 7/8th would be other than maybe easier install. You said you were going back and forth with it so your opinion would be appreciated.
when you say 100% straight, do you mean square? or level? or both? what points of references or specific measurements/tools are you using?
i have mine on order and am diy.
thankyou
I was hoping to get some guidance/perspectives regarding a roof rack. I’m buying an off road premium w/ a sunroof. Was thinking a 3/4 roof rack would be the way to go but was wondering how it affects the mounting of a roof top tent or any sort of canopy. Thanks
A 3/4 rack should be able to accommodate most tents, depending on their size. You would have to check their dimensions though to make sure of this. Obviously as you suggested, running something like an awning could be problematic. Not to mention if you plan on mounting other things on top as well.
Keil, Do you have any experience running a full rack over the moonroof? I was wondering how that would go, maybe forgo one of the bars at the front of the rack to avoid limiting the view…
The TRD Pro didn’t come with the moonroof until recently in the United States, so I don’t have that issue. However yes, simply remove a bar and you should be fine. Keep in mind though when running things like a roof top tent you could have issues support wise. They do make 7/8th racks that won’t go past the moonroof as well, so always that option!
bought this rack in steel for my 4runner last labor day. could not be more pleased. its tough as nails and LFD was super cool to deal with. I look forward to adding their sliders this year as well as a ladder if they will make one.
nice review. hope others support this great company.