Product overview and installation of Durobump Rear Bump Stops on a 5th Gen 4Runner
You have just upgraded your suspension with a mild 2-inch lift and are ready to hit the trail.
Your confidence is high as you find some dirt, diving into corners, taking small rock sections with ease.
Then a sneaky whoop comes out from nowhere and you find yourself at the limit of your up-travel and square against the stock bump stops that you didn’t upgrade to match the lift.
The jolt is abrupt and quick to deflate your gained confidence.
Thankfully you are not alone, and Durobumps has your back.
Their team has developed a number of bump stop solutions specifically for Toyota vehicles, including the 5th gen 4Runner, including the front bump stops along with the rears.
Here we will show how to install their rear bump stops on your 4Runner to help gain your confidence back on the trail!
About the product

What’s in the box:
- (2) 4.25” Durobumps
- (4) JIS 10.9 corrosion-resistant bolts and washers
- Single-use blue thread locker
- Set of instructions
Shop DuroBumps:
- Front: Check Price
- Rear
- No Lift Required: Check Price
- 2″ Lift: Check Price
- 3″ Lift: Check Price
These Durobump Rear Bump Stops are designed for 5th gen 4Runners with a 2+” lift kit.
At 4.25” tall, they are specifically made for non-long travel builds, but can be used with a number of stock or extended travel, lifted applications.
They are made in the USA from a Dual Durometer Rubber that allows for a progressive compression cycle when the axle is deep into its up-travel.
This leaves the driver with a “smooth as butter” feeling from the driver’s seat when they encounter that sneaky whoop.
As a bonus, this increased bump stop length doesn’t hinder up-travel as the compound is designed to compress enough to match up-travel with a stock bump stop.
Installation
What you’ll need
- Hydraulic jack
- (2) Jack stands
- Your tool of choice for removing lug nuts (21mm)
- 12mm socket
- Ratchet
- Ratchet extensions
- Torque wrench
- Damp cloth
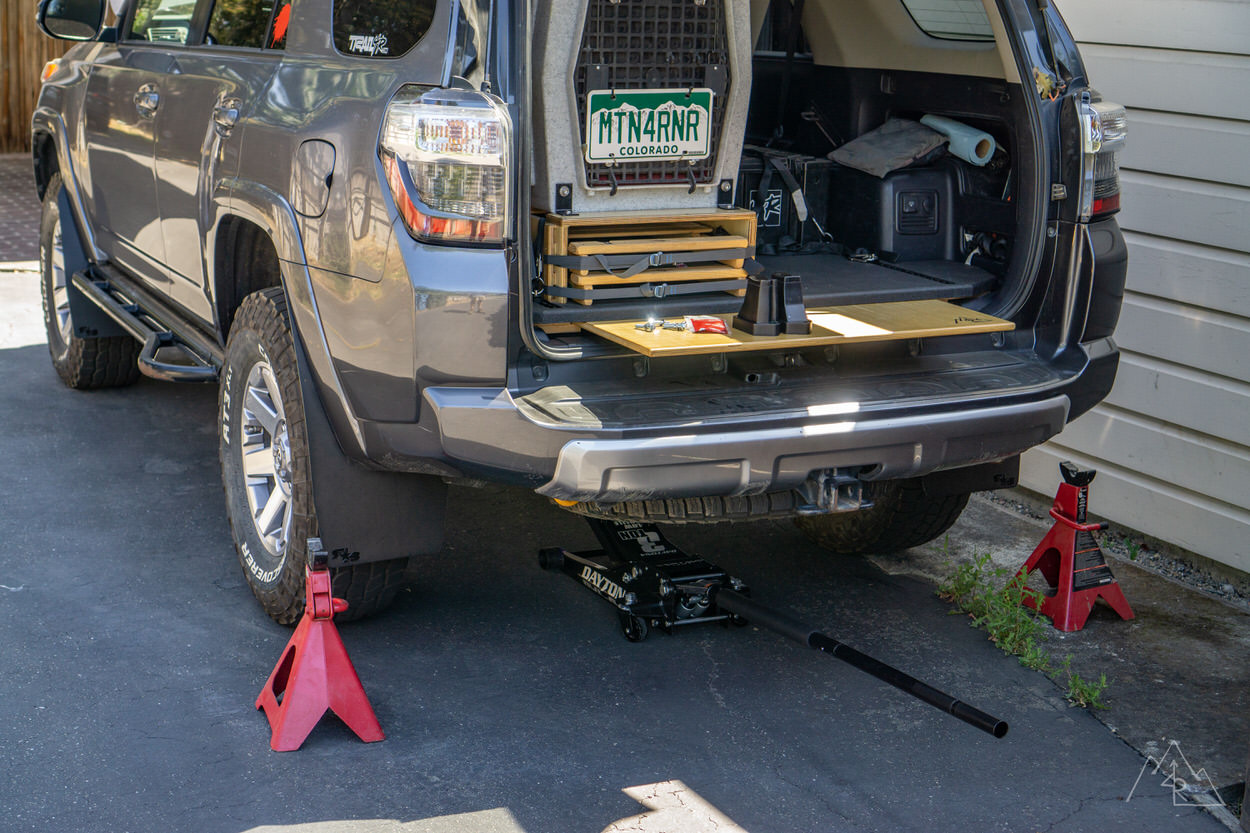
Step 1: Jack Truck and & Place on Jack Stands
To start, set your jack under the rear differential and raise it so it’s snug to the axle. Then starting on one side, loosen the lug nuts. Follow that with the other side before lifting the rear tires off the ground an inch or so with the jack. Set your jack stands under the axle on both sides, for safety. Remove the lug nuts completely followed by each tire.
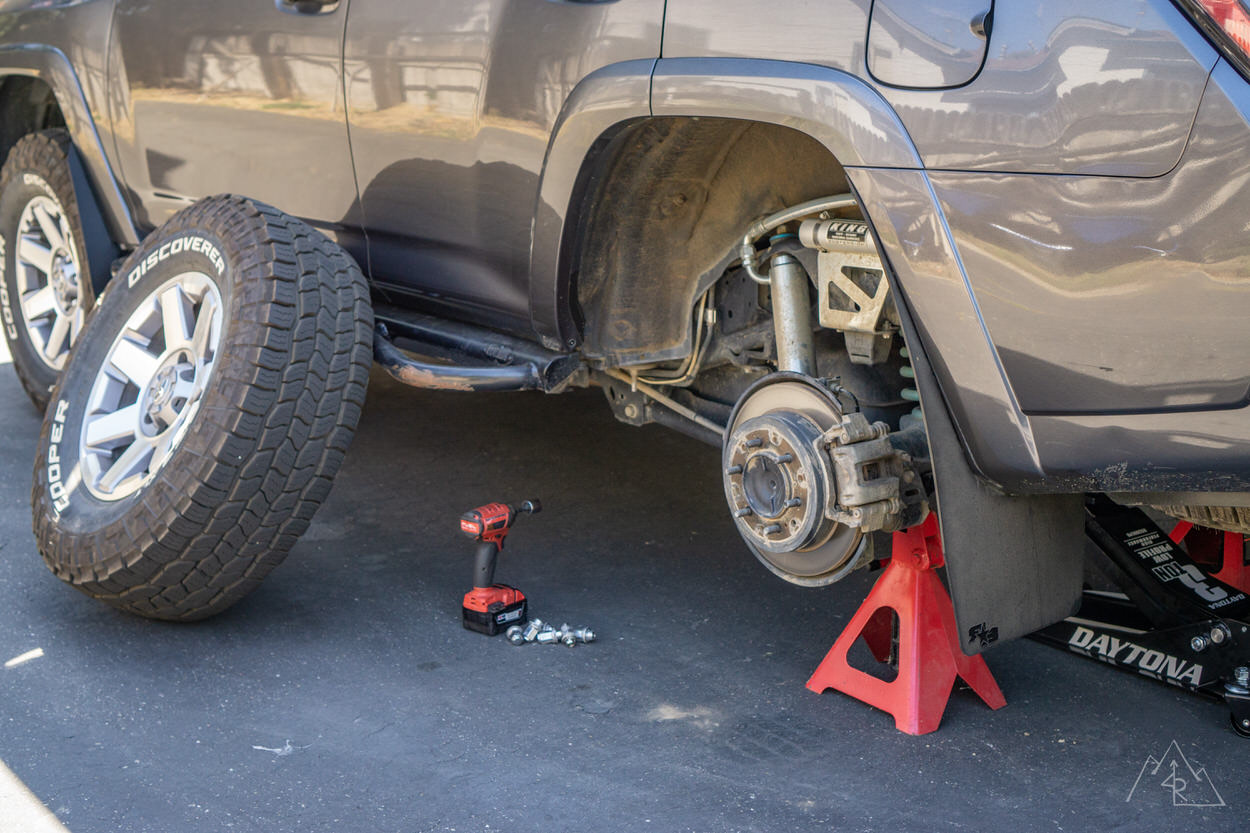
Step 2: Remove the rear bump stops with the 2 downward-facing bolts
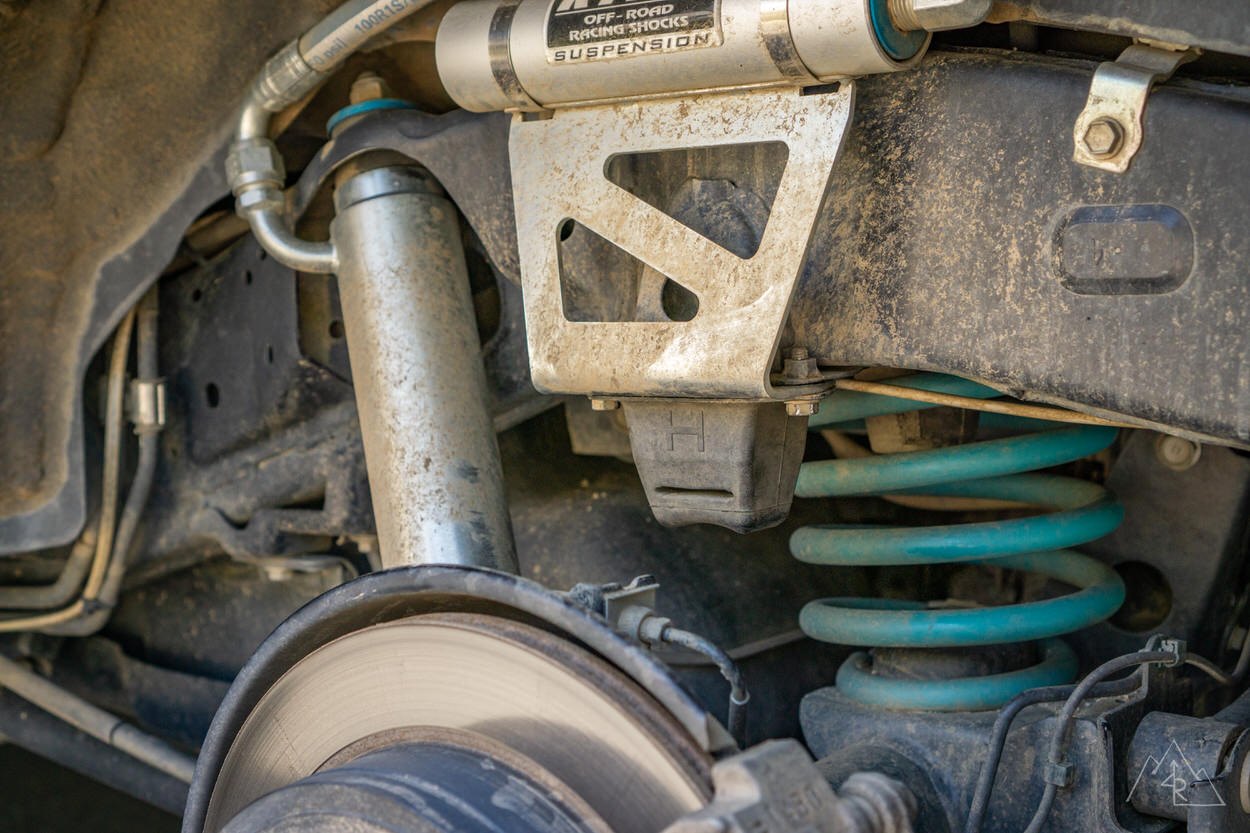
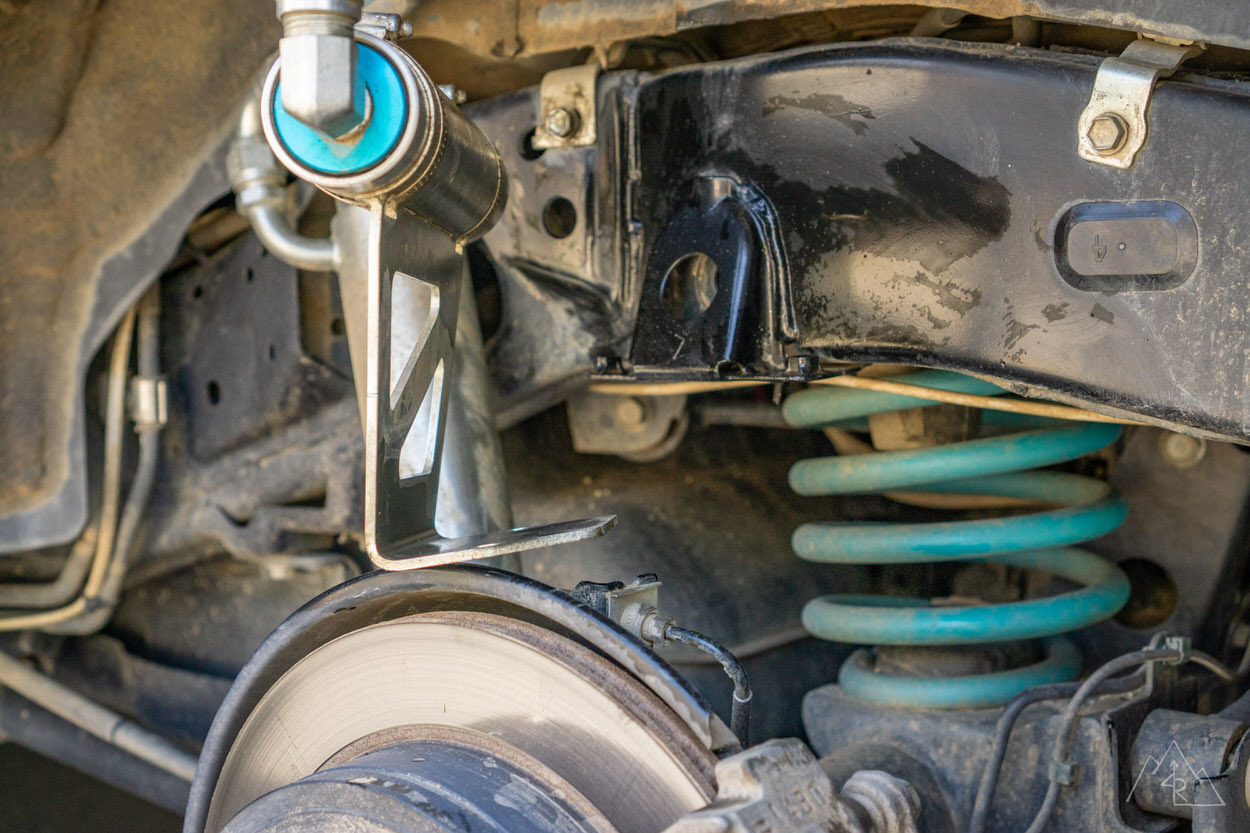
With the rear wheel wells exposed, pick a side to start on and grab the 12mm socket and ratchet. Remove the rear bump stops with the 2 downward-facing bolts. If you have a remote reservoir bracket that uses these holes for mounting, be sure to support the bracket and reservoir when removing the bolts.
Step 3: Clean all points of contact
With the stock bump stops (and suspension components) out of the way, clean all points of contact with your damp cloth to eliminate any debris on the surfaces.
Then using the small tube provided, apply a small amount of thread locker onto each bolt and set them aside close by.

Step 4: Install the Bump Stops
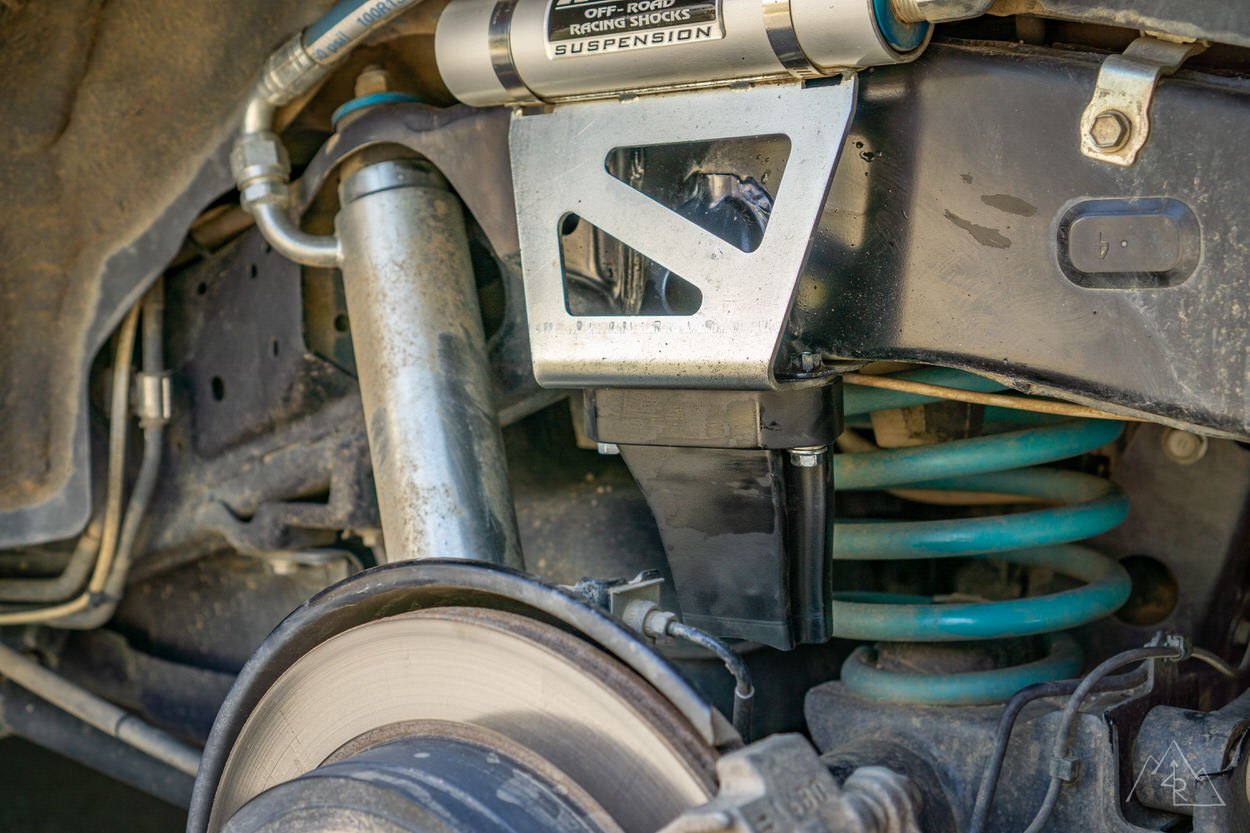
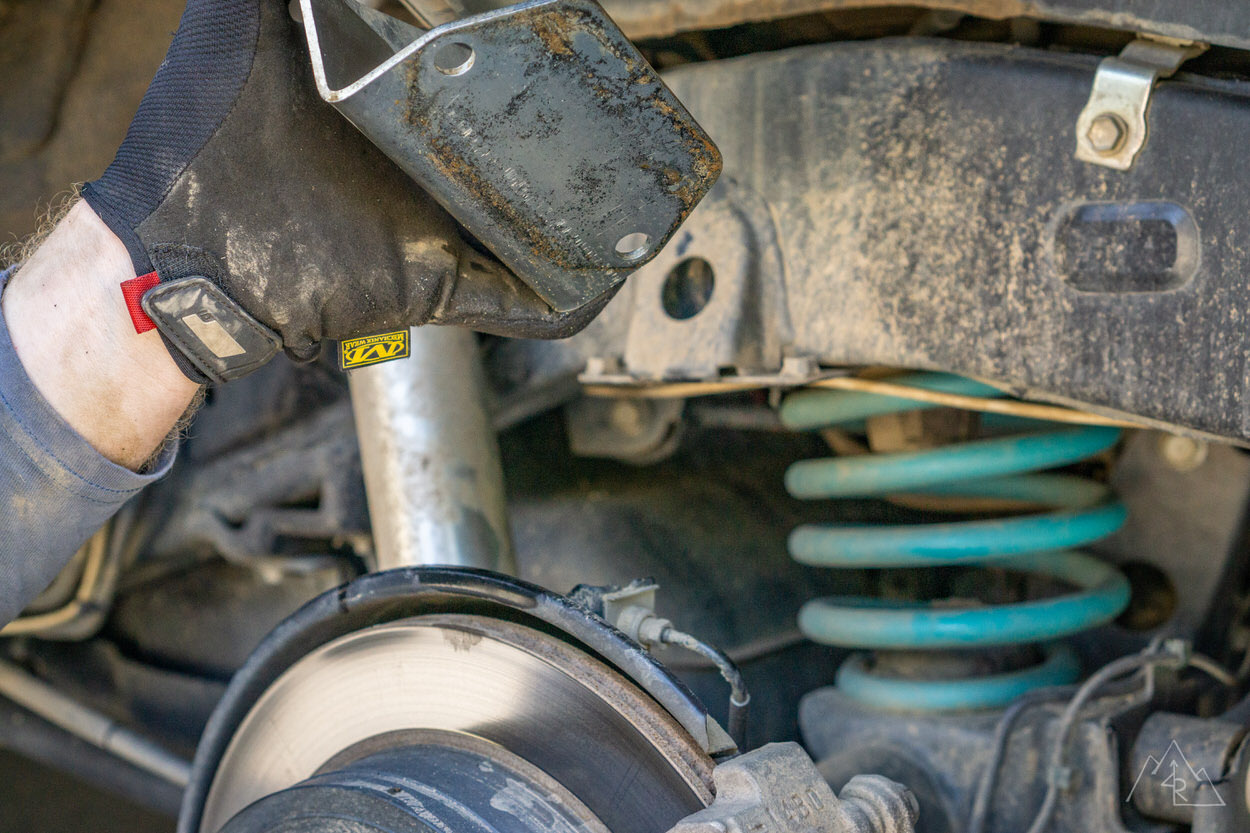
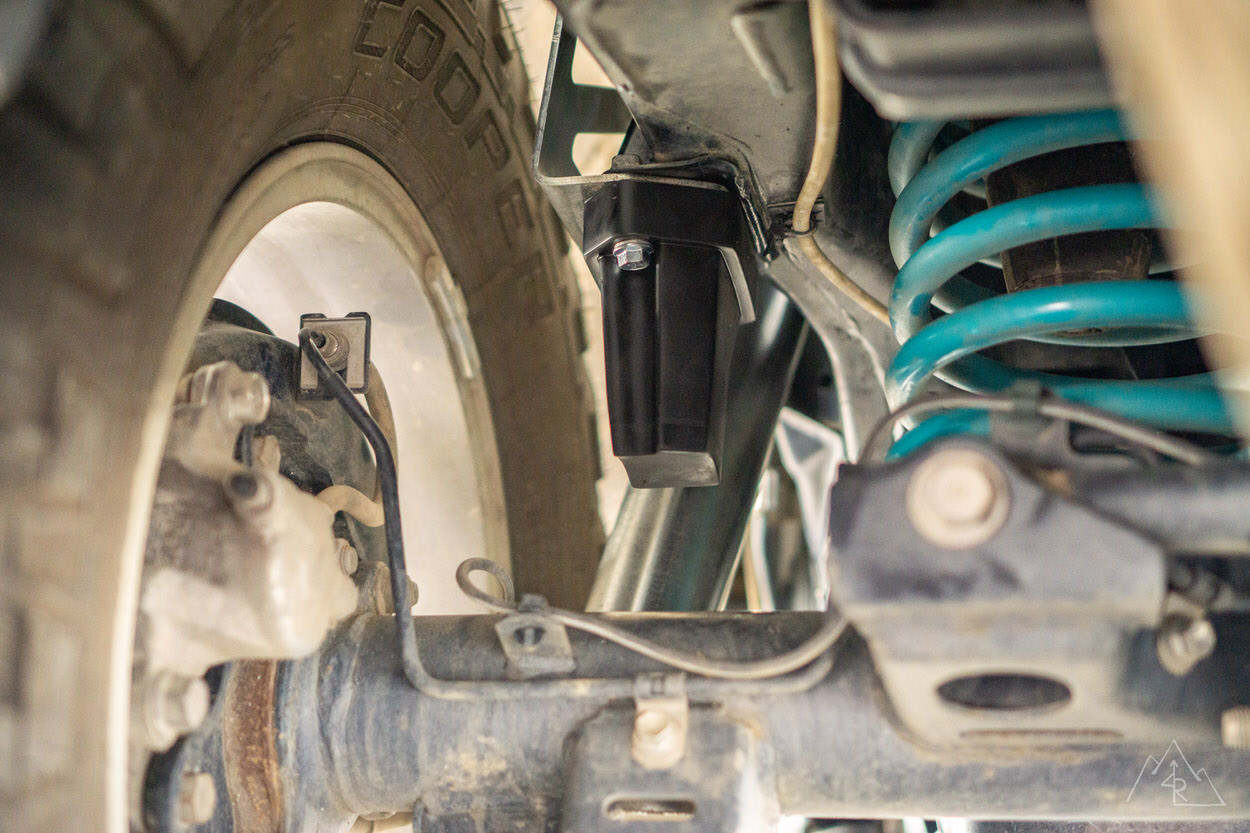
Both bump stops are labeled Driver and Passenger for your convenience. Grab the appropriate one for the side you are working on and orient it so that the “notch” points to the outside, rear of the vehicle as shown in the photo.
With the bump stop (and any suspension components) held in place, grab a near-by prepped bolt and thread it through the bump stop and into the welded nut on the mount.
Thread it on a few turns before grabbing the other bolt and doing the same on the other side of the bump stop.
With the 12mm socket, extension and ratchet, tighten the two bolts until they are snug to the bump stop and there is no gap between it and the frame mount. If you tighten it too far, the bump stop will start to bulge. If this happens, back the bolt out until it is no longer deformed.
With the bump stop installed, double-check your orientation by looking to see if the bottom of the bump stop is lined up with the top of the axle tubing.

Repeat the same process on the other side.
Mount each wheel, and finger tighten the lug nuts. After removing the jack stands and lowering the 4Runner with the jack, in a cross pattern tighten each lug nut to 85lb/ft using a torque wrench.
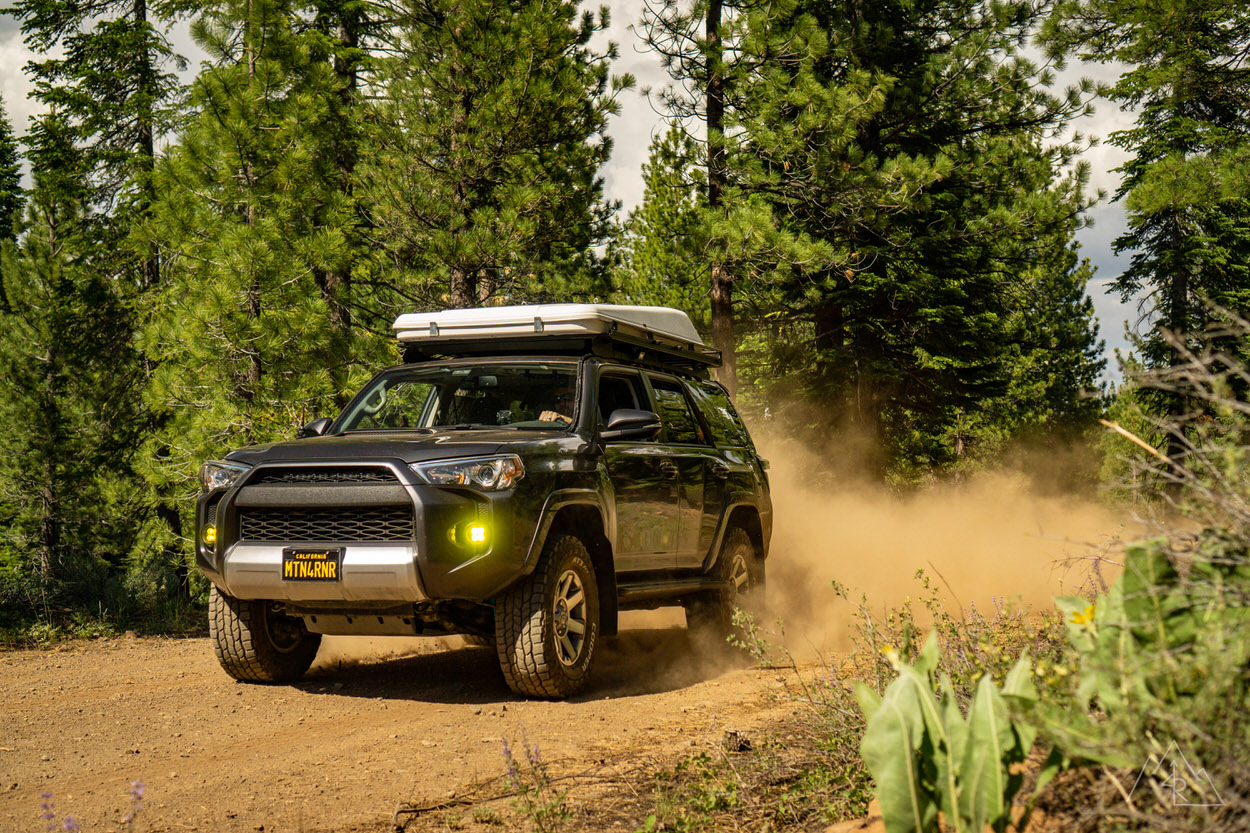
That’s it! You are now equipped to take the trail with comfort and confidence.
Rear Durobump Bump Stops Review
I have had both the front and rear Durobump sets installed on the 4Runner for the last few trips that I have been on.
Before that I was on the stock bump stops with no spacers.
The difference in feeling at the wheel is night and day. The instinctive reaction to wince when going over larger bumps fades away as the Durobumps take the jolt out of the picture.
They provide a smooth and progressive “bottom” to the suspension cycle which inspires confidence when on the trail.
I am very happy to have done this simple upgrade given how much they do to improve overall suspension feel and would recommend them to anyone with a mild lift on their 4Runner.
I have a 2015 Toyota 4Runner with no lift still stock height with Bilstein 5100 strut. I noticed the OEM/stock bump stop has a little clearance to the lower control arm (approximately .5-.75inch), in this case I am wondering if DuroBumps Front DBF212 will fit on my 4Runner and will not rub/touch the lower control arm when driving on flat/even road or will have a negative effect for some reason. MAhalo
thanks for the write up Max. I have question about the 2 inch lift height option. What does it mean this is for 4Runner with 2 inch lift and does not affect up travel/compress to OEM length? Does it mean this will shorten up travel if I’m less than 2 inch lift?
Im on 1.5 inch lift and I want to limit up travel a bit because I have a 34s tire and it srubs top wheel well when I’m at full flex. Which version should I get?
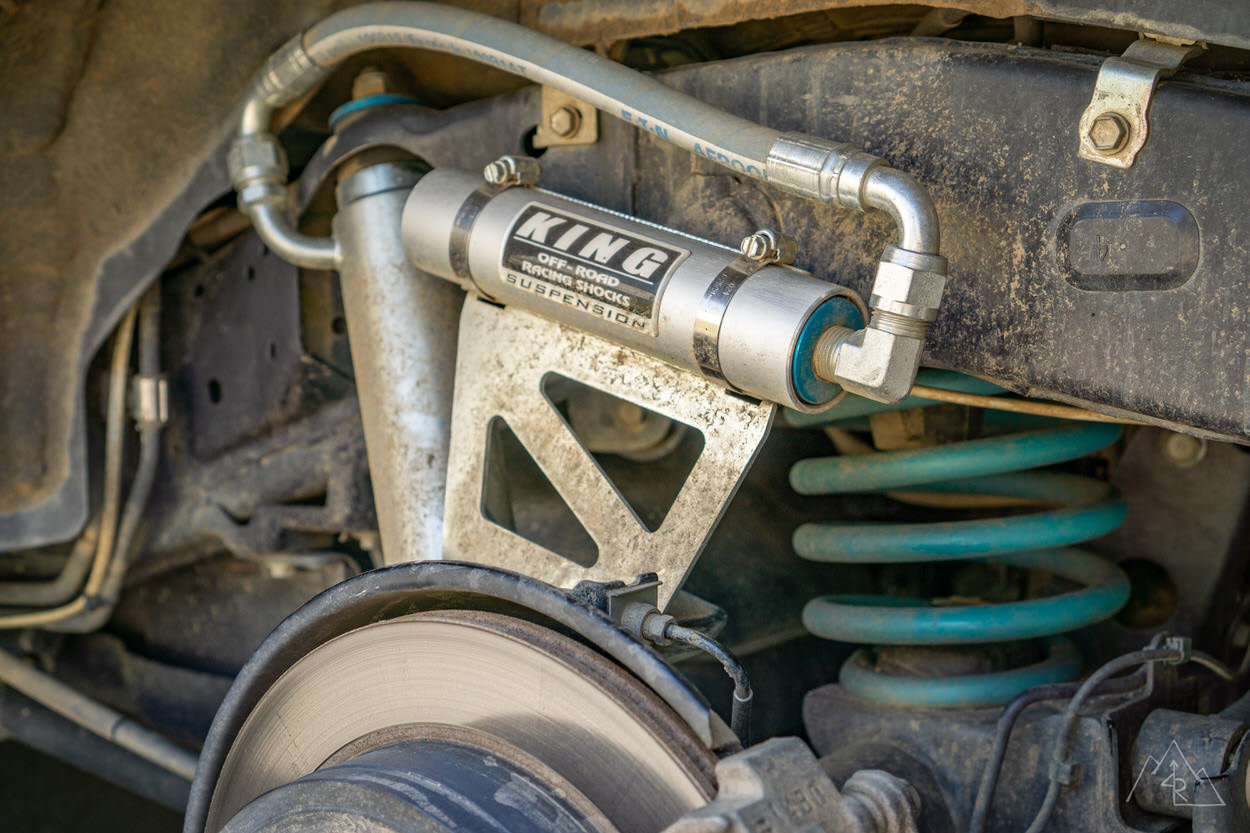
Hey Max where did you get the King badge on your rear reservoir?
Hey Max, big fan of your rig. we almost have the same set-up for the rear.
Saw that you have the stock bumpstops before you upgraded to plastic guy’s bumpstops. sadly they have a 21 + day leadtime right now. im worried that running stock bumpstops would blow the kings (ext ver).
also have a more conservative lift (wheelers t13 springs – 1.5″ inch all around)
let me know your thoughts!
Mikko
Hey Mikko // I ran the stock bump stops with the extended Kings for a long time with no issues. The extended version of the OEM Performance Series only affects down travel and doesn’t change the shock body length. The Kings are designed for stock 4Runner travel up and down. Unless you’re running a custom length shock, you’ll be just fine on the stock bumps before your Durobumps arrive!
Great article! I also recently installed front and rear bumpstops from Durobumps and love them. While I did have to jack up the front to make it a little easier, I didn’t need to do that for the rear. I was able to wiggle under there and get the stock ones off and swapped out with a socket and extension.
Just sharing for others who may be looking to do this. I have a 2.5″ lift (if it matters).