
CBI Off-Road Fabrication Gas Tank Skid Plates: Complete Install Guide & Overview For the 5th Gen 4Runner
CBI Off-Road Fabrication makes a great gas tank skid for the 5th gen 4Runner. It is very sturdy and has an angled edge to prevent it from catching up on rocks.
In this guide, I will show the full installation process.
Find It Online:
- Gas Tank Skid Plate: Check Price
- Full Skid Plates: Check Price
Use code – TRAILCO – to save an extra 5% off! Usually stacks with any sale going on.
Gas Tank Skids Work Prep Area

Start by either jacking up the car or driving the rear tires onto ramps.
Make sure that you use jack stands in addition to a jack for safety. You will need the jack later anyway.
Jack, Stands, and Ramp
- Sunex 6602LP 2-Ton Jack: Check price
- Pro-LifT T-6906D 6-Ton Jack Stands: Check price
- Truck Ramps 12K lbs: Check Price
Tools for Installation
- Ramps or jack + jack stands
- Moving mat (optional)
- Metric combination wrench set
- Metric socket set
- Socket extender
- Impact wrench (optional)
- Cross check (optional)
Optionally, place a moving blanket below the car where you will be working.
This makes the work more comfortable, keeps you from getting covered in dirt, and keep the plate from getting scrapped up before you hit the trails.
The gas tank is supported by two steel bands so there is no need to drain the tank before installing the skid.
CBI SKIDS HARDWARE OVERVIEW

The gas tank skid hardware kit includes:
- 5 identical bolts with matching washers and nuts
- 3 Support Arms: Short, Medium and Long Length
You will re-use all of the bolts that you take off the stock skid, so do not dispose of them.
These provided bolts are just for attaching the support arms to the skid plate.
Step 1: REMOVE DRIVERS SIDE FRAME BOLTS

There are 3 bolts the connect the stock gas tank skid to the driver’s side of the frame.
Remove them and keep them.
Step 2: REMOVE REAR BOLTS
There is a bolt near the back of the skid plate on the driver’s side that can be removed with a socket and extension.
Remove it. There is also another bolt directly opposite of it on the other side of the skid.
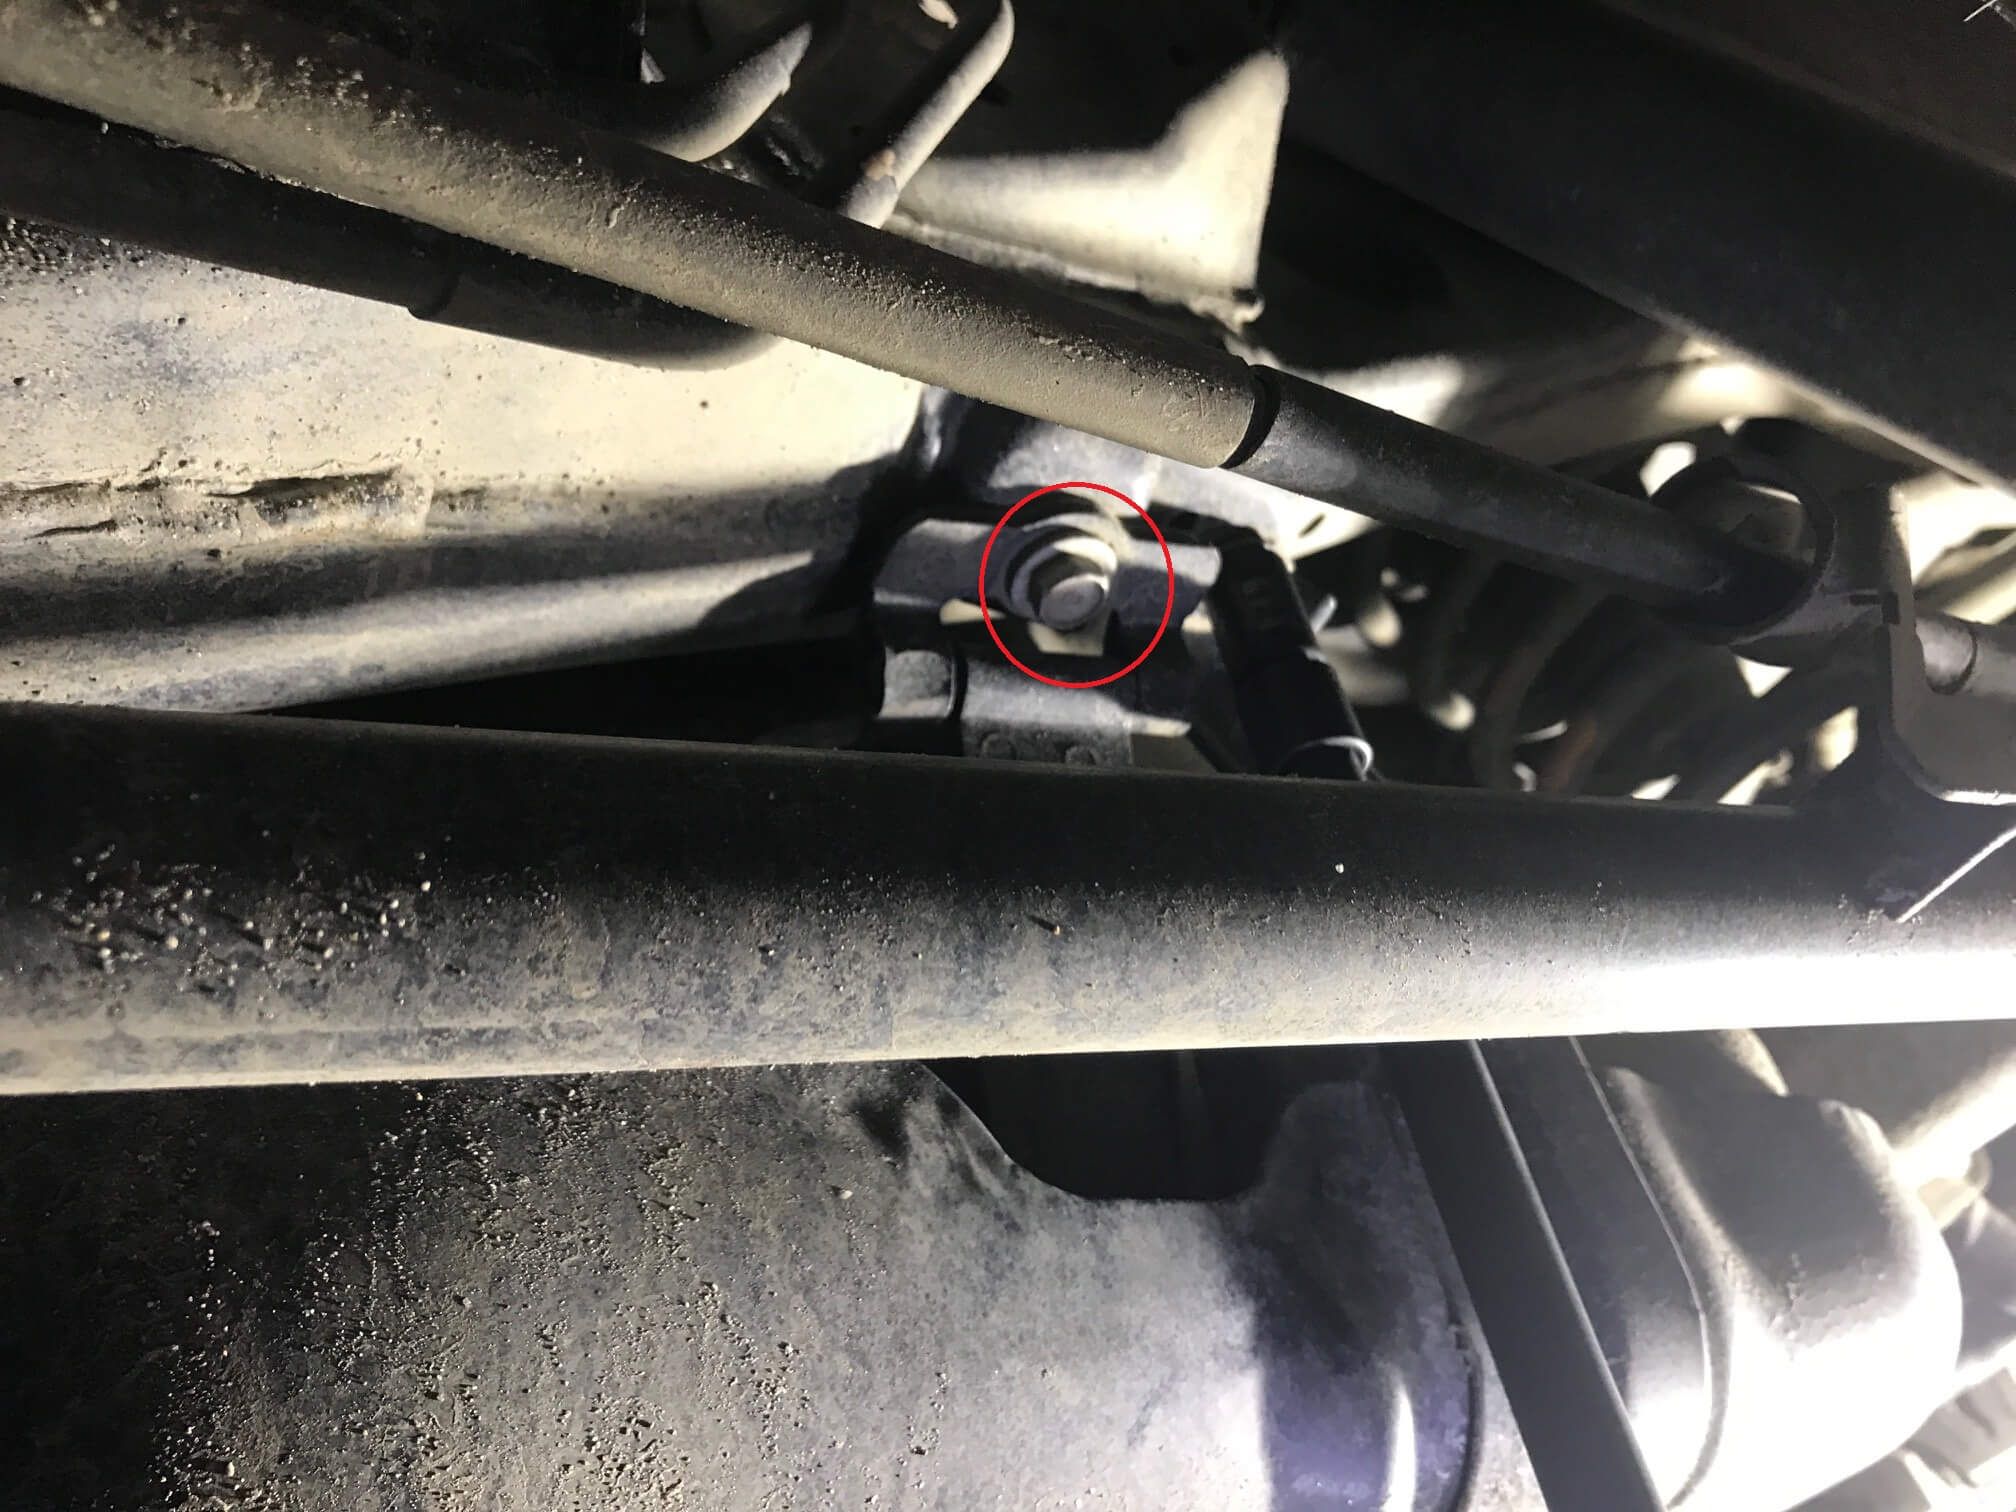
Step 3: REMOVE FRONT PASSENGER SIDE BOLT:

There is a bolt near the front of the skid plate on the passenger side that can only be removed with a standard wrench.
A ratcheting wrench with a socket will most likely not fit because the driveshaft is in the way.
Remove it.
Step 4: REPLACE W/ CBI SUPPORT ARMS

The kit comes with 3 support arms.
These will replace the much weaker arms built into the stock skid. It is much easier to install the arms first and then the skid.
The longest arm will go near the rear on the passenger side. The medium arm toward the front on the passenger side.
The shortest will go near the rear on the driver’s side. Install all of the arms loosely for now.
Step 5: INSTALL MEDIUM ARM

Install the medium arm.
This will be the most difficult to install of the 3 arms due to the small area to work with near the bolt. Loosely install for now.
If you find that it is too difficult to get the bolt in place you can remove the driveshaft, but you will need to make sure all of the bolts are installed to the proper torque during reinstallation.
Step 6: INSTALL LONG AND SHORT ARM

Install the long arm.
This will be fairly easy with the help of a socket extender. Loosely install for now.
Install the short arm on the opposite side of the gas tank using the same method as the long arm.
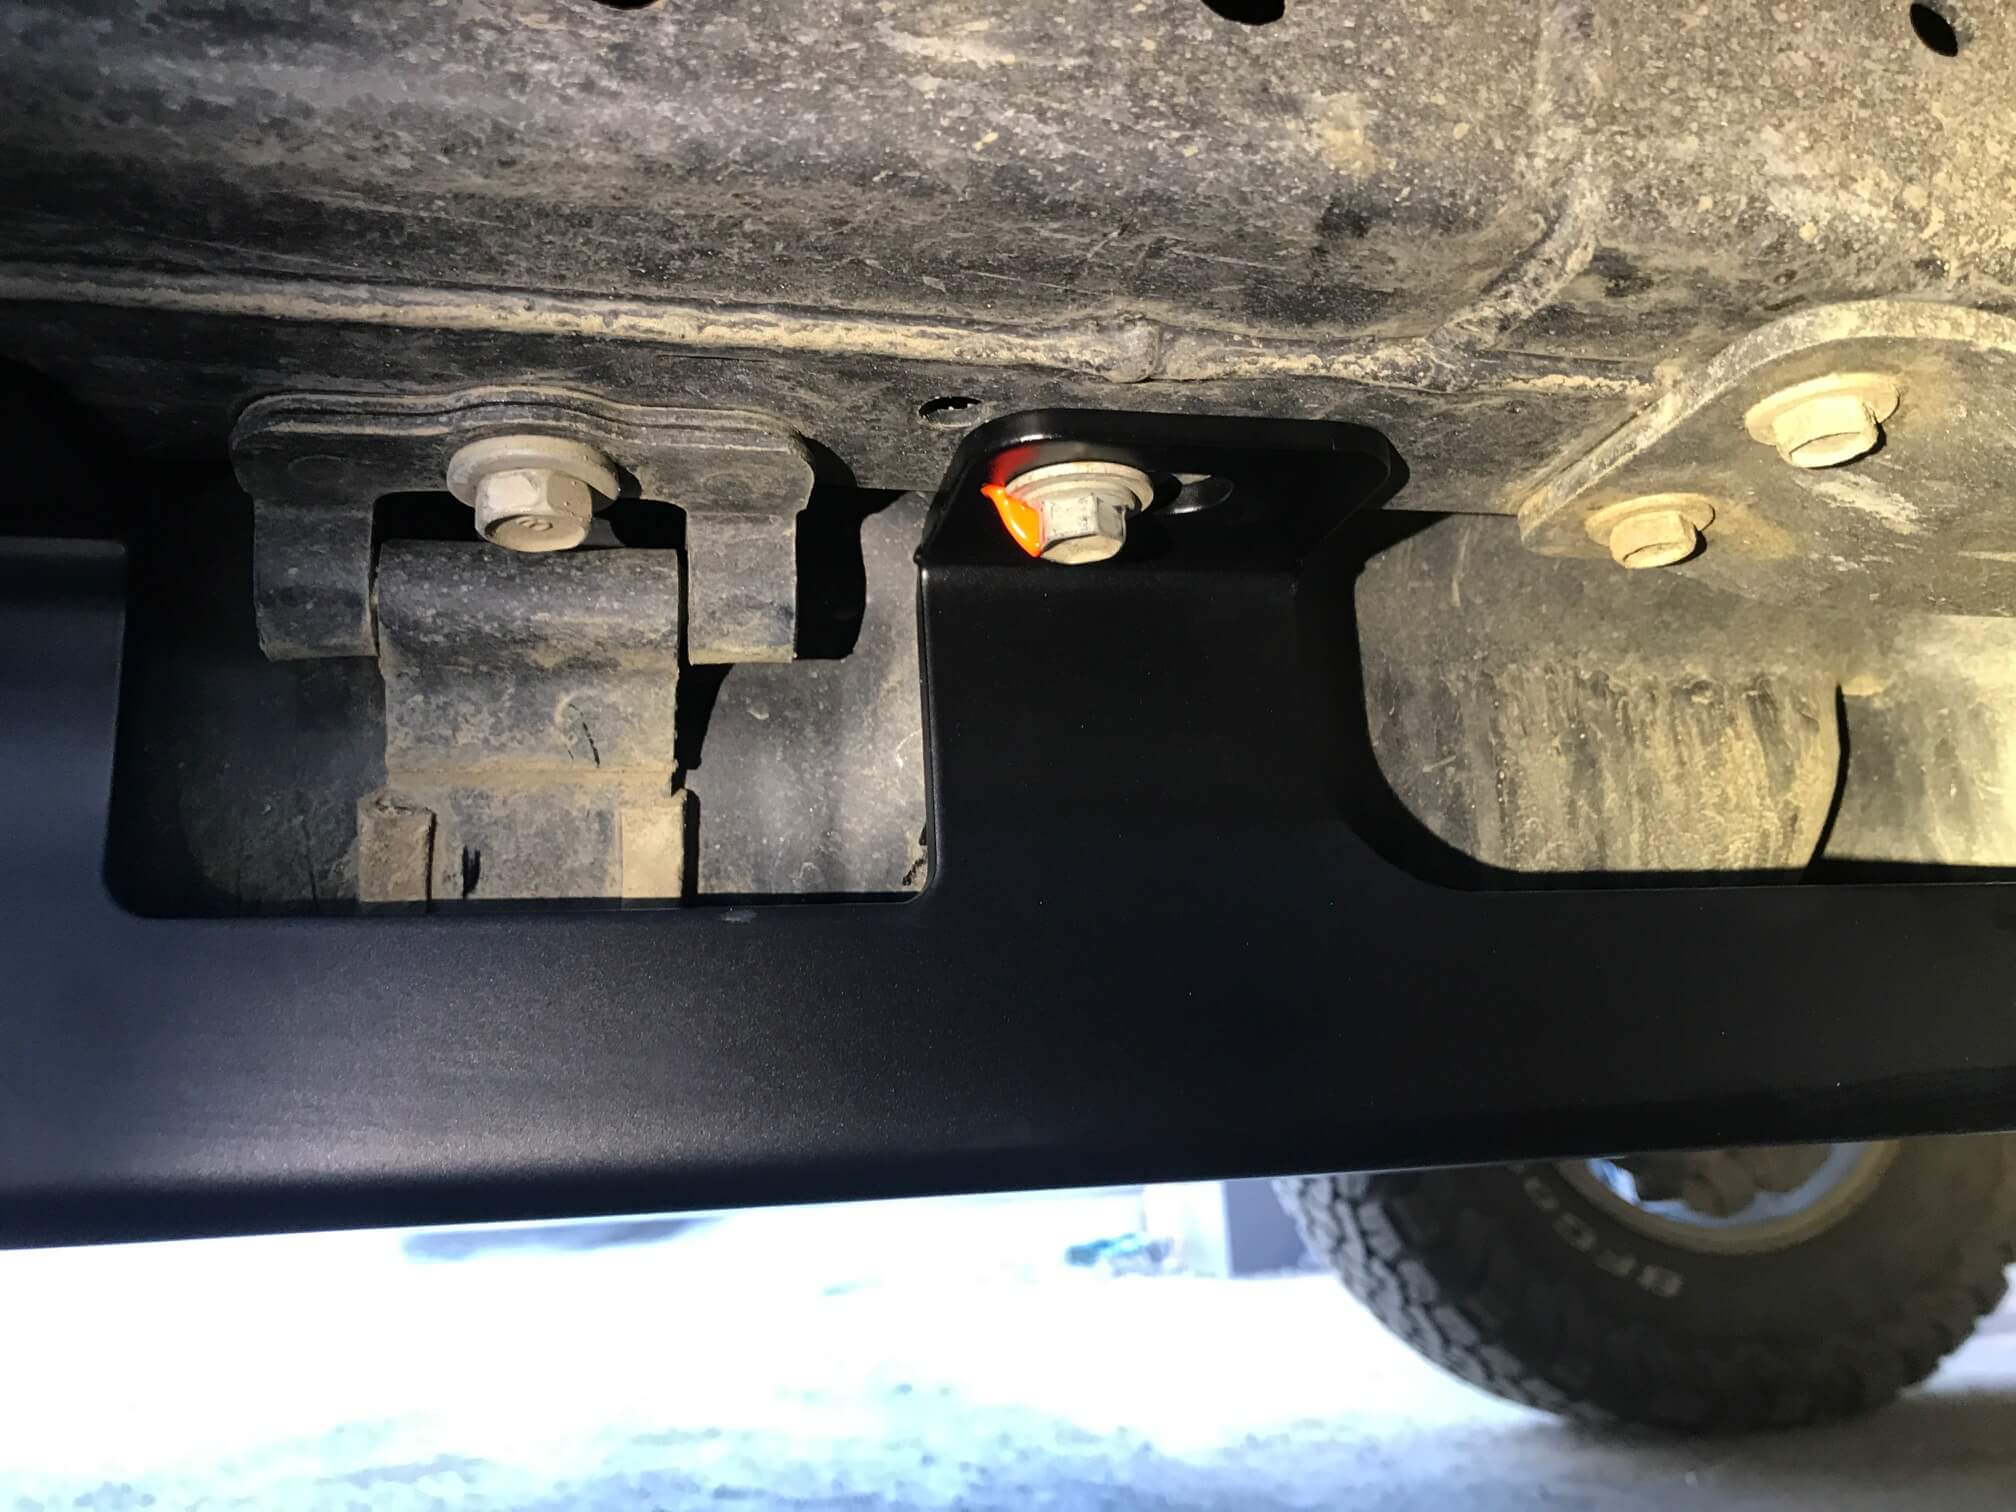
Step 7: INSTALL SKID PLATE

Using the help of a jack, lift the skid plate into place.
As you raise the skid plate make sure that the arms are sliding onto the inside of the skid plate instead of the outside.
Use the provided bolts, washers, and nuts to connect the skid to the provided arms.
Use the 3 stock bolts to connect the skid plate directly to the frame.
Step 8: TIGHTEN UP EVERYTHING
Manually, by hand, tighten each of the bolts at the top of the arms.
Finally, as an optional step, you can add some torque location marking using a sharpie, or even better a product like Cross-Check.
The cross-check will dry in place and make it very clear if the bolts are beginning to loosen up.
This will make checking all of the torques in the future very quick and easy.
FINAL THOUGHTS:
I was very impressed with the sturdiness and build quality of the skids and provided arms. I found the arms to be especially sturdy in comparison to most of the other offerings on the market. I would feel confident in jacking up the vehicle using the skid. The angled edges are a great addition to prevent the skid from getting caught on rocks.
My only complaint is that the front of the gas tank sticks out and is exposed, but it would take a very tall and pointed rock to actually cause damage. In fact, the stock gas tank skid actually provides more protection in this area than the upgraded skid.
However, all of the other gas tank skids that I saw on the market have this vulnerability.
Would this gas tank skid plate also fit a Lexus GX460?
This skid plate looks like it fits up much closer to the gas tank than the RCI gas tank skid. How is the gap towards the front?
Great writeup. Do you know if the CBI gas tank skid would interfere with the C4Fab rear differential/e-locker skid plate?
It does not. I have both installed.