
Tail Light Assembly Replacement and Light Bulb Replacement Overview
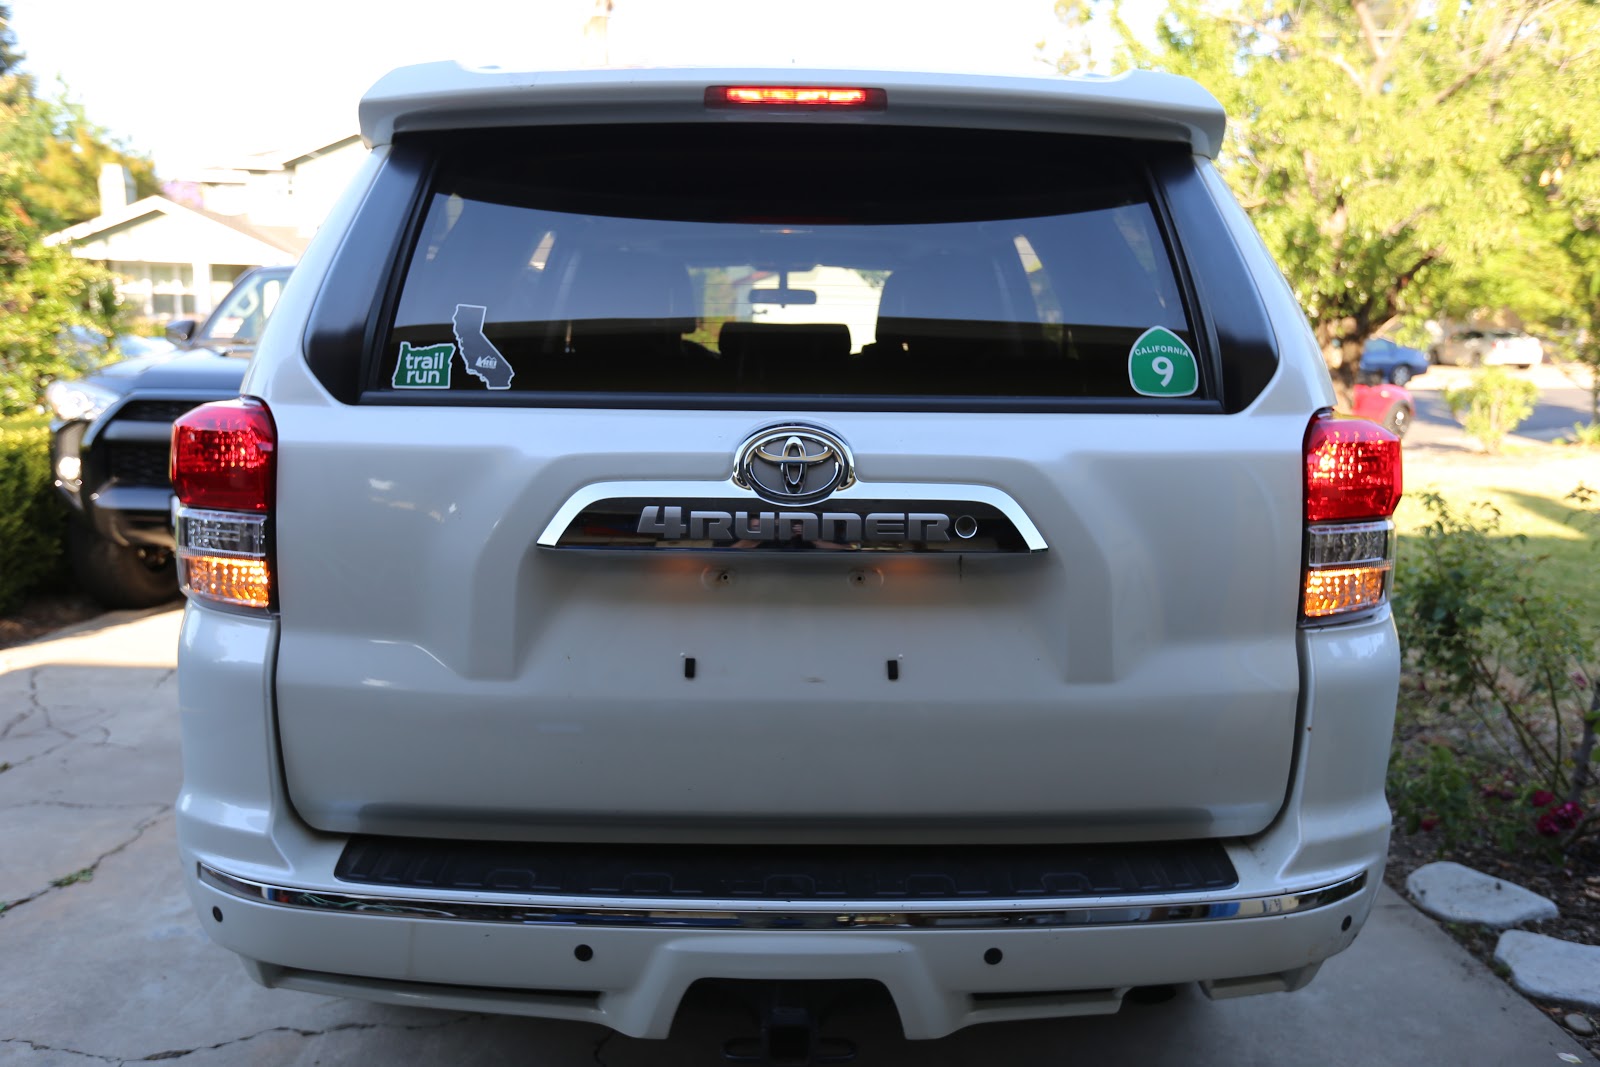
We will be replacing both tail lights on this beautiful 2012 (5th gen) Toyota 4runner. We had some damage on the rear right/passenger tail light from backing into a tree and decided to replace the tail lights with the Depo 312-19A5L-UF2 Tail Light Unit.
It is very similar in style just has a black (off-road edition) turn signal section instead of the silver/chrome that is usually found on the SR5’s. The replacement took us about a total of 45 min, however, it can take less time if you have everything ready. Here are detailed instructions on how to replace the tail lights. These instructions can also be used to upgrade your tail lights or to replace any bulbs located in the tail light.
Step 1: Open liftgate and turn off power
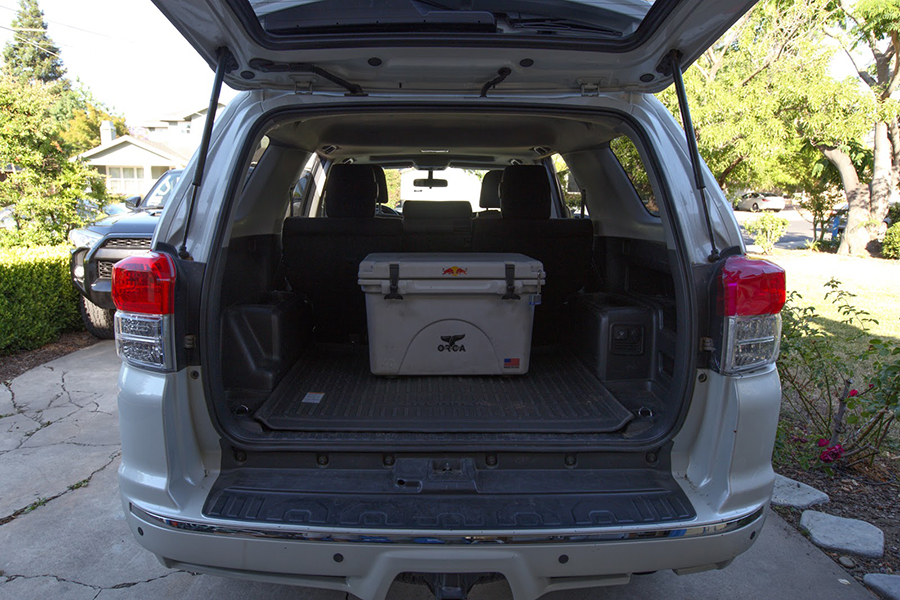
Open the liftgate and make sure to turn the car power off. No need to disconnect the battery, just make sure to take the key out.
Step 2: Tools

Not many tools will be needed since it is a very simple fix. In order to complete the light replacement or replace the bulbs you will need:
- Flathead screwdriver ( or something small and gentle to pry off the plastic bolt cover)
- 10mm Deep Socket
- Socket Wrench with extender
- Since the bolts on the light have long screw, we found that the deep socket works best.
Step 3: Removing Enclosure
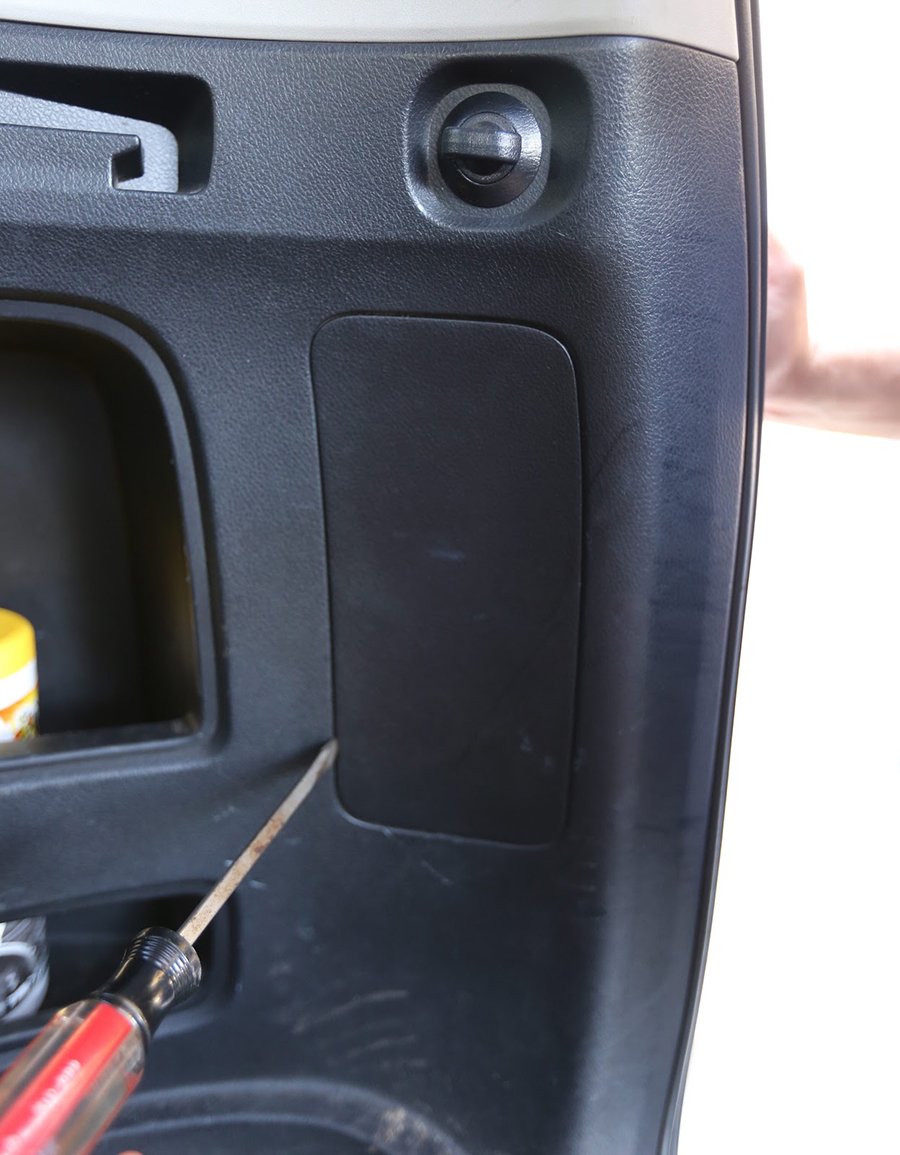
Use the flat head screwdriver to pop open the flap (bolt cover) which houses the cables and bolts connecting the light to the car. Use your fingers to pry the rest once the flap is slightly cracked open. It was pretty easy to remove.
Step 4: Disconnecting Cables & Removing Bolts
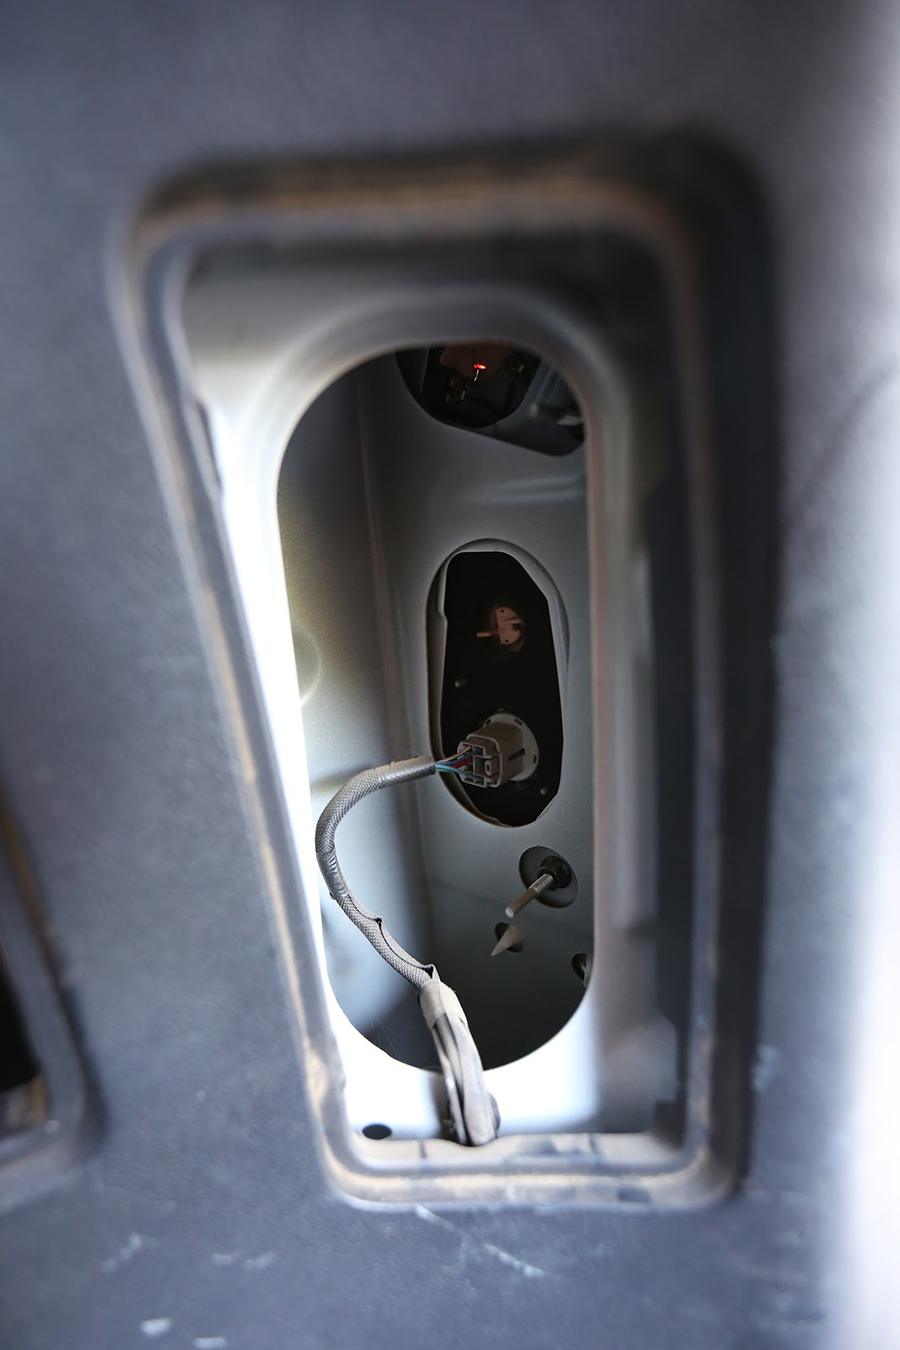
Disconnect the power cable from the light (There is only one connection per side). Locate the tab on the connector, press down and pull straight out. Remove the 2 bolts (one at top one at bottom) using the 10mm deep socket wrench.
Step 5: Tail Light Housing Removal
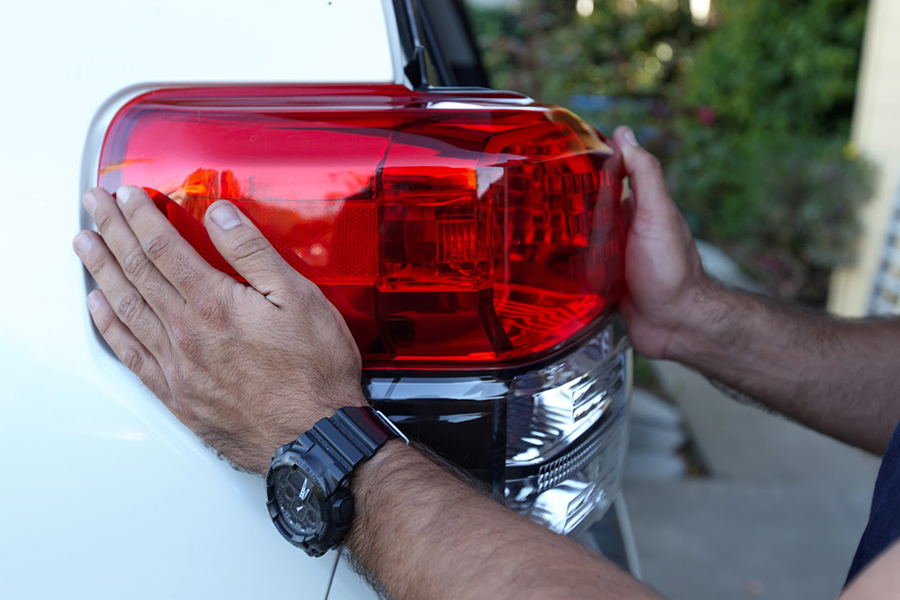
Hand placement is crucial as the tail light is attached to the vehicle pretty snuggly even with the bolts removed. There is a clip on the outside of the car that connects the light (See Step 9). Place both hands as shown in the picture above and pull towards yourself/straight back. The tail light should come loose and you will be able to pop off the tail light. Do not be afraid to use a bit of force.
Step 6: Light Bulb Removal
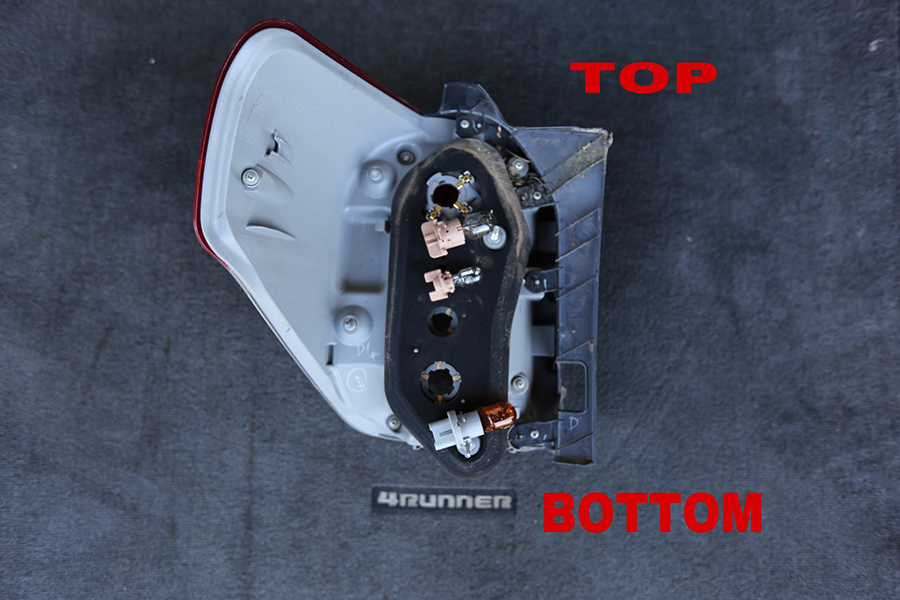
With the hardest part now done you can remove the light bulbs. If simply doing a light bulb exchange, replace the damaged bulbs and go to Step 8. In order to remove the light bulbs, you have to twist about a quarter of the way and pull straight out.
Step 7: Installing New Tail Lights

Grab the new tail lights and the old bulbs if they all are working. We are upgrading the tail lights with the Depo 312-19A5L-UF2 Tail Light Unit found on Amazon. Just under $100 for one. As new tail lights dont usually come with bulbs, go ahead and use the 3 bulbs you have removed and place in the correct sockets on the new tail lights.
Step 8: Attaching Tail Light to Car 1
With the light bulbs in place, it is time to reconnect the tail light to the vehicle. Grab the tail light, and insert the bottom of the tail light into the body. It is a black 2-inch hook. Then make sure the highlighted clip is lined up.
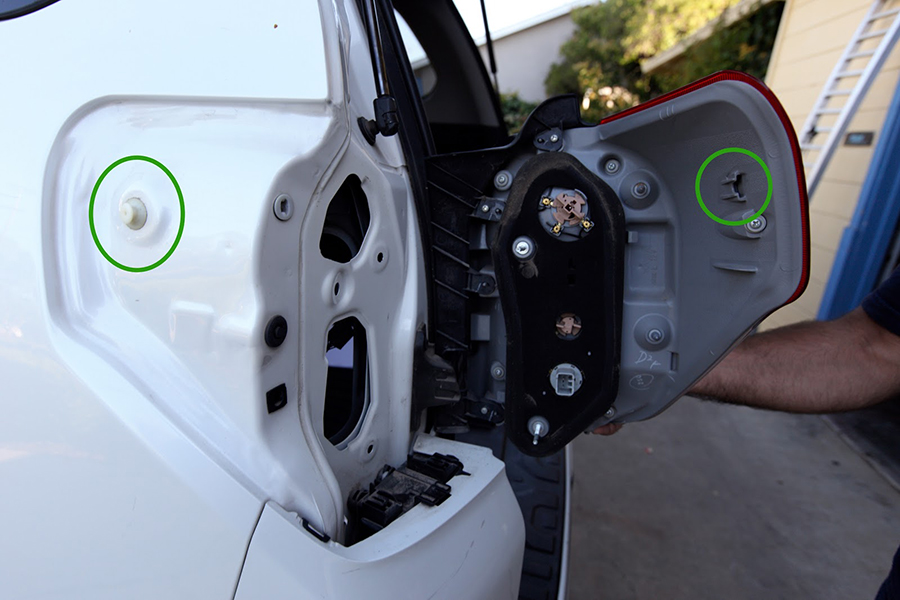
Step 9: Attaching Tail Light to Car 2

The clip needs to line up perfectly in order for a good attachment. You do not want your tail light rattling on the freeway. Look from the top to make sure this is lined up. Press with force in order to ensure all the remaining clips have fastened.
Step 10: Fastening Bolts and Cables
After the tail light is on snuggly, you have to reattach the two bolts using the 10mm deep socket wrench. Plug in the cable and ensure it is snug.
Step 11: Testing
Leave the bolt cover off for now while testing the tail lights. Reconnect the power back to the battery if you disconnected it and test all the lights. Turn on hazards, brakes and go in reverse to see if all the lights work. Easiest is to have someone with you for the brake lights. If all of the lights work, place the bolt cover back on and you are done!
If the lights do not work, check the cable connecting the vehicle’s power source to the tail light. Then remove the headlight/lights once more and ensure the bulbs are nice and tight and connected properly. Replace tail light and test once more.
is it possible to just replace the stock LED tail light bulb with a different LED bulb?
Can I just replace the cover and not the lights / entire assembly? The lights work fine, but the cover has a hole in it from a hail storm
The tail light housing is weather sealed. Its possible, but you would have to put the tail light in the oven, scrape the glue thats holding it together etc. Much easier and cheaper to just buy the whole assembly.
Is a 2014 model tail light assembly replacement different than this 2018 directions ?
This particular model of the 4runner is a 2012 SR5. As far as I know the only difference is a new tail light design, the housing and plugs etc are all the same.
Hi,
I saw your post on replacing the Tail Light Assembly on the 5th Gen 4runner and i didn’t quite get on how you removed the two plastic bolts/nuts on the other side of the light assembly…
I tried to replace my also, but got no idea on how to removed those two plastic bolts/nuts!
Any suggestion on how to remove it would be greatly appreciated it!
Thanks!
Hello Chay,
We are not to sure which bolts and nuts you are talking about. We do not remember removing any plastic bolts or nuts. Do you have any pics to help clarify?
Thanks!
Yes there are some differences, some have more chrome, some are more black, and the pre-facelift ones look different. I believe all the differences are visual so they should be interchangeable between any 5th gen.
Thanks!
Do you know if there is any difference in the the tail lights between 5th gens? IE. Pre-facelift SR5s, trails TRD ORs etc?
Thanks
The housing and plugs should all be the same even between 4th gens.