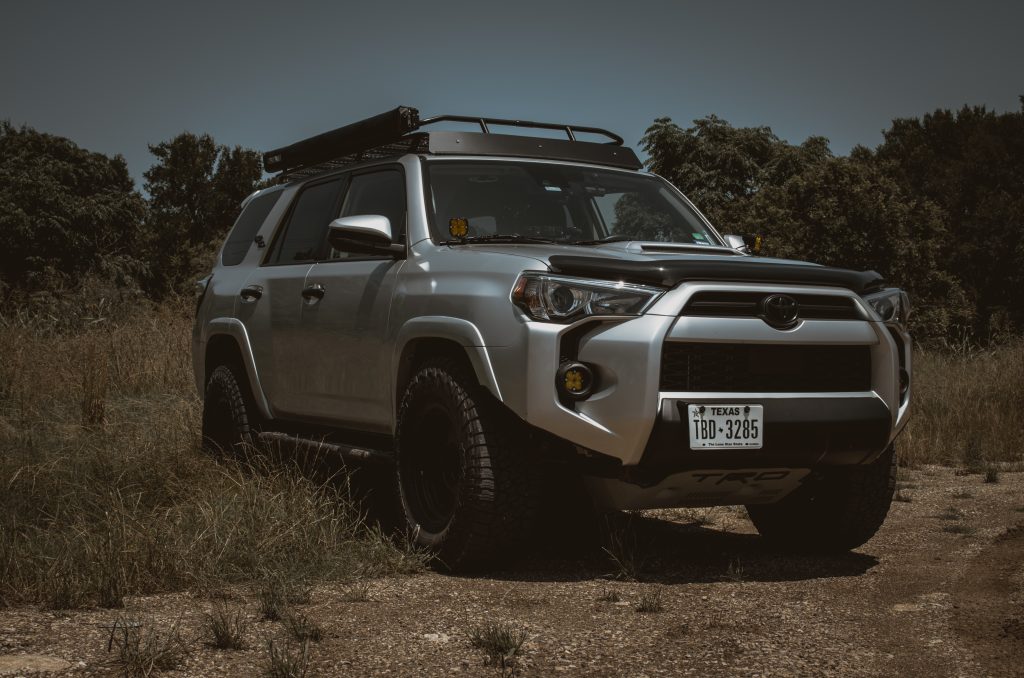
ROAM, FrontRunner, ARB, Thule… the list goes on and on. It seems like every company now a days makes a vehicle mounted awning. One company that might not be so well known in the Toyota community, RealTruck. Introducing the “Overland Awning’, a marvel that’s more than just a temporary roof over your head—it’s an ode to simplicity. This 6.5′ wide and 8.2′ long awning isn’t just a shady sanctuary; it’s a statement piece, a mobile monument to sun-smart sophistication.
Whether you’re rolling up to a campsite in style, mall crawling at your local Macy’s (I’m not ashamed), or tailgating at a football game, the Overland Awning ensures you’ll always be the coolest cat in the parking lot with its high-quality ripstop polyester construction and telescoping aluminum support posts. So, bask in the envy of onlookers, and let the good times roll under the protective embrace of your portable palace.
Install Overview
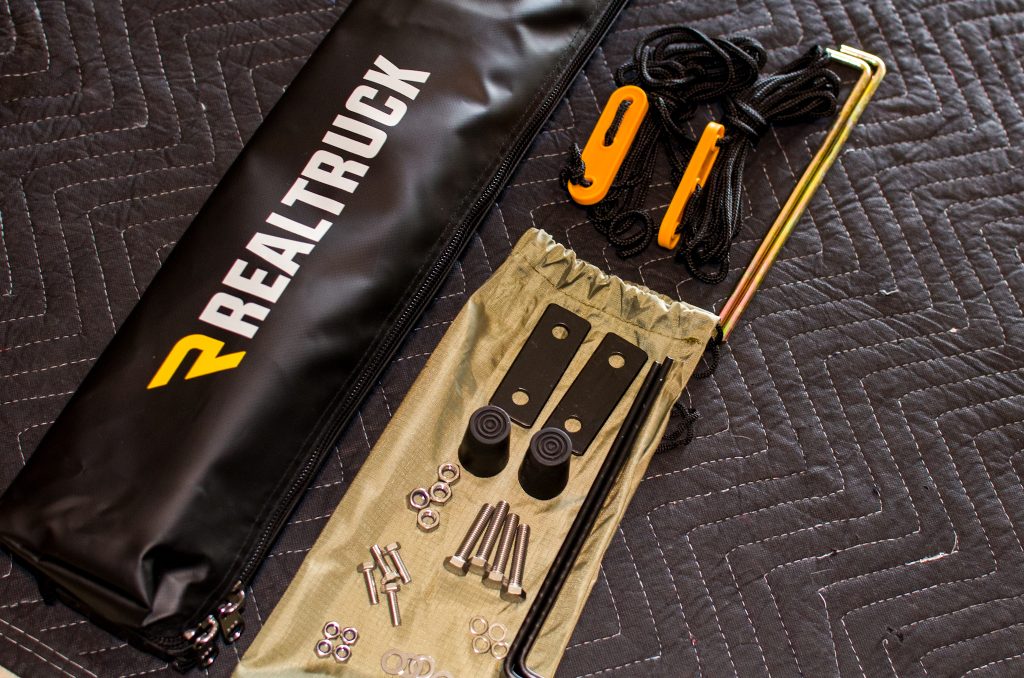
The Overland Awning comes with everything you need to install, minus a few tools that you most likely have laying around…
- (2) 90 Degree Mounting Brackets (included)
- 2 Flat Mount Plates (included)
- 4 M8 Bolts (included)
- 4 M6 Bolts (included)
- 8 Washers & Locking Nuts (included)
- 2 Rubber Leg Feet (included)
- 1/2″ Long Socket (not included)
- 1/2″ Wrench (not included)
- 10mm Socket (not included)
- Measuring Tape (not included)
- Zip Ties (optional, if installing by yourself)
Step 1. Mounting Brackets
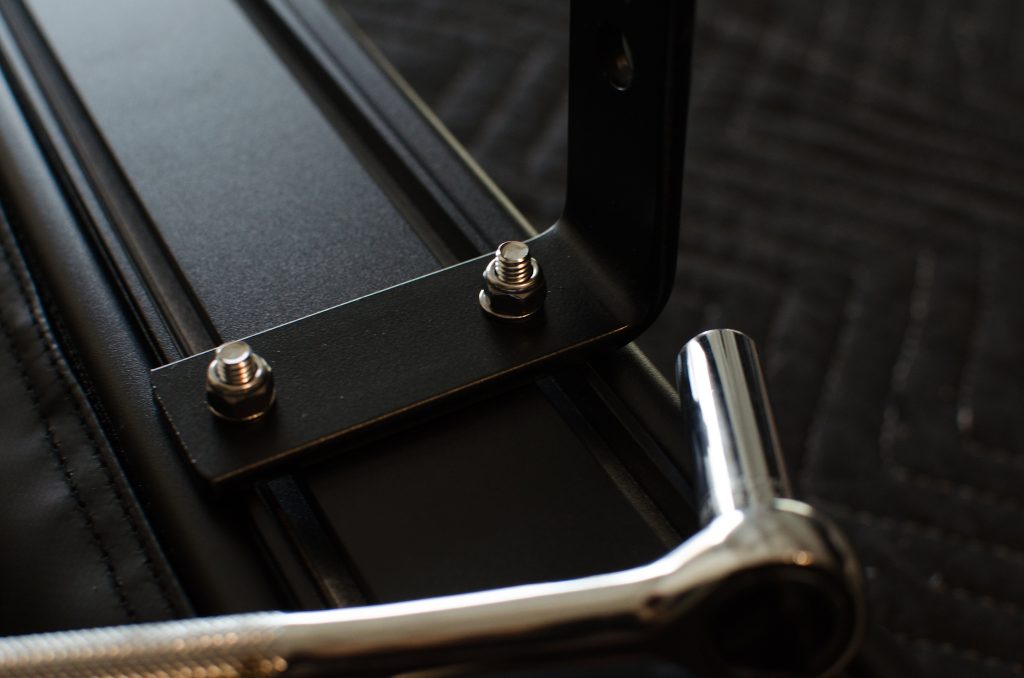
Let me preface the install process by stating that I’ll be installing the awning on my Gobi roof rack. Mounting the hardware to the awning will be the same no matter what roof rack you’re running, but the measurements and actual installation will differ slightly if your roof rack is from another company.
To begin, you want to place the awning zipper side down and away from you, so that the T-slot railing is up. Starting on one side, slide 2 of the M6 bolts into the T-slot openings. Repeat on the opposite side.
Grab one of the 90 degree brackets. The beauty of the design is that you have multiple options as to how you want to install them based on your roof rack. I chose to install mine vertically, so that the longer part of the bracket has more contact area on the bottom of the Gobi. Place the bracket over the two M6 bolts, add a small washer to each, and tighten a nut to each with a 10MM socket. Again, repeat on the other side.
Step 2. Secure To Roof Rack
Since I was installing this by myself, I grabbed a few zip ties to be able to temporarily hold the awning onto the side of the roof rack so that I could get the spacing right and not have to try and hold the awning up while installing the additional hardware.
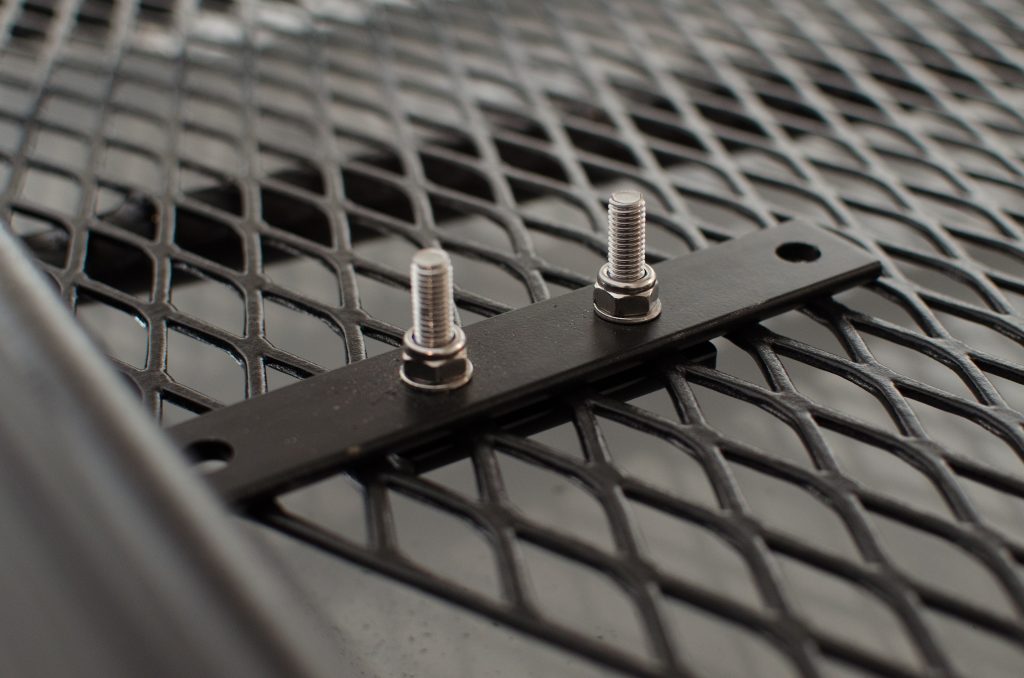
Starting on the front passenger side, slide one flat metal bracket underneath the bottom of the Gobi rack. Feed both of the M8 bolts through the bottom of the bracket and through the opening on the rack. Install a large washer and top off with a hand tightened nut. DO NOT FULLY TIGHTEN THE NUTS.
Move to the back of the vehicle and repeat the same process. Once you’ve confirmed the spacing of the awning on your 4Runner looks good, tighten down all 4 locking nuts.
Set Up
Now that everything is installed and mounted, ensure you have adequate space surrounding the vehicle, and unzip the cover to expose the awning.
Step 1. Unzip & Unroll
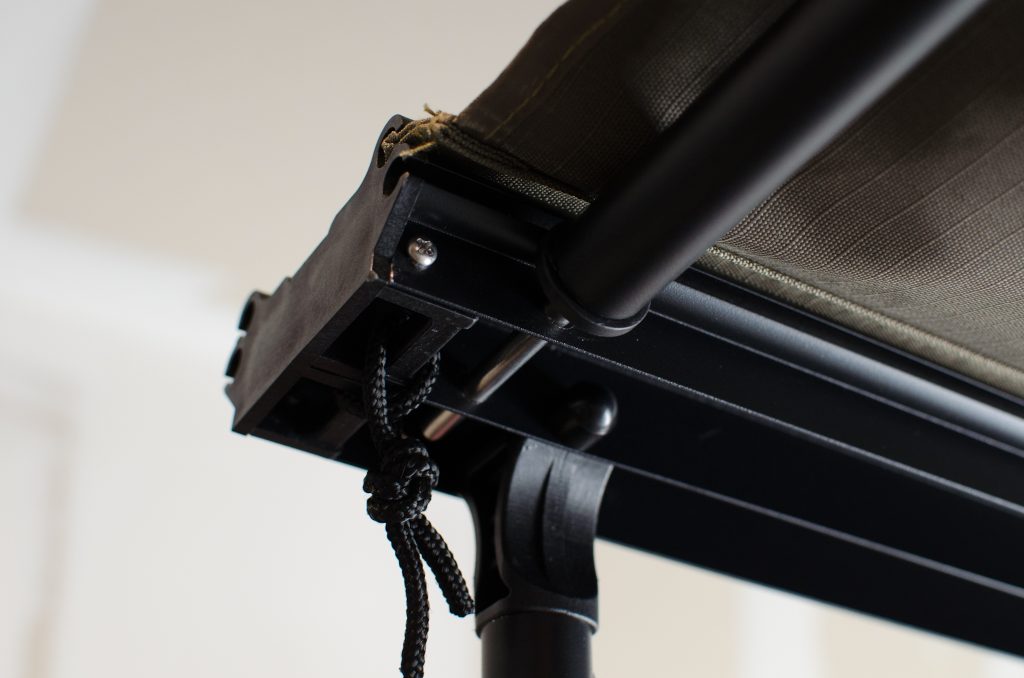
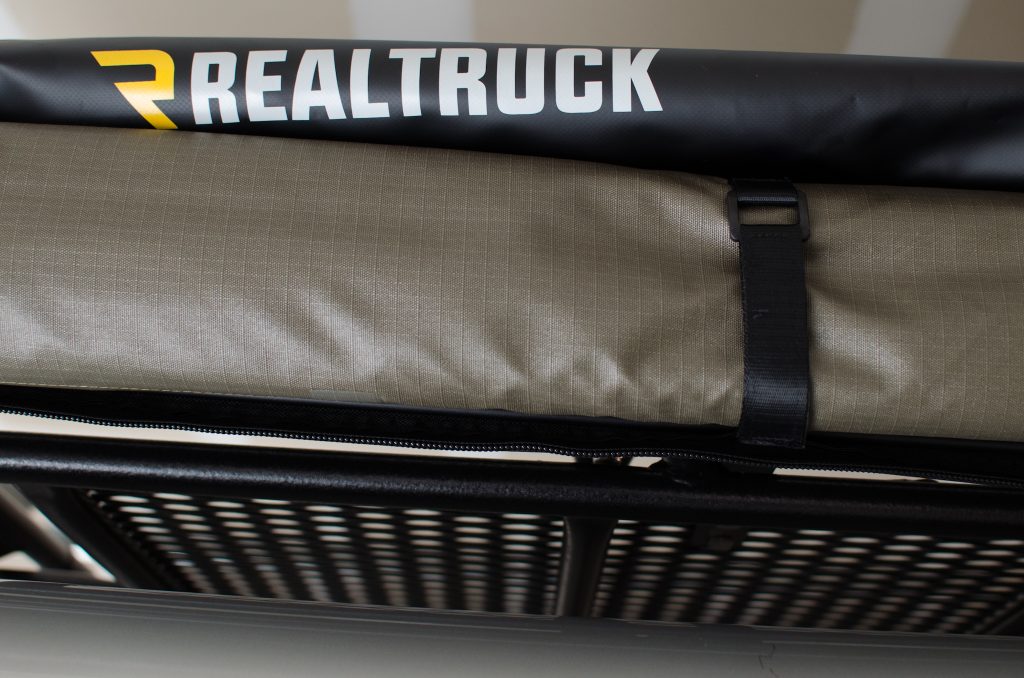
Release the Velcro strap on each side of the awning and unfold the awning a little bit. While holding the awning, pull out both of the rafter arms horizontally, one in each direction, to allow enough room for the awning to open up entirely.
Step 2. Arms & Legs
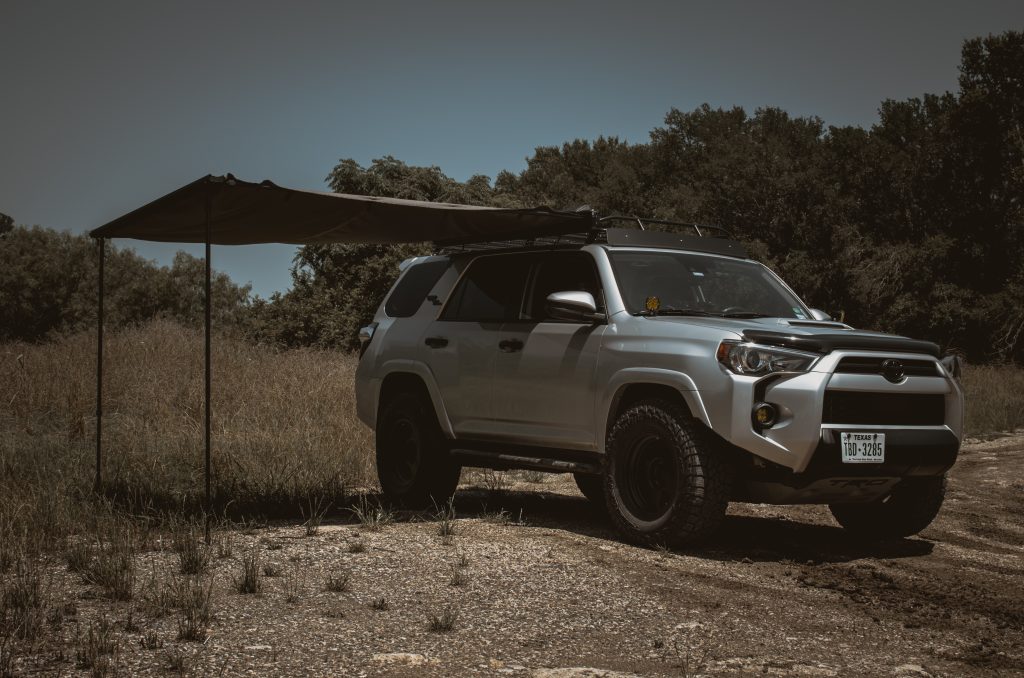
Once the awning is entirely unfolded, release the legs from inside the awning channel. The legs are telescoping so you can twist them to lock them into the desired height. After the legs are locked and while holding the awning, extend the telescoping rafter arms so that they align in the holes on the awning channel. At this point, your awning should be freestanding. Secure the fabric to the rafter arms with the 4 straps. Grab the rubber feet and push them onto the pins on the bottom of the awning legs.
Final Thoughts
I have never owned a vehicle mounted awning so I don’t have anything to compare it to, but I have been very pleased with how easy it was to install, how lightweight it is, the quality, and how quickly it opens up and closes.
I do know that over time the cover on awnings can become weathered and start to deteriorate but I’m fortunate enough to be able to park in my garage so I don’t anticipate that being too big of an issue. A few friends who have awnings from other companies had no complaints on the quality or durability of the RealTruck awning. Time will tell how it holds up with the Texas heat and sandy beaches.

Thanks for this post Atul, nice to read new content here at trail4runner.com.
I have the same GOBI Roof Rack and love it. It’s just solid hands down.
The have accessories for just about everything.
When came into my Overland Vehicle Systems 180 Awning, the mounting brackets that they provided looked like they would not play nicely with my GOBI Rack.
I have seen first hand what a nice gush of wind will do to an awning if the brackets are not made for the specific roof rack.
I did some calling and ended up with these.
https://gobiracks.com/product/gobi-toyota-4runner-foxwing-awning-brackets-triple-support-kit-stealth/
I like how, when mounted, it does not take up any additional space that could be used for Case Mounts or Tents.
I love your photos, what’s going to be your next Mod?
Thank you kindly!
@in_a_4runner
I used to have a Gobi on my 4th Gen 4Runner. Loved that thing! You’re totally right about the brackets. I had those as well. Very sturdy. They only failed one time… but that was a crazy circumstance. I was driving past a good sized branch, and it got wedged between the awning and the rack. As I drove past, it all separated. I was not happy lol. Not to say anything bad about the mount – just sharing a story. A lot of force involved there haha.
Konard,
That is just awful to hear about your incident. My Awning is heavy and I put 3 brackets on the GOBI and probably one more for measure. If that puppy falls off under a wind storm, it’s going to damage the body or windows. I get scared like that. I have seen them blown away in the desert because they were not anchored securely. I know putting that awning back up in the field is not joke.
Happy Trails Amigo!