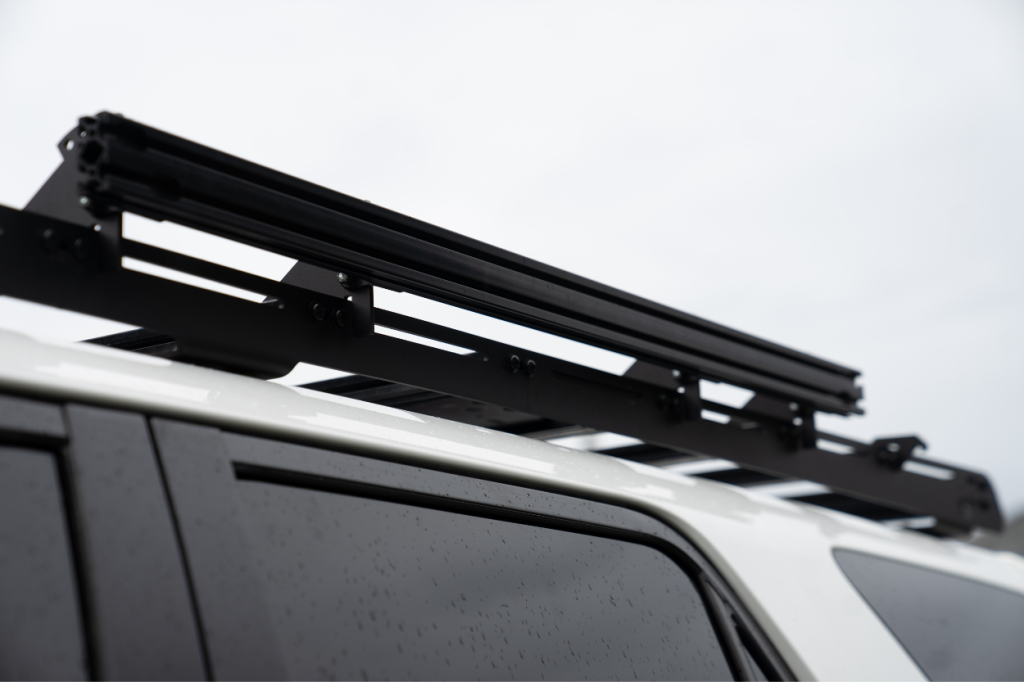
We’re back with another post for the Prinsu rack accessories! Today, I am covering the Prinsu Rack Side Rail.
Think of the side rail as an extension to your crossbar. If you have bigger items mounted to your roof rack and need additional space for things like a rotopax or some recovery boards, this is a great option for mounting those items. It also helps to create a cargo basket of sorts to keep things from sliding off the roof.
While it is a bit pricier, it is a great option for those looking to take up every last inch of their Prinsu rack for mounting. Check it out below!
Table Of Contents
Features
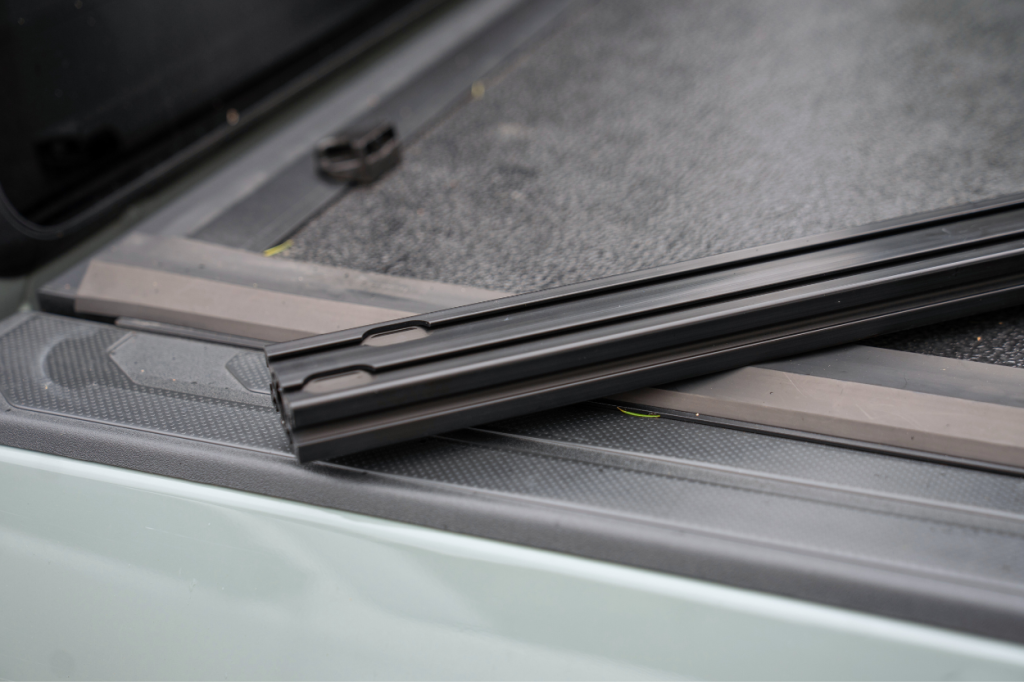
These side rails are designed with ease and versatility, seamlessly mounting to the side of your rack. This frees up valuable roof space and ensures compatibility with a wide range of Prinsu accessories. Crafted from a durable blend of steel and aluminum, they offer strength without unnecessary weight.
But how are the rails different than just mounting items to your crossbars? Well, they can tilt up to 30 degrees, and since they are available in three lengths ranging from 44″ to 54″, they make mounting pretty much anything you need a breeze. And, if your roof rack is already loaded with gear and you’re seeking additional space, this could be an excellent solution.
Installation
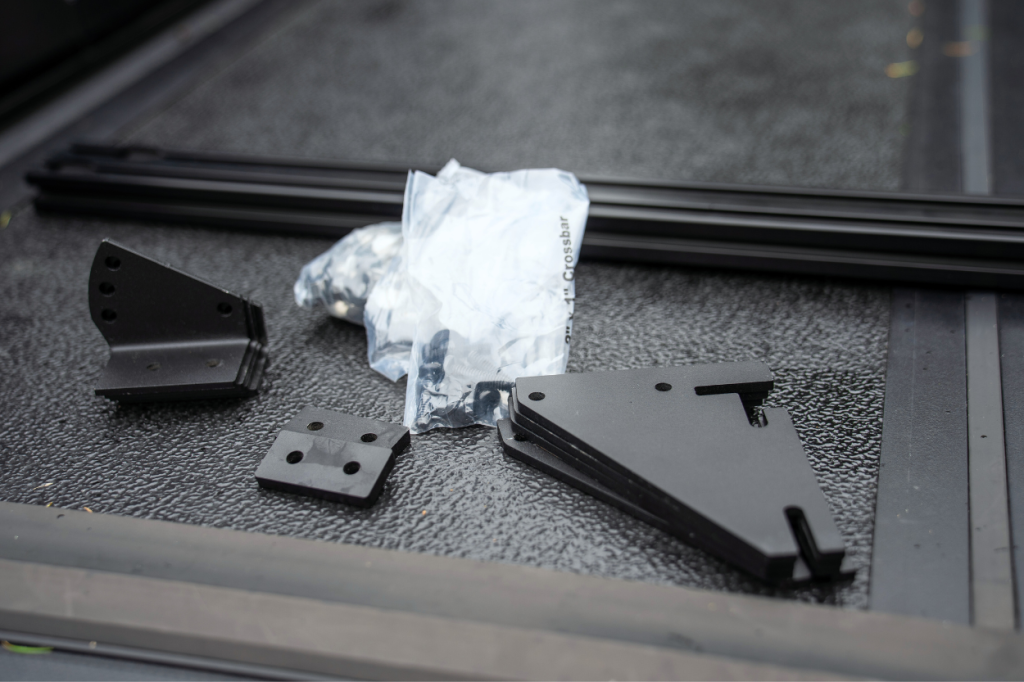
The installation process is straightforward. Although I will say there were rectangular brackets provided, we opted not to install them and encountered no issues without them.
Tools Required
- Impact Driver
- T-30 Bit
- 11mm Socket
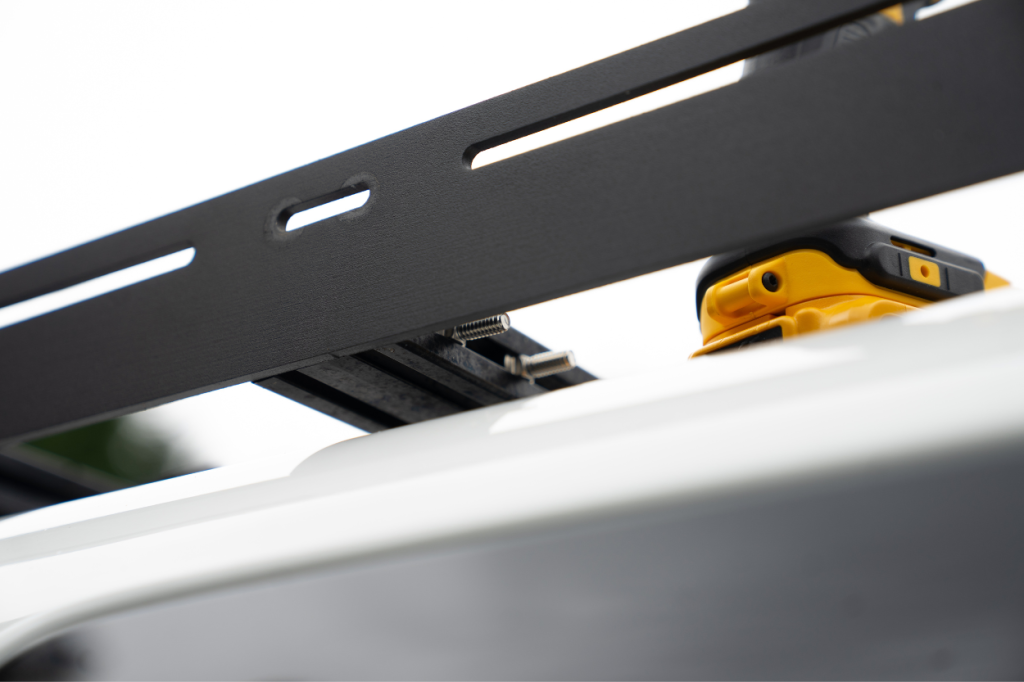
1. Mounting Location
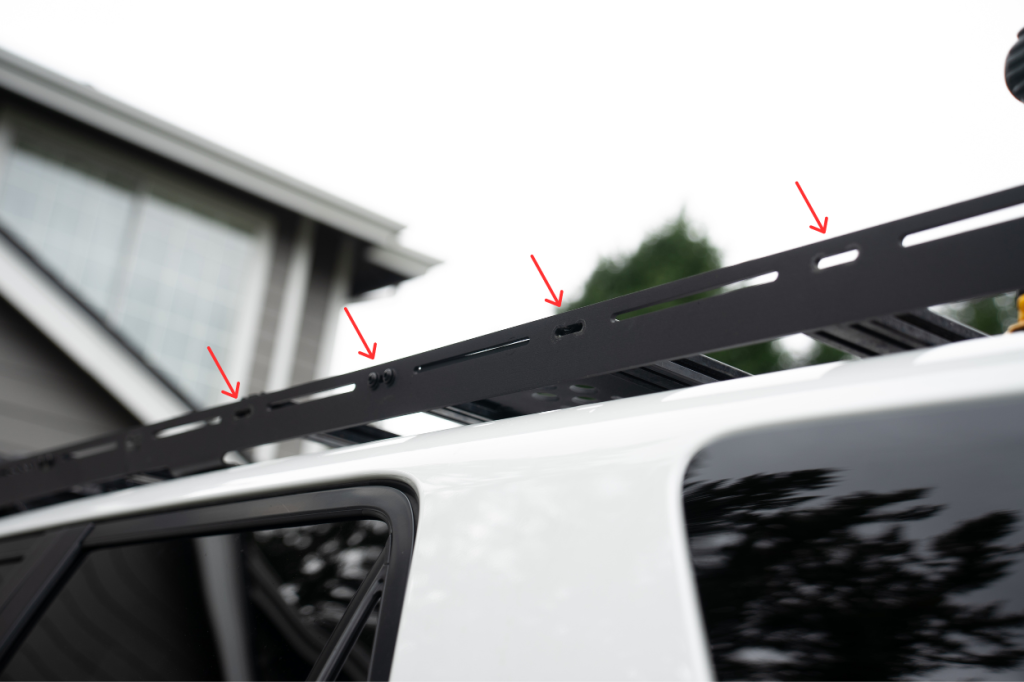
You want to start with picking your mounting location. Depending on the size you purchased and the number of brackets, you will need to remove between 4-6 crossbars to install the first part of the bracket. Since I installed the smallest size, I only had to install four brackets.
Once you have it mapped out, use your impact driver and T-30 bit to remove each of the crossbars.
2. Bolts in Crossbars
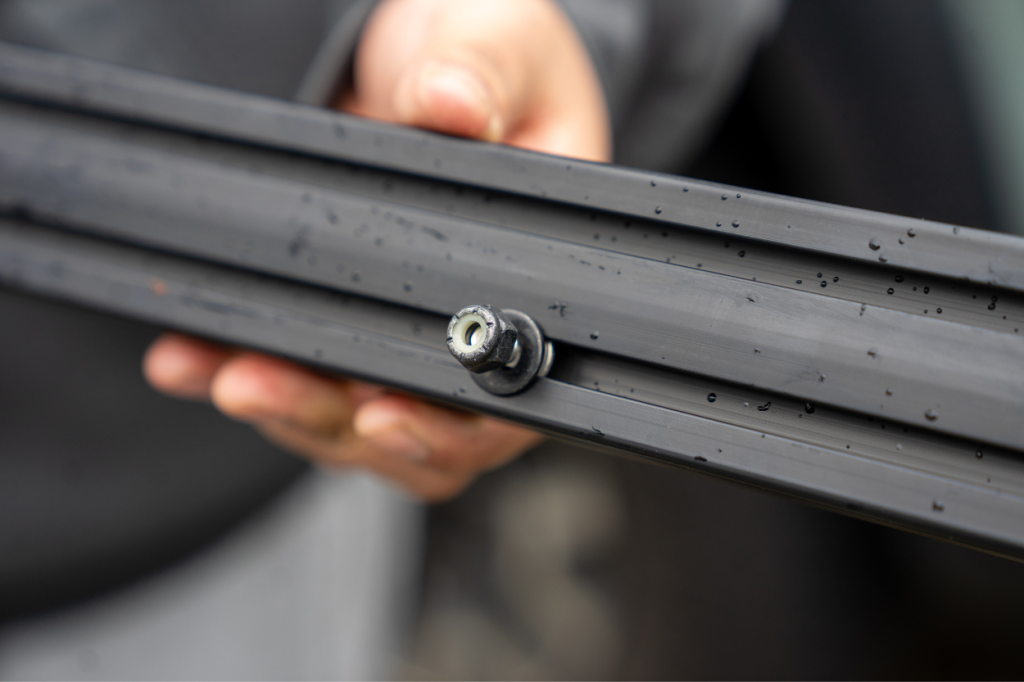
Once you have removed the crossbars, you will now want to grab the larger silver bolts and slide them into the crossbars. You should have two bolts per bracket, and you can use the bracket to space them out correctly.
Once both bolts are inserted into each crossbar, you can reattach the crossbar to the roof rack using the original hardware.
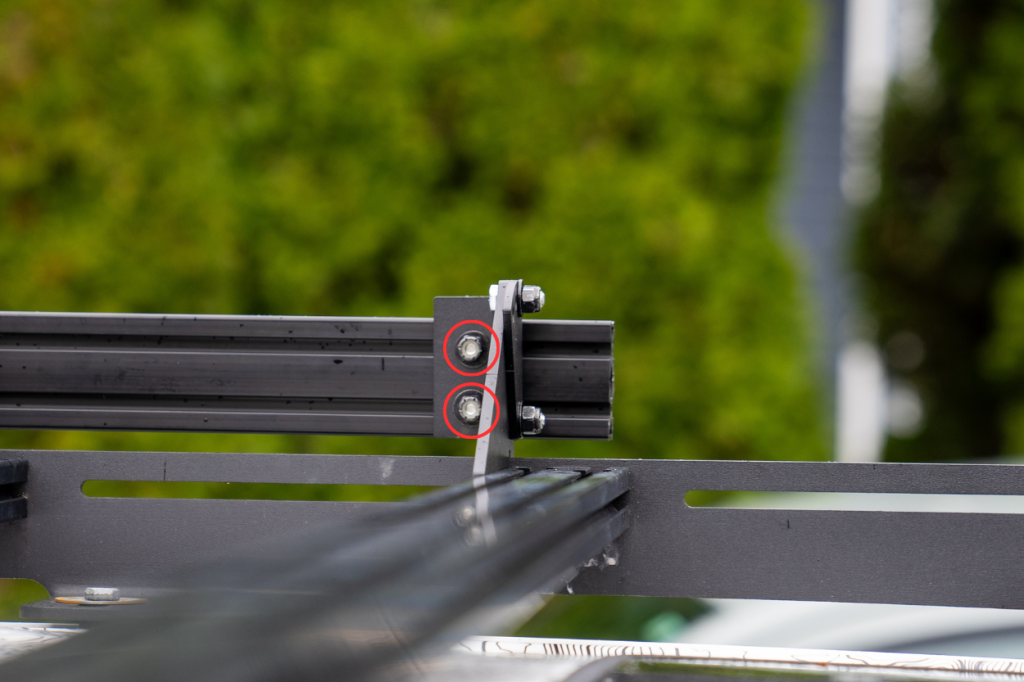
3. Bracket To Crossbar
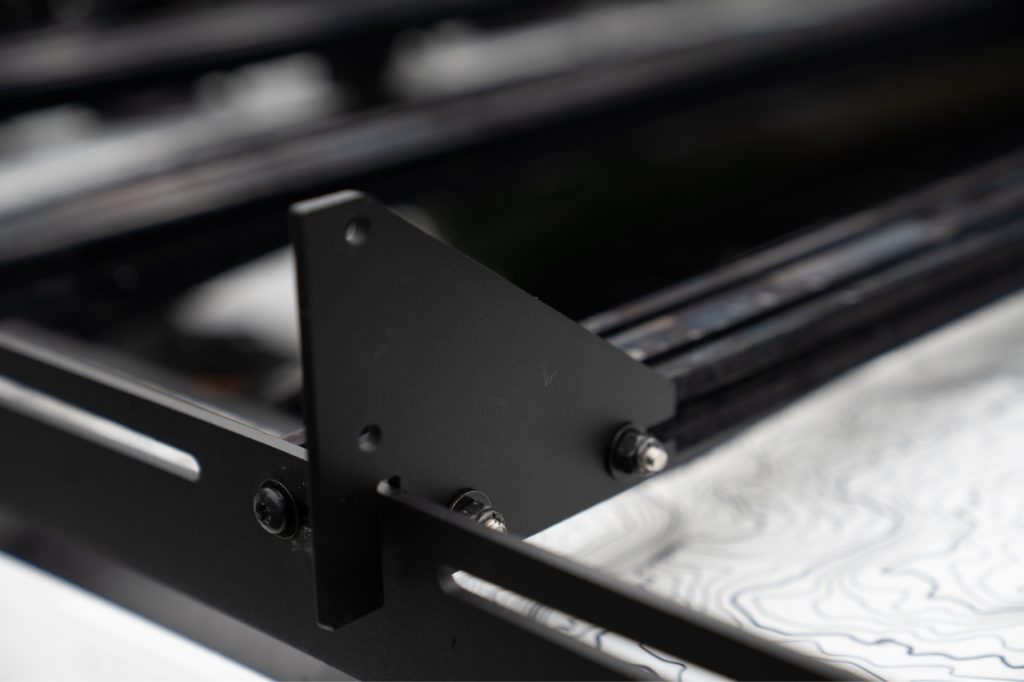
Now that the bolts are securely attached to each crossbar, you can slide the larger bracket over them. Then, slide a washer and nut over the bolt to secure them to the crossbar. You will use an 11mm socket to tighten them.
4. Set Side Rail Angle
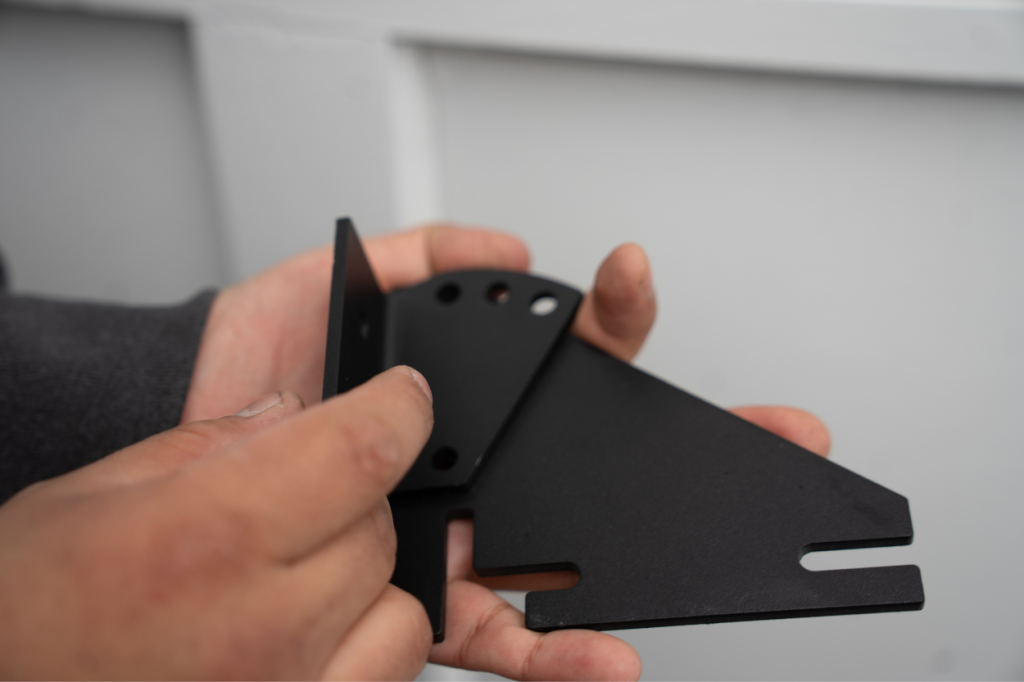
Now that the first part of the bracket is attached directly to the crossbars, you will want to secure the tilting bracket, which will support your new side rail.
The tilting bracket has three different tilt options up to 30 degrees. I opted for a 0-degree tilt.
Now that you have determined the angle, you can secure the smaller bracket to the larger one. Using the same bolts, washer, and nuts as you did in step #3, secure the two brackets and tighten them with an 11mm socket.
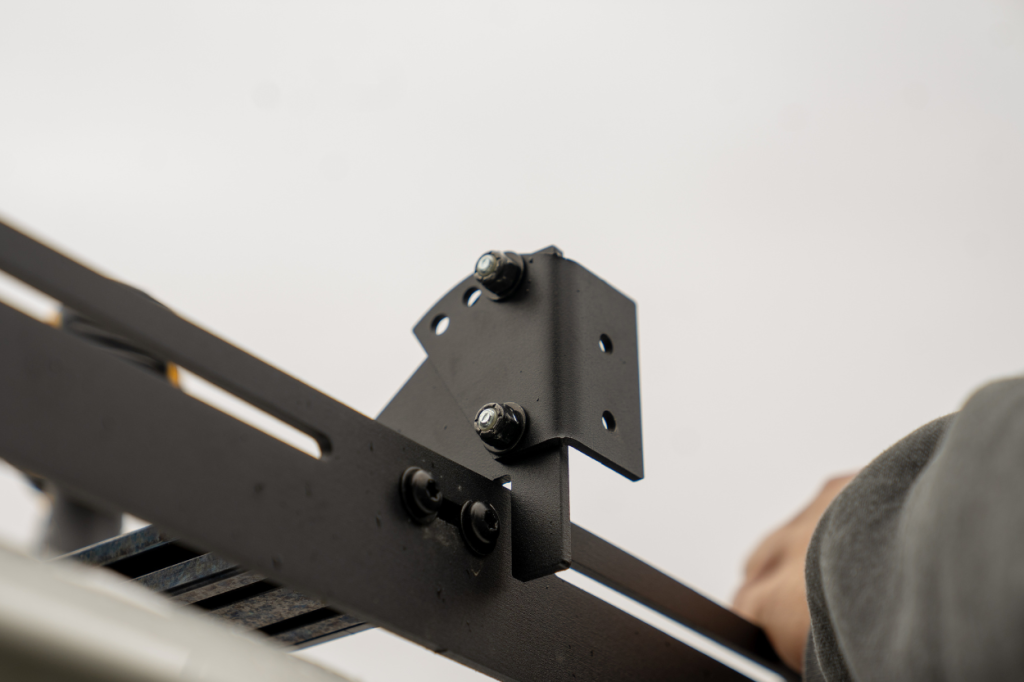
5. Attach Side Rail To Bracket
With your brackets securely fastened to the roof rack, it’s time to install your side rail. Gather four bolts, washers, and nuts, making sure you have enough hardware to match the number of brackets you’ve installed. Slide each bolt into the T-channels of the crossbar, ensuring proper alignment with the attachment points.
Finally, slide the bolts into the brackets and fasten the side rail with a washer and nut. Tighten everything using an 11mm socket wrench. And repeat for all brackets.
Final Thoughts

Whether you’re looking for extra space for mounting gear or easier accessibility to gear, the side rails make a great addition to your roof rack setup. They will ensure that you can maximize the utility of your roof space and use every inch possible.
Will this support a high lift jack?
Hi Jacob,
I am not 100% sure about the weight limit for these side rails as it’s not stated. Prinsu offers hi-lift jack mounts, and we will have an install and review on those very soon!
At first glance this looks like a solid winner! Looks like it will fit my 80/20 Sherpa as well?
Hi Mike,
I can’t guarantee that it will fit; however, the Prinsu and Sherpa crossbars look very similar. I would reach out to Prinsu to get confirmation!