
Have you been struggling with clearance? Maybe leaving a trail of bumper plastic in your wake like some sort of off-road rendition of Hansel & Gretel? Well, fear not – I have the solution for you, my friend. Let me introduce you to the Backwoods Adventure Mods bumper for the 2014+ 4Runner.
If you have come here to learn how to install this bumper, or you’re here for some initial impressions, you have come to the right place!
Here’s what drove me to the Backwoods Adventure Mods front bumper: I wanted sturdy, yet featherlight protection (imagine your grandmother but with 24” biceps). I scanned the vast array of aftermarket bumpers and kept coming back to one thing – weight. For as much as I wanted a rugged steel bumper, I just couldn’t justify hanging 200lbs from the front of my frame.
*Backwoods Adventure Mods enters stage right*

Backwoods Adventure Mods bumper is no ordinary bumper. They combined a solid steel winch and recovery cradle like Thor’s Hammer with a tough, yet refined aluminum skin. The latter bears more resemblance to Baby Groot. With that came the perfect blend of weight and function. This bumper is capable of taking a hit while still weighing in at less than 90lbs.
Did I mention the looks? Sheesh. Mind you, they didn’t just offer you one option at Backwoods Adventure Mods. No, they made sure to give you the option of hoops or no hoops – and the all-new PreRunner bar. Meaning you can get that pure Aussie 4×4 look, or you can opt for that sleek, low profile, “catch me in line at the Cinnabon at your local mall” look, or the slick desert crawler.
With all that said, you’re probably waiting for some proof. First, let me show you how to put this thing on, and then I can show you some pictures of this bad boy in action and my thoughts on where it excels most (and least).
Installing this bumper is easier than most, thanks mainly to the weight and two-piece design. This install is totally doable on your own, but for ease of use, I’d recommend having a friend assist you (ideally a good friend).
Find It Online:
- Backwoods Adventure Mods H-Lite Overland Front Bumper (5th Gen 4Runner)
Table Of Contents
Installation
Required Tools
- ½” impact driver (not totally necessary, but can speed up the process).
- ½” ratchet
- ⅜” ratchet
- 14mm + 16mm sockets (for ½” & ⅜” ratchet)
- 5/16” + ⅝” sockets (for ½” & ⅜” ratchet)
- 10mm socket
- An assortment of other socket sizes
- Assortment of ratchet extensions
- 5/16” + ⅝” wrenches
- Cutting tool (Dremel, multi-tool, cut-off wheel, etc.)
- Edge trim
- Painter’s tape
Step 1. Cut Plastic Bumper

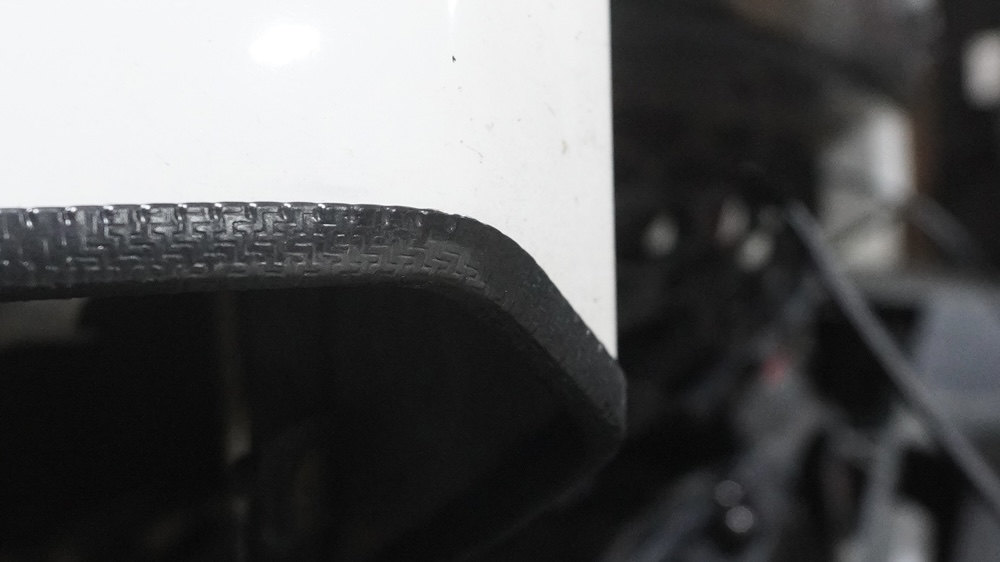
This. This is the daunting part you’ve been fearing. But fear not, because edge trim has your back. Do your best, but don’t worry about being perfect on this part because edge trim will hide any of your slight mistakes.
When cutting plastic *remember* that sitting in one spot with the cutting tool can cause the plastic to heat up and melt. Some melting will occur regardless, but be mindful of your speed. Always wear hand and eye protection; those hot bits of plastic will melt your eyeballs on contact, and TAKE YOUR TIME.

You’ll want to use the gap between the fender and the front bumper as a straight-line guide to cut on. Next, you’ll want to measure about 3.5″ down from the bottom flat part of the headlight. Make a mark here where your cut continues from the fender-bumper gap.

Next, measure down 5.25″ from the interior bottom flat section of the headlight. This is again a continuation of your flat line cut.

Measure 6.25″ down from where the top of the grille meets the front bumper and along the soft body line – make another mark.

On the sharper body line – make a mark at 7″ below where the upper grille section and plastic bumper meet.

Measure 4 5/8″ below the “grille bar” and make a mark.

Finally, follow the last mark you made across the front grille. It should almost perfectly bisect the “x” design of the grille. Make a mark in the middle of each “x” shape.
Repeat these measurements and marks on the other side of the bumper. Using painter’s tape – connect the marks all the way across the front of the bumper.
Once you have checked and double-checked your measurements, proceed with cutting the bumper.
Once your bumper has been cut, make sure to remove the 10mm bolts holding the underside of the plastic bumper (below the fog lights, if you still have them) and the single 10mm bolt that held the bumper to the fender liner. Don’t forget to unplug your fog lights.
Go ahead and dispose of your unneeded bumper plastic and apply edge trim to the edges of your plastic bumper!
Step 2. Remove Metal Support Bars

Once you have successfully removed the plastic bumper, you can now move on to removing the OEM metal bumper bar (or in my case, the low-profile front bumper). The process will be very similar, as both are mounted in the same place.
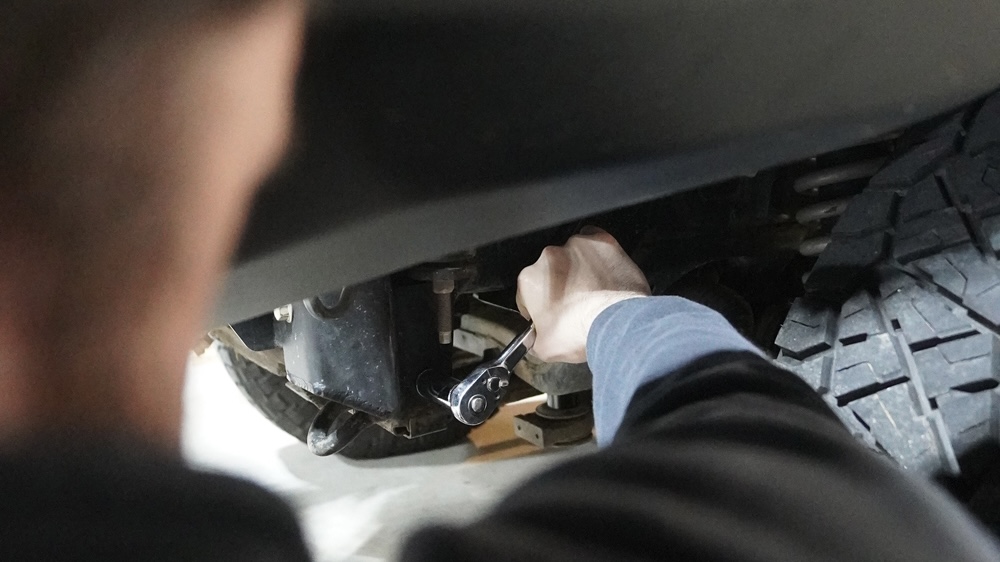
Just behind the bumper, you will see a total of eight bolts holding it on (four on each side). Using a 14mm socket and a ½” ratchet (or impact gun if you have one), go ahead and remove all eight of these bolts.
Once that metal core has been removed, feel free to toss it, because you won’t be needing it again anytime soon!
Step 3. Install Steel Winch Cradle

This step will be somewhat dependent on your particular winch and fair-lead set-up (if you have such items). Regardless, you will want to install the winch and fairlead BEFORE mounting the winch cradle to the vehicle.
The process for mounting said items should be relatively straightforward as there are universal mounting holes on the floor of the winch cradle along with corresponding holes for a fairlead. The particular nut and bolt size will be relative to your winch and fairlead, however.

Once you have assembled the winch cradle with your additional parts, start moving the bumper toward the same mounts you just removed the old bumper bar from. Whether you are being assisted by willing companions or a floor jack, make sure you line up the winch cradle with the mounts and get the supplied hardware started threading into the holes.

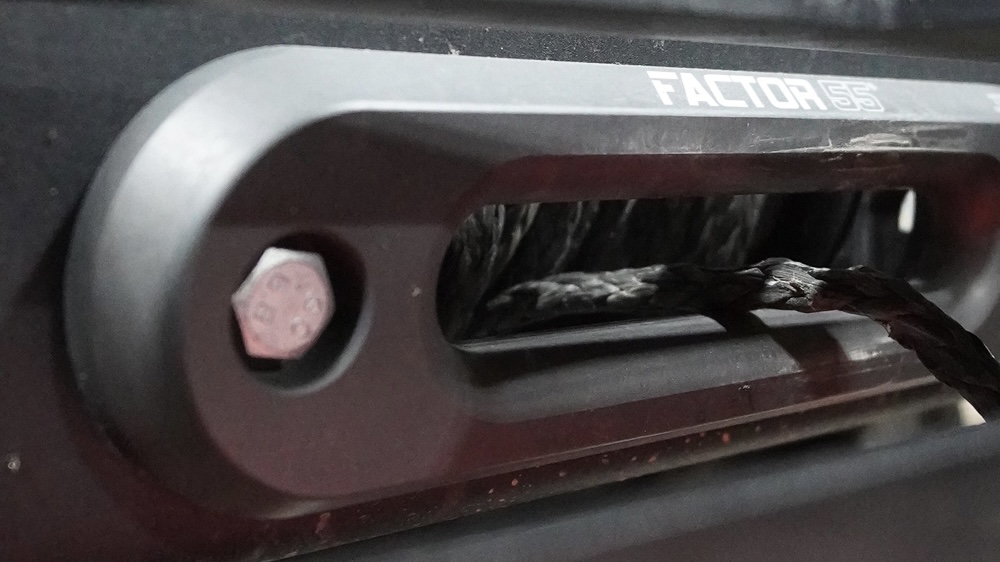
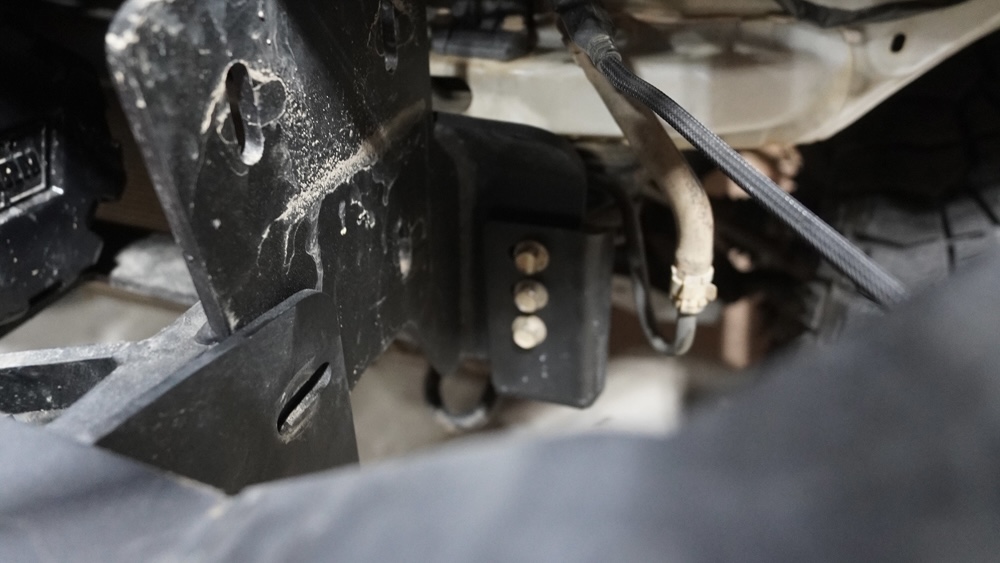
Remember – there are eight bolt holes in total. Two of those bolt holes are slightly hidden on the inside of the winch cradle. Backwoods was smart enough to make a small pass-through for you to stick a socket and extension through!
Step 4. Mounting Winch Supports

This is an optional piece from Backwoods Adventure Mods; however, I would recommend opting for it as it only helps to strengthen your bumper.
If you do not have the winch support braces right now – don’t fret! They can be installed at any time, and for now, you can skip to step five.
Assuming you do have the winch support braces, I like to get the winch cradle lined up and in place. Once I have it lined up, I will tighten all the bolts down. You do not need to torque them down at this point. Instead, tighten them down enough that the bumper will not shift.
Working on one side at a time – loosen the three outer bolts holding the winch cradle in place. Do not remove the inner bolt on the winch cradle. With the three outer bolts removed, slide the winch brace over the bolt holes and begin to loosely reinstall the three outer winch cradle bolts.
Once you have started those three bolts, make sure you are able to start the bolt at the rear of the winch cradle brace with the supplied hardware. With all four of the winch cradle brace bolts aligned and started, go ahead and tighten them down.
Repeat the same step on the opposite side.
Step 5. Mount Aluminum Shell

There is one step I will call “step 4.5”. That pertains to connecting your winch to a power supply, but again, that step is entirely relative to your particular winch setup, and for the sake of not confusing anyone, we will stick primarily to the bumper install itself.
However, once you have completed step four, it’s a good time to go ahead and get your winch connected to your power supply and your wiring tidied up where you would like it before moving on to step five.
Now that’s covered, let’s move on to step five!

With your winch cradle firmly in place, you’ll want to go ahead with mounting the aluminum bumper skin. I half-heartedly wish there were more to explain in this part of the process, but in all honesty… this is the easiest step.
Go ahead and mount any pocket lights you may have for the bumper at this time (again, this will be entirely subject to the particular lights you have for your bumper, if any at all). Once you have that managed, take your bumper and slide it over the winch cradle. This is very easy to line up, as you simply slide the aluminum skin over the shackle hangers (recovery points), and it should rest on the winch cradle fairly easily.
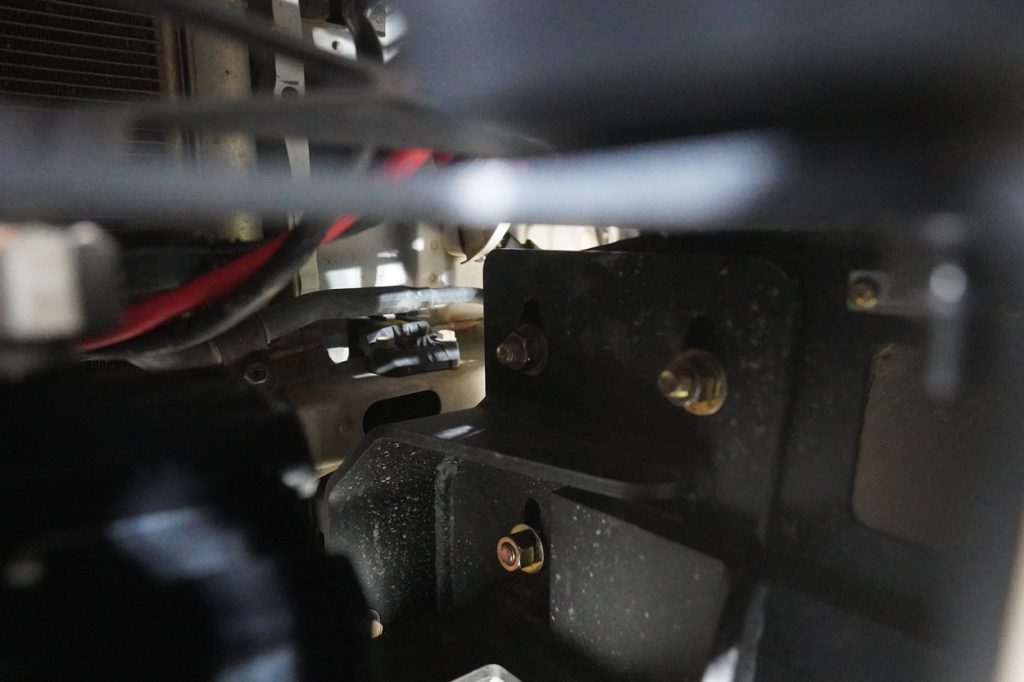
On the sides of the winch cradle and aluminum skin, you should see three holes on each side that correspond to each other. Using the supplied hardware, simply insert a bolt and washer into each of the six holes (three on either side) and begin threading on a washer and nut.

Snug up each of the six nuts and bolts, but leave them just loose enough that you can still move the bumper around for adjustment.
At this point, you may need to adjust your bumper cuts. Every install is slightly different, and you may have to shave off a little extra plastic bumper material. If you find that the fit is too close, try sanding down some spots of the plastic bumper or trimming them back a bit further if need be.

Now is a great time to go ahead and connect your pocket lights if you have them. Make sure to tidy up your wires to avoid them getting snagged. I had to use a couple of zip ties to hold my wires out of the way.
Once you have connected any lights that you may have, go ahead and get the aluminum skin adjusted to your liking. Remember to leave a slight gap between the aluminum skin and what remains of the plastic bumper. The aluminum skin needs some room to be able to flex.
Step 6. Connector Skid Plate

The connector skid plate is an optional component, but highly recommended. Simply put, it covers the distance between the bumper and the skid plate almost seamlessly.
Part of the installation of the skid plate connector will be dependent on your particular skid plate.
At this point, we will start by removing the two front bolts of the engine skid plate. In addition, we will also remove the two bolts at the rear of the winch. If you do not have a winch installed, you should still have some leftover hardware that would fit into these winch plate holes.
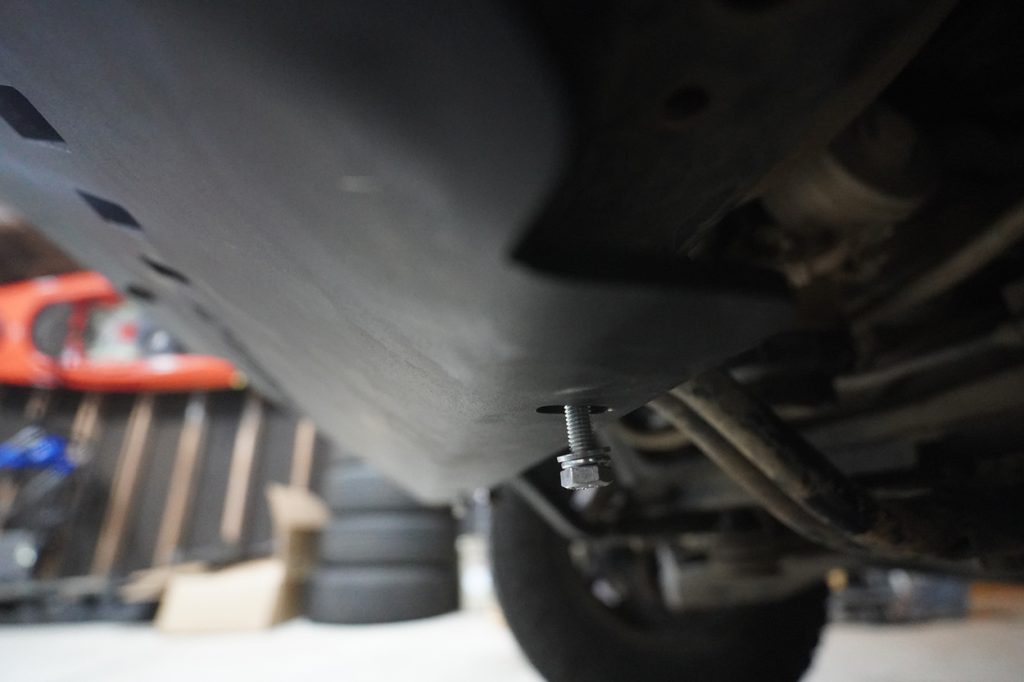
Start by sliding the connector skid plate into the groove on the back of the bumper. Insert and begin tightening the winch plate hardware. Do not fully tighten this hardware yet, as we will need to adjust the connector skid to match the engine skid plate.
This part can take some maneuvering, but the process is simple. You will want to sandwich the engine skid plate between the connector skid plate and the frame mount. This process may involve some cutting and or drilling to align the holes correctly with your specific engine skid plate.
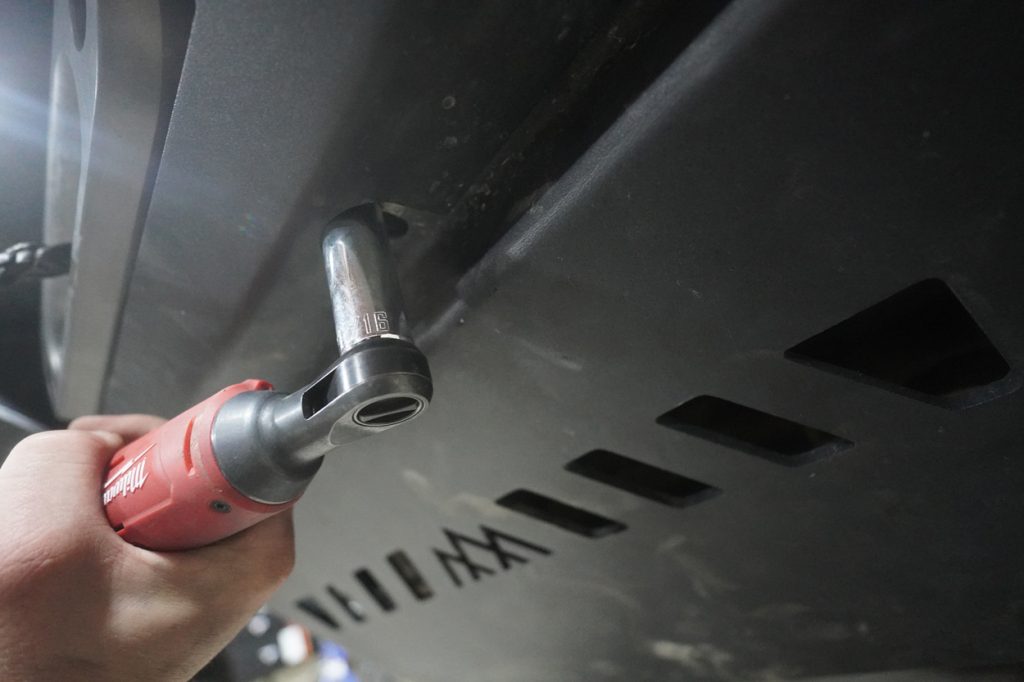
Once you have aligned the holes and started threading the bolts into place, go ahead and tighten things down. Once you have tightened the connector skid plate and engine skid plate, go ahead and tighten the winch plate bolts.

Make sure to check all of your bolts and give everything one final tightening.
Just like that, YOU’RE DONE!
Final Thoughts

I have been mighty impressed with the fit, feel, and finish of the Backwoods front bumper, not to mention the fact that it has already taken a decent beating out on the trails and held its own.
While I love the idea of being cloaked in a full catalog of steel armor, I just haven’t found it necessary in my journeys. Sure, if I were trailering my vehicle to the toughest spots the country has to offer and blasting it into rock walls every weekend, I might rethink the aluminum. For most of us, however, that’s just not the case.
Much like the blend of the Backwoods bumper, our travels are blended as well. My vehicle spends a lot of time on and off-road. To do both, I have to make a trade-off that is worth it to me. I sacrifice a little bit of rigidity for what I gain in weight loss. And yes, the difference between an ~80 lb. front bumper and a 200lbs+ front bumper is extremely noticeable on the road.
In closing, the Backwoods Adventure Mods front bumper is not a substitute for a full steel front bumper. It’s a solution for the in-between that no one has catered to.
You said this bumper can take a hit. Do you have any pics of the bumper after a real hit like a crash into another vehicle, rock or tree?
I have this bumper and love it!!! I also have Backwoods Rear hybrid bumper and associated Pathfinder lighting. I just got back from an 8K, 30 day trip mainly on the TAT, Transamerica Trail. TransAm Trail – with Sam Correro The rig, bumpers and lighting performed flawlessly. And Backwoods sticks behind their products. I had a slight condensation issue with one of my Pathfinder 9″ spots. Still worked but they warrantied the product and replaced it.
What size tires are you running in these pics?