
A common misconception is that the tow hooks on the front of the 4Runner are proper recovery points. However, these are simply tie-downs for vehicle transport and are not rated for recoveries. Don’t get me wrong, if I were stuck somewhere and didn’t have proper front recovery points, I would use these in a pinch. This would be a last resort, though.
Unfortunately, these tie-downs have a good chance of breaking under pressure. So if you are frequently off-road, proper front recovery points are a wise investment. That’s especially true if you have no plans to add an aftermarket front bumper. It is also great if you need to get someone else out of a pickle if you don’t have a winch.
Find It Online:
- True North Fabrication Front Recovery Points (For 4th & 5th Gen 4Runner): Check Price
Table Of Contents
What Are Front Recovery Points?

Parts Included:
- Driver & passenger-side recovery points
- (2) M12 17mm bolts & flat washers
- (4) M10 14mm bolts & flat washers
- (2) M8 13mm bolts & flat washers
- If you add the bumper tie-ins, you will receive an additional (4) M12 bolts, (4) M12 locknuts, and (8) M12 washers
True North Fabrications’ front recovery points have three options for finish: raw steel, satin black, and red gloss. I chose satin black since my color scheme is Dobinsons’ teal. If you go with raw steel, you’ll need to get them powder-coated or painted, as they are made of steel.
There are a few options on the market for front recovery points. These fall in the middle in terms of pricing, but from what I could find, the easiest to install. They also offer a bumper tie-in for an extra $70, which is one feature that no other brands offer. Anyone running a bumper with a winch should have a frame tie-in. The frame tie-in transfers the winch force past the crush zone of the frame. Without the tie-ins, you risk bending/damaging your frame.
These types of recovery points are great for those who do not have an aftermarket bumper but still need solid recovery points for extractions.
Installing Recovery Points

Tools Needed:
- 12mm, 13mm, 14mm, & 17mm Sockets
- 1/2″ Drive Torque Wrench
Note: These front recovery points are not compatible with aftermarket bumpers that attach using the side bolt-hole on the frame. You will need to remove these recovery points to install those bumpers.
Some bumpers will also require some minor modification around the bumper mounting location as they may hang low and hit the top of the recovery point by the shackle location. If you have an aftermarket bumper, do your research on your specific bumper fitment. If you have a stock bumper, these should install without issue.
Installation is fairly straightforward and you do not need to remove the front bumper cover, unlike some other brands. I didn’t even have to remove my tires or jack the truck up. However, doing so could give you a little more room to work if needed.
Note: If you are installing these with an aftermarket bumper, the tie-ins wrap around the front of the mounting. You would install the aftermarket bumper first and then install the frame tie-ins on top of the bumper.
Step 1. Remove Sway Bar Bracket Bolts
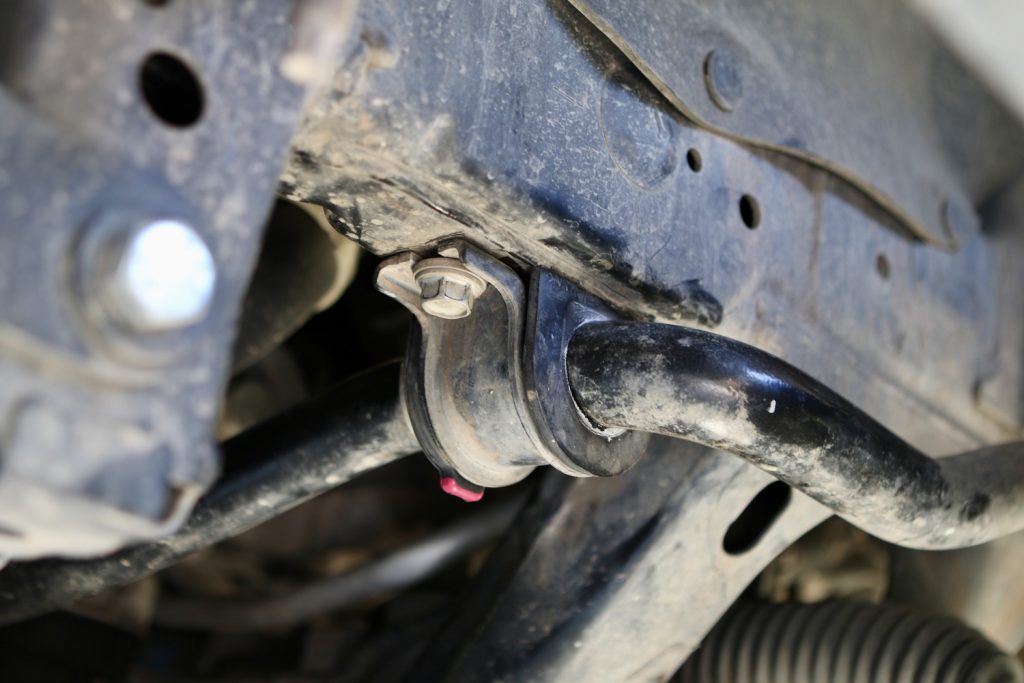
Start by removing the (2) 14mm sway bar bracket bolts. I found it easier if I loosened the other side sway bar bracket bolts as well, and did not fully remove them, so the sway bar stays somewhat in place. If you fully remove all four of the sway bar bolts, the sway bar will drop down, so watch your fingers!
Next, you will remove the 12mm radiator tube silver bracket bolt.
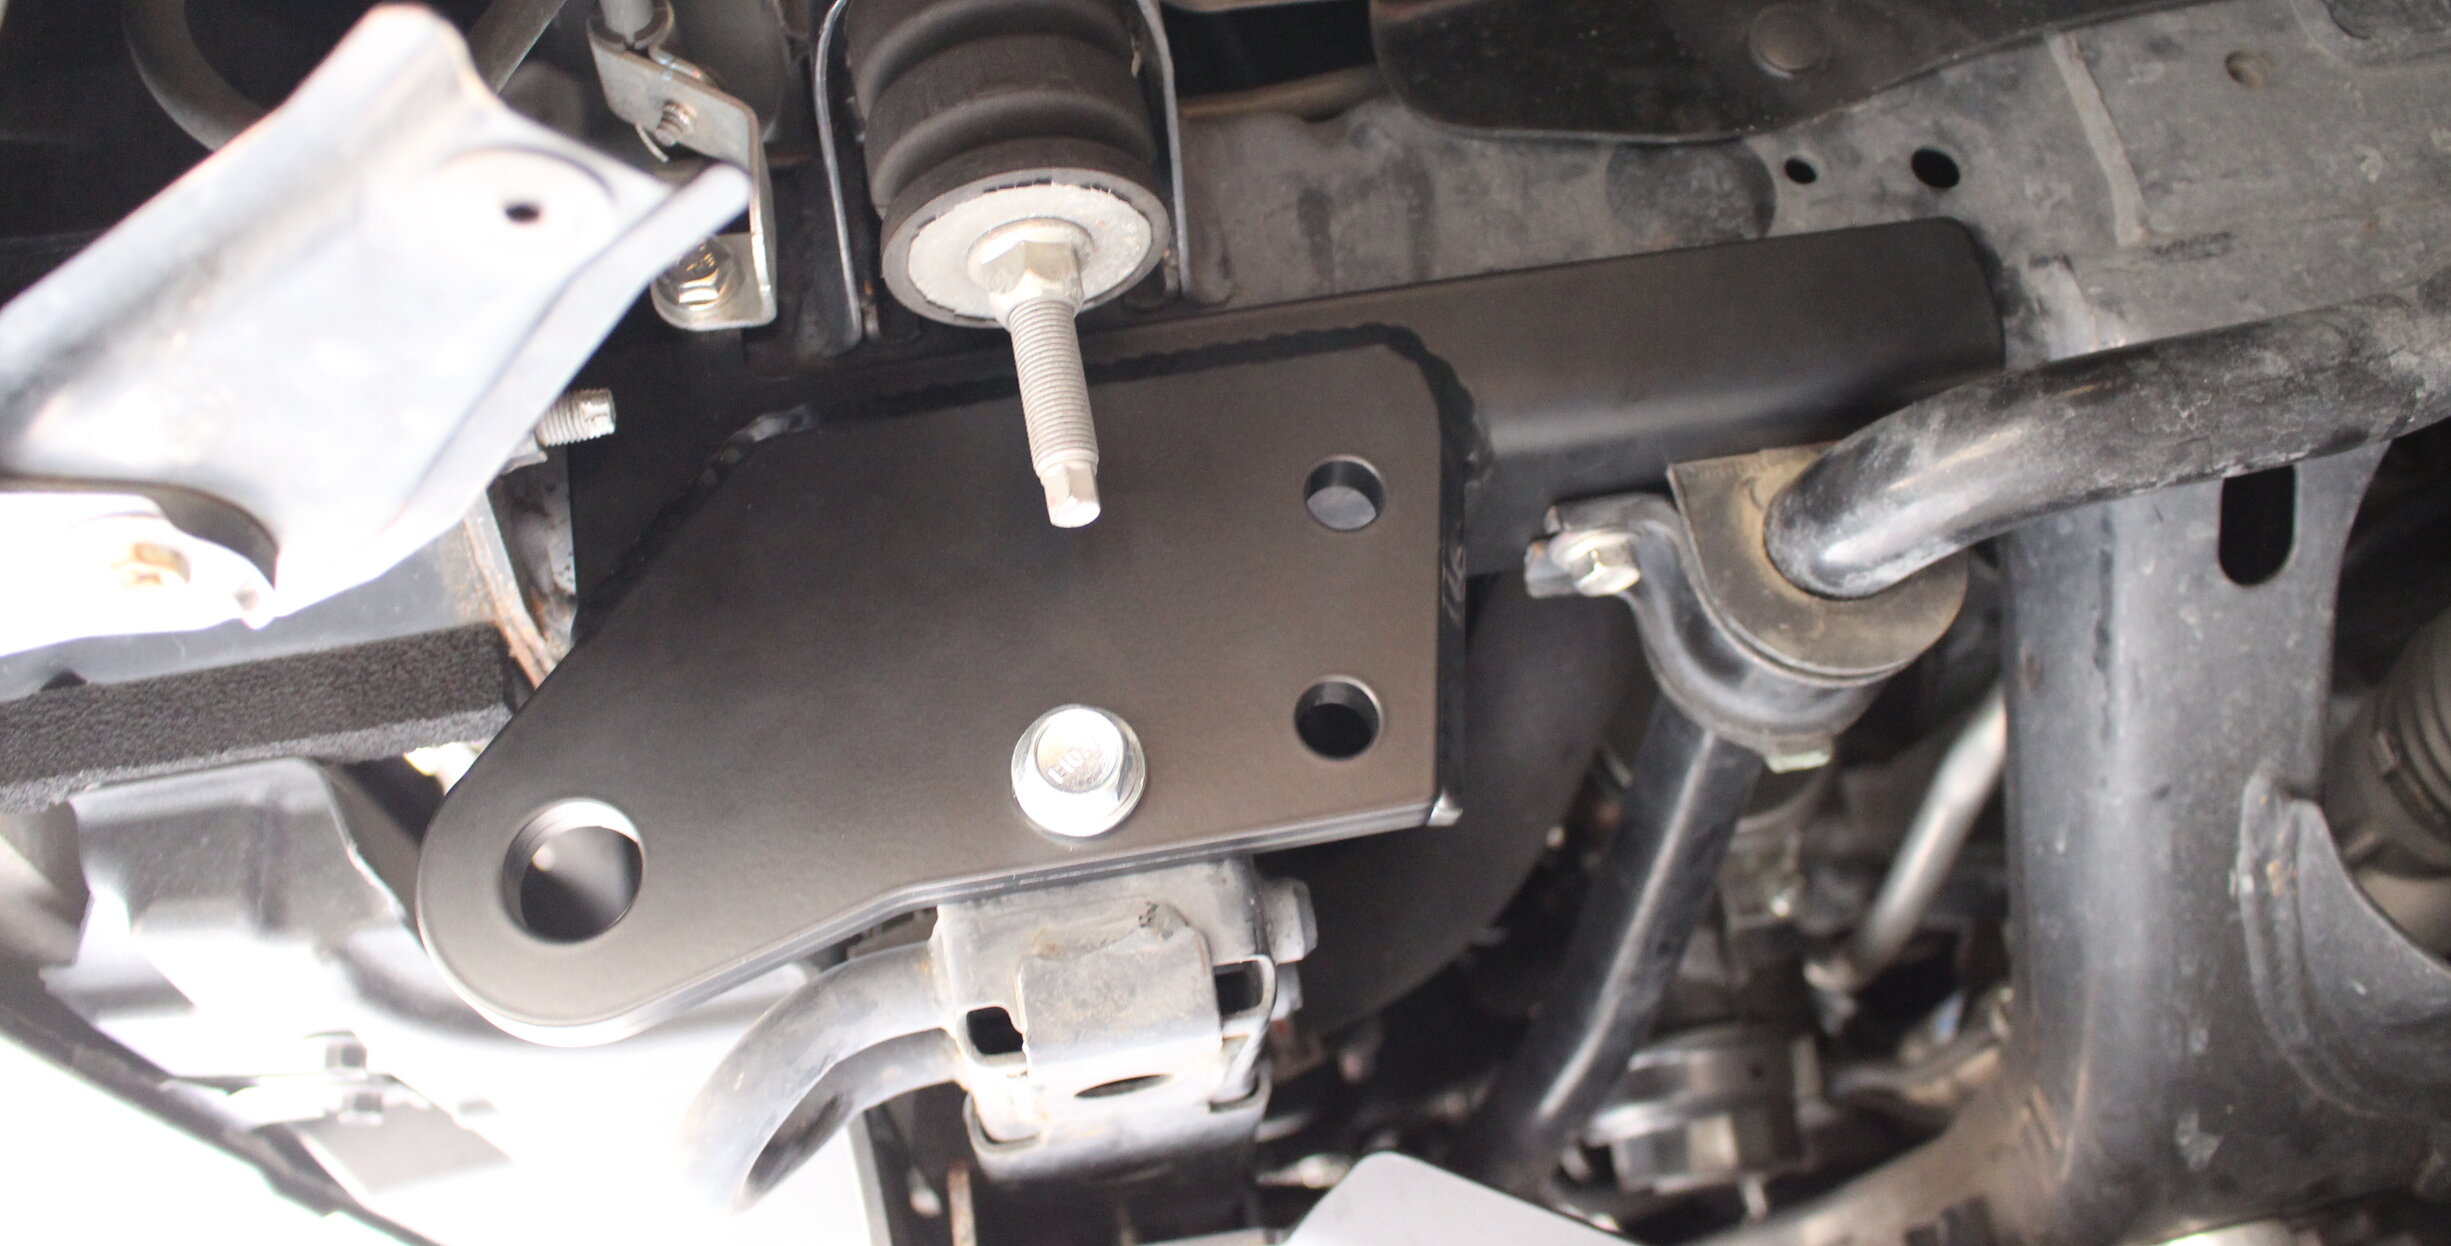
Step 2. Mount Recovery Point

Now you are ready to put the first recovery point in. Start by moving it between the frame and the sway bar rubber. Then, maneuver the front up and in around the bumper bolts.
The radiator tube brackets will go on the outside of the recovery point.

Once the recovery point is in position, start putting the bolts in. Get all of the bolts started to make sure the bracket lines up. I suggest starting with the 17mm bolt on the side. This bolt will help hold the bracket so it won’t fall down on you.
Next is the 14mm bolt for the radiator bracket, as seen in the top center of the image above. The OEM silver bracket goes on the outside of the recovery point. The supplied bolts seemed a little short to really grab, so I went to the hardware store and bought (2) M8 bolts that are about 1/4″ longer than the OEM ones.
Step 3. Reinstall Sway Bar Bolts

Finally, loosely reinstall the sway bar bolts. I reused the OEM ones since the provided ones were the same length as the OEM.
Note: The side of the sway bar bracket with the open end goes toward the front. I started with the rear bolt, so it holds the bracket in place, and then installed the front bolt.
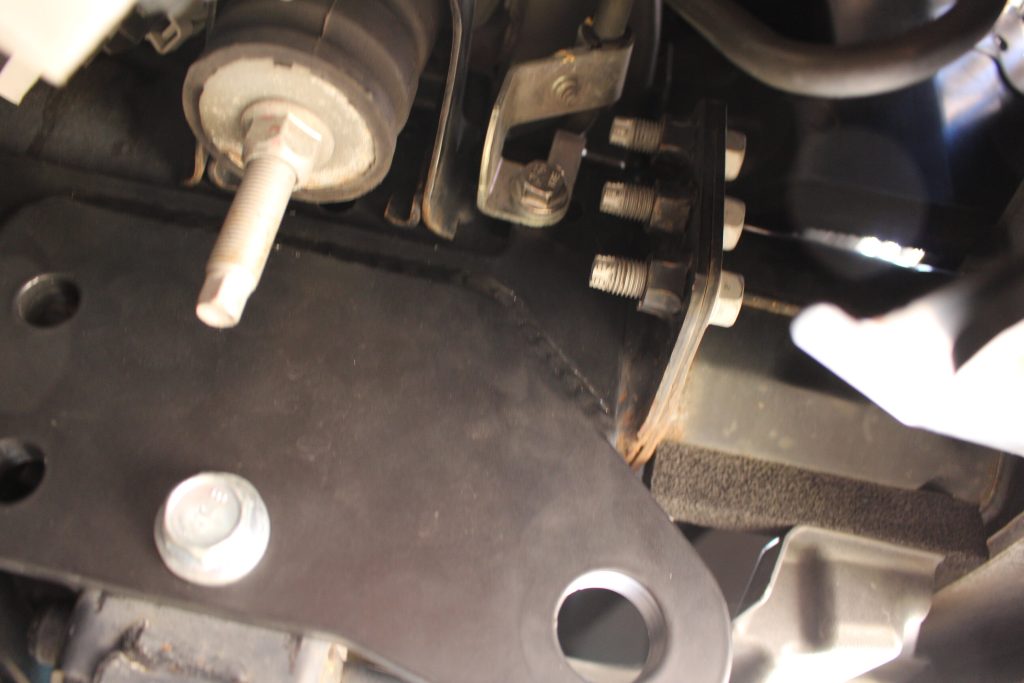
On my first attempt, the recovery point holes were just slightly off, and I could not get all the bolts to go in. Either the small 13mm bolt wouldn’t line up, or the front sway bar bolt wouldn’t line up. I brought this to True North Fabrications’ attention, and they have already made adjustments to their design, so everything should line up smoothly going forward.
To fix this on my own, I simply got my Dremel and ground out maybe 1/16-1/8″ of the hole for the radiator bracket. Since this is the smallest bolt, I didn’t think it would affect the functionality or strength of the recovery point. I did throw some spray paint on the newly exposed metal to protect it from rust.
Before fully installing the sway bar bolts, install the other recovery point. If you tighten the side you are working on, you will struggle to get the other side’s recovery point in between the frame and the sway bar.
Once you have all the bolts started on both sides, snug the bolts in the following order:
- 17mm side bolt
- 13mm radiator bracket bolt
- 14mm rear sway bar bolt
- 14mm front sway bar bolt
Once you have all the bolts snug, repeat the same order with the following torque specs:
- 17mm side bolt – 65 ft/lbs
- 13mm bracket bolt – 15 ft/lbs
- 14mm rear sway bar bolt – 30 ft/lbs
- 14mm front sway bar bolt – 30 ft/lbs
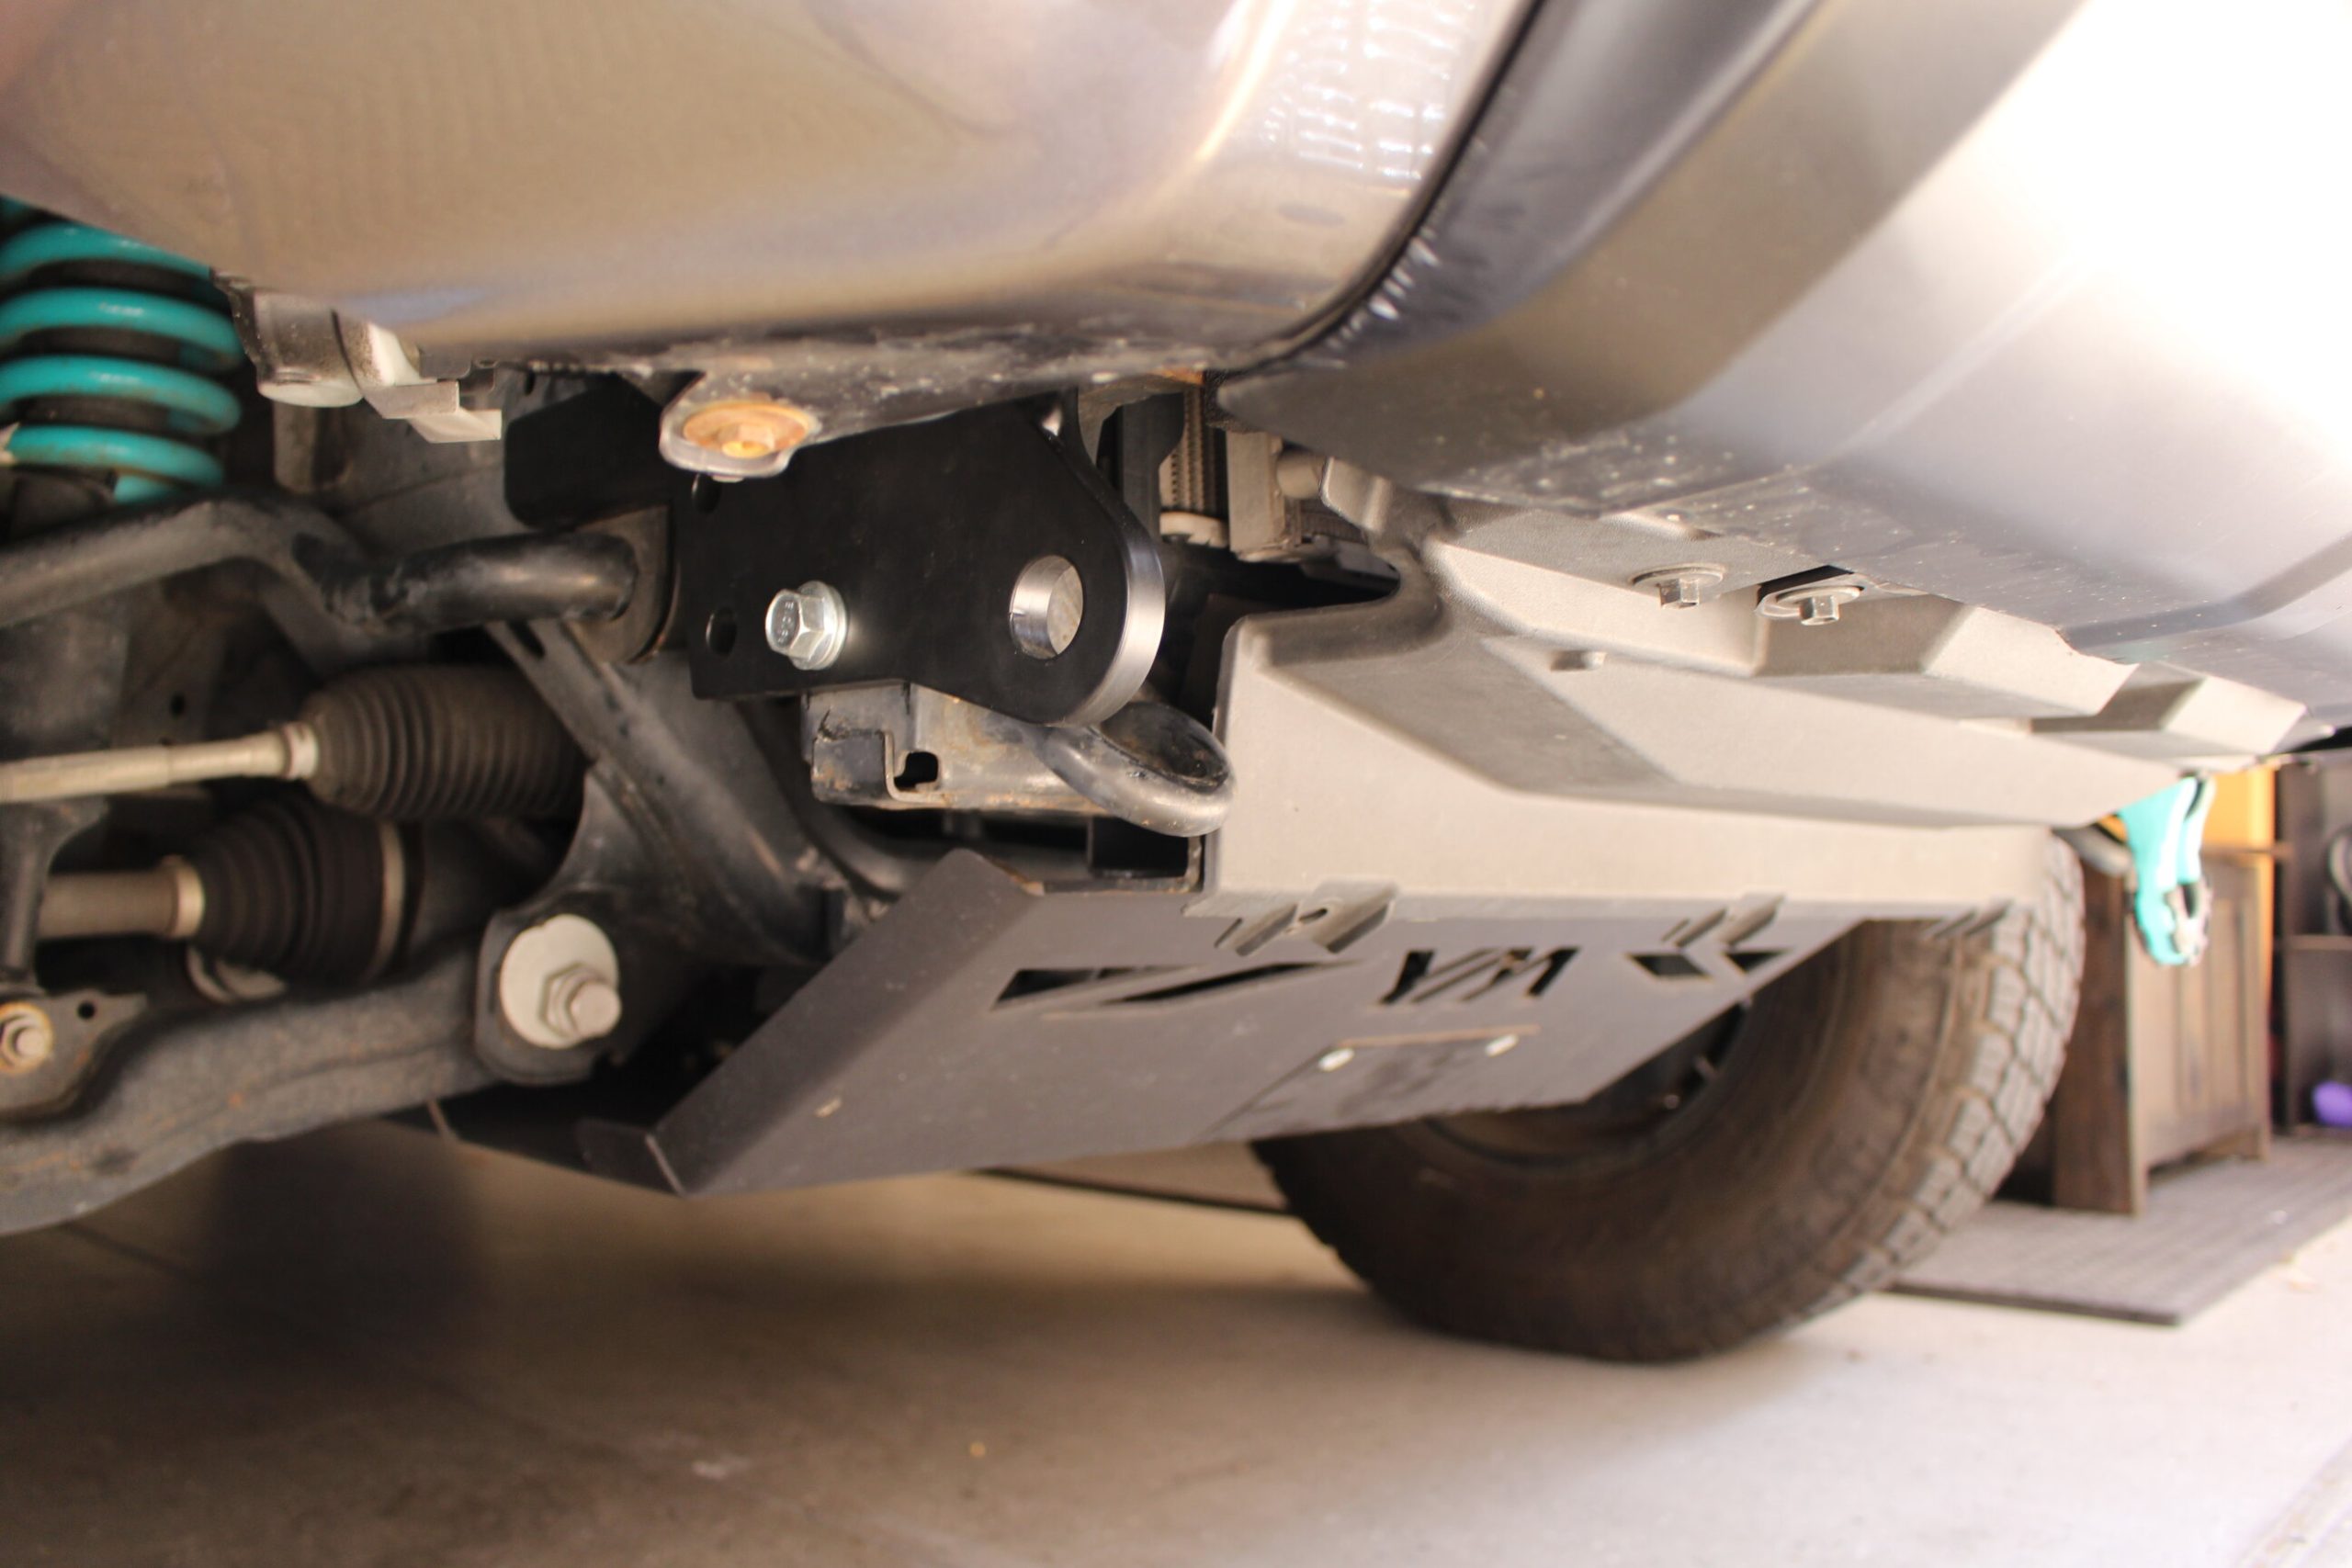
That’s it, you are done! The same process applies to both sides.
Final Thoughts

Overall, the True North Fabrications front recovery points are very solid! You can tell just by holding them. They are CNC-machined, so the cuts and welds are all very clean.
I have yet to test them out, but it gives me great peace of mind knowing I have two solid recovery points if I ever need them.
Proper recovery points should be a must if you are frequently off-road and do not have an aftermarket bumper with them. I highly recommend getting some because you never know when you will need them. Even if your 4Runner is mostly a pavement princess, you can use it to help someone out on the side of the road. With the color options or custom powder coat, they can add some flair to your rig as well. After all, isn’t that why most of us put D-rings on the OEM tie-down hooks?
True North still sending out bolts for the radiator bracket that are too short. Its even shorter than the OEM bolts, that also do not work. Gonna need to hit the hardware store to find a replacement.
Curt makes a front tow hitch for the 5th gen 4Runner that uses the factory “tie downs” as anchor points. The hitch is rated to 9,000lbs pull strength, although between the two. If they’re strong enough for mounting a tow hitch, I would think they’re plenty strong for recovery.
Excellent link many coup! Not only are there vids of professionals using the factory tie downs as recovery points under adverse conditions with no failure or damage, there’s also images of the tie down dissection – very strong.
i’ve used my front tie downs as recovery points on 2 occasions, first was to pull someone out of a snowbank, second was with a come-along (or hand winch) to get myself out of a swamp where I was up to my frame in mud (along with traction boards).
definitely actual recovery points like in the article add value to your vehicle, but my limited overlanding budget won’t go to them too soon. (Sry about the font change)
https://www.4runners.com/threads/damage-using-tie-down-loops-during-a-recovery.32591/