
Jomax Customs ABS Sensor Armor – Step by Step Install & Product Review on 5th Gen 4Runner
ABS sensors play a huge role in the automotive braking technology that’s communicating information from your wheels to your ECU (the computer).
The job of your anti-lock brake system (ABS) sensor is to send wheel speed information to your brakes in order for your 4Runner to stop safely and efficiently. In simple terms, the ABS prevents your brakes from locking up the tires if you accidentally SLAM on your brakes.
When some drivers get into icy, snowy, and or wet road situations, they tend to panic-brake (slam on the brakes). When this happens on trucks/SUVs without ABS, it can cause the brakes to lock up the tires, which keeps them from spinning, which can ultimately cause more harm to you and your loved ones.
Offroad ABS Sensor Damage

If you offroad often, especially while driving fast, you know rocks and other debris can hit your undercarriage which can cause serious damage to essential parts. Some of those parts include your ABS sensors. As we mentioned above, your anti-lock brake system (ABS) sensor is a critical part of your braking system, offroad crawl control, and ATRAC.
If your ABS sensors are damaged or destroyed and your ABS light comes on, take immediate action to replace your sensors. If you’re operating your 4Runner and lock up your tires without the ABS working, it’s a recipe for disaster.
You can find ABS sensors for your 4Runner from $80 for a single to $140 for a pair. You can get them directly from Toyota or even auto parts stores like Auto Zone might have them. It’s not common for auto parts stores to carry them at every location so it’s smart to protect your ABS sensors before they get damaged in the first place.
Jomax Customs ABS Sensor Armor

Find it online:
- ABS Speed Sensor: Check Price
Features & Benefits:
- Protects your ABS sensors from the elements
- Protects from fast off-roading (rocks being thrown at undercarriage)
- True bolt-on design and uses your factory hardware
- CNC machined out of 6061 Aircraft-grade aluminum
- Anodized either candy apple red or gunmetal grey
- Incorporates machined cable routing system in CNC design
- Specially designed “back drain” to ensure water and/or mud don’t contaminate the sensor
- Compatible with both 2WD and 4WD vehicles, made in the USA.
Installation Notes:
Basic Tools Required (Not Included):
- Allen Wrench
- Small Hand Pliers
- Socket Set (12mm & 17mm)
- Blue Loctite(TM)
- Torque Wrench
- Handheld Light.
Estimated Time for Installation:
- 5-10 Min per wheel
Step 1: Locate and Clean Around ABS sensor

Locate your ABS sensor guards. They are located just below the tie-rods mounted by a bracket on the knuckles.
Step 2: Loosen and Remove Top 12mm and Bottom 10mm Bolts
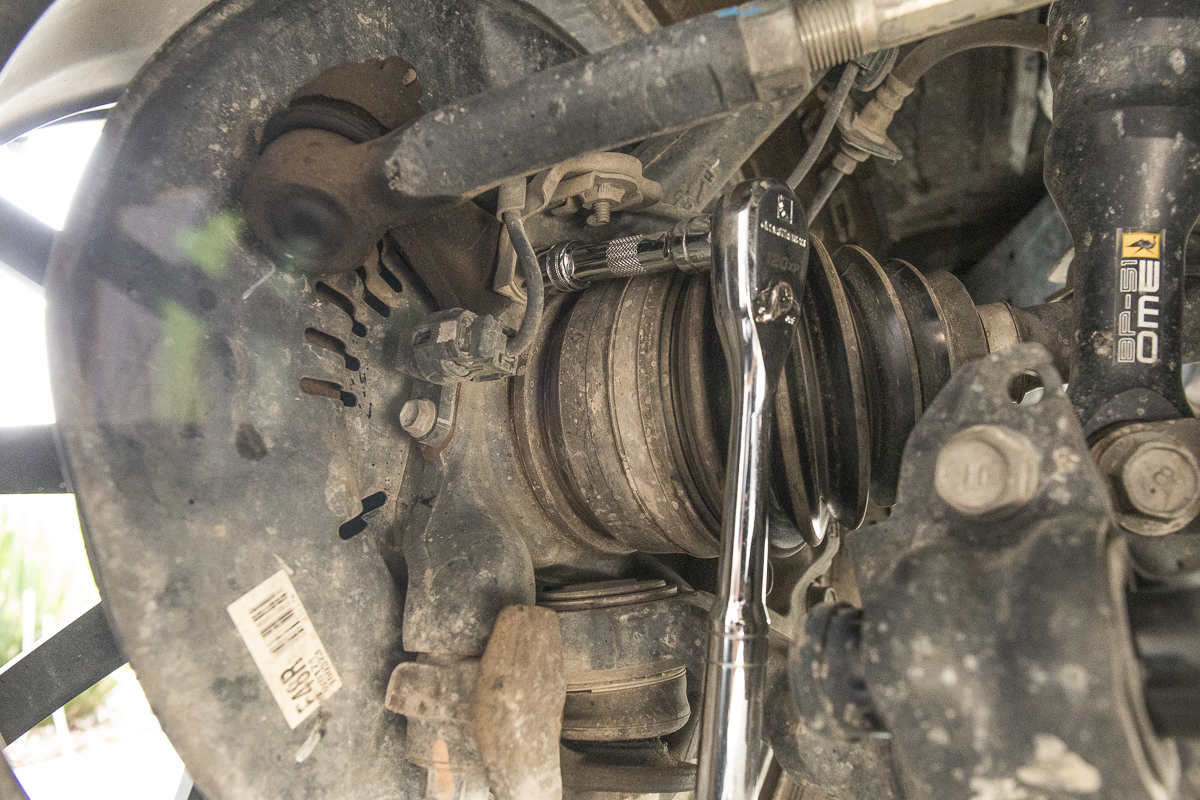
Do NOT remove the ABS sensor unit clipped into place. Remove the top 12mm bolt and the bottom 10mm bolts. Once you remove these bolts, the bracket will become loose.
Prep Short 12mm Bolt

Since the factory 12mm bolt is incredibly short, it can be hard to thread on with the added thickness of the new ABS sensor armor. Start by placing the bolt on a socket and lightly thread it into place to get a few threads started. Then you can put your socket on and torque it down.
Step 4: Install Jomax Customs ABS Sensor Armor

Apply a small amount of Blue Loctite to bolt threads. Then start by threading the top 12mm bolt through the Jomax Customs ABS Armor and the factory bracket. Do not fully torque the 12mm down yet.
Step 5: Lower Allen Head Bolt

Install lower Allen head bolt provided by Jomax Customs. Verify the ABS wire is loose and fits inside the notch. Verify armor does not come into contact with your CV axle boot. Once you verify both the new Allen head has been threaded into place, and that the 12mm is threaded into place and your ABS line clears the CV boot, continue to torque down both bolts. The front installation of the Jomax Customs ABS Armor is now complete.
Step 6 (Rear Axle): Remove Top and Bottom Nuts
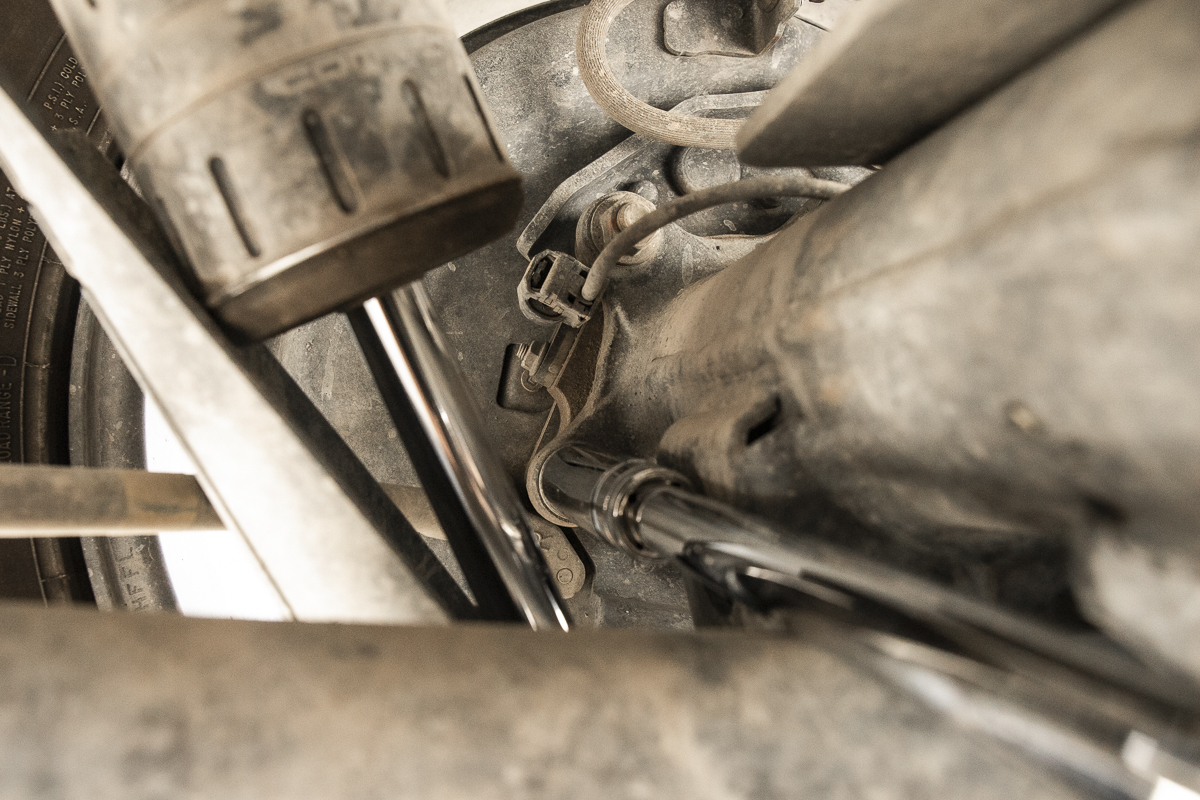
Again, locate the rear axle hub bolts near the ABS sensor. Remove both bolts.
Step 7 (Rear Axle): Install Jomax Customs ABS Armor

Install the rear ABS Sensor Armor from Jomax Customs.
Rear Axle – All set

All set. This rear one was easier than the front. The bolts offer many more threads to work with on the rear.
Final Thoughts

This is definitely one of those “you don’t know you need it until you don’t have it” kind of mods.
If you smash on dirt roads or gravel roads often – this is absolutely a mod you want to buy. I think each and every one of us has driven pretty fiercely on our fair share of gravel roads. We’ve all heard that “clink clink clink”… the dreaded sound that hundreds of small rocks make when thrown at your undercarriage at 30, 40, 50mph+ mph on gravel roads.
Since they are made in the USA, cut from billet aluminum, and then coated in your choice of grey or red, they aren’t cheap but they will absolutely protect your ABS speed sensors when you need them to.
These ABS sensor guards offer more protection than the competition, require no maintenance, and will likely outlive your 4Runner. They’re pretty much bulletproof.
Also another place for water and mud to collect, which can quickly degrade those parts and lines if not cleaned out regularly. Just wanted to include this ‘con’ in case it matters for someone.
I run the SDHQ ABS sensor guards and my buddy runs these ones from Jomax Customs. Both are really nice. They both do their job of protecting the sensors but neither of them have ever “collected water”. They are shields, not buckets. I hear your comment about mud caking up between the sensor and the guard, though. If you frequent mudding or that’s your kind of thing, then yeah either don’t get sensor guards or just clean your truck after you go mudding. I don’t worry about mud though, because I never go through mud. After years of wheeling, I avoid the mud like the plague. It’s hard to clean anywhere let alone between a sensor guard.
@Kliegs,
Thanks for the comment. We wanted to reach out and address the suggestion you provided. Each of the Jomax Customs ABS Armor parts have been intentionally designed to utilize a backward facing and slanted drain angle to ensure that contaminants are not trapped therefore preventing complications that may arise with other offerings. The “cushion” around each sensor was carefully taken into consideration, with an intentional pathway for drainage and particulate fallout. Yes, this is detail is specifically included and detailed in our USPTO (Patent) applications for the armor design. Your suggestion of con is therefore incorrect, but we see your initial thought. We offer the furthering to educate all viewers of this post.
The OEM components don’t require routine cleaning because they consist of environmentally tolerant materials and therefore are not effected by dirt, mud, or water. However, should you encounter excessive mud (by choice or other), a good spray down to lubricate and relieve build up around the exterior is generally suggested while performing cleanout of all other typically mud covered areas on the vehicle – as with any off-road adventure, proactive and routine maintenance is part of the journey. The armor products, by design, intentionally enhance the vehicles safety features and promote long term performance while mitigating existing risks of damaged ABS sensors and the ever so dreaded “limp mode”.
We hope you find this response valuable and informative. With our track record of 100% customer service, we take every opportunity to provide the premium solutions to common problems. Should have have any other questions or feedback, please don’t hesitate to reach out to us at: askjomaxustoms@gmail.com
Kind Regards,
Jomax Customs LLC