
Universal 4XRAC Mounting Bracket for Any Hi-Lift Jack – Hi-Lift Jack Bracket & Mount Install and overview on a mesh roof rack
When you are off exploring and four-wheeling, you will eventually get stuck or see someone get stuck. For me, getting stuck is part of the adventure and is something to be embraced as each time is an opportunity to learn something new.
Thankfully, there are a handful of recovery tools, gear, and accessories that will help you get unstuck when the moment arrises. One of the most common off-road recovery tools is the Hi-Lift Jack. There are also other common off-road jacks like the Pro Eagle Jack but that one may be more difficult to mount depending on your setup.
The Hi-Lift Jack might be one of your most important pieces of gear if you don’t have a winch. If you do have a winch, adding a Hi-Lift Jack will only make your capabilities more powerful.
There are quite a few options for mounting your Hi-Lift Jack on the 4Runner or any platform for that matter. The most notable locations would be your roof rack, front or rear bumper, and even your hood.
Hi-Lift Jack Mounting Points
There are features and benefits between all mounting points.
- Hood
- Bumper
- Roof Rack
Which option is best for you?
1. Hi-Lift Mount on Hood
Commonly found on Jeeps, there are many hood-mounts manufacturers out there. But, there are very few, if any, companies that make 4Runner Hi-Lift Jack mounts for the hood.
I am personally not a fan of mounting a Hi-Lift Jack on the 4Runners hood. We have a pretty light-weight hood which would put un-needed weight on the hydraulics. It also seems like a recipe for dent and scratch disaster waiting to happen, Hi-Lift Jacks are pretty heavy.
Finally, I personally wouldn’t want to put a dirty Hi-Lift back on my hood after use, covered in mud and rocks.
This style of mount remains pretty popular among Jeep owners, but it sounds pretty sketch for our daily driver. It may work for me one day, just not on our current 4Runner.
2. Hi-Lift Mount on Front/Rear Bumper
Either front or rear bumpers are suitable choices for the 4Runner with the rear bumper being the most common. Many bumper fabrication companies build Hi-Lift Jack mounts into their design which makes mounting pretty damn simple.
A rear bumper Hi-Lift mount may be safer than a front bumper Hi-Lift mount in the case of an accident. This may sound extreme but a Hi-Lift coming off its mount and shooting through your front windshield doesn’t sound fun. This is not likely to happen on most bumpers because the mounts sit so low. But for others with mounts above their hood (say on high hoop bars), its a possibility and something to consider.
The 4XRAC Hi-Lift Jack Mount was actually designed with Jeep owners lower front bumpers, but will really work on any flat surface.
Note: If you are mounting the 4XRAC Hi-Lift Jack mount on a front or rear bumpers on any platform with an airbag system, see dealer before removing or drilling.
3. Hi-Lift Mount on Roof Rack
Roof Racks and the Hi-Lift can go together quite well depending on your needs.
If you adventure often and have plans of installing a rooftop tent, then mounting a Hi-Lift directly on top may be out of the question. Thankfully, many mainstream rack companies like Gobi and Frontrunner make side-mounted options.
Four our custom roof rack by Stellar Built, we decided to go with the 4XRAC Hi-Lift Jack Mount for the moment.
We may later change directions and go with an RTT which would remove this mounting bracket. For now, without a rooftop tent, this is a good option for our needs.
4XRAC Hi-Lift Jack Mount Installation

Installing this mounting bracket on a mesh style roof rack was pretty simple. This install is going to be similar if you have a Gobi Rack, Baja Rack, the ARB flat alloy rack, or any other mesh-style roof rack on your 4Runner. It should also give you a general idea of how the 4XRAC mount works.
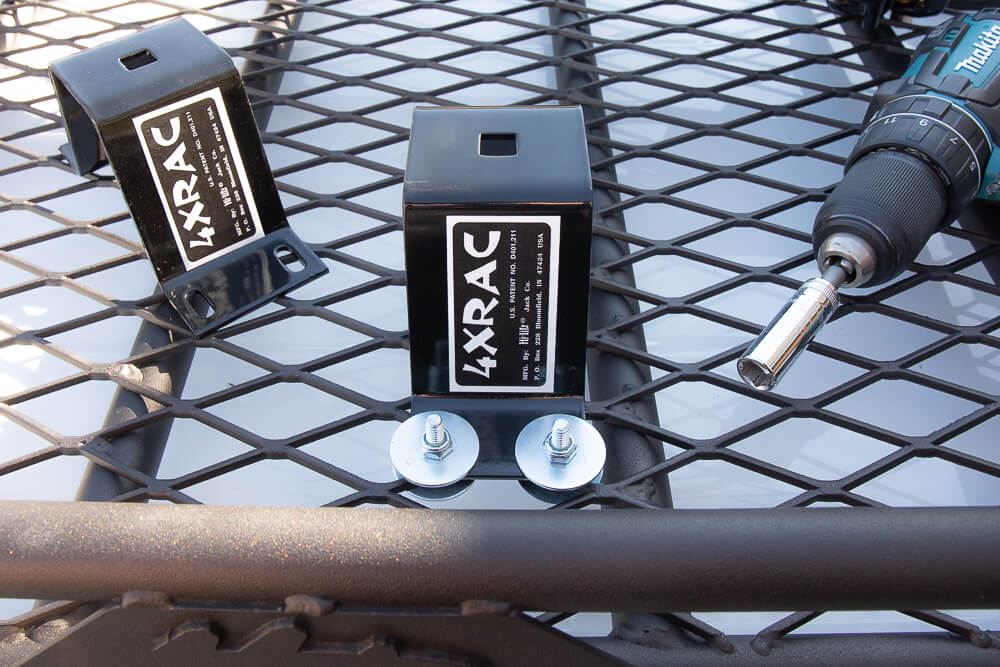
4XRAC kit Parts:
- The 4XRAC kit: Check Today’s Price
- Optional Lock: Check Price
- 2 X Mounting Brackets
- 2 X Mounting Bracket Caps
- 2 X 1/2-13 Wing Nut
- 2 X 1/2″ Carriage Bolts
- 2 X 1/2 Jam Nuts
- 2 X 5/8″ Lock Washers
- 8 X 1/4-20 X 1″ Hex Head Cap Screws
- 8 X 1/4-20 X Nylon Insert Locknuts
- 1 x Velcro Strap
- NOT IN KIT: 8 X Washers 1/4-20 ID and 1.5″ OD
Suggested Tools:
- Drill
- Sockets
- 7/16″ Wrench
- 3/4″ Wrench
Position first 4XRAC Bracket
Position second 4XRAC Bracket
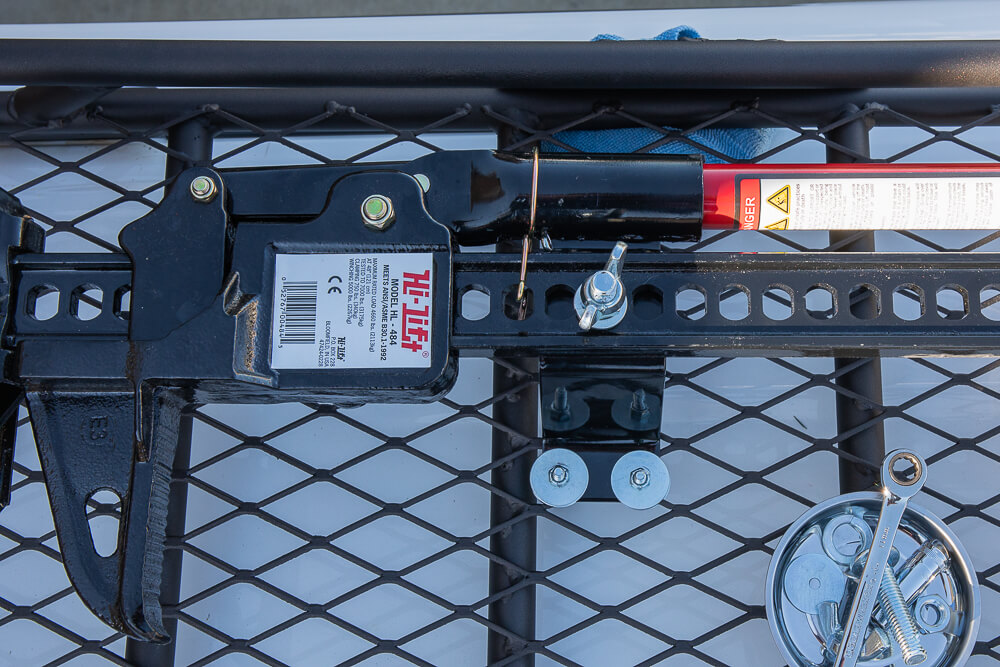
You want to make sure that the holes in your Hi-Lift match up with the 4XRAC bracket bolts. Start by getting an idea of where you want the Jack to sit, then adjust the brackets depending on your layout.
Loosely tighten down the 8 X 1/4-20 X 1″ screws with washers (I had some extra washers laying around) until you find the right spot. Then, loosely tighten one end of the Hi-Lift down on the bracket (pictured).
Once you find a spot that works for the second bracket, loosely tighten both brackets in place.
Remove Hi-Lift and then tighten down remaining screws.
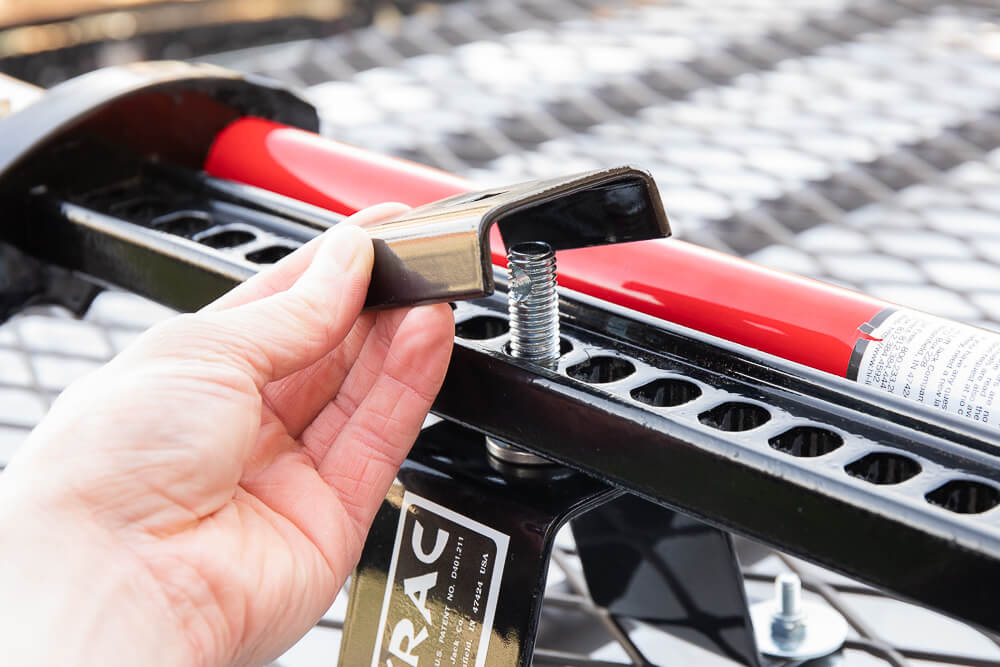
Carriage Bolt, Washer, and Lock Nut
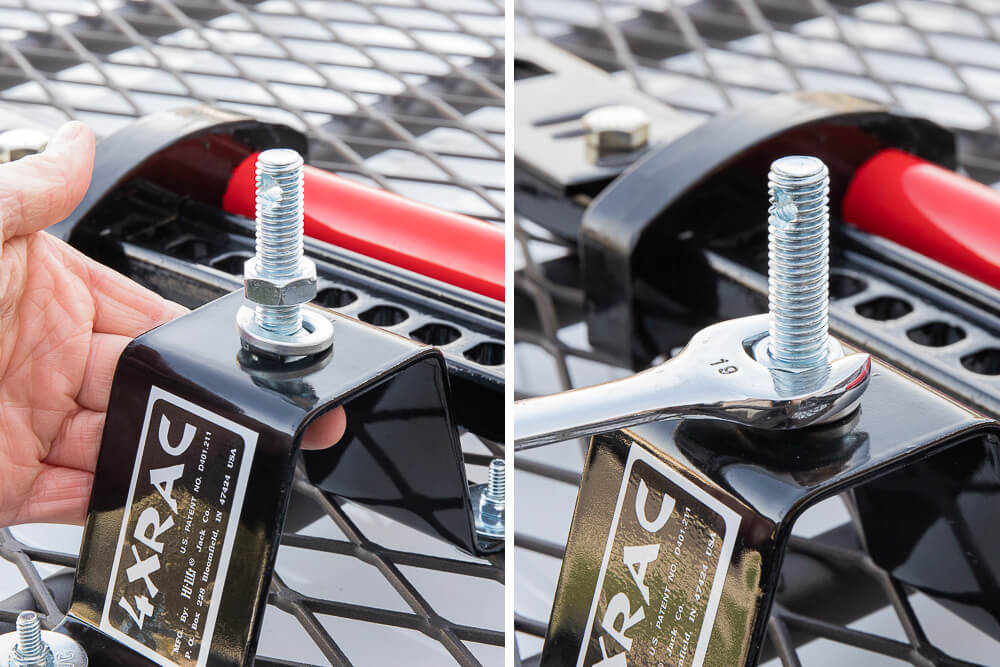
Once you have both brackets in place, you can assemble the hardware.
Insert the 1/2″ bolt from the bottom up through the bracket. It may be a good idea to set jack back in place to ensure correct fitment.
Place 5/8″ lock washer over carriage bolt & tighten 1/2″ jam nut.
Mount the Hi-Lift Jack
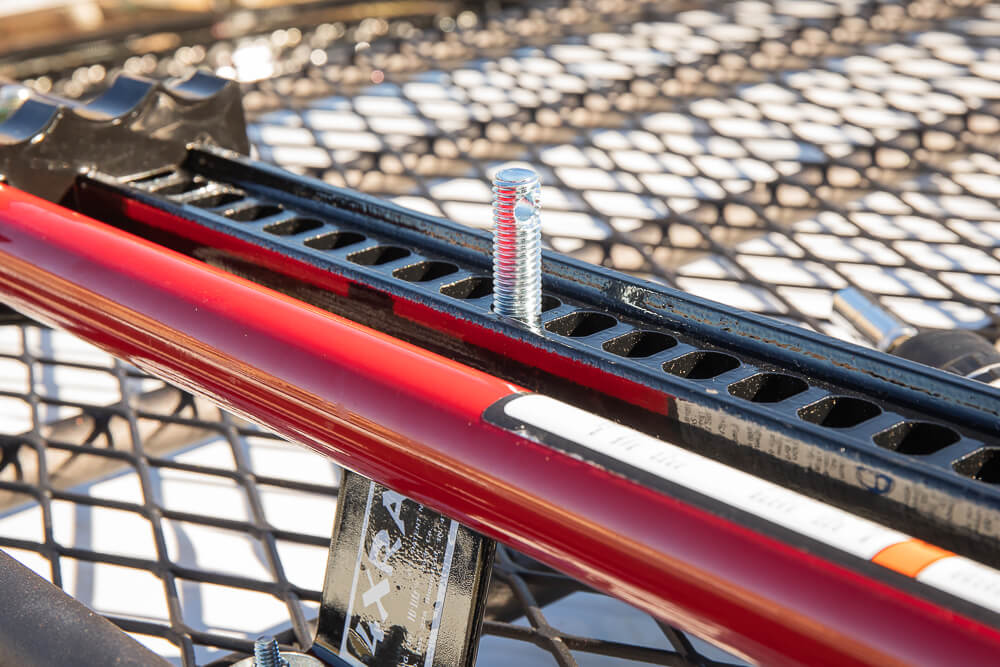
Mount the Hi-Lift Jack on top of the 4XRAC brackets.
Mounting Caps on top
Slide the mounting caps over the carriage bolts and on top of the Hi-Lift.
Thread on Wing Nuts & Lock Down

Thread down the wingnut securely into place.
Optional Lock on Carriage Bolts

Add a provided lock if you would like. Both carriage bolts have holes through them so you can lock both sides but one lock should suffice.
Provided Velcro Strap
Hi-Lift provides a velcro strap with the 4XRAC mounting kit. This is to keep the handle up tight against the steel upright. If you want to use their strap, you can but it’s not going to work as well as their signature Hi-Lift Jack Handle Keeper.
There are quite a few options here, though.
- Hi-Lift Jack Signature Handle Keeper
- Agency 6 Jack Handle Keeper for Hi-Lift Jacks
- Prothane 19-1404 Red Jack Grabber (pictured)
General thoughts?
- Affordable – Check Today’s Price
- Extremely universal
- Easy mount to install
- Lightweight which helps offset the heavy Hi-Lift
- Lots of documentation in forums
- Quick removal – remove wingnuts and Hi-Lift comes off
- Heavy-duty, 1/8 inch steel
- Hole in the bolt for a dual security lock
- Slotted brackets for adjustments
If you get creative, you can probably build your own bracket but this is a nice packaged kit, ready to go out of the box.
What size padlock?
Do you know if this mount works with a Front Runner Slimline roof rack?
Hi lift Jacks are the worst jacks ever. I suggest that anybody that wants to decorate their vehicle with a jack, first try using it in a real case scenario. They are very unstable, hard as hell to find a spot to place the jack where it won’t damage the vehicle. My Jeep actually fell off the jack because they the base doesn’t give it any stability whatsoever. Somebody needs to design a jack that actually works and won’t kill you!
Recently installed, works great. Only issue is the base to the Hi Lift is not snug, so I get significant noise from it moving around with terrain. I’ve zip tied it for now, but definitely would like to find a better solution.
Does anyone in 4runner history mounted their HiLift to the rock slider?
Tom, I’ve never seen it. I wouldn’t say that I recommend that. One, it would slam on rocks if you mount it underneath, and two it would get in the way of opening a door. Yeah, that one might not work.
Thats exaclty what I thought. Thanks
I was just thinking (oops), how much weight on average doespecially everyone add for gear and toys to their rigs? That jack has got to weigh 40 or 50lbs. Plus all the other essentials.
I carry about 200lbs. Of gear in the back plus my winch (another 100lbs. My rock sliders, front chin and so on. Adds up and not good.
We manage to pile it on but how much is too much, really? We all know the specs from the factory so what’s the magic number? I like light.
Hammer, solid question. Max actually wrote up a great article on weight additions to the 4Runner. You should check that article out. I currently carry a recovery bag, recovery box, MOLLE panel with gear, C4 sliders, ladder, now the Hi-Lift mounted and the roof rack. That’s it. I am with you on that one, I would like to travel as light as possible. I am eyeing an ION battery for this same reason. Check out that article by Max, there is some good stuff in there.