GTR Carbide Sequential Headlights: The New Kid On The Block Came To Play With The Big Brands: Install & Review Plus Comparison to Factory LED Low Beams
In the aftermarket headlight market, there are a couple of major players that are usually everyone’s go-to. If you want something a little more unique, the GTR Carbide headlights for the 5th Gen 4Runner may just be for you. With a design aesthetic that leans slightly more towards the likes of Lexus, you’ll be sure to stand out. They have plenty of light output, and are definitely a worthy upgrade to any halogen headlights or LED drop-in options.
Find It Online:
- (2014-2020 4Runner) GTR Carbide Amber or Clear Side Marker (YotaMafia.com): Check Price
- (2014-2020 4Runner) GTR Carbide Clear Side Marker (Amazon.com): Check Price
- (2014-2020 4Runner) GTR Carbide Amber Side Marker (Amazon.com): Check Price
- (2021+ 4Runner) GTR Carbide Clear Side Marker (Amazon.com): Check Price
GTR Carbide Headlights Overview
Who Is GTR?

GTR is a subsidiary company of Morimoto Lighting (one of the aforementioned major players in the headlight game). So, even though their name may not be as well known, they are no stranger to producing quality lighting products.
After installing the GTR Carbide headlights, I can say that their build quality feels on par with the factory housings that they replaced. Their price points seem to target the moderate budget crowd, slotted in the middle of the price range for aftermarket lighting.
What Are The GTR Carbide Headlights?

The GTR Carbide Headlights are a direct competitor to the likes of the Alpharex Luxx LED headlights in terms of price point and light output.
They feature full LED lighting and are plug-and-play for any 5th Gen 4Runner. For 2021+ model years with factory LED low or high beams, an additional wire harness adapter is needed. However, that holds true for every aftermarket headlight option that is currently available.
There is a solid white LED DRL that is very bright, which is a major improvement over the dim halogen bulb that you get from the factory. The DRL dims a bit when the low beams are activated, which is a nice detail. This same strip of LED lighting doubles as a sequential amber turn or hazard signal, which adds that extra bit of flair to an already unique-looking headlight.

The main lights of the housing comprise 3 projector beams. The outer two are used for the low beams, while the innermost third projector is used for the high beams.
The side marker is available in both amber and clear variants. However, only the former is SAE/DOT compliant. Regardless of the reflector color, there is still an amber LED used for the actual side marker light.
Overall, the GTR Carbide headlight has a very upscale aesthetic to them. They’re slightly less aggressive-looking and more Lexus-esque in my opinion; which isn’t a bad thing.
GTR Carbides Vs. Factory LED Headlights

Pictured Above: Left: GTR Carbide Low-Beam & Right: Factory LED Low-Beam
I have a 2021 TRD Offroad-premium, so I will be comparing these against the factory LED low beams that I had. I’ve seen anecdotes online that suggest the GTR Carbide headlights are not quite as bright as the factory LEDs. However, when compared with the naked eye, their output is more than adequate. It doesn’t seem significantly worse than the factory lights and more importantly, has just as clean a beam cutoff pattern.
In my opinion, the marginal drop in light output is worth the gain of a true DRL. The physical headlight fitment to the body is spot on with the factory ones, with identifying gaps and tolerances.
Installation

Headlight installation is easiest with a second set of hands to avoid scuffing either the headlight housings or your paint. However, it is manageable as a solo job so long as you are very careful.
For supplemental installation directions from GTR: GTR Carbide Headlight Installation Guide
Tools Required:
- 10mm Socket/Ratchet Wrench
- Long Reach Philips Head Screwdriver
- 8mm Wrench
- Flat Head Screwdriver
Step 1. Remove Front Engine Cover

There are 13 retention clips that need to be removed and can be done by pressing in the center of each one. The middle retention clip can be removed by using a flathead screwdriver to pop it out.
Step 2. Remove Upper Front Grille Retention Clips

In order to pull the upper grille back just enough to remove the headlights, you’ll need to remove six retention clips. There are two on the top of the upper grille and four on the lower portion of it.
If you still have it, there is also one 10mm bolt in the top center of the grille that needs to be removed as well.
Step 3. Remove Bumper Cover

Some people fully remove the front bumper cover for headlight installations. I found that as long as I unclipped it, there was enough room to wiggle out the headlights without fully removing the bumper cover.
There are 3 screws along the front of the inner wheel well that need to be removed. Next, pull the top portion of the bumper cover that is inside the wheel well back and out over the plastic retention nub. The rest of the bumper cover that is under the headlight can be gently pulled away. You will hear popping sounds which are normal, these are just the plastic retention clips disengaging.
Step 4. Remove 4 Screws That Hold The Headlight In Place

There are two screws at the top of the headlight, one is hidden under the weather stripping along the front fender.

There is one screw that is directly behind the upper front grille. I found it easiest to gently pull that back and use a long-reach Philips head screwdriver to remove the screw.
The last screw is actually a bolt behind the side of the bumper cover, use a 10mm socket to remove it.
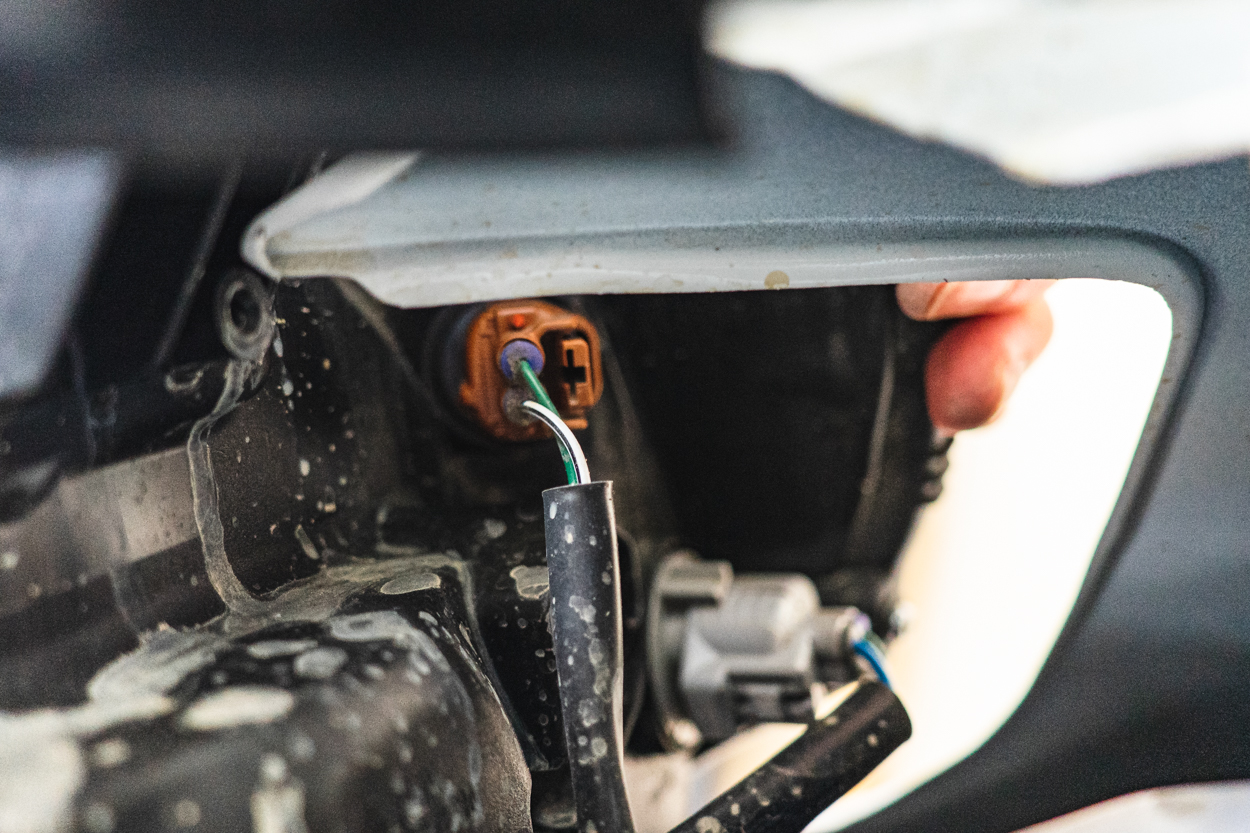
Step 5. Unplug 4 Wire Harnesses

Start by unplugging the low and high beam wire hardnesses.

Once you are able to partially pull the headlight housing away from the body, you will be able to unplug the remaining two wire harnesses for the side marker and turn signal.
Step 6. Remove Old Headlight

With all four wire harnesses and screws removed, you can begin wiggling out the headlight housing. This is where the second set of hands can be extremely helpful.
Step 7. Transfer Headlight Bracket

There is a stability bracket that needs to be transferred from the old headlight housing to the new one. There are three Philips Head screws on the bottom that will need to be removed and transferred along with the bracket.
Step 8. Connect GTR Carbide Wire Harnesses

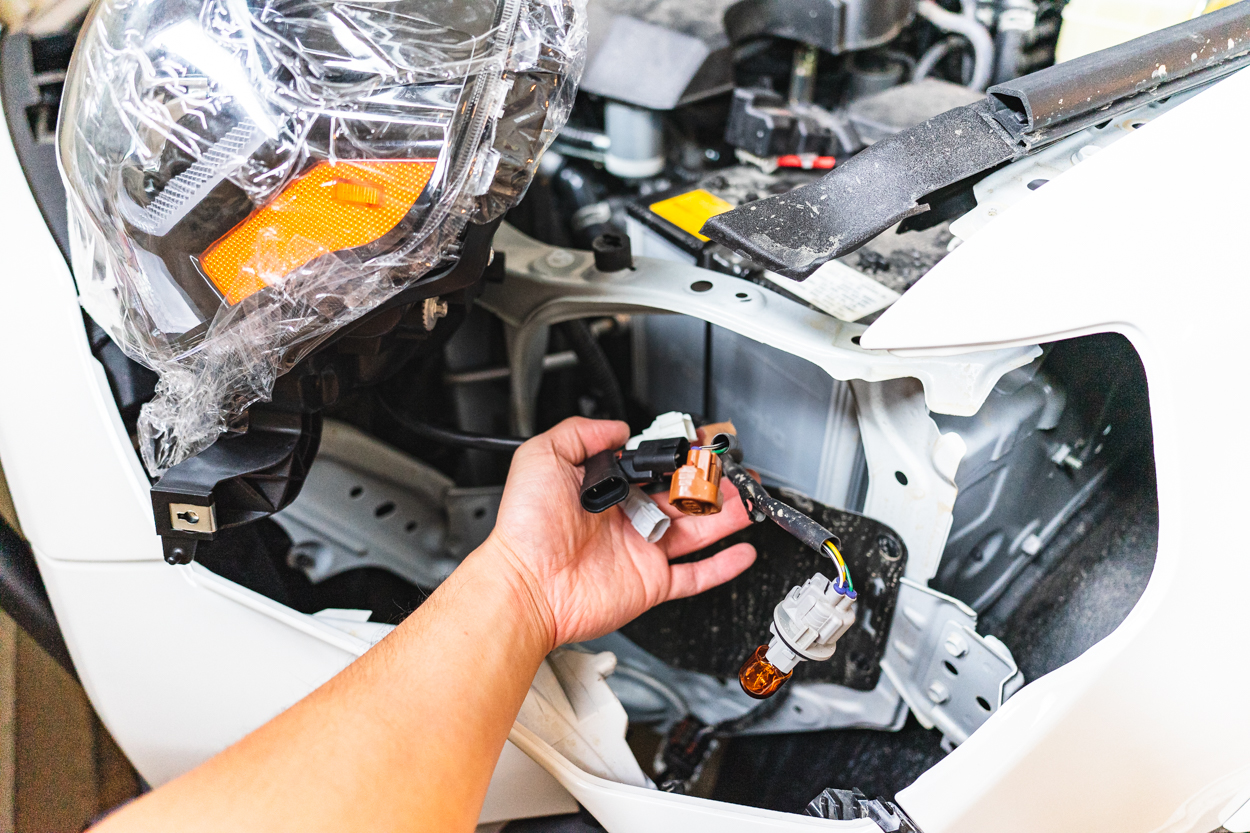
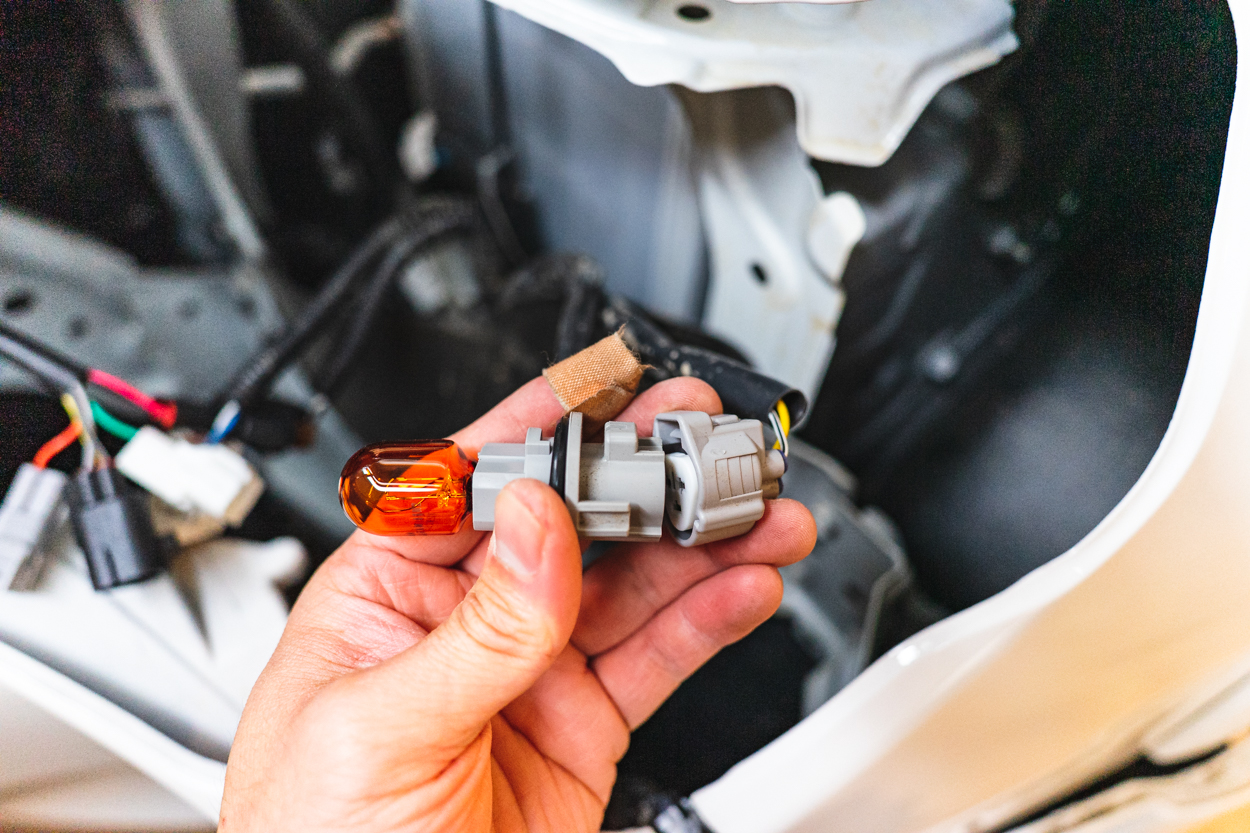
The GTR Carbide housing is plug-and-play with all of the factory wire harnesses. You will need to remove the amber turn signal bulb and its plug to connect this harness to the new headlights.

To connect the DRL fuse tap, remove the “INJ” fuse in your engine relay box and replace it with the supplied harness. The relay box cover will close over the harness wires.

Next, connect the harness adapters to each headlight housing.
Note For 2021+ Models:

If you have a 2021+ model year with factory LED headlights, you will need to use the available wire harness adapter in order for the low beams to function.

At this time, the DRL harness is also not compatible because Toyota has relocated the “INJ” fuse where there isn’t enough vertical clearance for the relay box cover to close.
Step 9. Test Functionality

Before fully reinstalling the new headlights, ensure that all of the lighting functions work properly.
Step 10. Install GTR Carbide Headlights

Reinstall the new headlights with the four mounting screws that were removed earlier.
Step 11. Adjust Headlights As Necessary

There are two adjustment screws for vertical and horizontal beam alignment. The upper screw is used for vertical adjustment while the lower one is for horizontal adjustment. You can either use a flat head screwdriver or an 8mm wrench to make these adjustments.
Final Thoughts

The GTR Carbide headlights are an excellent upgrade option in my opinion. I couldn’t quite justify the cost of a pair of Morimoto XB headlights, and I wanted something a little less factory-looking than the Alpharex Luxx’s.

These headlights appear to be an excellent value option for those who are more budget-minded.
That does not imply, however, that you are making any major sacrifices with the GTR Carbides. You still get excellent light output, a true DRL, and sequential LEDs. Best of all, light adjustments are easy and you’ll get a much cleaner beam cutoff than dropping LED bulbs into housings that aren’t designed for them.
Overall, I am very happy with these and am excited to test them out on more night drives in the near future!


Does the 2022 4runner light stalk for DRL off work with these? So if I want to turn the DRL off temporarily it can be switched from the stalk similar to OEM. Thanks!
Any difference between vland and gtr.. vland seems cheaper, are they both the same quality?
Just got a pair of these headlights a couple weeks ago and was disappointed about them no longer having the startup sequence feature. DRLs just light up, no cool sequence anymore.
I reached out to Headlight Revolution (now handling GTR Lighting sales) but they had no answers. Then I contacted GTR directly, and they confirmed the feature was removed “due to the production of the lights”.
I still like the headlights a lot but was bummed about not seeing the sequence once everything was plugged in.
Can I plug the fangs light harness into the GTR fuse harness?
I got mine installed on a 2020 trd offroad,
its true couldn’t close the fusebox cover, i got to tap it it to my auxbeam switch panel. Couldn’t make that cool opening sequence work, also gtr installation guide is telling me to bent a pin in the relay fuse box. I Didnt do it because there in no flickering anyways, it just works fine, also I couldn’t find the relay fuse, the diagram is different from my fuse box. I want that opening light sequence to work though. Suggestions?
Following. The whole reason why I got these is for thr startup sequence. And all videos fuse boxes are different on my 2020 4runner.
I installed the GTR headlights in my 2020 TRD Off Road Premium and I do not have any high beams…had high beams before I put the bumper back on then lost passenger side and within a few minutes lost driver side – low beams and DRL work like a charm. Anyone else have this issues?
I bought this set at 4runner Lifestyle and I didn’t know about the harness for my 2021 ORP. Unfortunately, I struggle to finish the installation due to the Harness and the Fuse because I saw that my fuse box is different and the INJ fuse is not where it’s supposed to be according to GTR Manufacturer. So what do you recommend me to do in order to fix it?
Where can I get this harness and how can I deal with the fuse problem?
The 2021+ Morimoto adapter harness is what you’ll want to use to get the low beams working. As for the INJ fuse, you can either run the harness through your firewall and tap the ACC fuse in the driver’s footwell or directly wire it to a switch panel if you have one.
would be nice to see where to get this done. the manufacturer does not provide any kind of support about this issue.
That’s because they buy them from China on Alibaba.
Do these headlights let you switch between amber and white DRLs or is it just white DRL?
Sadly, just white DRL so far – the turn signals are amber sequantial.
Hello, would you please explain “At this time, the DRL harness is also not compatible because Toyota has relocated the “INJ” fuse where there isn’t enough vertical clearance for the relay box cover to close”. So does this mean the fuse box will not close tightly? Thanks..
I’m not sure if the 21′ fuse box is different from the 20′ one, but I definitely couldn’t close the fuse box cover over the INJ fuse tap, it’s literally right underneath the lid. I ended up wiring the DRL fuse directly to my switch panel, but you could also use the ACC fuse in the driver side footwell.
I own a 2020 trd offroad premium and have the GTR Carbide headlights for my truck and the fuse box closes tightly over the wiring. No issues at all with my install.
I have a 2020 ORP as well and was able to get the fuse box cover to close but it is very tight. I am noticing when I have my lights turned to DRL that the lights flicker. Did you get this too?
Do you have a picture or something that shows how you made this work? I have a 2020 SR5 and there is no way that the fuse box cover can fit with the provided wiring harness into the 10A INJ.
What makes these a better choice than the vland brand?
From my understanding, GTR Lighting now owns the rights to this design – so you should only see new units being produced by them going forward.
maybe it’s just me but the DRL does also look like the headlight from the new tundra
I can see that as well!
Which bumper is that?
Southern Style Offroad Versa