
Trail Impressions: Introducing the Oztent Foxwing 270° Awning Mounted on AL Offroad Roof Rack – How to Deploy, Complete Review & Overview
Whether it’s providing a safe haven from precipitation, or shade from the summer sun, awnings can offer a lot of protection; especially in areas without shade like in the desert, or on the beach.
The Foxwing 270° Awning offers 120 square feet of prime shade and shelter space from the elements. This awning also has a variety of other accessories to increase space for those looking to establish a base camp around their vehicle.
Find it Online:
- Oztent Foxwing 270° Awning: Check Price
- Overland Vehicle Systems Awning Bracket: Check Price (potentially needed for some roof racks)
- Foxwing 270° Awning Replacement Parts
Quick Facts:
- Flame resistant material
- UPF 50+
- Reflective guy ropes
- Mold and rust-resistant
- 120 square feet of coverage
- 2-year warranty
- 40lbs total weight
- Integrated zips to connect to other Oztent products
- Full replacement parts catalog for support
Oztent Foxwing 270° Awning Review
Installing & Setting Up Awning

This install time will take about 30 minutes to mount it to your vehicle (given you have mounts that will work with your rack type) and deployment/set up will take about 15 minutes.
It’s important to know that the instructions supplied by Oztent are written to install the awning on a specific type of roof rails, similar to the Rhino Rack Vortex and Rhino Rack Heavy Duty. Installation will vary dependent on your rack type, and you may need to source brackets to fit your specific application.
Step 1A. Prepare for Deployment

Park your vehicle in a suitable location notating sufficient spacing on passenger side of the vehicle to deploy the awning.
Note: In windy conditions, a second person is recommended to open and close the awning as strong winds can cause damage.
Step 1B. Uncover the Awning
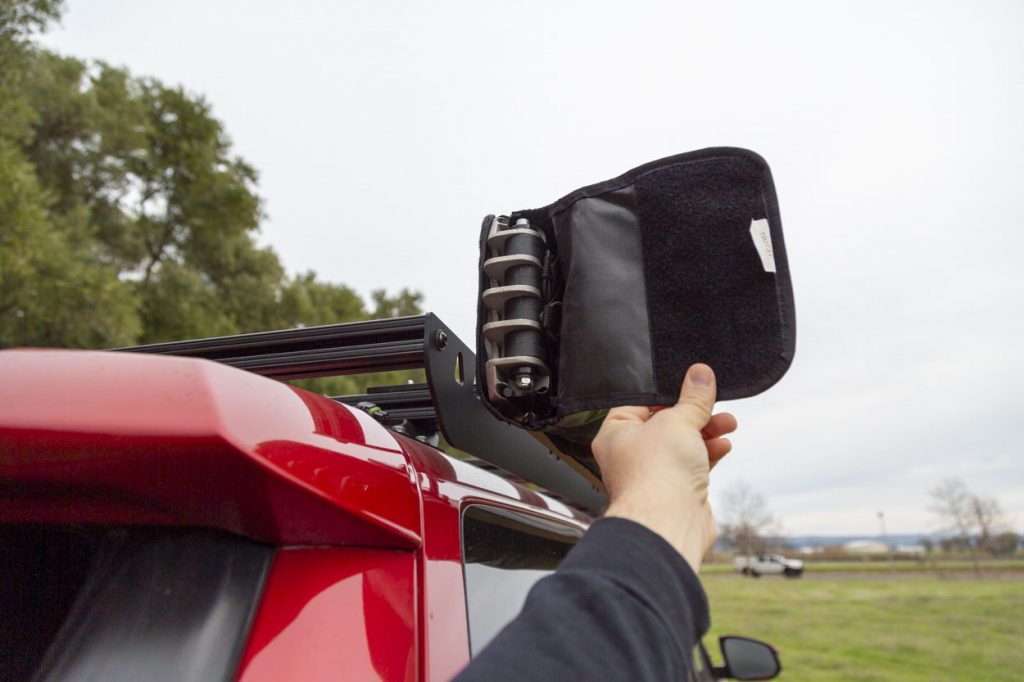
Starting from the rear of the vehicle, reach behind the awning cover and open the velcro straps.

Next, unzip the awning cover towards the front of the vehicle. Unclip the pole bag/rope bag and set aside.
Step 2. Deploy the Awning

Unhook the black rubber strap holding the awning spars.

Open the awning with the top awning spar then each awning spar in order from top to bottom. Unfold the awning towards the rear of the vehicle ensuring not to catch the material on any poles or structures.
PRO TIP: If there is any possibility of wind it is recommended that each segment of the awning is poled and pegged-out as it’s opened.
Step 3A. Secure the Awning
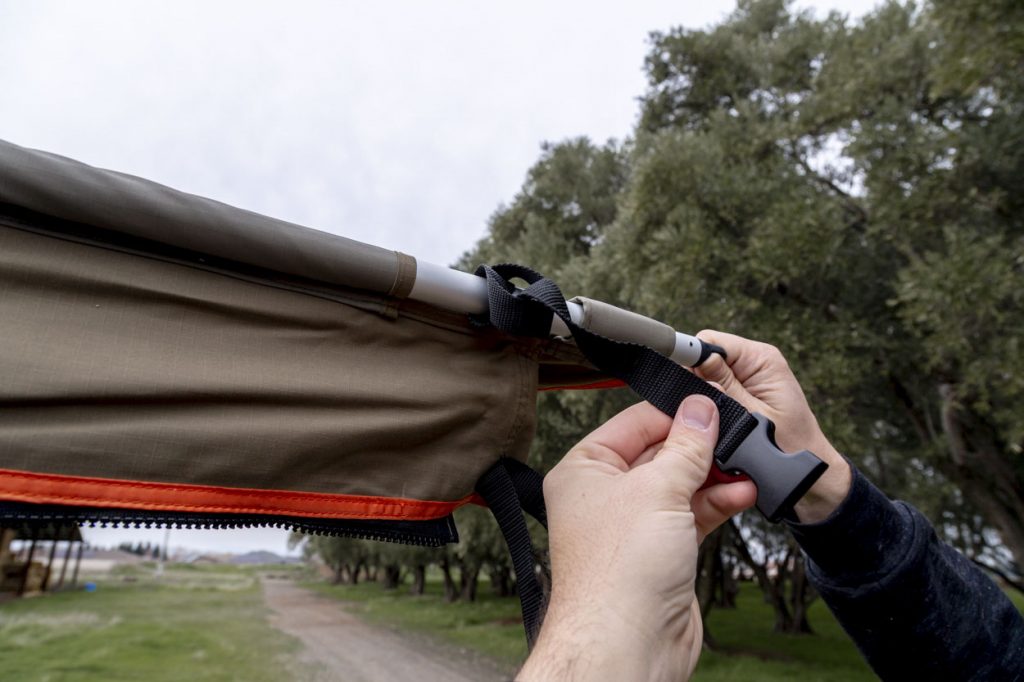
Attach the tensioning strap by looping the male clip around the nearest crossbar of the roof rack, looping the female end socket of the strap around the end of the awning.

Secure the clips and pull the tail of the tensioning strap as required to maintain the shape of the awning.
Step 3B. Attach the Support Poles
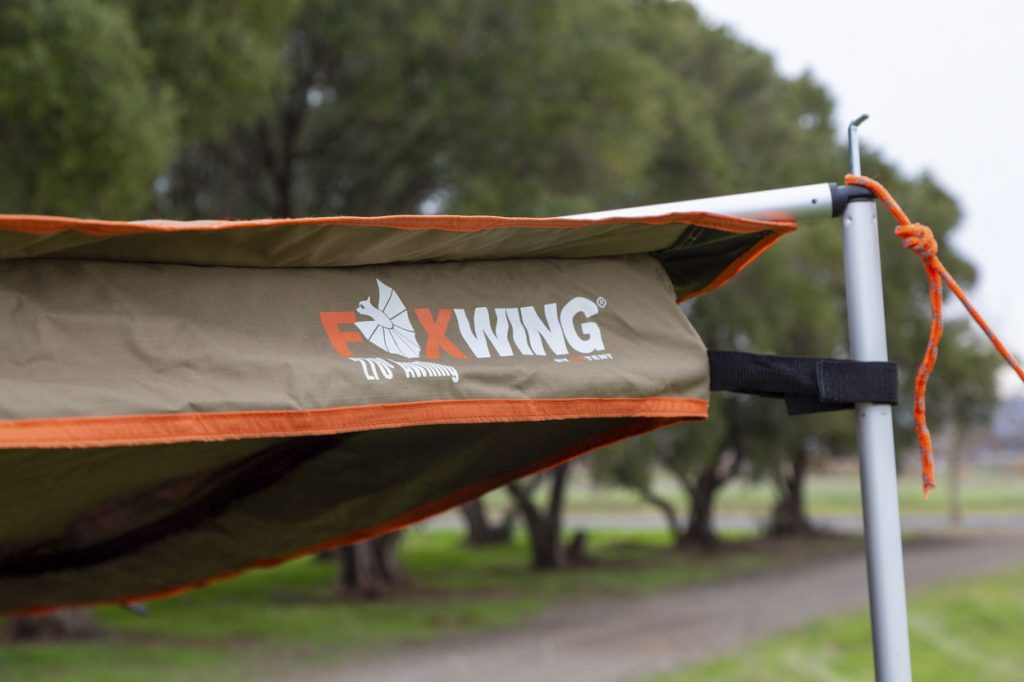
Insert the telescoping poles into each awning pole and secure with the fitted velcro straps.
Note: In wet or inclement weather, secure the awning with all of the provided guy ropes and stakes. Slightly shorten the telescoping poles to take tension off the awning and secure it using the extra metal pegs and guy ropes provided; this step helps form a channel that will allow water to run off the awning.
Breaking Down the Awning
After all the fun is over with and you’re ready to head out, it’s time to break down the awning.
Proper deployment and breakdown will ensure your Foxwing 270° awning will last longer.
Step 1. Closing the Awning

Loosen and remove guy ropes, remove metal pegs, poles and tensioning straps.
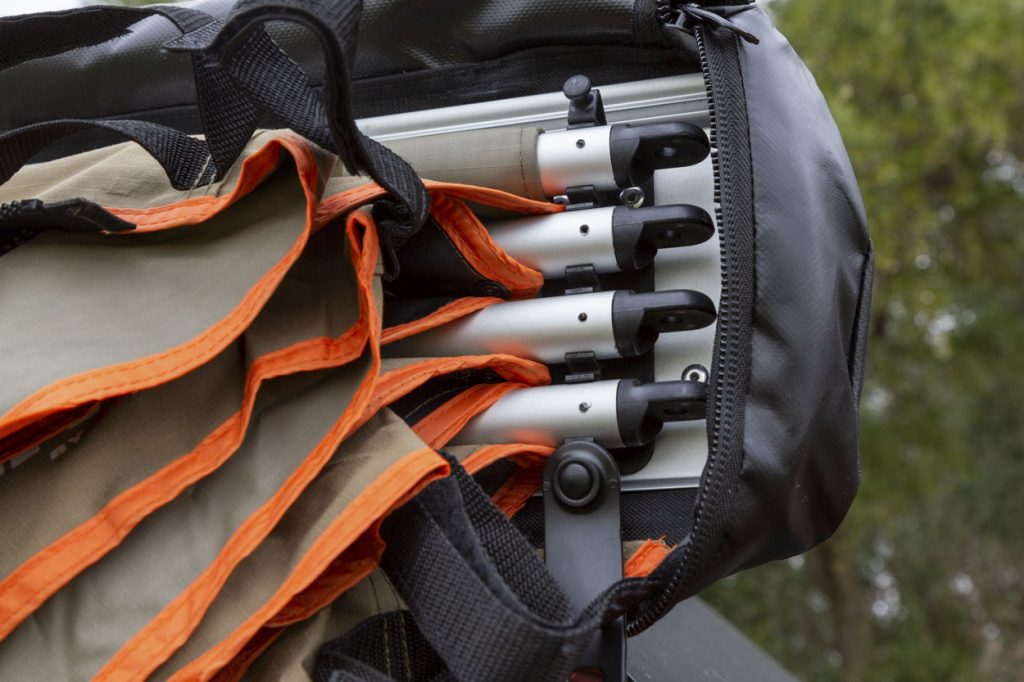
Swing the awning poles rear to the front so they recess into the extrusion backing.
Step 2. Fold the Awning

Neatly fold the awning up towards the backing and use the two black retaining clips and secure it into place.
Step 3. Secure to the Extrusion
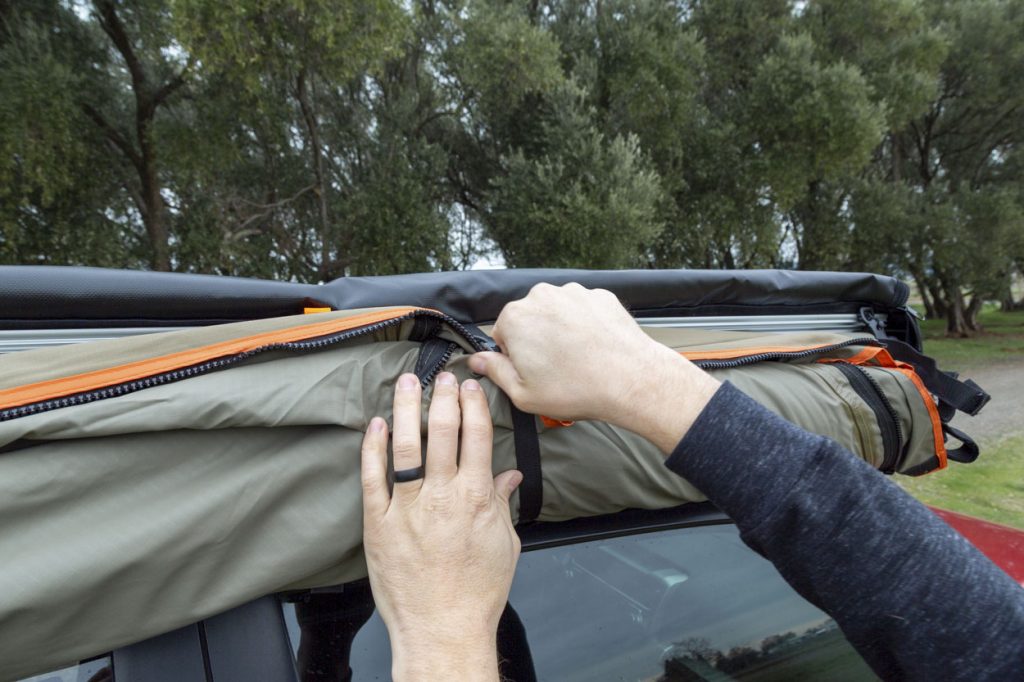

Secure the drip drain panel on top of the awning and tension the awning to the extrusion by pulling the tails of the retaining clip straps.
Step 4. Reattach Storage Bag

Clip the guy rope/peg bag into the associated retaining clips inside the cover (or store inside the vehicle).
Now Cover the Awning
Fold the awning cover back over on top and zip the cover from the front of the vehicle to the rear.
Make sure all material is pushed away from the zipper to prevent snags. Then, secure the velcro flaps in reverse order.
Initial Impressions

As this is my second item from Oztent, I have been impressed with how their items come with easy-to-use poles, reflective guy ropes, and quality bags, clips and zippers to neatly secure and store all of the components.
What speaks large volumes to me is not only having a good manufacturer warranty but that all parts are available to order directly through the company if for any reason any piece breaks or needs to be replaced. Everything from the main cover bag all the way down to the rivets.
Final Thoughts

The supplied mounting brackets from Oztent almost worked on the AL Offroad Onyx Roof Rack of my 5th Gen 4Runner.
However, it made the awning too flush to the rack to open the velcro end.

This awning extrusion has a 4-inch center-to-center mount, which not all awning mounts accommodate.

For this installation, I opted to use an Overland Vehicle Systems bracket (due to its robustness) and opted to drill another hole in the bracket for the 4-inch center-to-center bolt spacing.

The main concern with a 270° awning is with the rear hatch. The two lowest awning spars do make contact with the rear hatch of the 4Runner when in the open position.
With the rear most making contact parallel to the spoiler, and the second most rear perpendicular onto the hatch. Although it does make contact, I was able to open the hatch to about 90% open before making contact.

To help alleviate contact, I would suggest either mounting the awning slightly more forward (to prevent the last pole from contacting the hatch) and slightly higher (to allow the hatch more room to fully open) You can successfully utilize this awning with the 4Runner, however, it may take some extra planning and adjusting opposed to a swing out hatch type vehicle (i.e., Lexus GX, FJ Cruiser, etc.).
Like most camping gear, the hardest part is putting it away. To me, it always feels like it’s too hard to fit back into the bag that it was packaged in! It did take about three tries for me to find the best way to re-fold it back together. My best piece of advice (not only for others, but for myself) is to always notate how the item is folded to make putting it away easier.
Overall, Oztent products maintain a good quality feel and look. Keep in mind, to use the Foxing awning, you’ll need to get creative to accommodate this awning to your 4Runner. It provides ample amount of shade and shelter around the vehicle and could be a great platform for those that spend consecutive days in locations with inclement weather or a need to shade themselves from the sun.
