
LED Dome Light Swap and Light Replacement on 5th Gen 4Runner
When you unlock your 4Runner, the dome light, the puddle (side mirror) lights, and the map lights turn on. This gives you a good sense of perspective. It sounds lame but it really does. After unlocking your 4R and seeing those two sets of lights turn on, you suddenly know where everything is.
The dome light is an essential part of everyday life. You will find out pretty quickly when you go to turn on the dome light and it barely lights up the back seat. Adding brighter lights is key for your night experience.
The dome light covers the center of your cabin. Having a high-quality bulb helps to cover areas of your 4R, where the stock lights don’t reach.
If you notice your dome lights going dim or any other interior lights, you should probably look at an LED swap. If you are looking for a little more punch from your factory lights, swap your stock ones out with LEDs. After you throw in LEDs, you will be pretty excited about the color and the newfound brightness.
Dome Light Bulb Replacement (Festoon Bulb Number)

- Dome: (x1 bulbs)
- DE3175 LED Festoon Bulb: Check Today’s Price
- The Plastic Pry Tools: Check The Price
INTERIOR LED LIGHT BULB SWAP KIT
If you are looking to buy an interior light bulb kit, this should cover ever major light.
- Map Lights (top front lights): (x2 bulbs)
- Interior Door Courtesy: (x4 bulbs)
- Dome: (x1 bulbs)
- Rear Door aks Rear Hatch: (x2 bulbs)
- Vanity aka Visor Light: (x2 bulbs)
Total interior lights you need to buy:
- DE3175 (x3) – Check Today’s Price
- 168 (x6) – Check Today’s Price
- 194 (x2) – Check Price
Step #1: Pop light bulb cover

Start by grabbing your plastic pry tools. There are four tabs that hold the light cover in place. These tabs are facing both the front and the rear. The faceplate cover is on there incredibly tight, so take your time and wiggle the plastic pry tool into place. Once you have the plastic pry tool in place, just inside the housing, twist the pry tool and it should pop the first tab off. Repeat this step until your faceplate comes off.
Step #2: Release Metal Tab
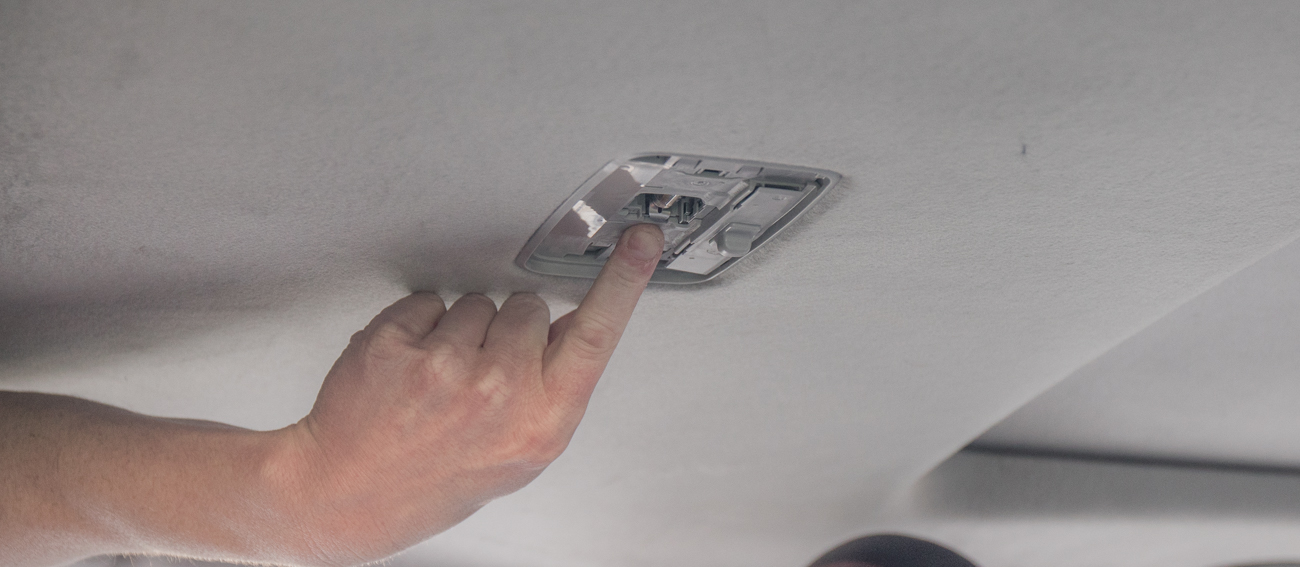
To remove your actual bulb, you need to release the metal tab that holds the light into place. You can simply pull back on this tab with one figure to release the light bulb.
Step #3: Release Tab with Pry Tools if HOT
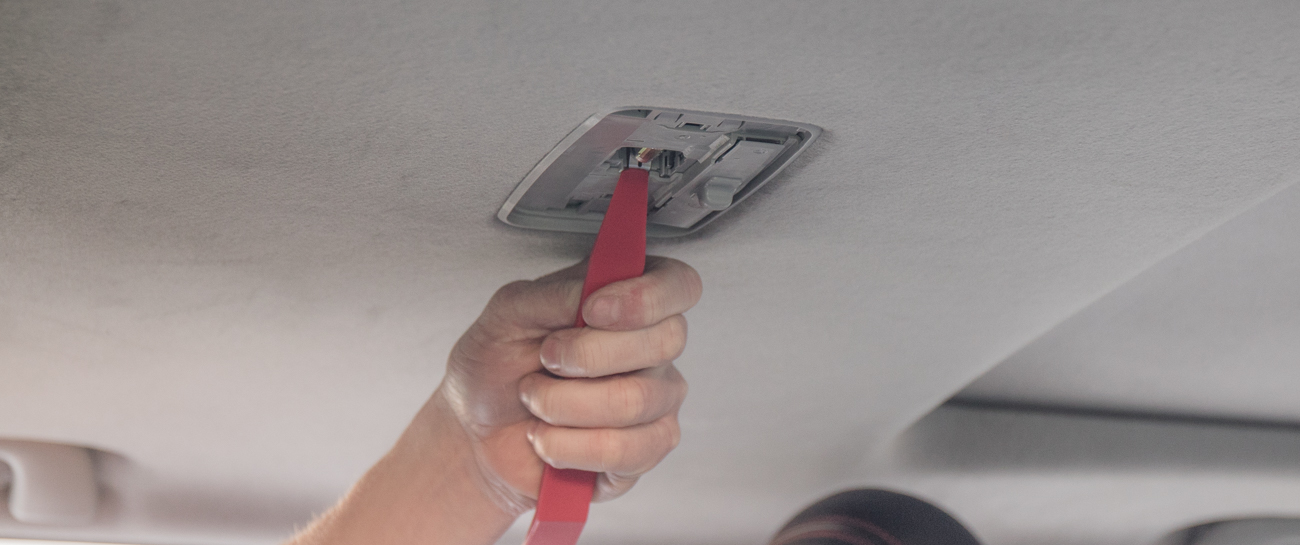
If the light housing is still hot, which mine was. You can use your plastic pry tools to release this tab. By using your plastic pry tools you wont burn your finger like I did. Either let your lights cool off or use one of your handy plastic tools.
Step #4: Remove OEM Bulb
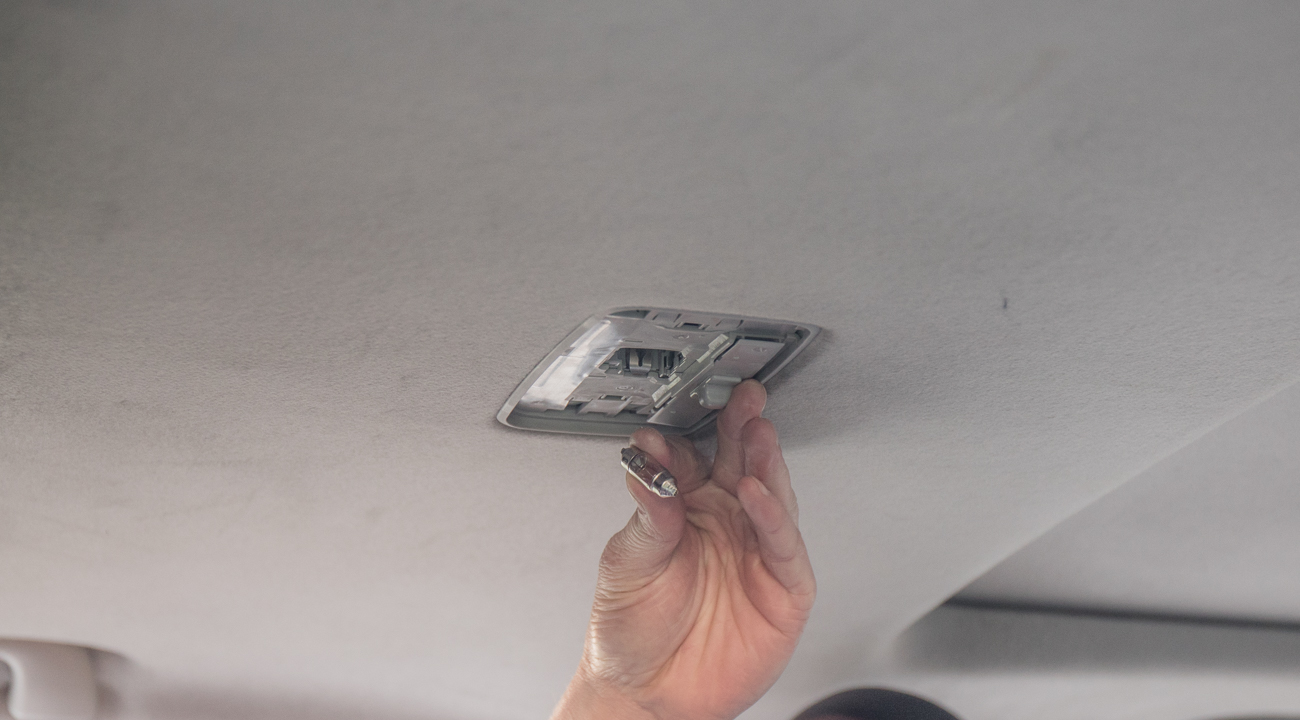
Step #5: Swap in New Bulb
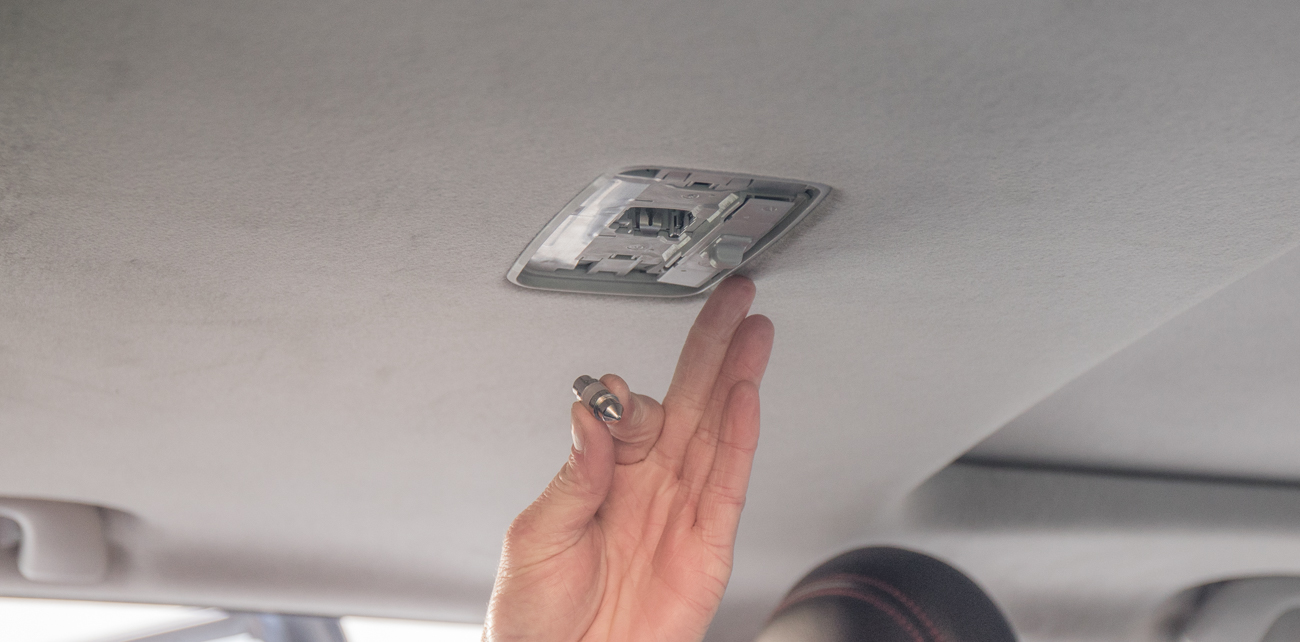
Step #6: Test New Light Bulb
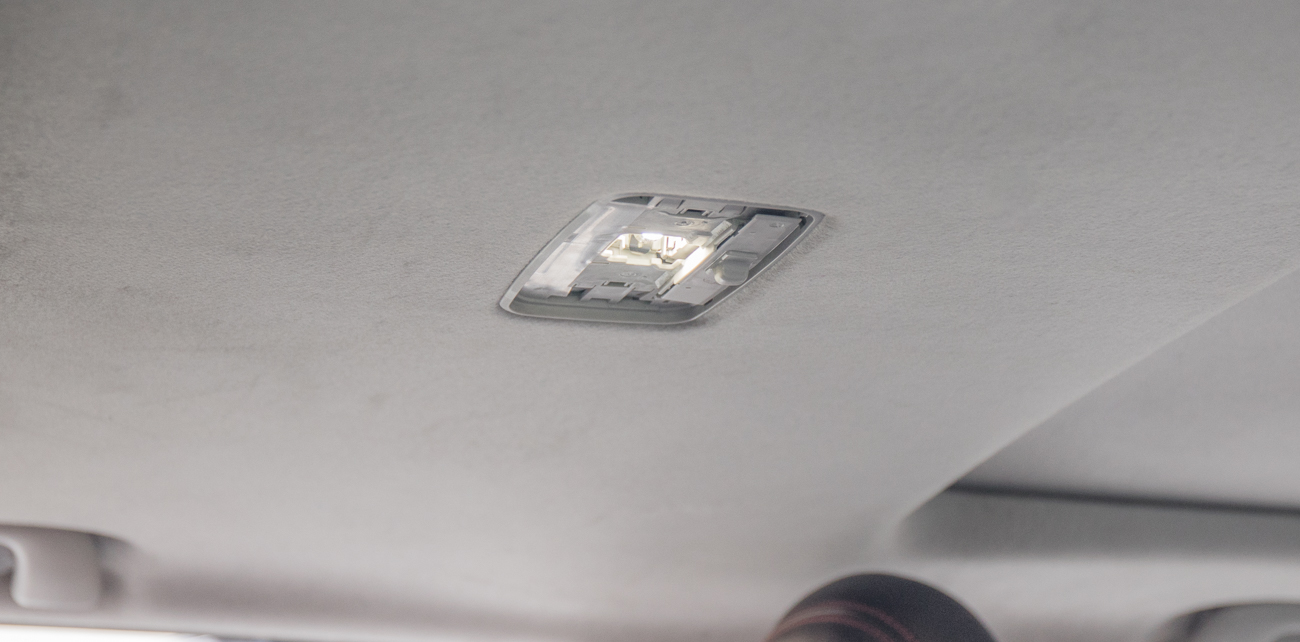
Step #7: Replace Light Cover
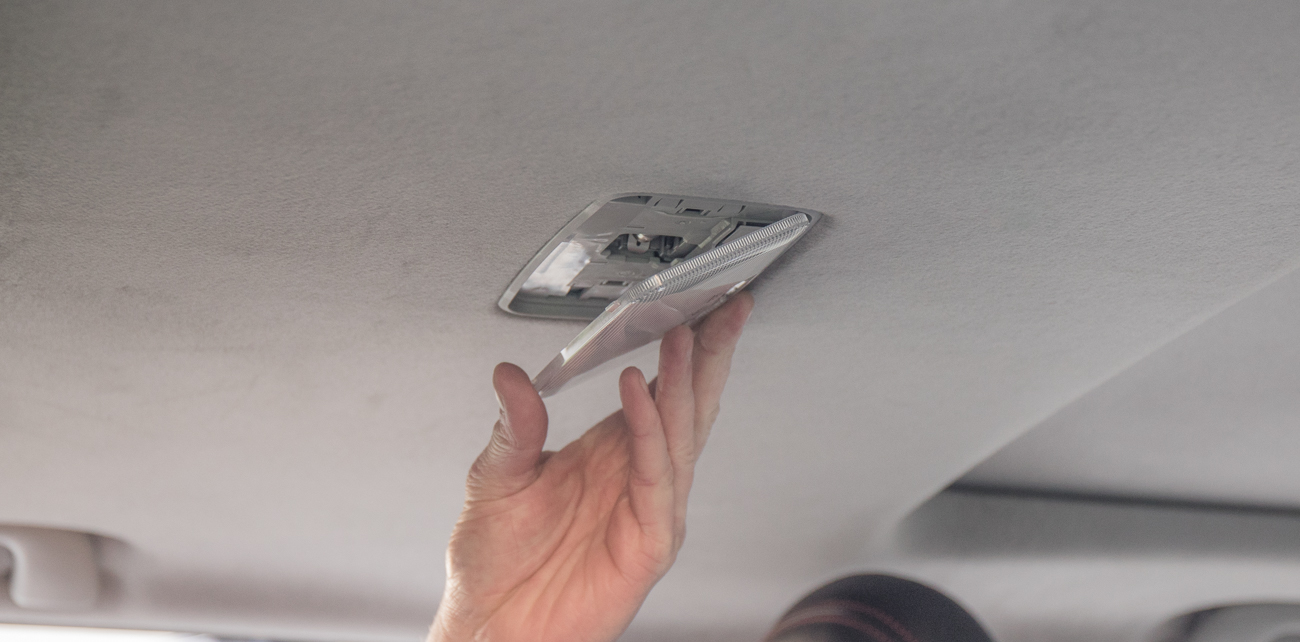
Step #8: Press Firmly on Light Cover
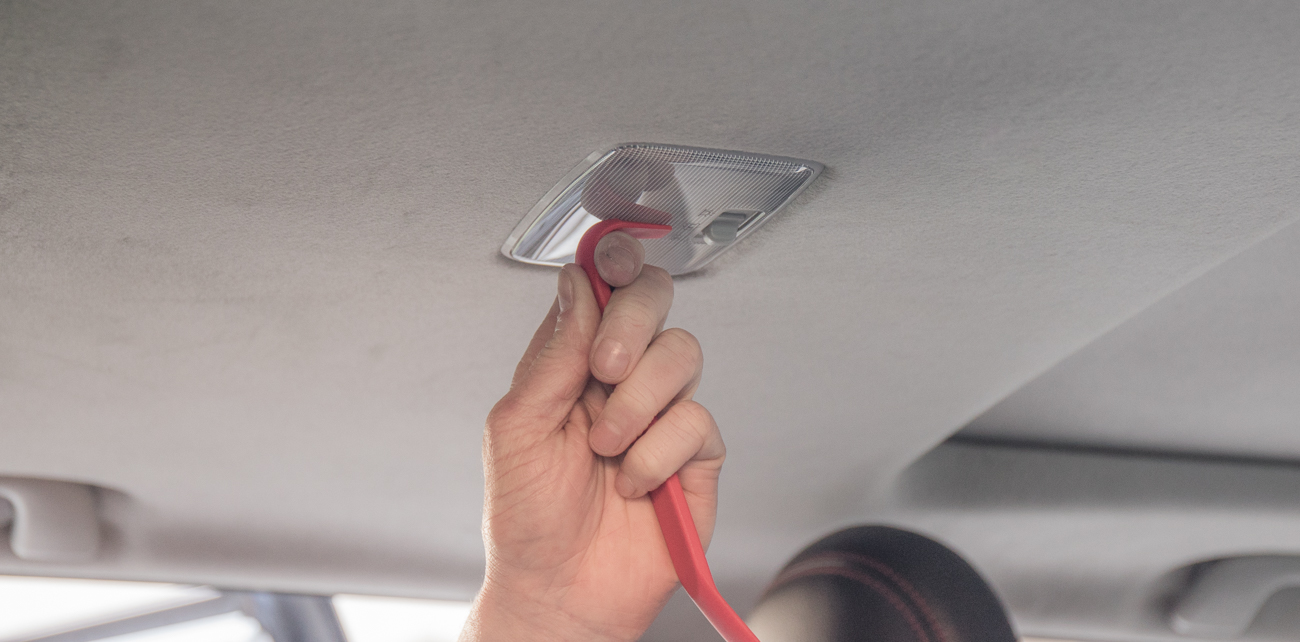
The plastic faceplate cover is a little difficult to get back into place. Start with one end facing the front and press the other end into place. With your plastic pry tool, you can firmly press the entire plate upwards. This should snap everything into place.
Bulb Replacement Overview
This is a pretty straight-forward light bulb swap. The only thing you really need is your plastic pry tools. You can always use a flathead screwdriver but with a flathead, you might scratch up your light fixtures. You are much better off using a set of these plastic tools. They will come in handy for many other installs and mods.

Can anyone explain to how I can pull the map light bulb from my 11′ 4runner Sr5 unfortunately my fingers are to fat lol I’ve tried using latex and nitrile gloves that didn’t work any body have any other ideas on how I can accomplish this task
I tried DE3175 from sylvania and it would not be go in no matter what I did I’m super disappointed it’s the exact same size but end points are to thick . So video says 3022 works on all 4runners …so I look them up and they say same as DE3175 . I can’t believe at this point I’m throwing money at a single bulb .
I did this swap tonight and was disappointed. The new LED light did not seem any brighter than the stock light. Maybe even less bright. I followed the link in this article and ordered the bulb through Amazon and received a Zero 6000k “super bright” DE3021, which says it is a compatible replacement for the DE3175, 12.8v 1w bulb. Did the swap and the light is very disappointing. Any thoughts? Did I receive the wrong bulb? Are my expectations wrong?
Dennis,
Did you check the lights in the dark? Maybe it was still a little light outside when you checked them out? I don’t think the lights are supposed to crazy bright but they should absolutely be better than factory, at least mine were. Disappointed in the color as well or just the brightness?
I installed the bulb while my 4Runner was in the garage with the door closed. So, only LED and fluorescent light in the garage at the time. I was not happy with both the color and the intensity. The color I received was the 6000k cool blue color but the intensity also seemed less than the original, stock amber halogen bulb. Strange. What I’ve done so far is to is to order a different brand, a different color (4500k, natural white) to see if there is any difference. I appreciate your comments and help very much.
What was the brand of the 4500k natural white bulb and how did it work out?