
LASFit White LEDs for Cargo Trunk and Map Light Bulbs – Install & Review for 5th Gen 4Runner
One of the latest things to update on my 4Runner is the interior lights. I really don’t know why I waited so long. After replacing a few bulbs, I can say this is an update that everyone needs to make.
I chose to go with LASFit based on their price and the quality of their other products and am not disappointed.
Find It Online
- LASFit T-10 LED Bulb: Check Price
- LASFit L-31 LED Bulb: Check Price
- Plastic Pry Tool Set: Check Price
Install Overview

Updating the interior lighting can be done a little at a time. I highly recommend looking at where you would most benefit from an update and order those bulbs first. I chose to start with the cargo and map lights since this is where I noticed the stock bulbs were most deficient.
Replacing the stock bulbs is a simple task. I can not recommend a plastic pry tool set enough. The one above is cheap and has multiple tools for any application.
Cargo Lights

To remove the cargo light assembly, insert your pry tool on the right side. There is a metal clip that can be pressed inwards, toward the assembly and then pried outward.
Both the driver’s and passenger’s side assemblies have metal clips on the right side.
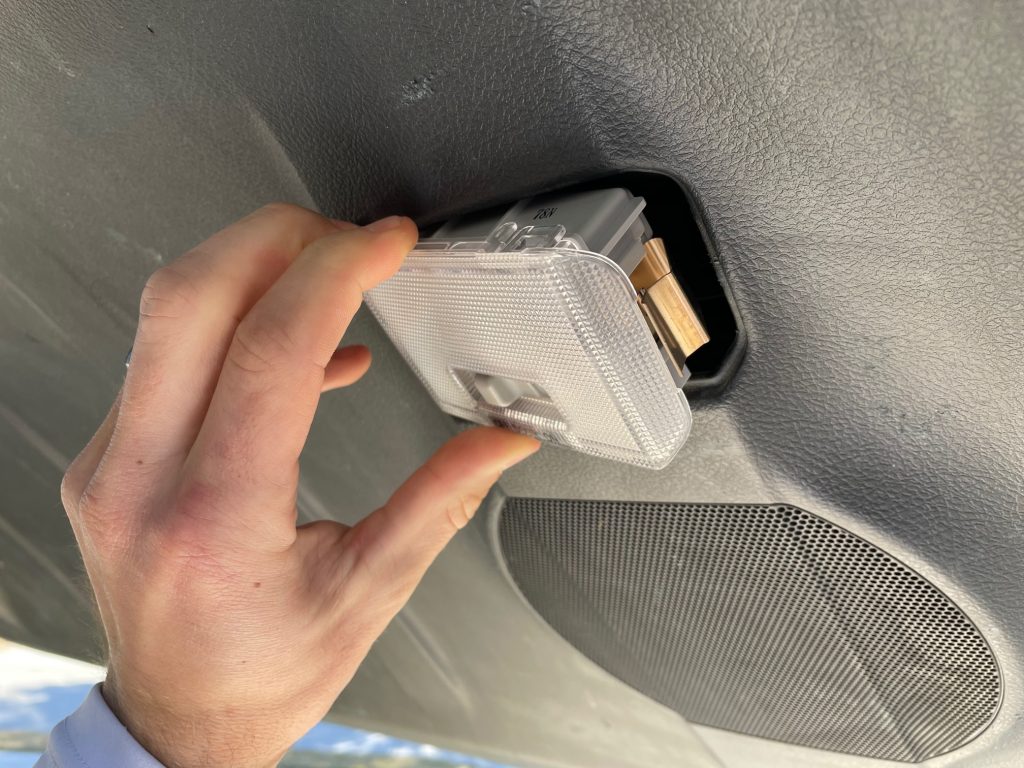
There are four clips holding the clear plastic cover on the housing. You can see the top right in the photo with the other three on each corner.
From this stage, you can either remove the front cover or remove the assembly completely. I found it was easier to remove the assembly and work carefully on the plastic cover.
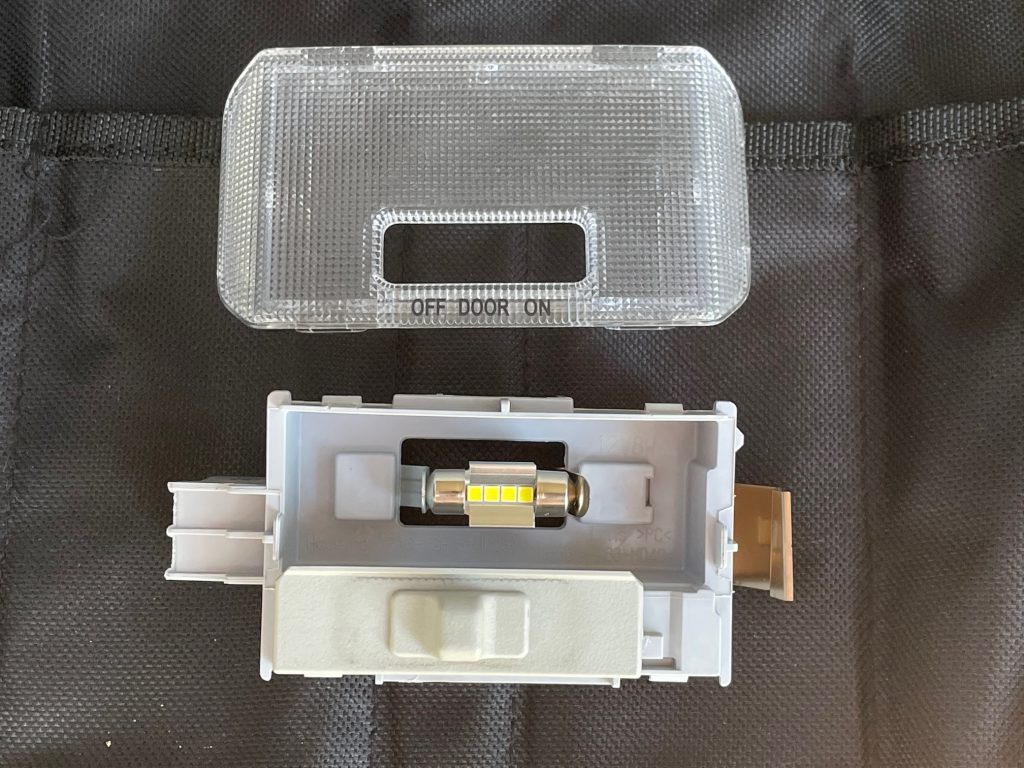
Install the new bulbs with the chips facing outward as shown. Now you will just reverse the steps to reinstall the assembly.
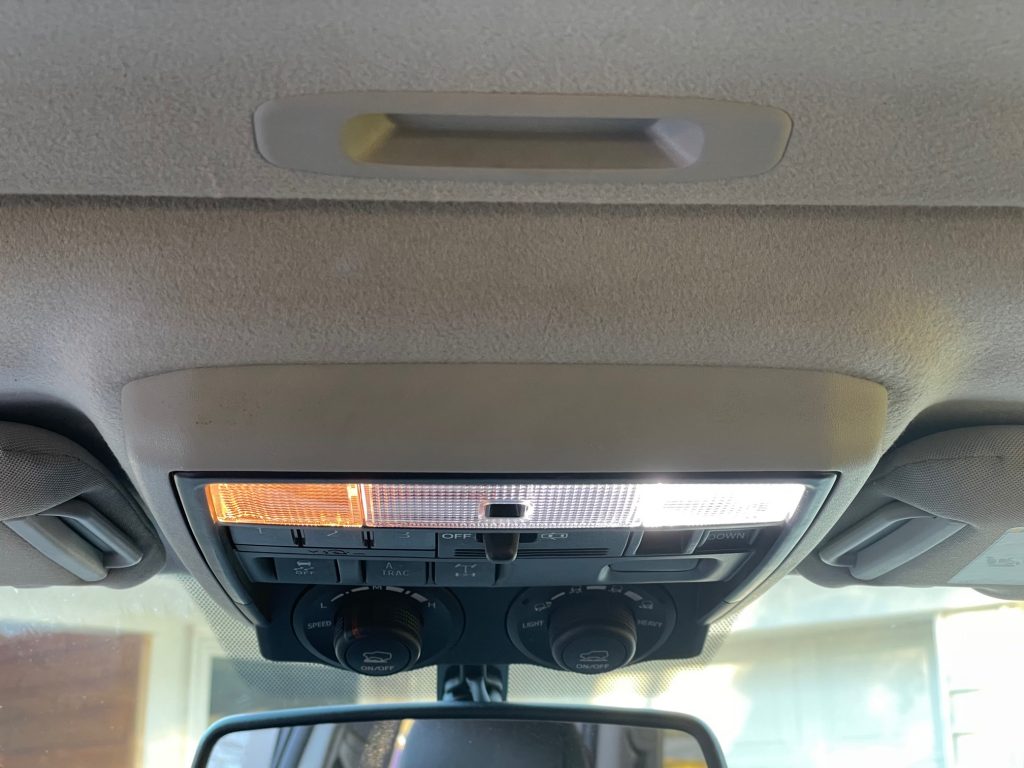
Map Lights
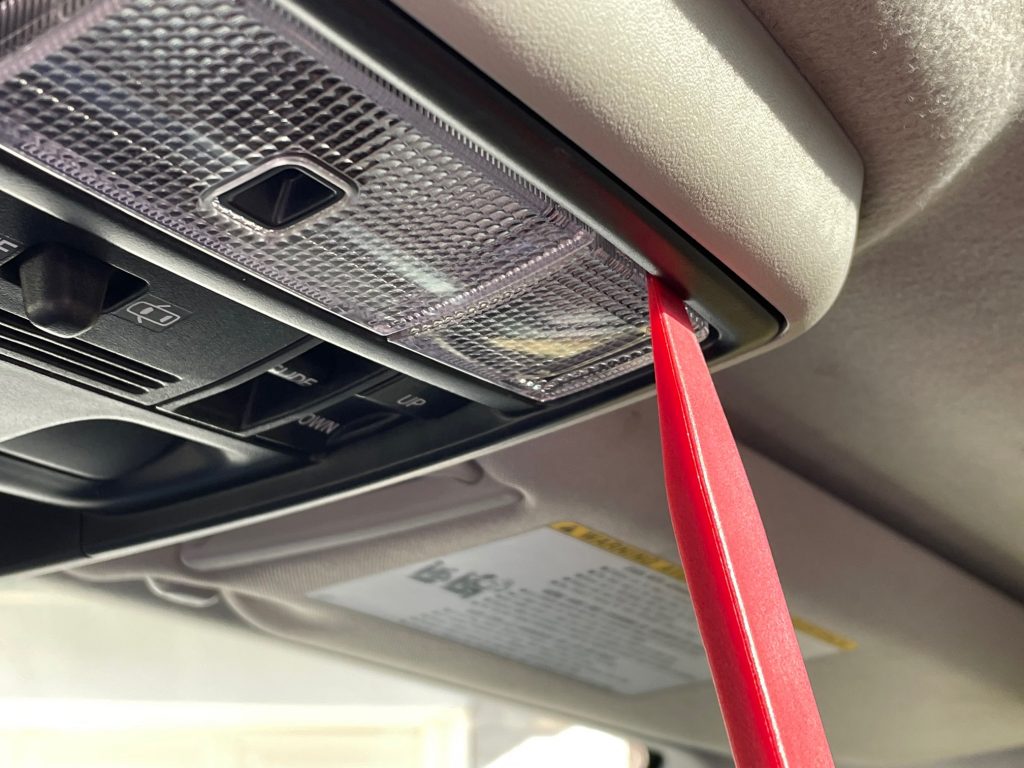
The map lights sit just underneath the push buttons. Insert your pry tool into the small gap in the front of the plastic cover and pry outward.
I used Brenan’s tape trick to remove the stock map lights. Feel free to reference that article if you haven’t removed the factory bulbs before.
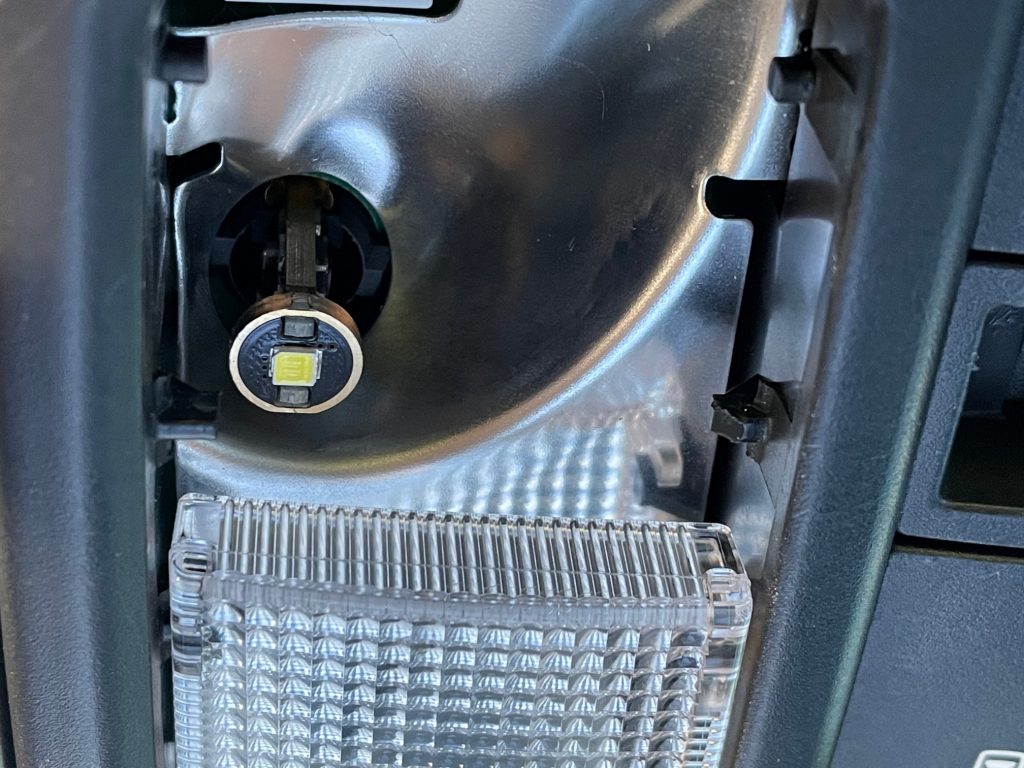
Installing the new bulbs is as easy as pushing them into the slot. I did have to put a little bit of pressure onto the bulb to make sure that it was seated all the way.
Final Thoughts
Overall, these lights really change the visibility inside your vehicle. I cannot believe that Toyota continues to sell new vehicles with such subpar lighting.
Even in the light of day, you can see a significant enhancement.

The cargo lights were significantly brighter. When camping and fishing, I found myself using a headlamp a lot of the time before. These enabled me to see everything while saving precious batteries in the portable lights.
My only negative to these lights is the 6000k temperature of the map light. My wife isn’t a fan of the color and refers to it as ” hospital white”. If LASfit could offer bulbs in a 5000k option, I would find that a little easier on the eyes. This is, of course, a personal preference and by no means a deal-breaker.
If you are looking to update your interior lights, I would definitely check out LASFit. Their prices are superb and I find that the output is a good balance of bright, without being blinding.
I also had these on my 2015 lifted Scion xB with Lasfit – L series led bulbs.
the 28mm L series festoon led bulbs 6000k on my dome light.
but my map lights and my cargo lights uses Lasfit – L series T10 amber led. Why amber? Because it gives a very nice super bright amber and a dramatic effect to see the interior a bit more.
white and amber led interior is a sweet setup.
Just upgraded 15 bulbs in my 2021 Nightshade.
Couldn’t be more pleased.
All LASFit LED’s except for the Dome, where I used a 29mm VLED (heard people were having trouble with the 31mm Cargo lamp)
2 – Cargo
2 – License Plate
2 – Reverse Lights
4 – Door Lights
1 – Dome Light
2 – Vanity Lights
2 – Map Lights
Thanks to these posts, the entire process took just over an hour total. Most useful tools were the pry set and my Hook/Pick set (to pop out bulbs instead of using the tape trick).
Total cost for all bulbs and pry tool kit was roughly $100.
The difference really is Night and Day (pun intended). I already had factory LED headlights, high-beams, fog lamps and taillights. Now everything matches and my OCD can rest a bit.
if you are on the fence, do it!!
Just upgraded 15 bulbs in my 2021 Nightshade. Couldn’t be more pleased.
All LASFit LED’s except for the Dome, where I used a 29mm VLED (heard people were having trouble with the 31mm Cargo lamp)
2 – Cargo
2 – License Plate
2 – Reverse Lights
4 – Door Lights
1 – Dome Light
2 – Vanity Lights
2 – Map Lights
Thanks to these posts, the entire process took just over an hour total. Most useful tools were the pry set and my Hook/Pick set (to pop out bulbs instead of using the tape trick).
Total cost for all bulbs and pry tool kit was roughly $100.
The difference really is Night and Day (pun intended). I already had factory LED headlights, high-beams, fog lamps and taillights. Now everything matches and my OCD can rest a bit.
if you are on the fence, do it!!
Would you recommend lasfit high and low beam bulbs ?
Does this kit include the two tailgate lights as shown in the photo?
Hey Dillon, you will order the bulbs in pairs. So for the cargo area you will need to order 1 pack of the 31mm (L-31) bulbs.
I ordered one of each T-10 and L-31. Do I need to order two of one of them to replace all the lights inside?
What you have ordered will replace the map lights and the cargo lights like mentioned in this post. If you want to replace the rest of the interior lights (the door lights and the dome light) you will need two more packs (4 total) of the T-10 and one more pack of the L-31.
Brenan has a write up with all the bulbs that are needed to replace all the interior lights of you want to check it out.