
DIY Removable Sleeping Platform Build for the 5th Generation Toyota 4Runner
Sleeping in the cargo area of the 4Runner is a popular way to spend the night while out on the trails or camping overnight. If you are not pitching a tent or sleeping in a rooftop tent, sleeping in the truck is a great option.
In the old days with all previous generation 4Runners, you could just fold rear seats down, throw in an inflatable mattress and be sleeping comfortably in no time.
With the introduction of the slide-out cargo tray and 3rd-row seats in the 5th Gen 4runner that’s no longer the case.
The new 4Runner models have a two-inch intention between the seats and cargo area to accommodate the tray if you choose to get one as part of your package. For those that don’t, this indention is there to stay, making sleeping in the cargo very uncomfortable.
Rear Cargo Area Spacing Limitations
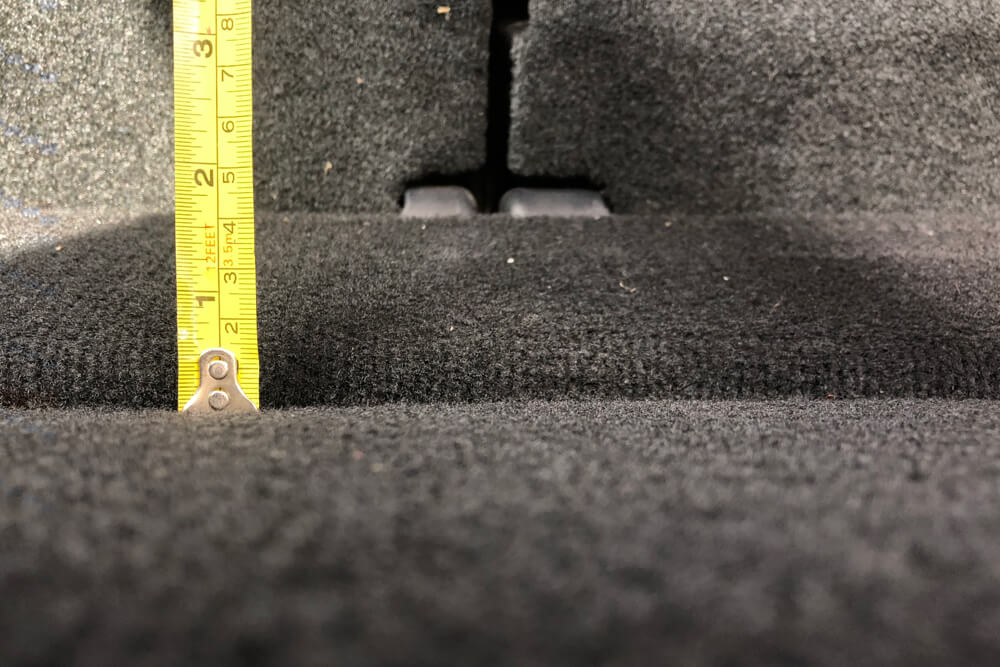
The 4runner’s rear cargo area has a 2-inch indention that prevents the cargo area from leveling flat when the seats are folded down.
There are many options to compensate for this.
One is to install a drawer system with a fold an out to make the cargo area flat. This is a fine option for people who are going to store some gear in the drawers and just use the cargo area for sleeping.
My only issue with this is that it minimizes the cargo space so things, like storing extra gear or sitting up, maybe a bit of a challenge.
Additionally, it increases the weight added to the cargo area so having some beefed up springs is a must especially if you have other mods like a rear bumper, fridge, ladder, etc.
How to flatten out the cargo space

Pictured above are the measurements needed to fit the plywood between the wheel wells.
This got me thinking, how can I flatten out the cargo space while keeping things light, easy to remove and not sacrifice cargo area. I came up with my own solution. My criteria were as follows:
- Must be easy to build
- No permanent modification to the interior of the vehicle
- Must be removable
- Must look good
- Most be wife approved!
After a few sketches and calculations, I decided to take a trip to the local Home Depot.
For this mod the materials you will need are:
- 1 3/4 inch plywood
- 4 eye bolts and turnbuckles (optional)
- Outdoor carpet
- Heavy-duty stapler & staples
- A saw
- Tape measurer
The first step is to measure the area between the wheel wells right before the plastic folds down into the carpet. The measurements I came up with were about 43.5 inches. Next measure from the front of the cargo area to about halfway up the intention towards the back. This is about 35.75 inches.
These measurements allow for a slight gap between the wheel wells and plywood making it easy to install when needed. The idea is to make it fit snug between the wheel wells.
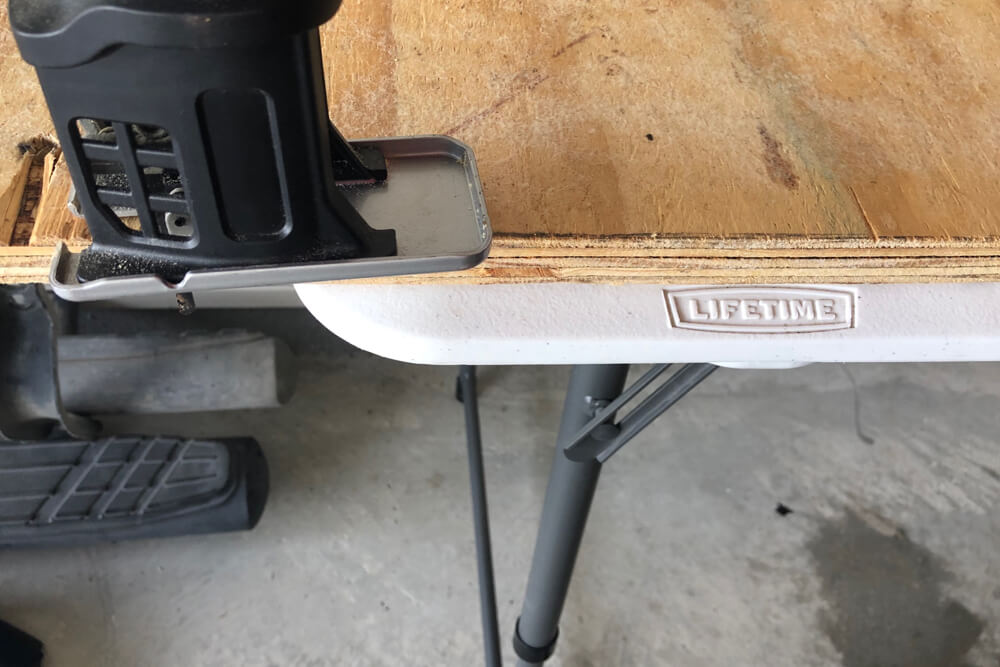
CUT AND WRAP THE PLYWOOD

After you’ve got your measurements cut the piece of plywood and wrap it with the outdoor carpeting. At this point, you can really use anything. I thought about bed-lining it with raptor liner or using rubber plated flooring.
Ultimately, I decided that using carpet would be best to minimize friction when installing or removing the cargo platform and to keep a consistent look.
Final Sleeping Platform
Finally, you can choose to add eye bolts at each corner and attach it with a turnbuckle to the cargo tie down points for added security.
The finished product should look something like the picture above. As you can see this levels out the rear cargo space pretty well, and best of all it’s a simple solution to make sleeping in the cargo area more comfortable without sacrificing much cargo space or doing much modification to the vehicle.
There is about 1 1/12 inch space between the platform and cargo floor that can be used to store blankets or small pillows.
The entire process took about 1 hour to complete and is wife approved since it can be easily removed when needed.
In the future, I may add a sliding table between the platform and the cargo floor or build an entire drawer system should the need arise.
Does this platform then sit on the plastic protrusions on each side of the wheel well and suspend over the middle? No feet on it in the middle correct? Have you noticed any sag in the middle with body weight? Thanks!
I built this platform with a few modifications to the one illustrated. Mine use tapered skids on runners under platform, towards the front so the platform slides easier on factory carpet when installing. I blocked off access to underside with a support that runs left to right at rear of platform. This made it easier to wrap and secure the carpet which was the same material as stock carpet. I have used it twice now for sleeping. It’s a tight fit for me, lengthwise, but it was comfortable with a sleeping bag and pillow. My main reason for the build was to level out cargo area for hunting gear. Nice mod, thank you for the share.
I would like to see a picture please!
Sorry this took so long. Retired and moved on to other tasks. The following pics show cargo are without, platform construction and installation.
So first pic is without platform, next two pics are of platform underside with 5 tapered skids to match 4runner’s body rise towards front with tie down rings, next pic is platform topside with factory matching carpet, and last pic is platform installed. Fairly cheap to build, used two layers of OSB board, underside painted black. The OSB extends past end of runners to top of tie down ring mounts. The excess carpet covers the gap between body rise and seats. Makes for a completely flat cargo area. Sturdy for any cargo and myself for sleeping. Carpet was from Menards, perfect factory match
Hi David
I like your mods. Can you tell me what size lumber you used to close the gap across the end and for the slides? And how did you determine the angle for the slides and how far back to cut it? Do you have something else around the front of the slides? It looks like it in the picture.I don’t see any eye bolts etc, is your platform tied down? And… one more question – is that some sort of bracket or is that paint on the rear end of the slide pieces?
Thank You!
Sara
Just to clarify, if you have the sliding cargo tray, which I do, you do not need anything to level out the area. That’s why I got mine with the tray. Plus it’s handy to load and unload heavy items.
Great Mod. I want to do the same. Would all the dimensions be the same on a 5th gen that has the third row or will this blueprint work only for one with the cargo tray?
Awesome. I can only seem to find the volume of the cargo space but not the length. How long is the bed? I’m 6’3″. Will I be able to lie down with the trunk closed ?
If you are alone and can lie diagonal then it might be doable. My husband is 6′ and without taking out the seats he cannot lay straight.We haven’t tried taking out the seats yet so I can’t say for sure that will work. But as this is pictured with seats in he cannot fit.
for this, do you think we would need to change out the springs (if this is the only mod)? for the added weight? I’m a newbie. thanks!
No you wouldn’t need to change out springs if this is the only mod.
Does anyone know of a similar solution with the back seats taken out? Thank you!
If you click his link he put in the comments, it takes you to his post in the forum and he mentions these 8 gallon action packers that fill that void nicely
Thanks brother! I am gonna take this concept for my 1st gen!
Hi. I made a leveling platform in a very similar fashion. Underneath it I have a coiled 2-inch width two strap stored but it also provides mid-platform support. And for “pull out storage,” I have two IKEA Baggmuck shoe trays, $4 each. Since I had a piece of plywood and the spacer wood in my garage, my total investment is about $25, including $12 for Home Depot carpet, and then some wood screws and brackets.
Explanation of the missing bracing & photo from my build. Should be 2.5″ high and 43.5″ wide and 38.5″ deep to make it perfectly flat. Achieved with 2 1/2″ pieces of plywood on top of 4 2″x2″ (actual size 1.5″x1.5″) strips that run front to back: t4r.org sleeping platform post.
Thankyou…
I agree with Meef. I was wondering where the clearance for the blankets and pillows would be…
Great idea tho, I’m going to install this as well!
I think you forgot the 2×2″ (1.5×1.5″ actual) strips under the plywood to actually raise it level with the folded down back seats.
Do u have to remove the seam cover in order to install this platform?
Nope use my specs too. One 1/2 sheet of plywood will do
//:0 //:0 //:0
43.5×38.5 with 34inch 2x2s
Thank you for this comment haha I thought I was going crazy