
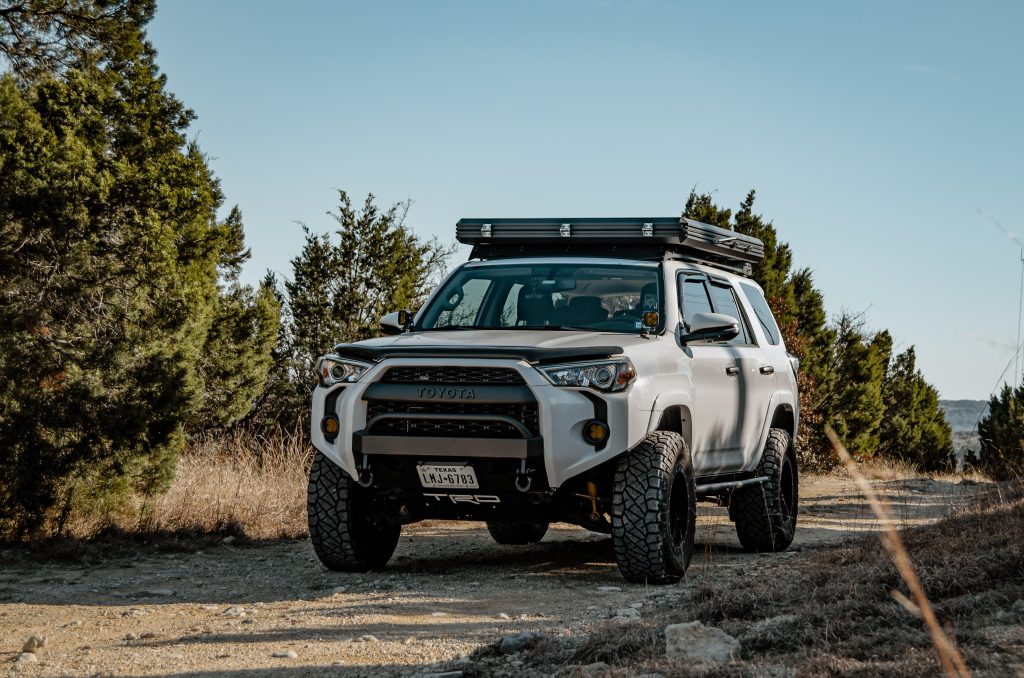
Despite a 0-60 mph time of 14 minutes and the body style of a shoe box, some of us still enjoy spirited driving in our 4Runners. For that reason, I decided to purchase the Cobra RAD 480i radar detector, mirror mount, and mirror tap.
The 480i comes with a suction cup mount, but with the hot Texas heat, I knew it wouldn’t stick on the windshield when I had to park outside. Having a dashcam, I know this first-hand. So, I decided to purchase the mirror mount for the detector. Also, I opted for the mirror tap because I didn’t want to deal with running wires again. This allows you to power the radar detector through the rearview mirror.
Collectively, these pieces create a fairly simple and clean setup for this radar detector. No wires dangling or suction cup mounts obstruct my line of sight. Now, let’s get into the installation!
Note: This will only work if your mirror has the auto-dimming feature.
Find It Online:
- Radar Detector: Check Price
- Mirror Mount: Check Price
- Cobra Mirror Tap: Check Price
- Plastic Pry Tool (Optional): Check Price
Table Of Contents
Install Overview

There are relatively few tools needed for installation. I highly recommend some plastic trim removal tools so you don’t damage your mirror.
Step 1. Access Rearview Mirror Power

To begin, slide down the plastic piece covering the rearview mirror stem. It might be difficult, but be gentle and apply equal force while squeezing down. Once it’s down, use your plastic pry tool (optional) to pop off one side of the plastic piece and set it aside.
Step 2. Connect Mirror Tap Wiring

Using your finger, unclip the exposed connector. This provides power to the mirror and your radar detector. Use the smallest size of the mirror tap connections provided in the box.
The red wire from the tap will go with the blue wire from the connector. The black wire from the kit will go with the white wire from the connector. Fully insert each wire into the appropriate slot, then slightly tug the wires to ensure they’re connected.
Finally, reconnect the harness.
Step 3. Test Power

Hold the wiretap connection so nothing comes loose during testing. Plug the DC connector into the radar detector, then power on your 4Runner to accessory/ignition mode (you do not need to start the 4Runner).
Ensure that your rearview mirror and radar detector have power. If they do, you’re good to go. If the radar detector doesn’t have power, verify that the red and black wires are securely connected. Once you have confirmed that it powers on, turn everything off to reinstall the mirror power cover.
Step 4. Reinstall The Plastic Trim Piece

When reinstalling the mirror’s wire cover, it should snap back on without issue. Be gentle so you don’t crack anything.
Step 5. Install Mirror Mount

Loosen one screw by hand at the top of the mirror mount entirely and slide the mount over the very top of the rearview mirror.
Then, reinstall the screw and tighten both screws with the Allen wrench provided. Alternate sides to ensure they are installed evenly. There’s no need to overtighten, but you want them to be secure. Give the entire unit a good wiggle and ensure it feels stable.
Using the short screws provided with the kit, attach the radar connector mount to the mirror mount and tighten them with the Allen wrench.
Step 6. Attach Radar Detector
Attach your radar detector to the mirror mount by sliding it into the bottom bracket and plug the DC power cable back into the radar detector. Make adjustments by rotating the diamond-shaped handles. If you want, you can zip-tie any excess wiring out of the way. Power on the 4Runner and ensure both the auto-dimming feature and radar work.
That’s it! No janky wires hanging down to your cigarette lighter and a clean install. Grab a beer and enjoy.
Final Thoughts
All in all, I’ve been pleased with this radar detector. A major bonus was not having to run wires through the headboard and the A-pillar. It’s not the most difficult process, but the less taking apart, the better.
The radar detector has saved me a few times on my trips to Houston, TX.
The Cobra 480i also has a mobile app for additional customizations, but I haven’t needed to use those.
I recommend this setup for anyone with a heavy foot during longer commutes!
I think we all need a RD. Speed limits can go from 85-65-35 in a few miles in a radar trap. Good to be able to tell if they are setting up speed traps. I don’t care if the vehicle is a Porsche or a Freightliner or a “flying brick” it can break the speed limits. If there is concern about theft, reflect on choice of where you need to visit and/or hide your valuables.
Any clean install info is appreciated.
Thanks for the info
Oh, and it is my cash to waste. I tell ya!
Does anybody really need a radar detector for a slow flying brick? If you are at 10 mph over speed limit in Texas, especially rural Texas highways and interstates, that’s plenty fast already in a top heavy RTT 4Runner. Now we’re headed to Houston with dash trinkets to tempt thieves? Also, Houston PD, HCSO, and TDPS only enforce speed at the end of each month. Now get off my lawn already. Waste of cash on an overloaded highway jalopy, I tell ya!