
Baja Designs 2.0 Rock Lights Install, Overview, and Review on 5th Gen 4Runner
Rock lights aren’t a new concept.
They have been on 4wd vehicles for decades and have a pretty straight forward job; light up the ground.
The ability to see what’s beneath you and around your tires in the dark while on the trail can be hugely beneficial for you and the person who may be spotting you.
But these lights have more versatility other than lighting up the night on trail runs. They have a few practical applications that make them useful for those that don’t do specific night wheeling.
Find It Online
- Baja Designs Rock Lights: Check Price
Camp lighting

In my opinion, there is such a thing as too much light for a given task.
My Baja Design S2 Pro rack lights are nothing short of awesome when it comes to lighting an area up. Finding a place to camp, setting up our site, and being able to see the whole area around you really make them useful for me.
However, once things are set up, camp life gets more mellow and the amount of light needed is much less to get the job done. That’s where the rock lights, or “camp lights” will really shine (pun intended).
With the light down low being directed at the ground, there isn’t any “in your face” direct light to spoil your night vision or ruin the view of the stars. But with good spacing, there will be enough ambient and reflective light navigate around the 4Runner in camp easily.
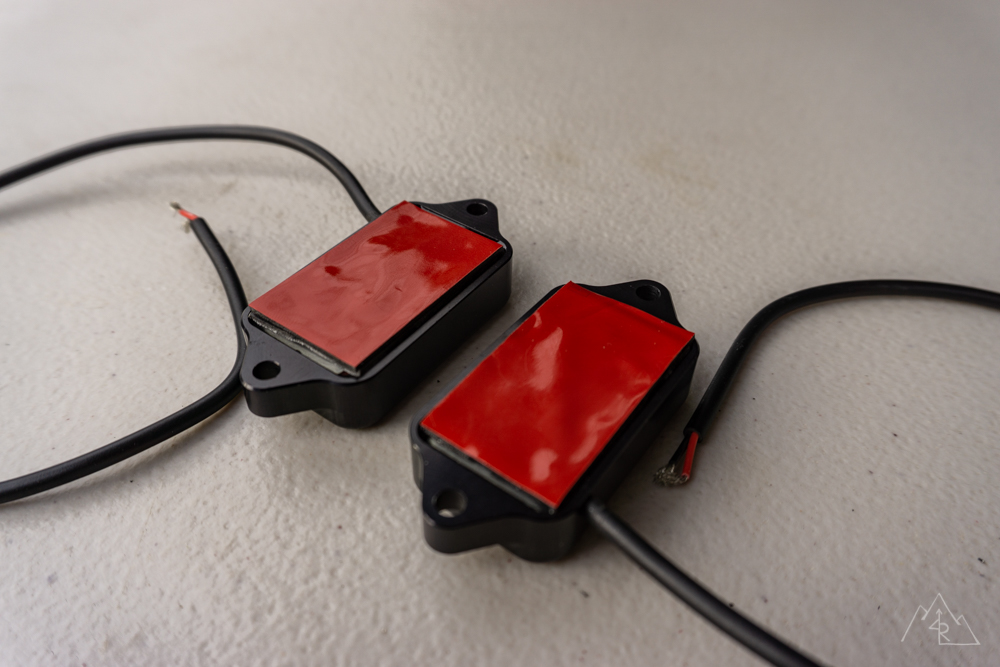
And with the super low draw of 0.40amps per light, they can remain on for a long time without running the risk of killing your battery! I opt’d for the amber version of the 2.0 Rock Lights to reduce eye night vision loss and to hopefully attract less mosquitos in camp.
Vehicle maintenance

When properly placed, rock lights can be used to check around the vehicle after dark to see critical suspension and drivetrain components. I have always used a flashlight to look up and around the 4Runner after a day on dirt, but with the addition of the rock lights, I can check and work on suspension components or virtually anything else under the vehicle.
Even if I end up using a flashlight to work on a specific component, the rock lights can and will provide enough surrounding light to keep tools and parts from being lost in the abyss.
Vehicle recovery
 Photo Credit Bailey Johnston
When things eventually get sideways and stuck, rock lights can be beneficial to help show where you need to dig, put chains on, or stack rocks.
Having lights around all 4 wheels will provide as much light as needed to see the whole picture of how you’re stuck and how to get out!
Even if you’re not stuck, they can be used for applying tire chains when they are needed or legally required by lighting both sides of the tire and the encompassing wheel well.
Trail Specs: Baja Designs 2.0 Rocks Lights, Amber
- Lumens: 400
- Amps/Watts: 0.40 / 4 per light
- Dimensions: 2.7”x 1.2”x 0.45” @ 1.8oz.
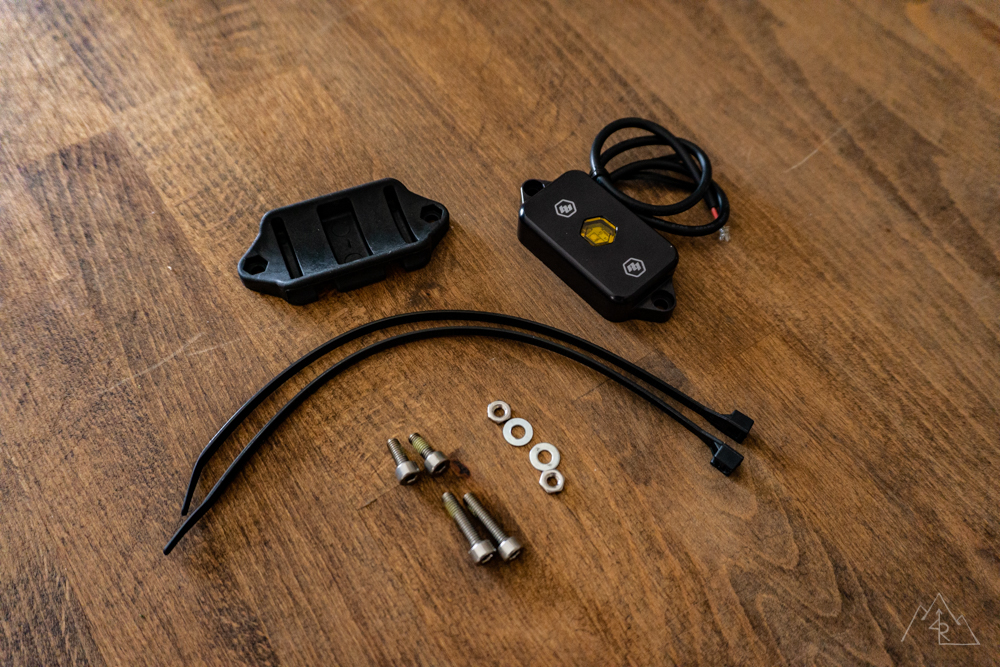
- In the box
- 1 rock light
- 1 tube mount
- 2 zip ties
- 2 shorty bolts (for tube mount)
- 2 long bolts
- 2 washers
- 2 nuts
Installation
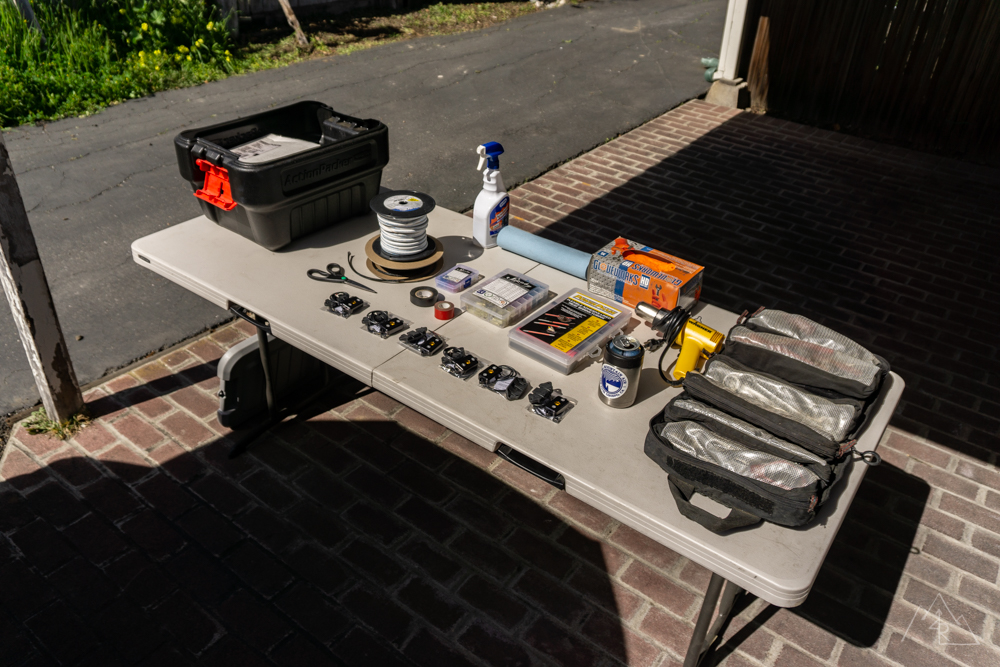
Tools/materials required:
- Solder connectors (various sizes)
- Shrink tubing
- 18ga duplex wire
- Zip-ties
- 3M VHB tape
- Wire stripper/cutter
- Heat gun
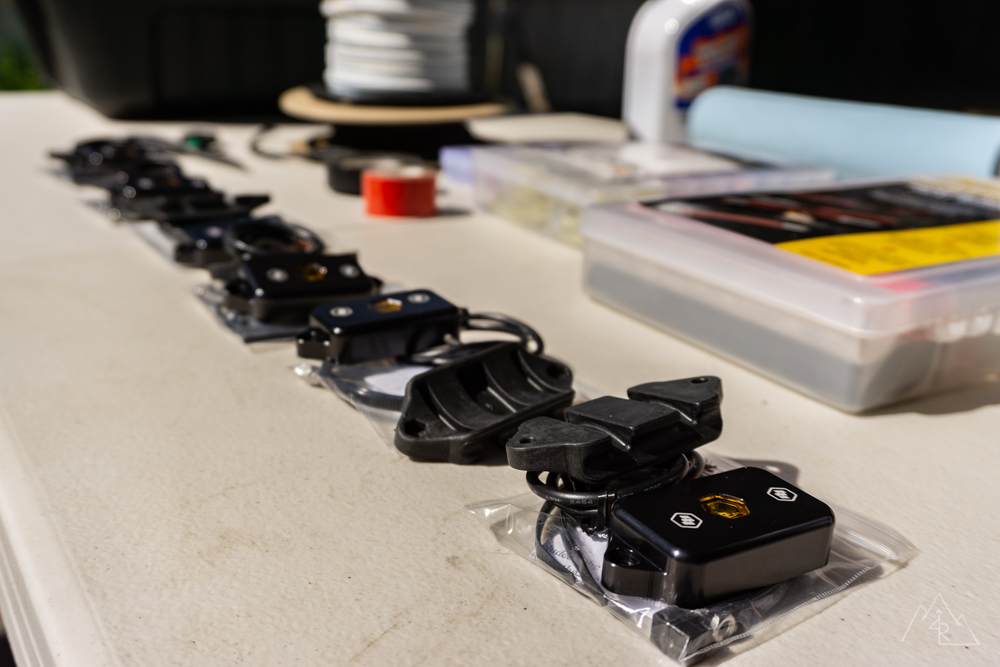
I ordered 6 lights for my 4Runner, 2 forward of the front wheels, 2 between front and rear wheels, and 2 behind the rear wheels.
This pattern is common with rock light designs as it allows for good wheel illumination and lighting behind the 4Runner for camping.
I was able to find where I wanted to mount them by crawling under the chassis and looking for mounting spots that would allow for easy attachment, while staying out of the spray pattern of the tires to keep them clean and clear in muddy conditions.
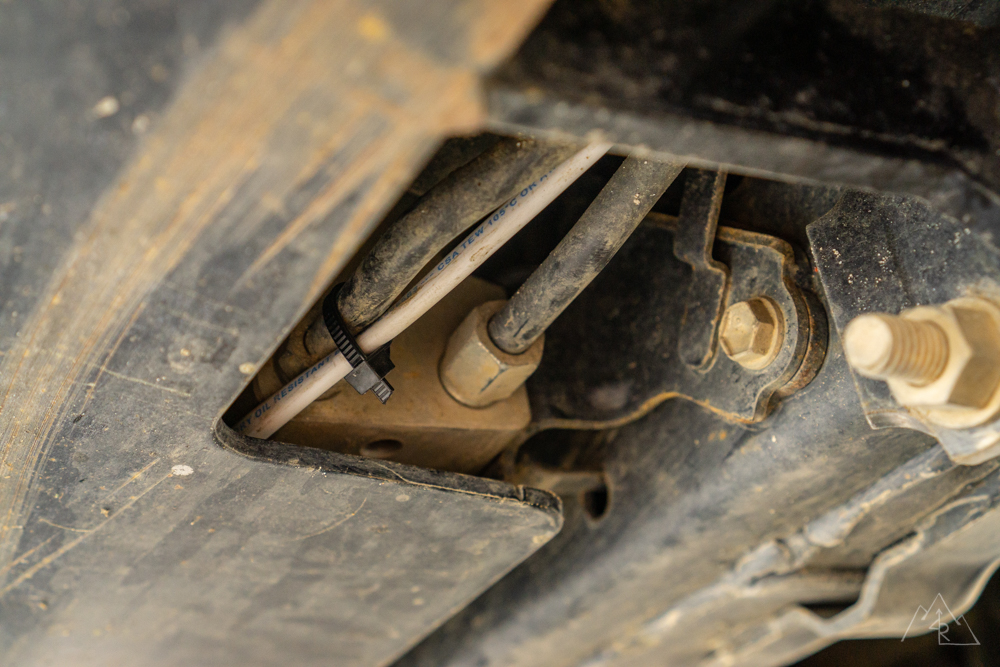
Front lights
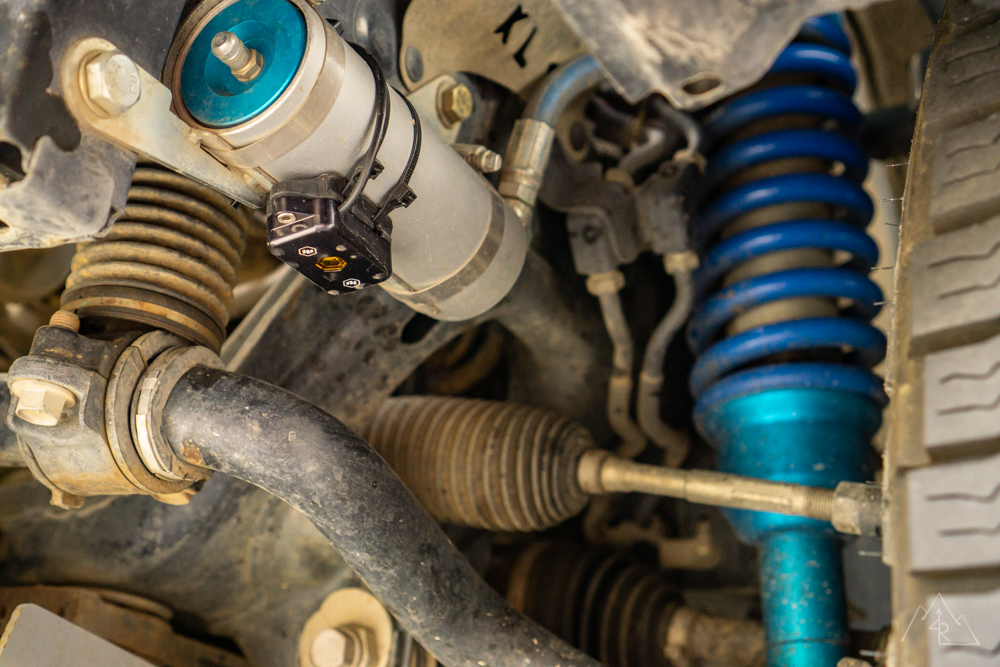
Forward of the front wheels, my 4Runner is equipped with King Shocks remote reservoirs mounted horizontally on the frame.
These would provide an easy mounting solution for my front set of lights as they would work with the tube mounts provided by Baja Designs and they would allow for adjustments in angles without having to remount!
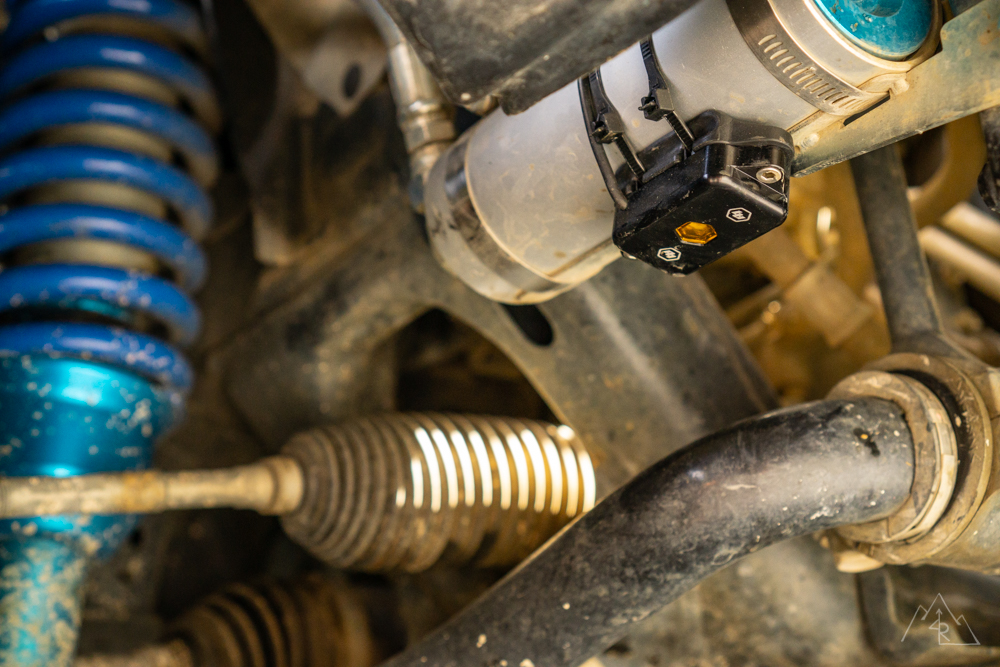
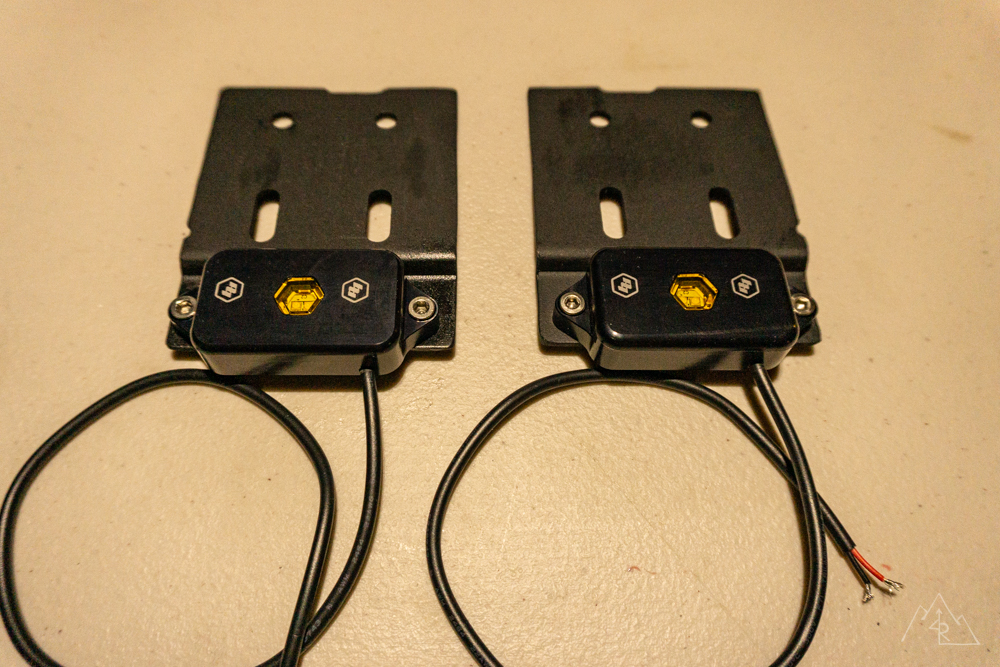
I bolted the Rock Lights to their tube mounts using the supplied hardware. Then using the ever useful zip tie, I was able to mount the light to the reservoir in a few moments on each side.
Middle lights

Mounting options can be limited on the 4Runner for side lighting under the rocker panels. For me, it was even more challenging as my 4×4 Labs sliders incorporate a “boat side slider” that limits my mounting options.
There are cutouts near the mounts at the first and second thirds of the sliders that have just enough space to fit a light. I chose to mount the lights closer to the front of the rear wheels to allow for the best light while on-trail.
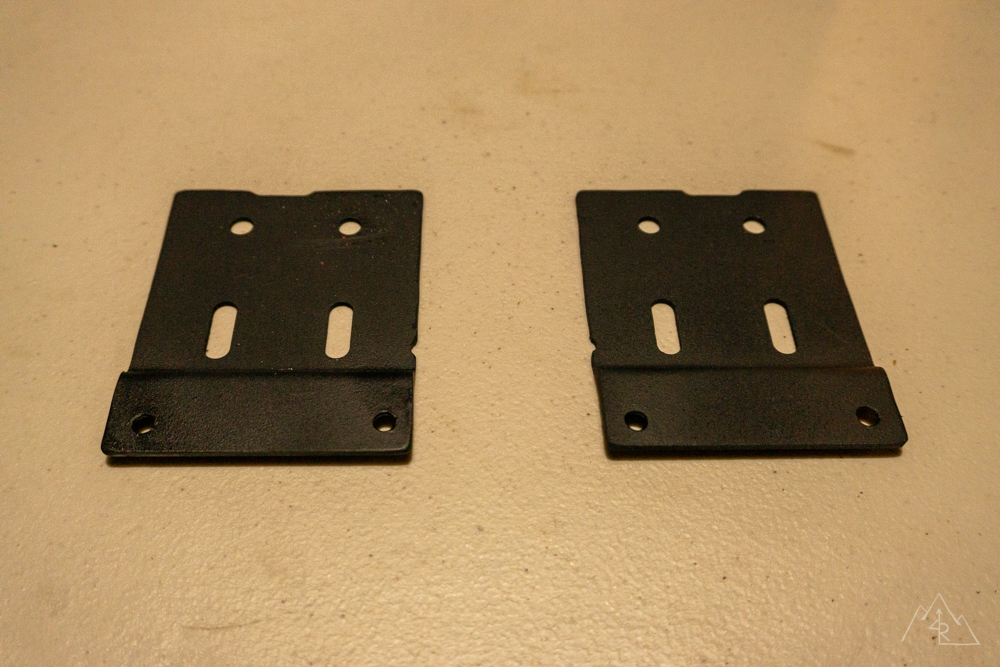
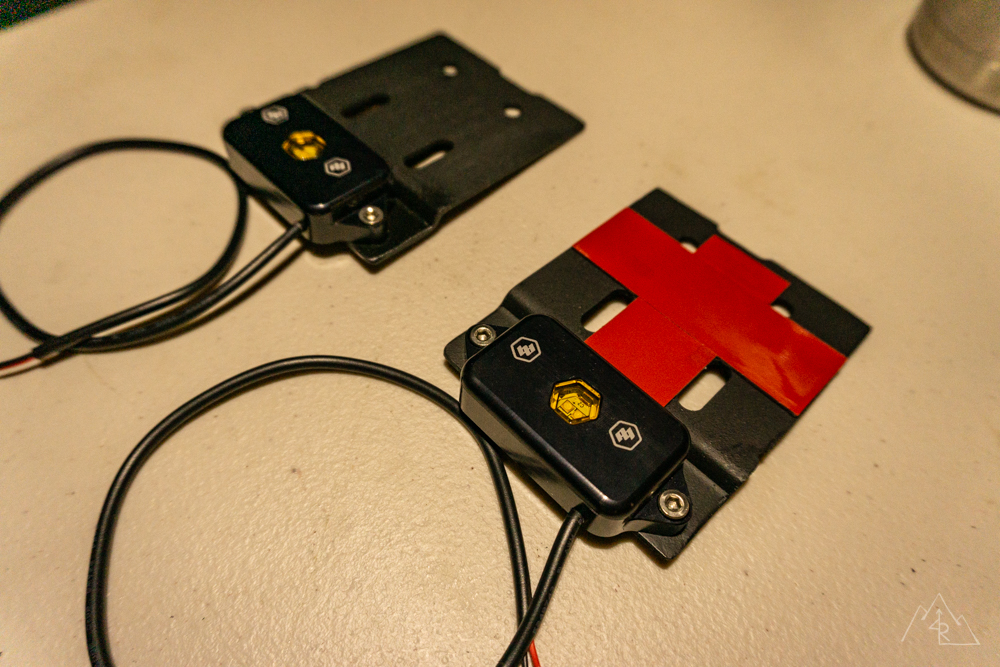

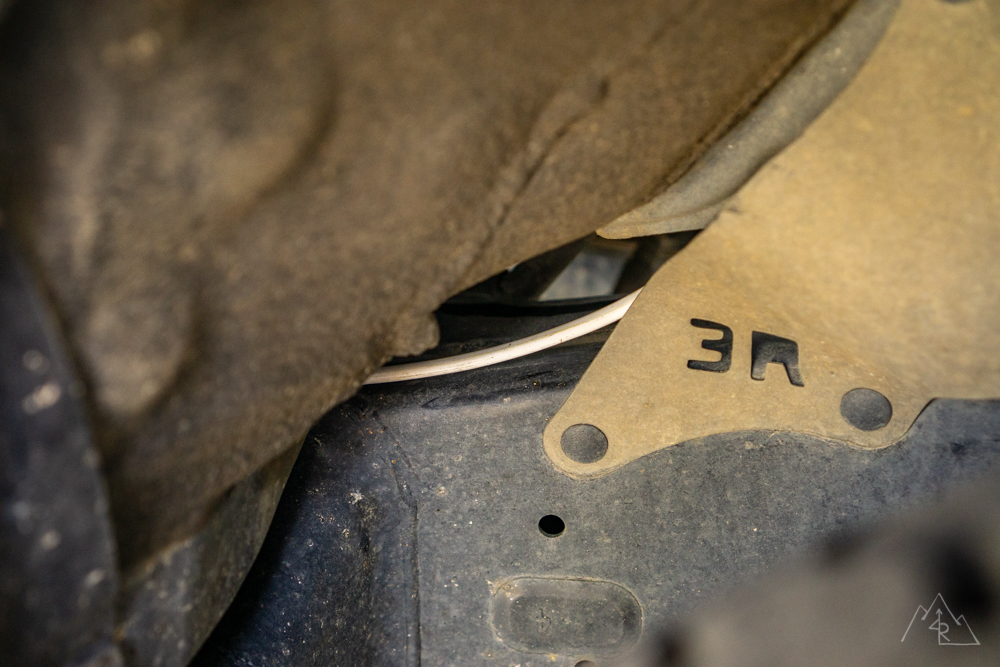
To mount the light, I first needed a place to mount. I didn’t want to bolt the light to the slider plating directly because one rock would rip it off the slider and likely destroy the light. I used some leftover metal from another project to build a bracket that the light could be mounted to.
The bracket would then be adhered to the back side of the slider plating using VHB tape. This way, if there is a rock impact, the tape will hopefully give before the light itself is damaged. All mounted, this light feels strong with the tape bond. (Note: clean all surfaces thoroughly before applying tape materials)
Rear lights

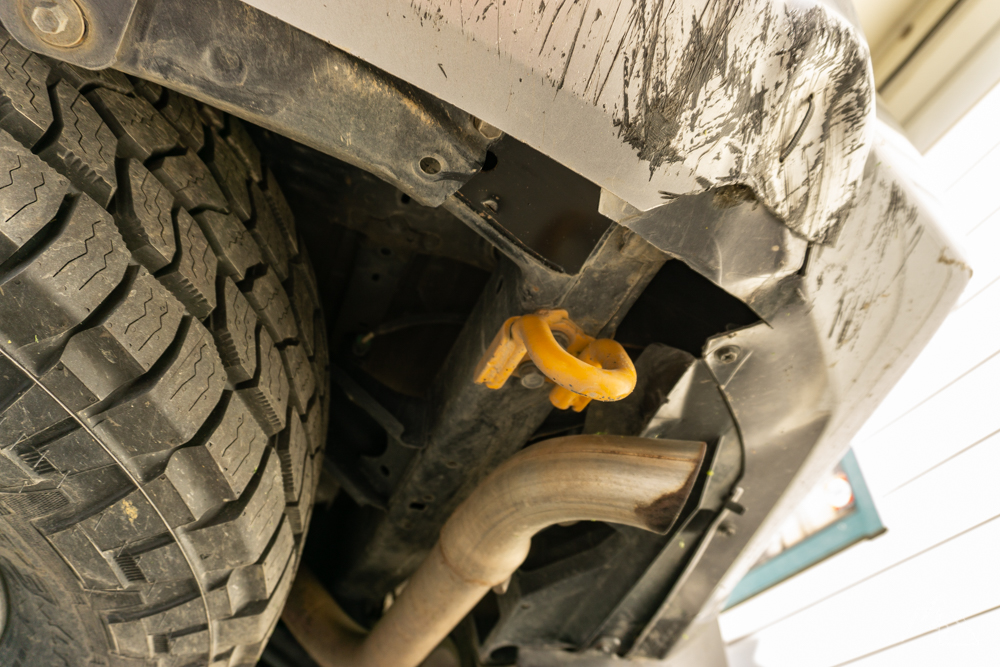
In order to give the most amount of usable light at the rear of the vehicle, I wanted to mount the lights to the bottom side of the frame behind the rear tires.
The passenger side has some restrictions however with the positioning of the tailpipe. The most logical mounting point was behind the tailpipe on the frame.
Thankfully there are is a flat spot on both sides large enough for the light to mount that will provide good light at your feet if you’re at the back of the vehicle and light at the rear wheels for functional purposes.

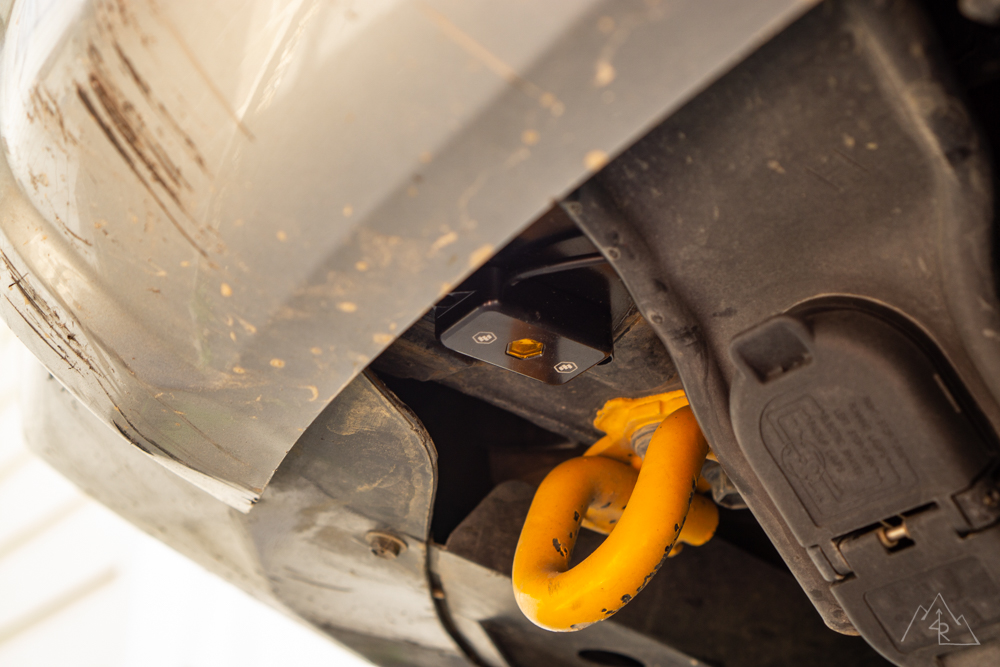
To mount the light, I went back to VHB tape due to the lack of holes or threaded nuts on the frame back there. I applied the VHB tape to each light and after cleaning the frame I mounted them in the spots I predetermined. (Note: when applying VHB adhesive, follow all temperature and pressure instructions to allow for the best and most secure adhesion)
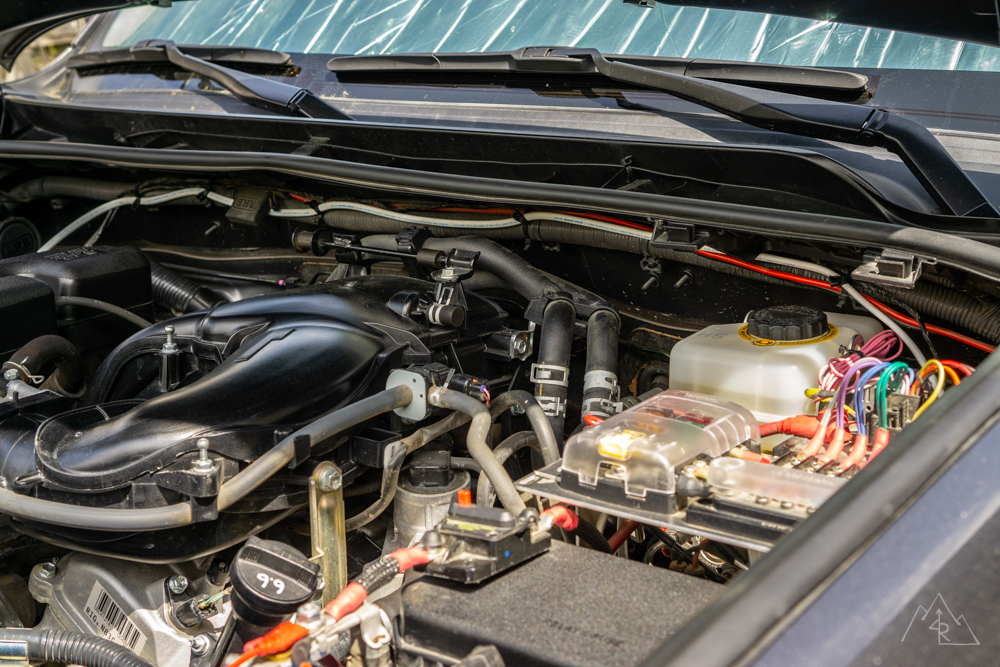
Wiring
This is where things can get a bit more technical. I have spent a good amount of time wiring my 4Runner’s additional electrical system and have become very familiar with proper techniques and procedures to ensure things will function correctly.
Disclaimer: If you aren’t familiar and comfortable with this type of project, find a friend or fellow off-road enthusiast you can trade beer for help! Learning the proper techniques from someone else can improve your ability to do future electrical work the right way! Do it once, do it right, or don’t do it at all!
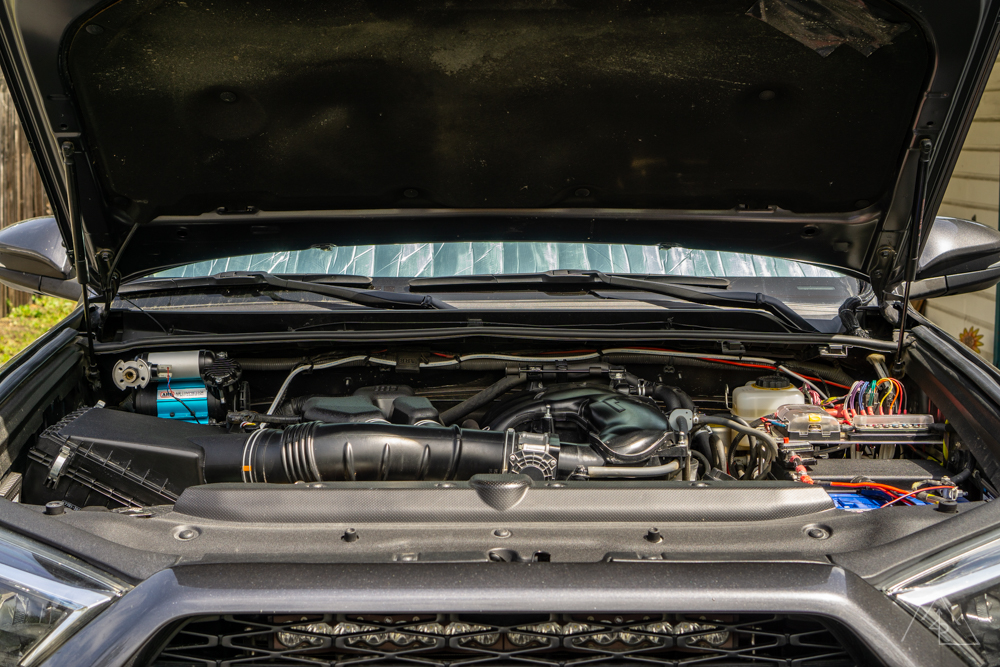
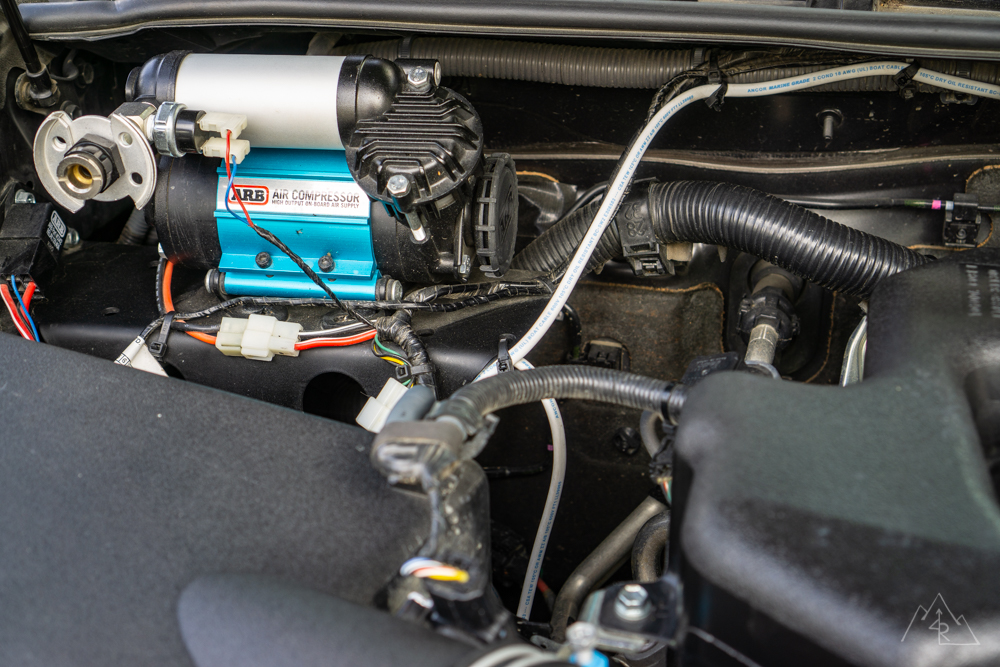
I have a Switch Pros unit installed on my 4Runner that powers all of my accessory lighting. I will be tying into it to power the rock lights on this project.
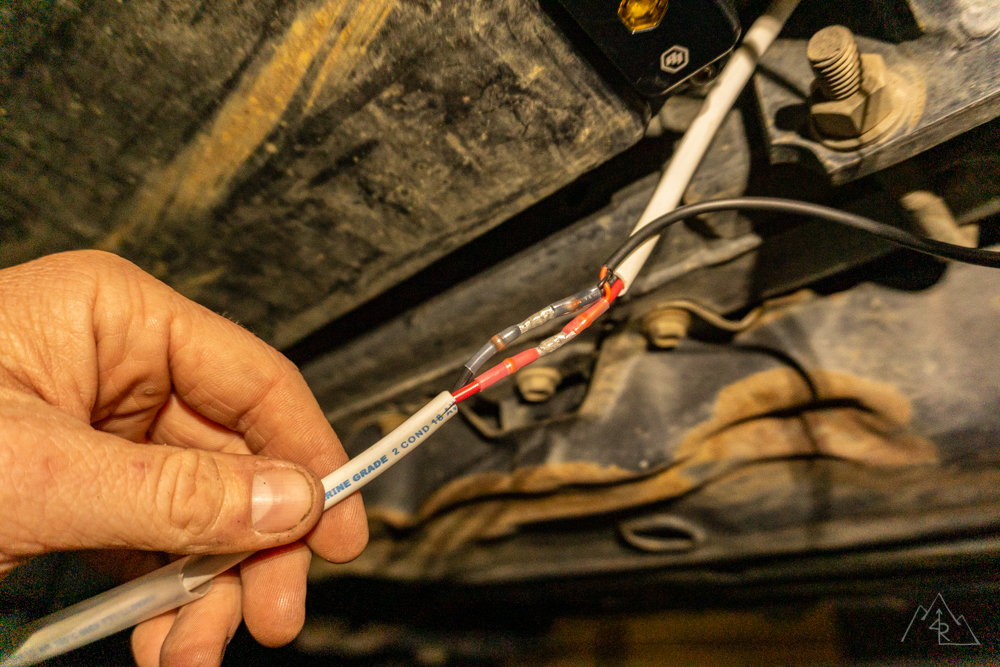
The Baja Designs lights come with a small lead of 20ga wiring that you will need to attach to a wiring harness leading back to the power source. To connect those wires I use marine grade, coated, duplex 18ga wiring.
This gauge wire will have more than enough ‘bandwidth’ for these lights and the coating keeps them environmentally protected against water, UV exposure and abrasion.

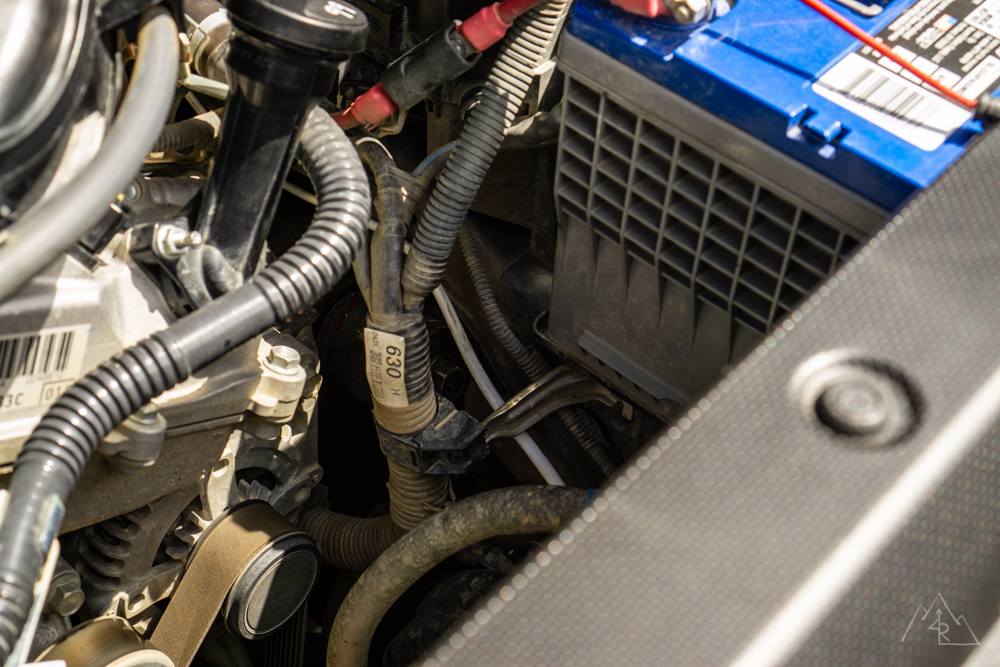
I chose to run a wire down each frame rail to connect the lights on both sides of the 4Runner to allow for future flexibility and to keep the two sides isolated in case of a wire failure.
Starting at the front, I snaked the wiring through the vehicle, making sure that I routed it next to and around mounting points along the frame. When I reached the end, I left an additional 12” of wiring to allow me space to move the light if needed.
After I ran the driver’s side main wire, I cut it from the spool and ran the main wire for the passenger side again leaving extra at the end.
I then routed and cut a wire that would connect the passenger side to the Switch Pro unit across the firewall.
I then measured and cut a short length of wire from the front rock lights back to the main wire on each side.
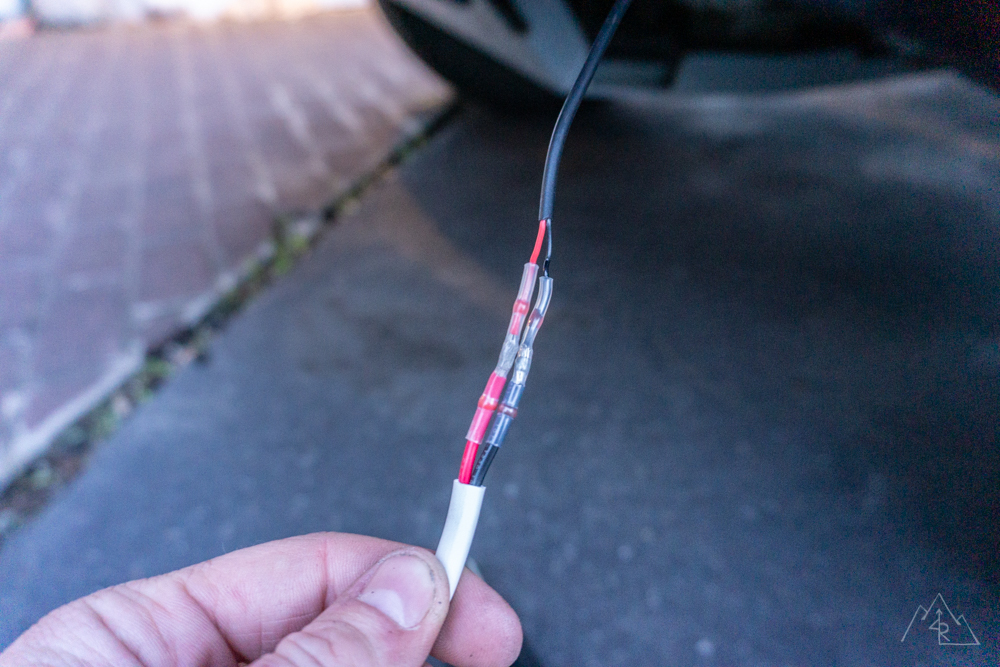
At this junction on both sides, I used a quick solder connector to connect the front, main, and power wires into a 3-way splice. By applying heat from a heat gun to the connector, the solider ring melts into the wires, permanently bonding them together.
Additionally, the connector is made from a weather-sealed shrink tube, keeping the connection safe from the elements.
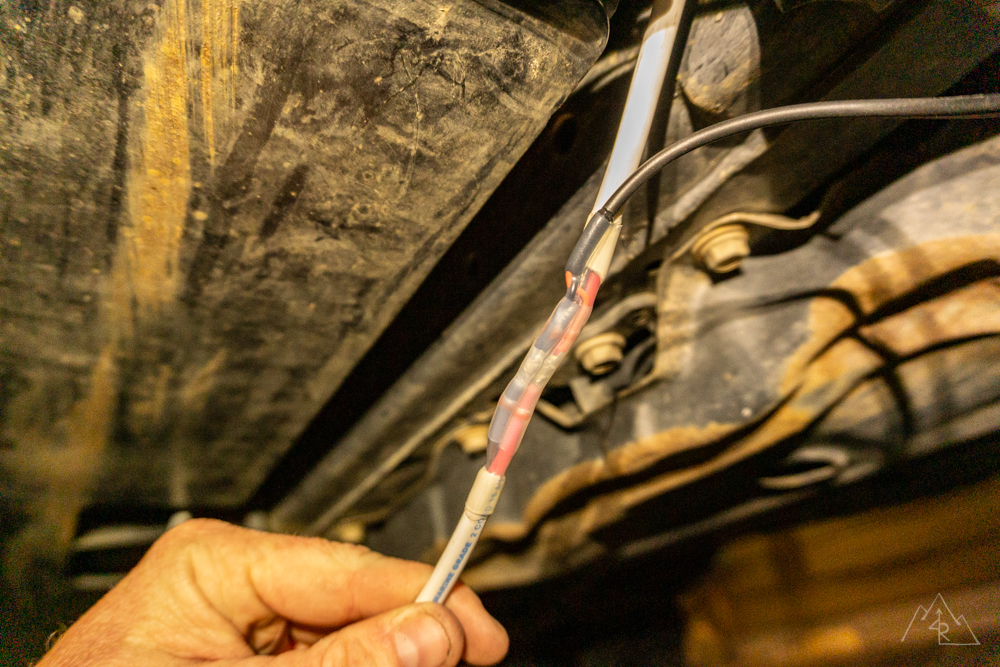
To be careful, I used an additional piece of weather tight shrink tubing to encompass the whole connection, connector included.

I then connected the front rock wires to the ends of the short extensions using the same solder connectors and shrink tube method. After connecting, I secured the wires with zip ties. Front lights, done!
In routing the wires to the rear, I went right past the middle rock lights located on the sliders.
This makes connecting them easy using the same 3-way splice method I mentioned before. I cut the main lead, and positioned the rock light wires into a solder connector with the main line wires before applying heat to fuse the ends together.
Shrink wrap cover over the connection. Zip ties to secure wiring. Middle lights, done!
At the end, I took the lengthened lead I left for myself and cut it to length after final routing.
Then, I connected the rock light wires to the end of the main run with solder connectors.
Shrink wrap over the connection. Zip ties to secure.
Rear lights, done!
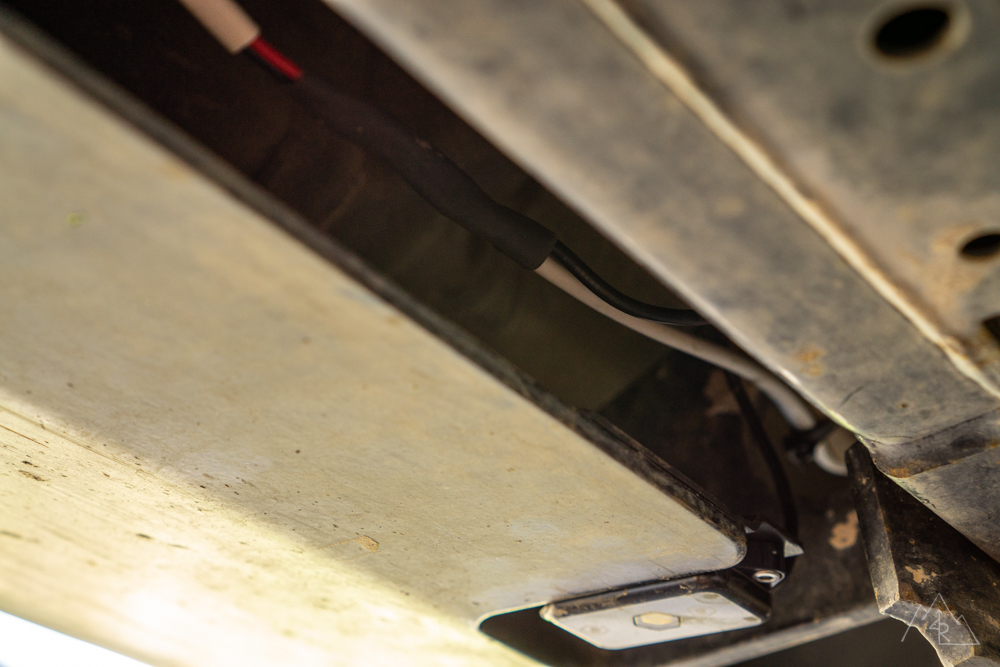
The last part of the install is going along the length of all wires and securing them to something to keep them from moving, rubbing, or getting caught in anything along their path.
Note: be sure that all wires are routed away from any heat sources (exhaust). Wires can melt with high heat which would cause a short and possibly a fire!
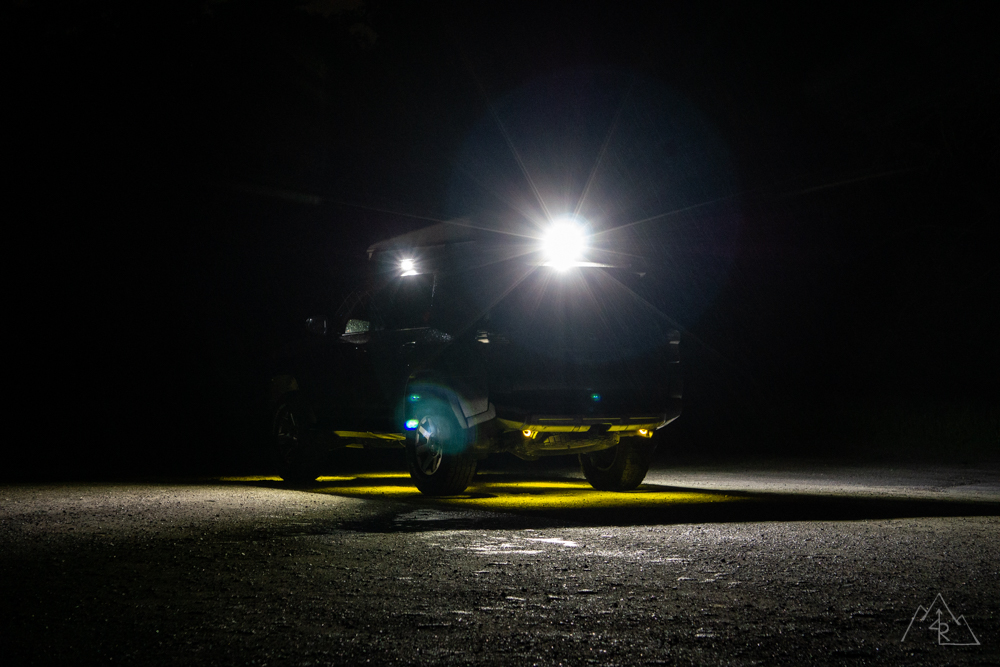
Initial Impressions

The Baja Designs 2.0 Rock Lights put out a lot of functional light in an even pattern on the ground. These recently updated lights put out about two times more light than their v1.0 rock lights, bringing the lumen count to 400 per light!
The amber lenses are consistent with the other Baja Designs amber lights that I have on the 4Runner in color and provide a very nice, useable light that is noticeably easier on my eyes than a comparable white light.
The ambient light from the lights is enough to light up the wheel wells, suspension components, and critical items under the 4Runner. So far, they are checking all of the boxes that I originally set out to cover.
I will be able to test in them while camping very soon to see how they mesh with the rest of the lighting that I already have installed on the 4Runner, but so far they look very promising!

Hi Max great write up. Just ordered the new six of the Baja Designs rock lights to use on my UpTop roof rack and later more for the underside of the truck. My question is have you had any problems or issues with the lights? I noticed you used 18 gauge marine wire, how is that wire working out and has there been any issues? I also just purchased the SwitchPro’s force 12 so ill be hooking them up to it.
Thanks for any isite,
Scott
Any issues using tape? I’m installing these on my ZR2 this weekend.
Looking good Max, might I ask what heat gun solder connectors you use and where did you pick them up? Much eaiser than actual soldering and sometimes funky angles! Thanks for the writeup.
Alex
I picked these up on Amazon. They can be really helpful, just be mindful of what’s behind them when you’re heating them up! // Max
Nice write up! These or the KC Cyclones?
Rob // I haven’t seen the KCs in person, but next time I get together with one of the guys that has them installed as rock lights, we’ll do a little comparison. From a design stand point, I like the Baja Designs better because the rectangular shape is easier to mount than the round KCs. //Max
As a curiosity, did you use one or many switches? I am thinking using one for front and back and one for middle of the truck
Jean-Yves // I used one switch. I didn’t see the benefit in separating them. As a group they do a really nice job lighting up your camping area and when you’re on the trail you’ll want as much light as you can get. // Max