
Installation Overview and Review of the Yakima Frontloader Rooftop Bike Rack Carrier
Front loader racks for bikes are secure and easy to use. When I owned a Rav4, I used front loaders to mount my bikes. It was easily accessible and does not require the use of a hitch. With the Rav4, I did not have to worry about the height too much at all.
The 4Runner is taller than the Rav4, which makes it a little more difficult to put the bikes on. It takes a little bit more effort when throwing them up top; which sometimes requires a ladder, but it really depends on how tall you are. You can also just step up onto your tire to load them. Having two people does help when loading bikes onto the roof but it can be done on a solo mission as well.
The main concern of a rooftop bike carrier is driving under low overhangs. If you forget to take your bikes off before pulling into your garage, you could end up with a serious problem. Many homeowners don’t have 20′ tall garages so you may want to consider this when looking at rooftop bike racks. This also applies to drive-throughs, car washes, parking garages, etc. Be safe and always remember when you have bikes mounted on your roof.
These racks do come with locking features. The rack can be locked to the car itself, but there is also an internal cable lock that can be placed around the frame of the bike. The bike can be locked to the rack, and the rack can be locked to the car. The Yakima Frontloader is a perfect little system for my needs.
Product Options
- Yakima Frontloader: Check Price
- Yakima SKS Lock and Key Cores: Check Price
- 5th Gen 4Runner Factory Crossbars: Check Today’s Price
A few things to consider:
- Off-Road Friendly: With bike racks mounted on your roof instead of your hitch, you won’t have to worry about bottoming out over rough terrain. You will have to worry about tree branches brushing against your bikes, though. In an off-road situation, this style of bike rack should work more efficiently than other hitch mounted style bike racks. This really depends on the type of terrain you are on, though.
- Towing: This is a great bike rack if you find yourself towing often. Many hitch style bike racks prevent you from towing a trailer, depending on the size.
- Height and Clearance: Are you constantly driving under low clearance areas such as bridges, low hanging trees, or even parking garages? If so, a rooftop bike rack might not be the best option because of the height. The total height of both the car and the bikes can be over roughly 120 inches or 10 feet. It is going to differ depending on the car height and on the height of the bike.
The Yakima Frontloader rooftop bike carrier is very useful. This rack is well constructed and judging by Yakima standards, is made to last. This rack has sat on the top of my 4Runner for the past few winters, and I have not had one problem.
I would recommend this rack to anyone if they are willing to lift their bike high enough to throw them on. That is really the only downfall that these incredible racks have but it comes with any rooftop bike carrier platform.
Installation and How it Works
1. Have crossbars on top of the 4Runner
There are a few different types of crossbars that you can use. I prefer the factory crossbars that come mounted on the 4Runner, depending on the model. They are a little more stealth compared to other aftermarket crossbars.
Out of the box, the Yakima Frontloader rooftop bike carrier comes fully assembled. The universal mounting system allows the Frontloader to mount on round, square, or factory or many other aftermarket crossbars.
2. Place on Crossbars and Tighten Front Clamps

To start, just place the Frontloader onto your crossbars and tighten down the front T-bolt clamp.
Depending on how many bikes you are going to load on the 4Runner will depend on the location you mount the Frontloader. You can mount up to three Frontloader racks on the 4Runner.
- One Bike: If you are only transporting one bike on top, it can be placed in the middle.
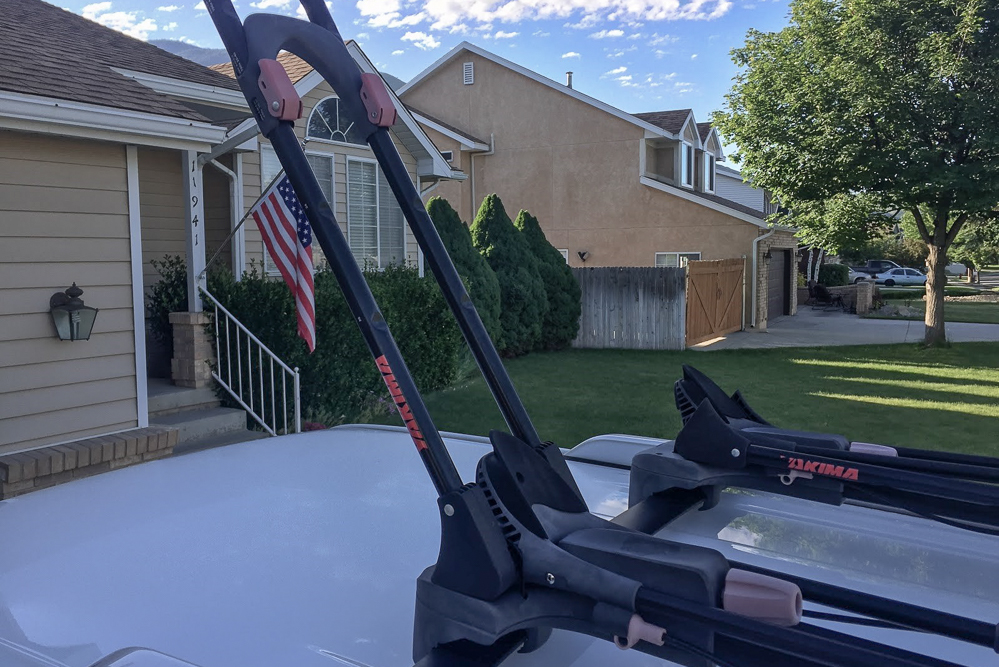
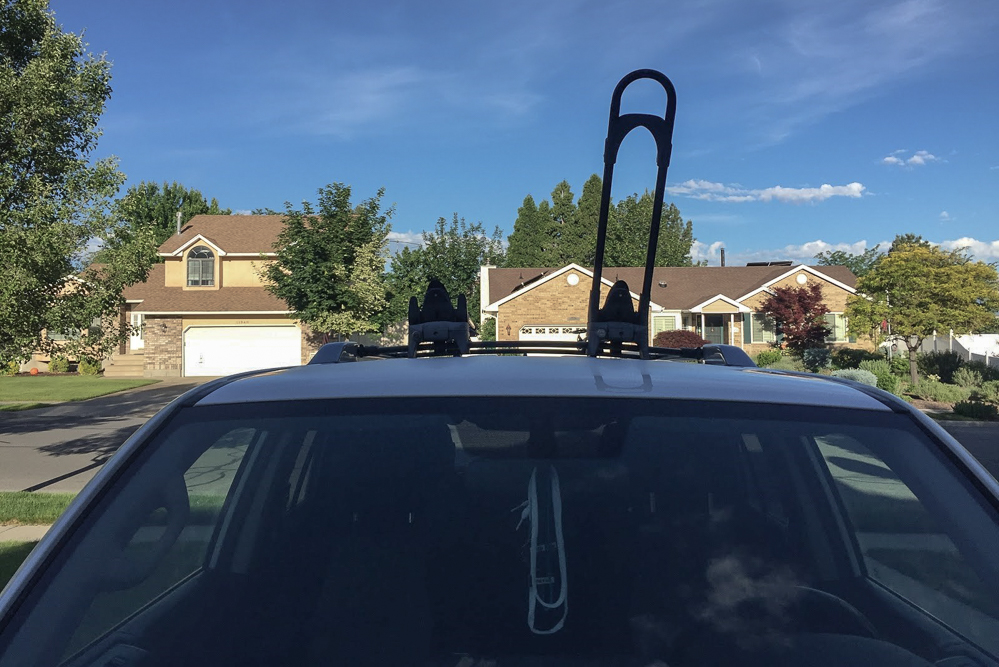
- Two Bikes: With two bikes, you want to mount the racks equal distances from the passenger and driver side of the 4Runner (pictured here).
- Three Bikes: With three bikes, you can place two racks on the outside and one in the middle. If you have a Frontloader in the middle, you want to reverse the direction of this rack so that the front of your bike is facing the rear of your 4Runner. This will leave the handlebars away from each other creating more room.
3. Tighten up the back
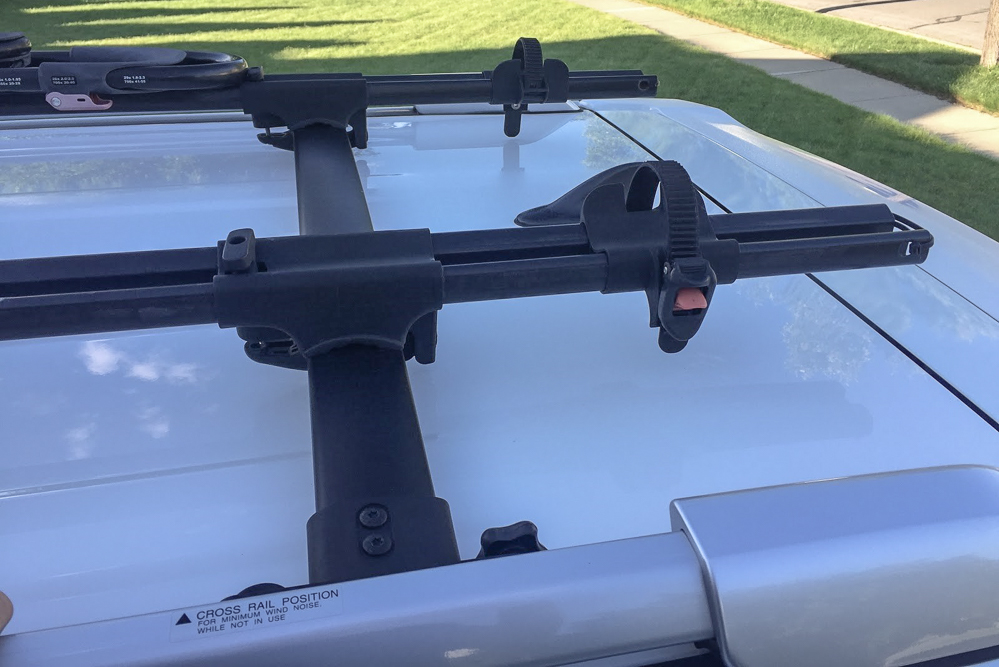
Once the front is in place, we just need to line up the back and tighten. Connect the Frontloader universal mounting system to your factory crossbar and tighten it down.
4. Take off back clip
The way the rear hatch opens on the 4Runner makes this interesting.
There are little clips on the back of this rack that “extend” the rack for larger tires. The clip also acts as a block for the rear latch and buckle strap that will go around the back tire. The latch and buckle strap are made to slide forward and backward as it designed to accommodate different size bicycles.
The clip on the end of the Frontloader will end up hitting the rear hatch, once opened.
I ended up taking out those clips, or “blockades”, with a simple pinch of the slides and sliding it off. By taking those off, I could move the back hatch up and down freely with no worries that the spoiler is going to hit the rack. I used zip ties in place of the clips to prevent the rear latch and buckle strap from sliding off when the rack is not in use. This is the best solution I have found for the 4Runner.
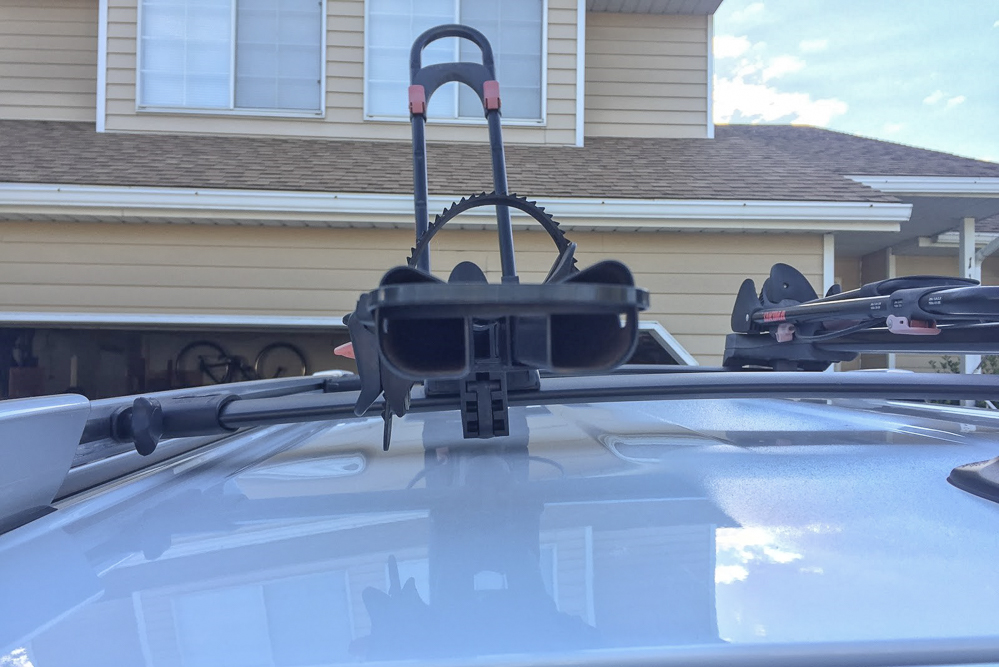
5. Put bike on
Start by dropping your front tire into the tray and roll it forward so the small lower loop engages the bottom of the wheel. This portion of the Frontloader rack will hold your bike upright. Then pull down on the front wheel while turning the red knob clockwise to tighten. The red knob needs to be turned to tighten the tray, securing your bike.
For the rear, take the rear latch, and place the strap through the spokes of your bike and down into the buckle. Tighten that up. The bike is now securely fastened. To double check, a good shake of the bike might not be a bad idea.
6. Lock it all up
The key slot to lock the Frontloader rack to the car is located in the front. Make sure that the front clamp is perfectly horizontal. Then, place your key in, and turn. Your Frontloader rack is now locked securely to the 4Runner.
To lock your bike, take the cable lock that is now by the front tire of your bike, and wrap it around your frame. Once the bike needs to be removed, use the same key that is used to lock the rack, to unlock the cable lock.
That’s it!
I highly recommend the Yakima Frontloader rooftop bike carrier to anyone out there looking for rooftop bike mounting system.