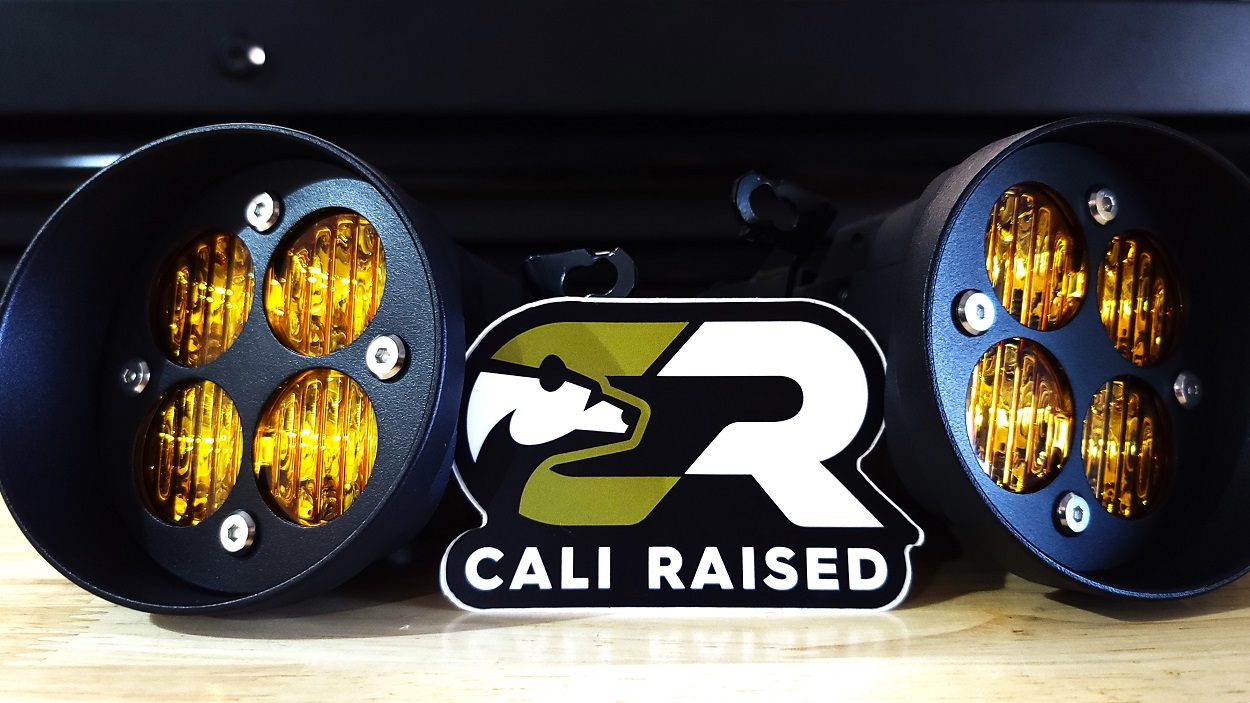
Whether you are a new 4Runner owner or simply looking to update your rig’s lighting, most people agree that the factory lighting leaves much to be desired. For many of us, spending north of a thousand dollars on new lighting is difficult to justify. This is why upgrading the factory fog lights is a common starting point. These crucial lights add extra visibility, especially in inclement weather, so quality components are a must.
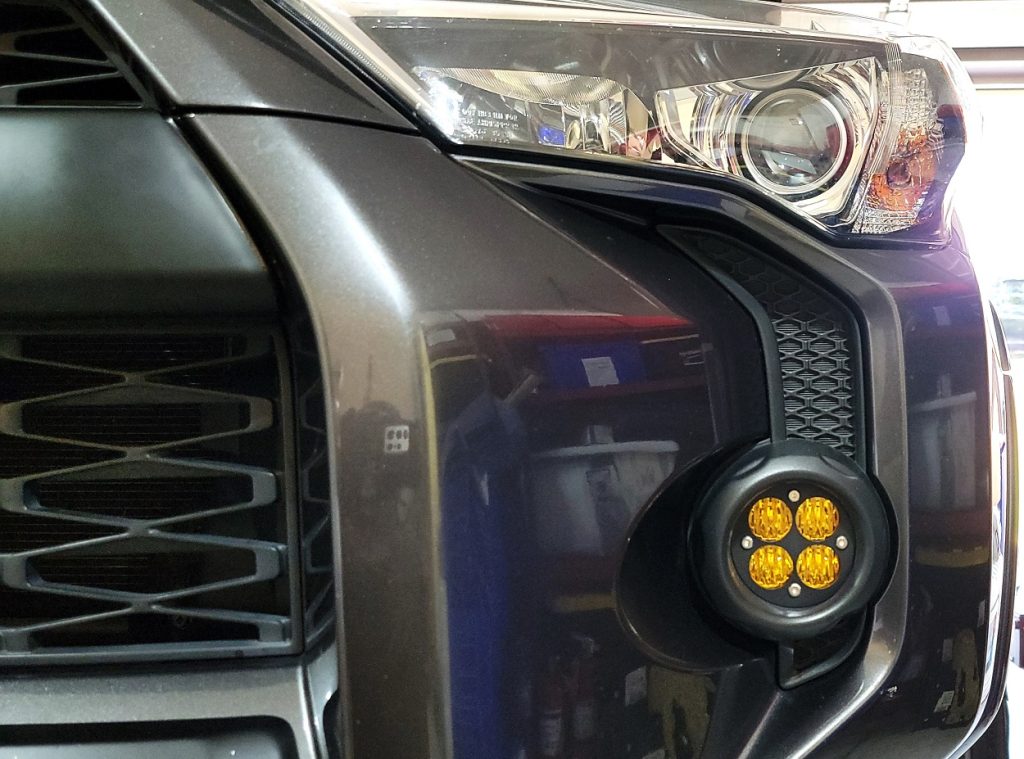
There’s no shortage of upgrade options, but Cali Raised’s updated plug-and-play kit offers some of the best bang for your buck around. Compared to their old fog light kit, these have a much cleaner look and best of all – amber/yellow output!
These will be a direct replacement for 2014-2024 (5th Gen) model years.
Table Of Contents
Overview
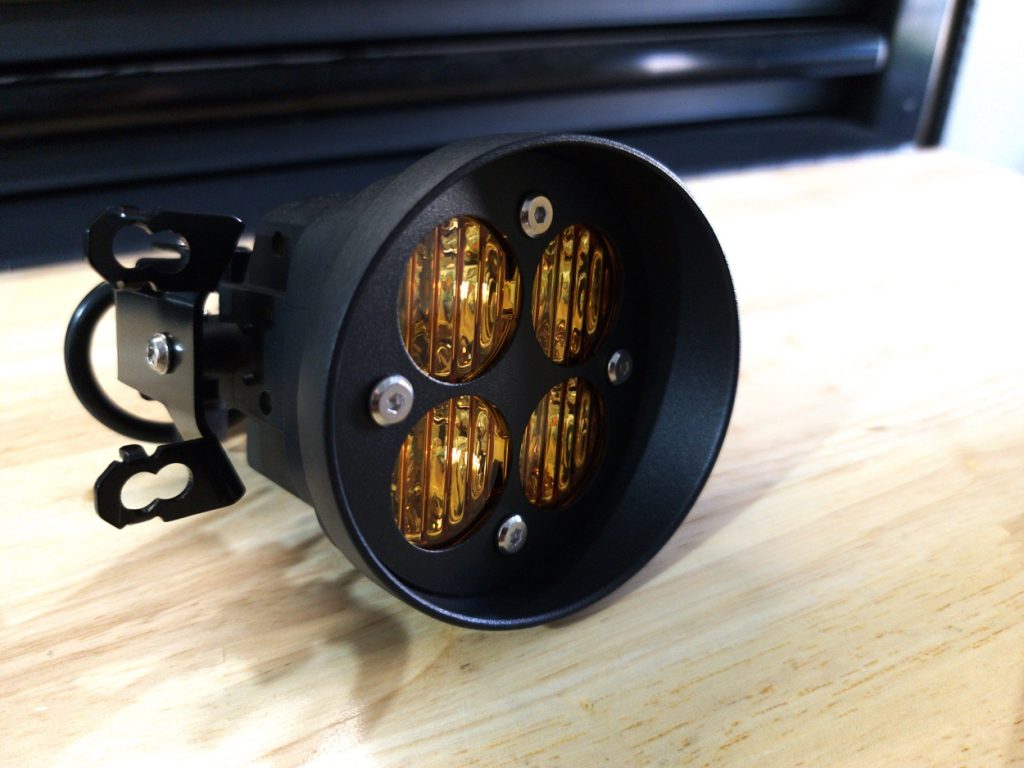
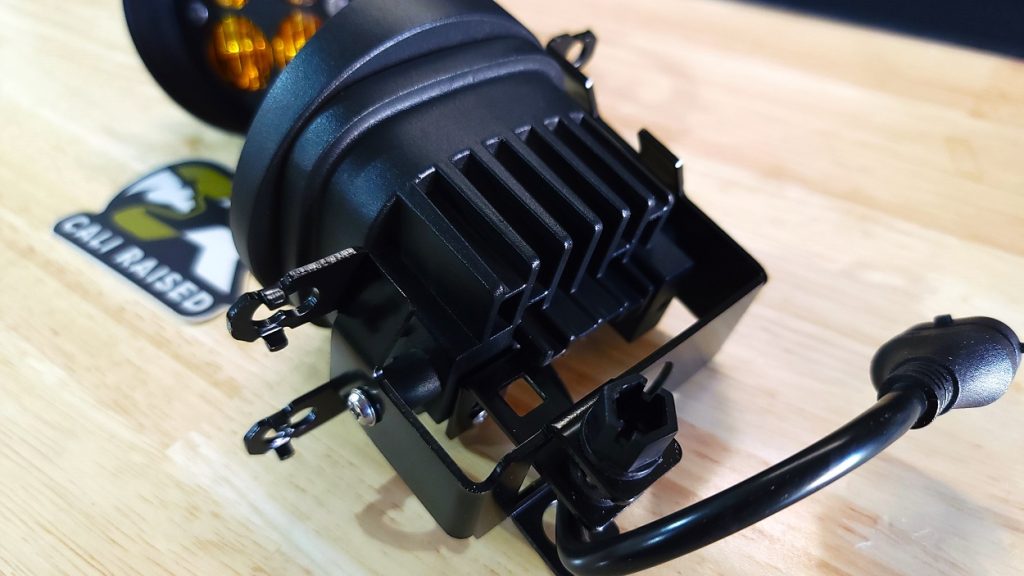
These new lights provide a wide-angle flood beam with a 3500k, amber (loose definition, lenses are more yellow than orange) color. They feature an IP68 weatherproof rating, so dust and moisture penetrating these fog lights is not a concern. The body and heat sinks are made from an aluminum alloy which dissipates heat quickly, resulting in a longer lifespan.
These come preassembled with the mounting brackets, so they’re ready for a quick install out of the box. Since they’re plug-and-play, no extra wiring is needed and each pod blasts 40 watts of power into the darkness. You can rest assured no deer (or zombie) can hide from you.
Installation
Tools Required
- Ratchet & 10mm socket
- Phillips head screwdriver
- Panel removal tool (optional)
- Flat-head screwdriver (optional)
Special Circumstance – Install Notes
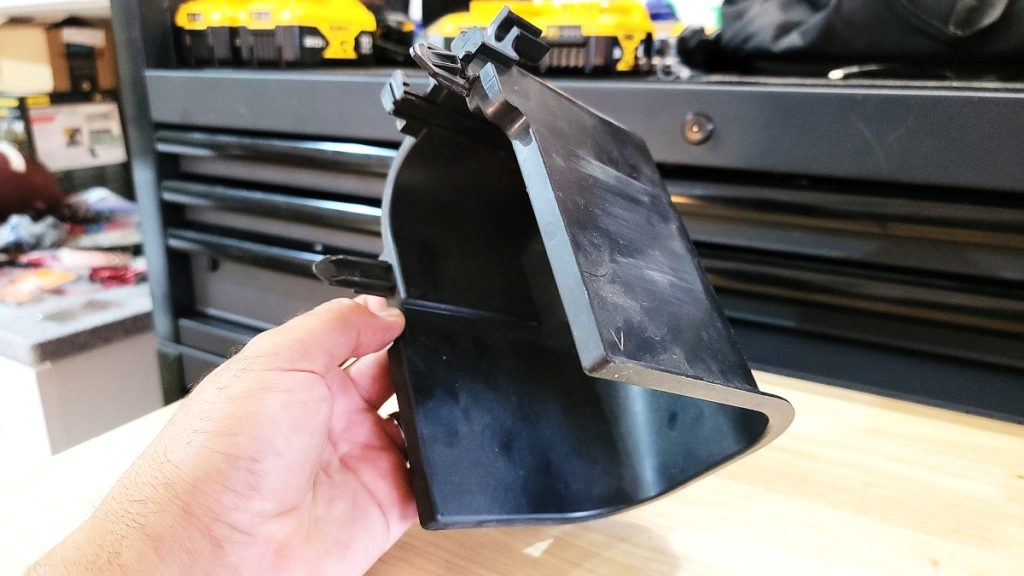
Although you normally won’t need to remove your bumper to access the fog lights, there are some models that will have what’s called a Bumper Cover Stop, covering the passenger’s side light. If you still have that mounted in place, you will need to remove it to access the screws on the light bracket. The easiest way to do this is to first remove the bumper. You can attempt this without removal, but I found it was much easier this way.
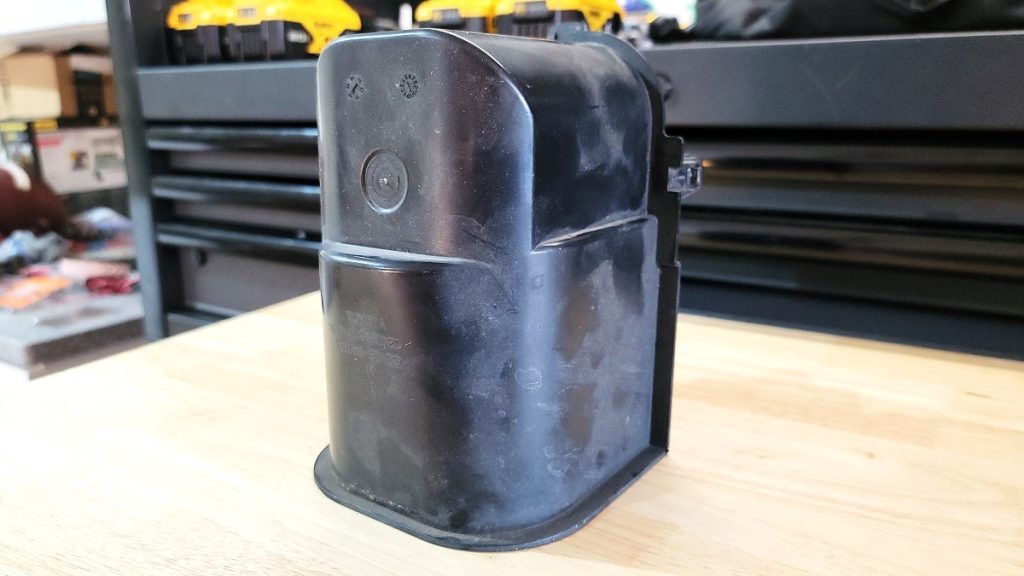
If you don’t have this over your lights, skip to Step 5.
Step 1. Remove Bumper
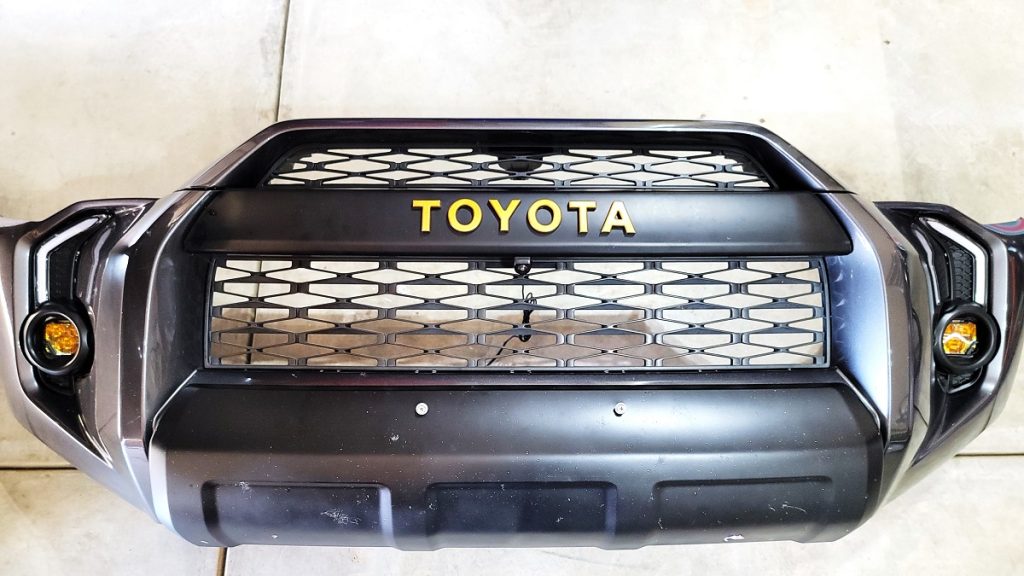
This can be a daunting task but I assure you it’s much easier than you might think. There are many mods that require taking off the bumper, so the more comfortable you get with this process, the easier it gets. This installation guide will cover the SR5/TRD 4Runner bumper.
For instructions on installing fog lights on a Limited bumper, check out this video.
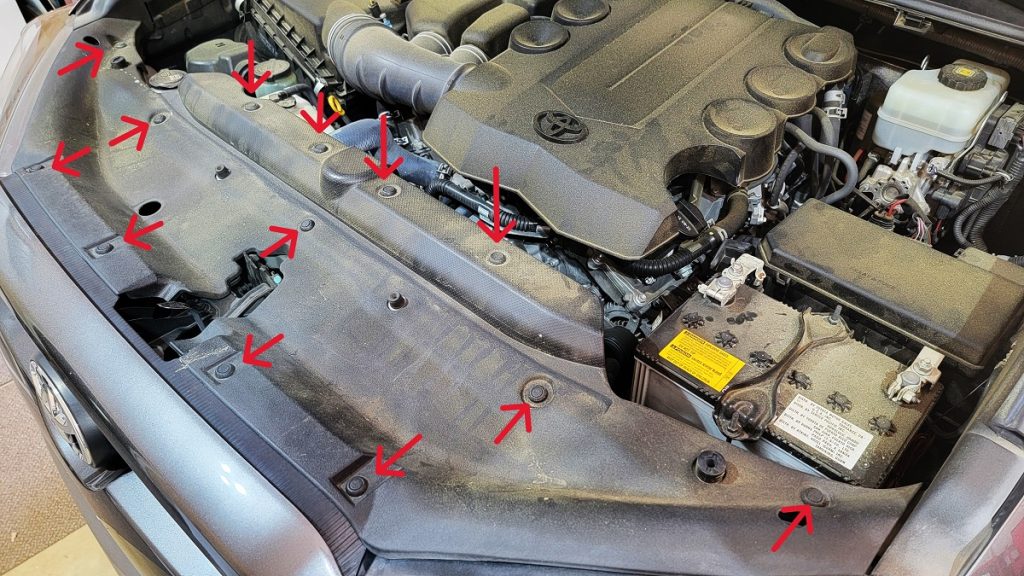
The first thing to do is remove the plastic radiator support cover. Locate the (13) fasteners that secure it and press in the centers. Use a trim removal tool or flathead screwdriver to remove them.
Set these aside as you’ll be reusing them to reinstall the cover when you’re done.
Step 2. Detach Fender Liner

Locate and remove the (5) 10mm bolts in the wheel well on either side. There are (3) in the wheel well itself and (2) on the bottom corner of the fender.
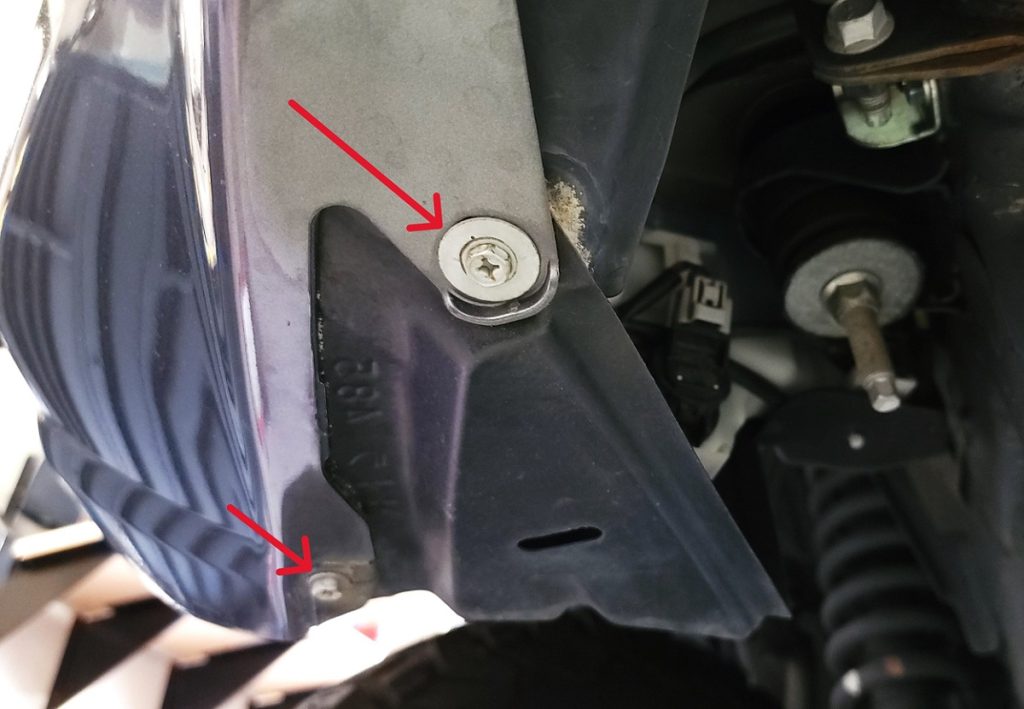
Use a plastic pry tool to pull the fender liner back and away from the bumper. A screwdriver will work as well, but you run the risk of scratching your paint. Repeat this process on the other side of your rig.
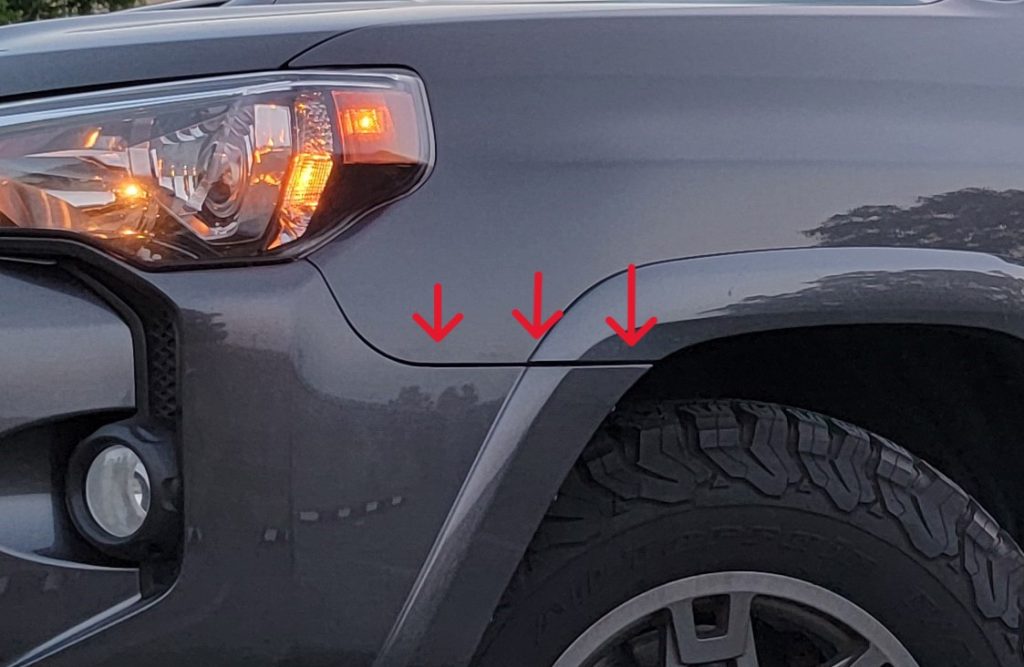
With the fender liner separated, carefully but firmly pull the corner of the bumper outward. This might freak you out the first time you do it as it sounds like you’re breaking the bones of your beloved ride. That’s just the sound of the retention clips breaking free.
If this is your first time removing the bumper, you’ll want to get both sides to this point before moving on, I’ll explain later.
On the underside of the bumper, there are (2) 10mm bolts underneath the front valance that secure the bumper to the framework. Remove those and set them aside.
Step 3. Disconnect Factory Harness
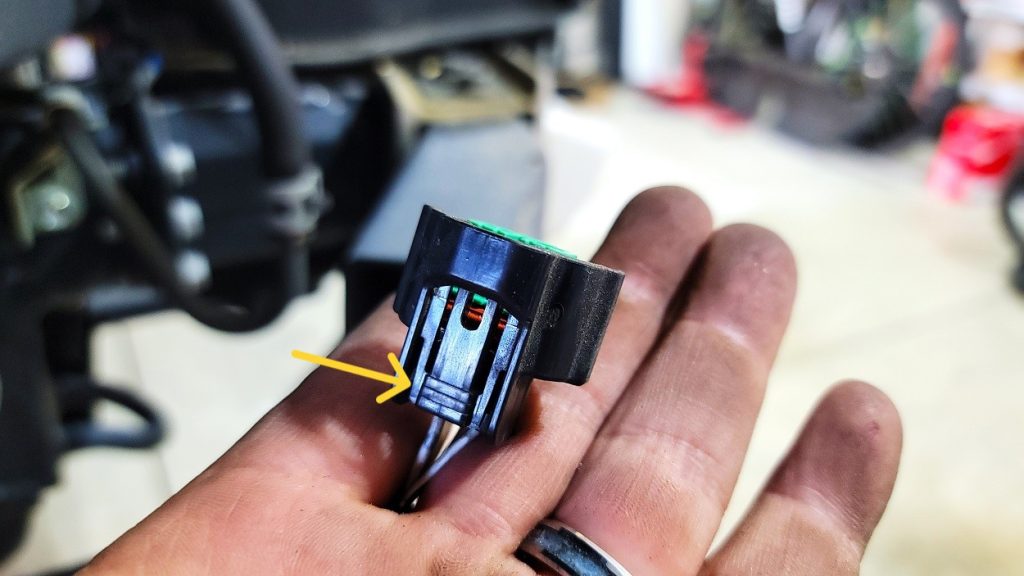
Before completely removing the bumper, push past the fender liner, reach up, and disconnect the existing fog lights. There is a simple clip and release button that should pull away easily enough. The factory wiring isn’t long enough to allow the bumper to sit on the ground after removing it.
Step 4. Disconnect Grille
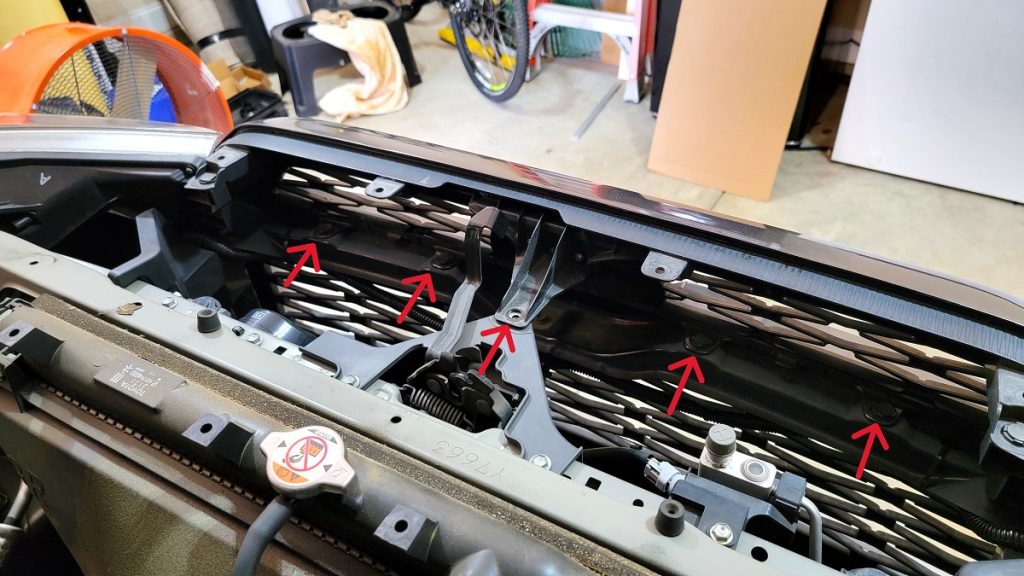
At the top of the bumper is (1) 10mm bolt near the hood release latch. If you look just underneath that, you will see (4) plastic clips holding the bumper to the support frame. These will also need to be removed but before you do, ensure you have disconnected any wiring for raptor lights, TSS sensors, etc.
In my case, I had to disconnect a front-facing camera.
Trust me, when you get that bumper free, the last thing you want is to balance that big beautiful panel on your thighs while you desperately disconnect forgotten wiring. If you’re like me and have all your wires tucked into a wire loom, it can be even more challenging.
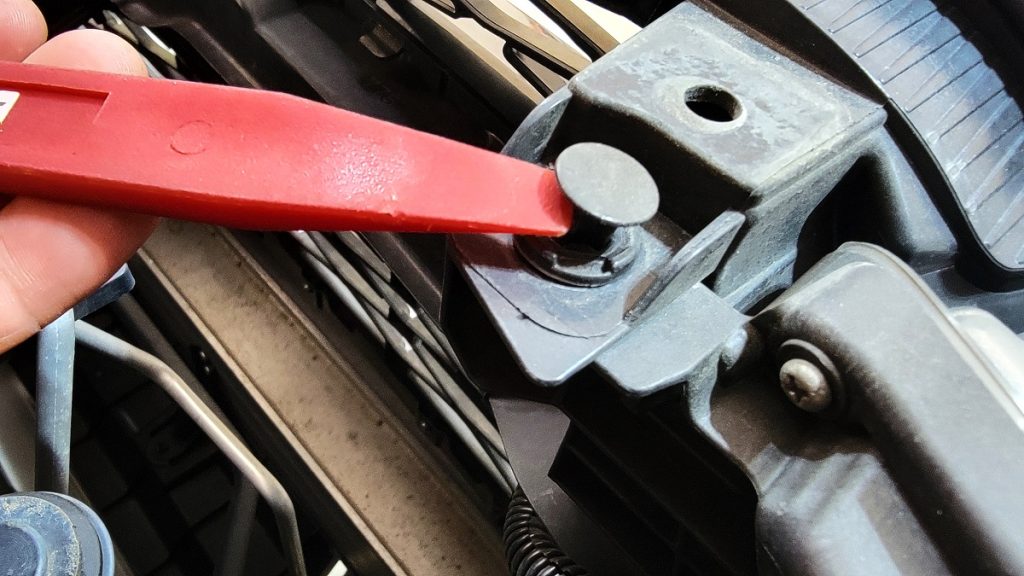
Now that you have disconnected any wiring, remove that single bolt by the hood latch release and the (4) plastic fasteners beneath it. The bumper is now ready to be pulled off.
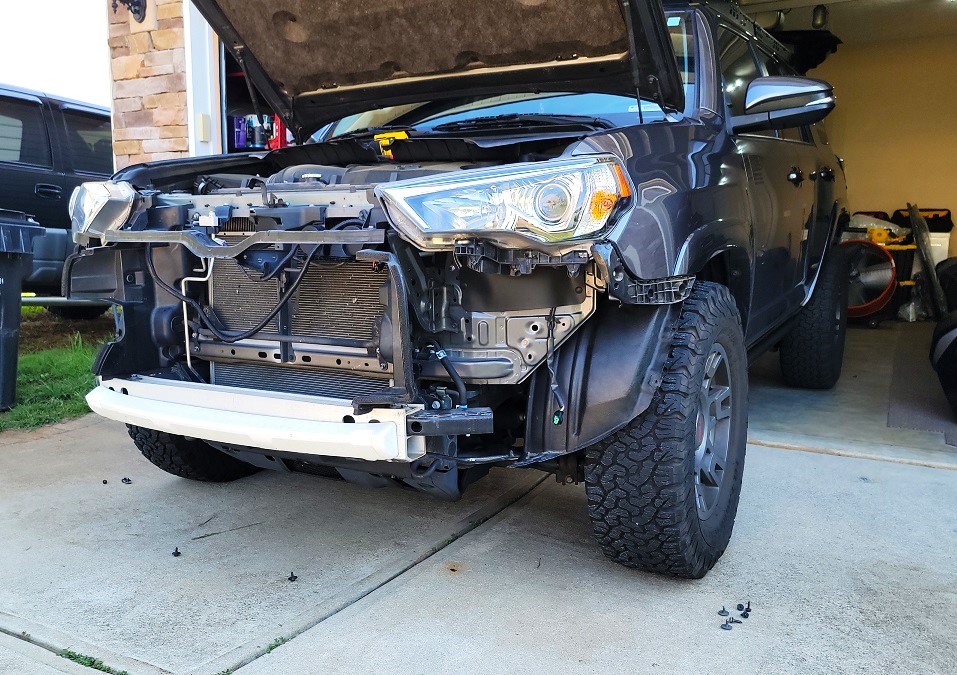
Although it is very lightweight, the bumper can be cumbersome. The technique that I have found to be most effective is to stand directly in front of the bumper and grasp it low. Firmly pull the bumper away from its frame.
Step 5. Remove Factory Fogs
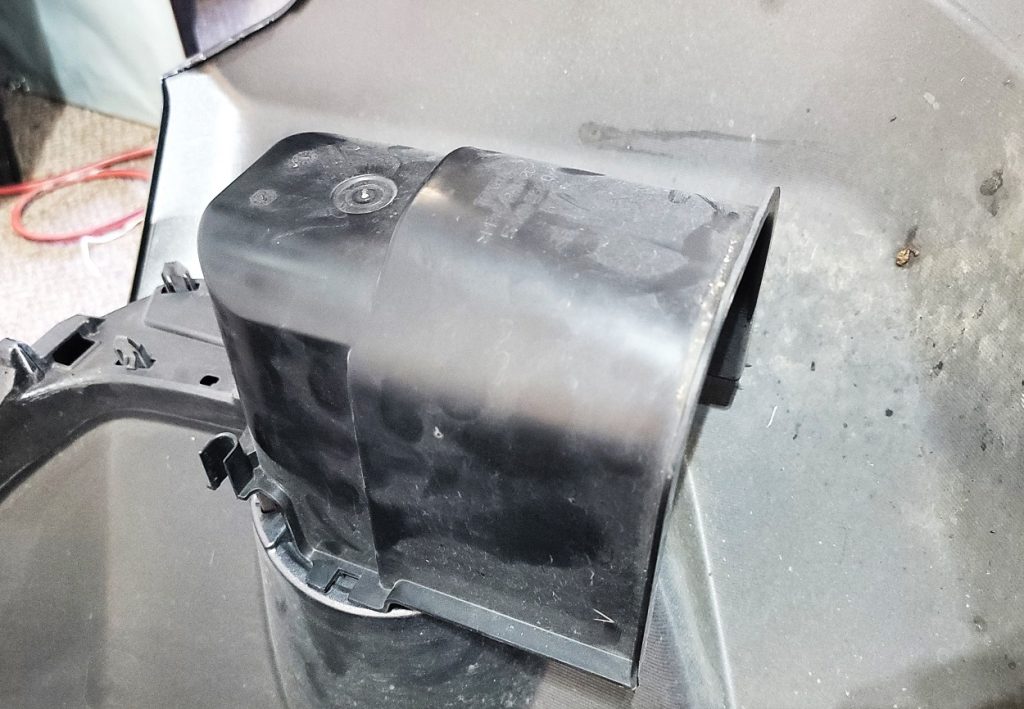
All work from here will be done on the back of the bumper. If you had to remove it, be sure to set it face down on something non-marring like towels, carpet, or even a sheet of cardboard.
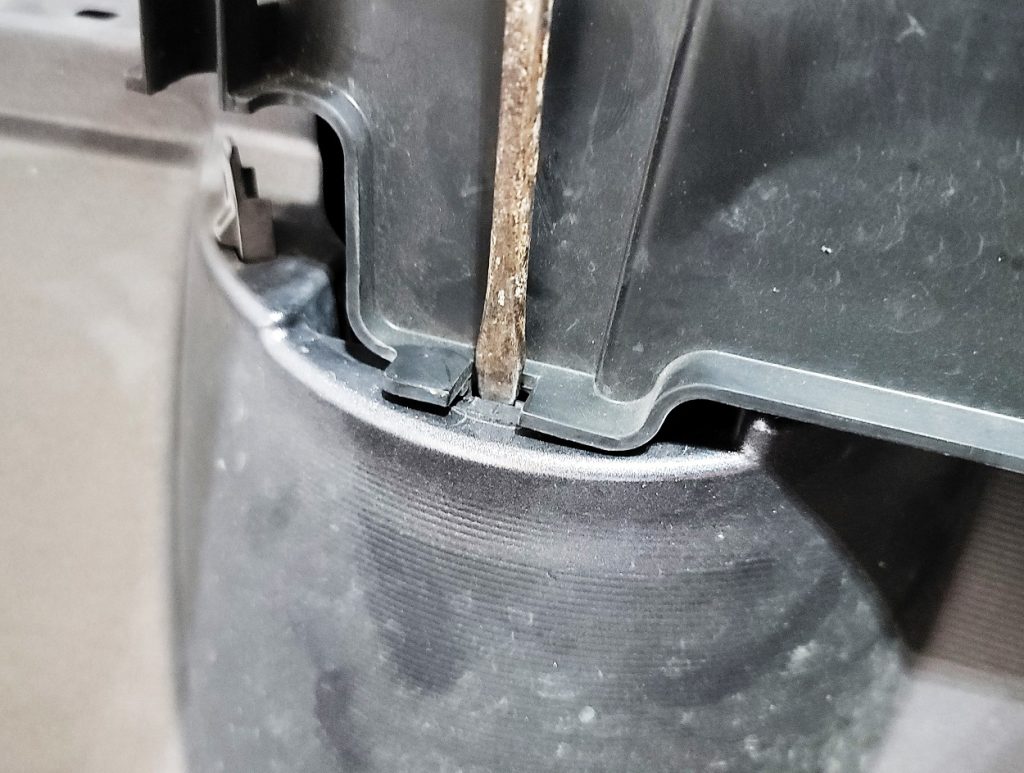
The bumper cover stop will normally be factory installed over your passenger side fog light. Remove it using a thin screwdriver or pry tool to the release tab on the side.
You’ll need to wriggle and manipulate the tab inward while giving a slight pulling force to release it.
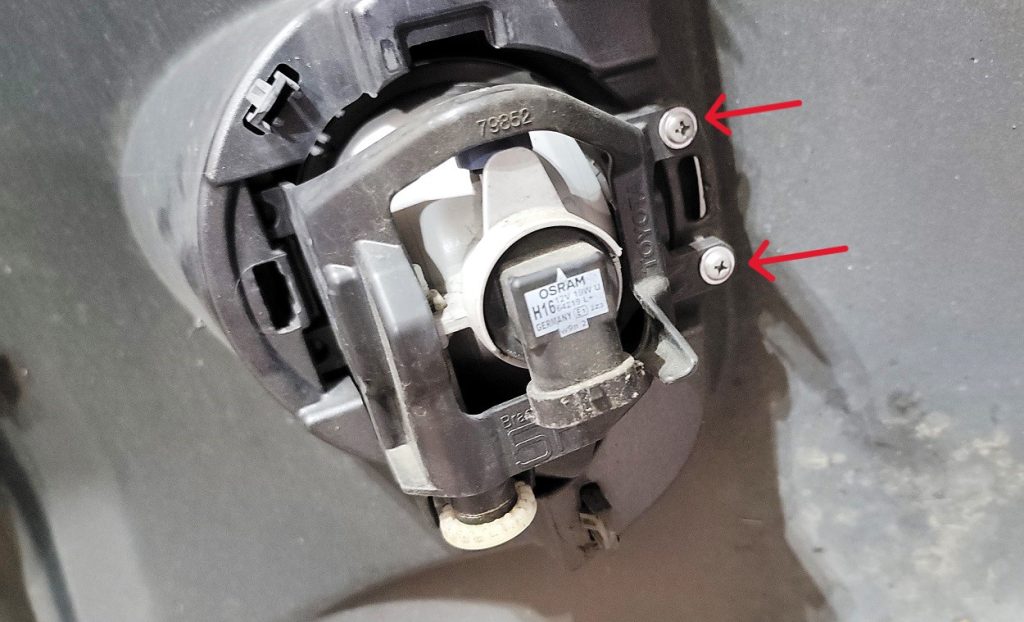
Once you have your fog lights exposed, you can see that there are (2) screws on one side of the light that secure it into place. The other side of the light has (2) tabs that slide into their respective slots. Use a Phillips head screwdriver to remove the screws and set them aside. Then, you should be able to remove the housing from the bumper.
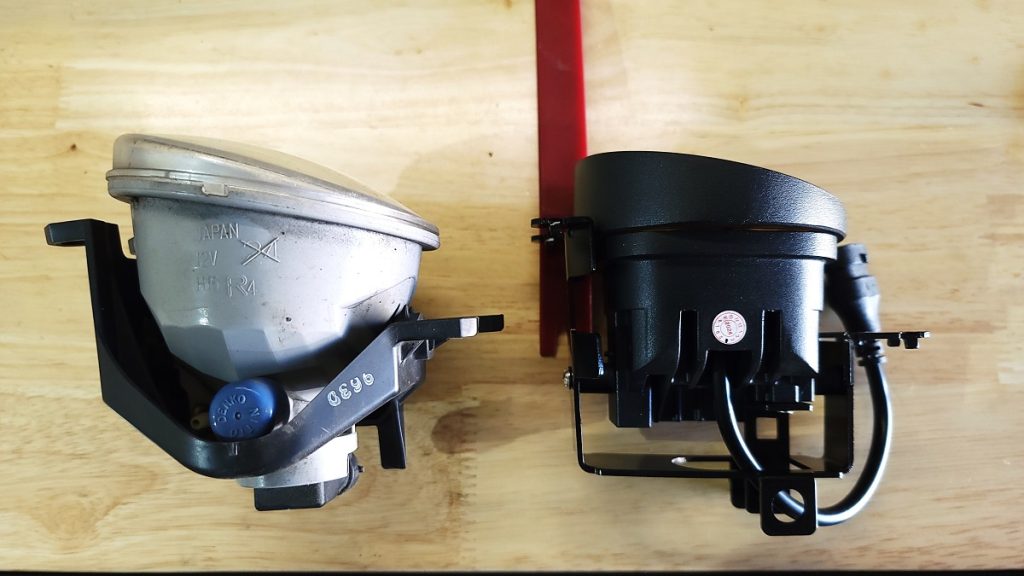
Install the new Cali Raised lights in the reverse order you removed the factory fog lights – align the (2) tabs and then the (2) screw holes. When replacing the screws, there’s no need to wrench down on them, snug should be just fine.
Notes:
- Reinstalling the bumper cover stop is optional.
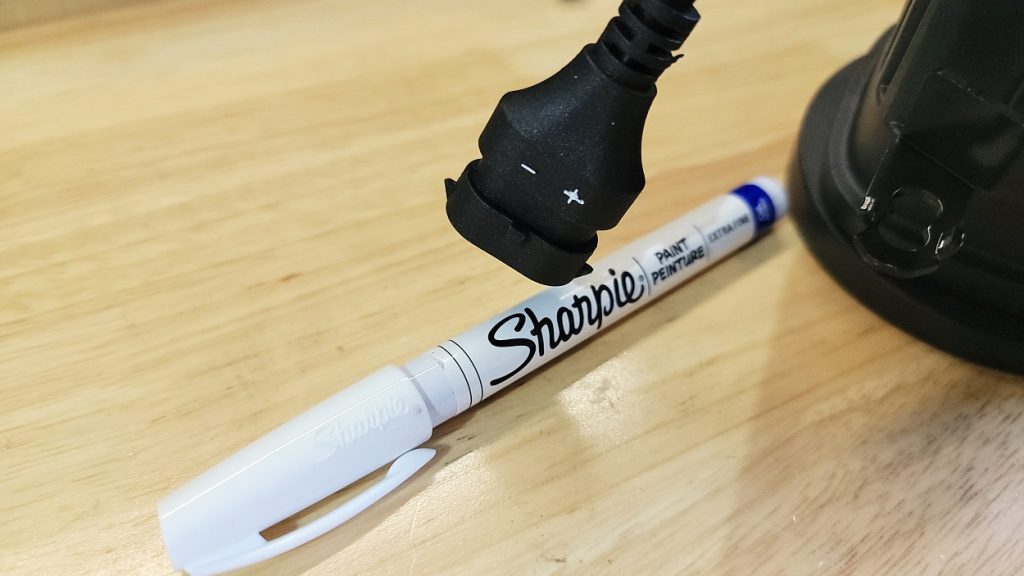
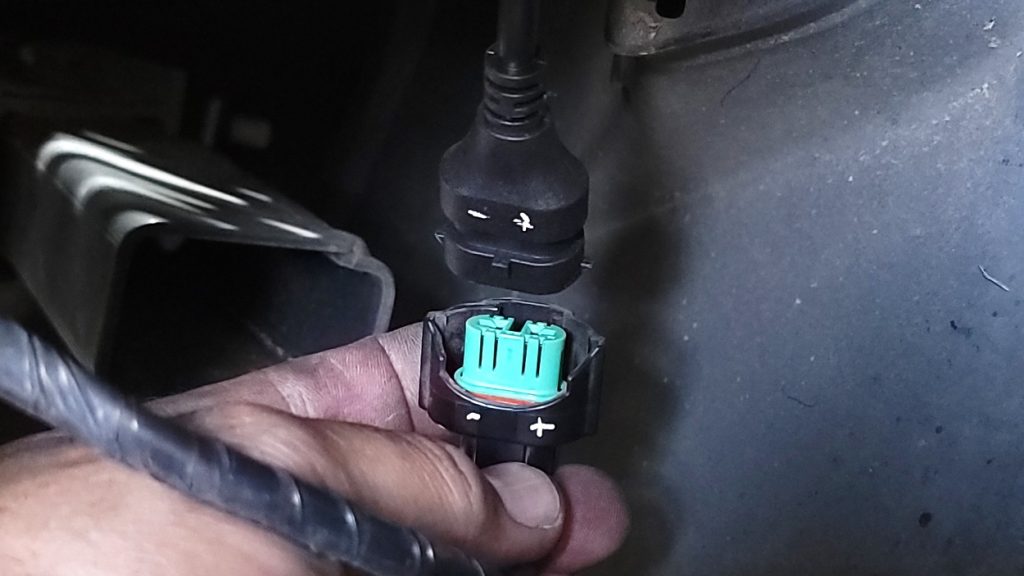
- The fog lights have positive and negative polarity. Fortunately, there are molded connectors with positive (+) and negative (-) indicators to help you connect them correctly. I highlighted these indicators with a Sharpie paint marker to make them more easily visible.
Step 6. Reinstall Bumper
If you had to pull the bumper off of your 4Runner, now’s the time to put it all back. Place your bumper back onto the center support bar, align the holes, and begin replacing the plastic fasteners. I recommend taking the time to adjust and align the rest of the bumper before screwing anything down.
When your bumper is back in place, reach under your fender liner and connect your wiring. Test your new lights and adjust their beam height up or down using the adjuster screw, if necessary. When you’re satisfied with the beam direction, continue securing your bumper.
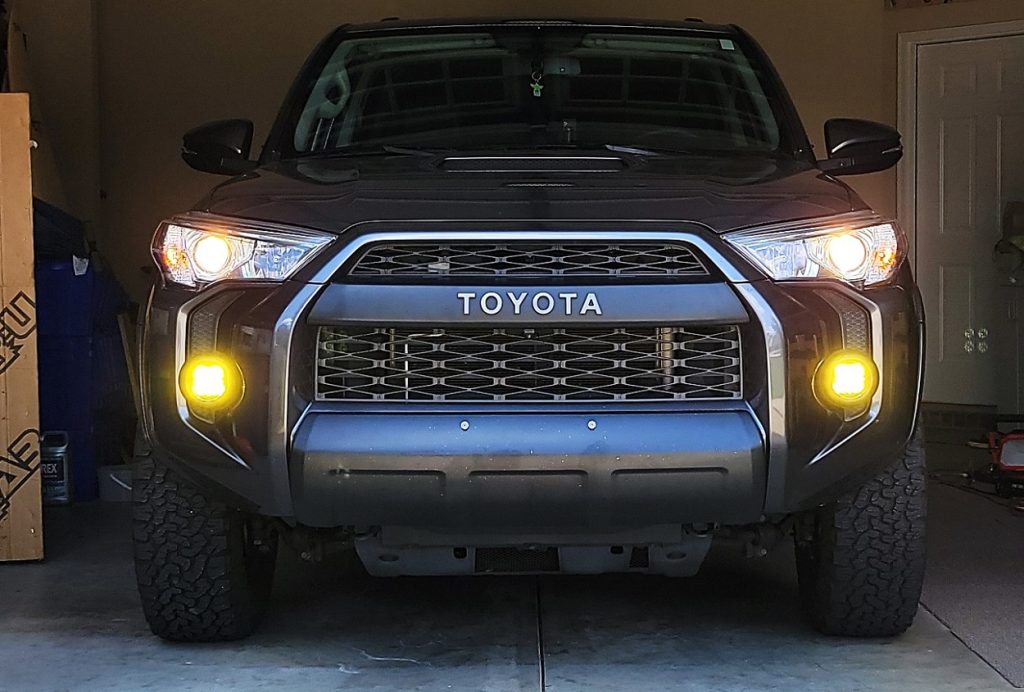
That’s it! You’re ready to own the night.
Aiming The Lights
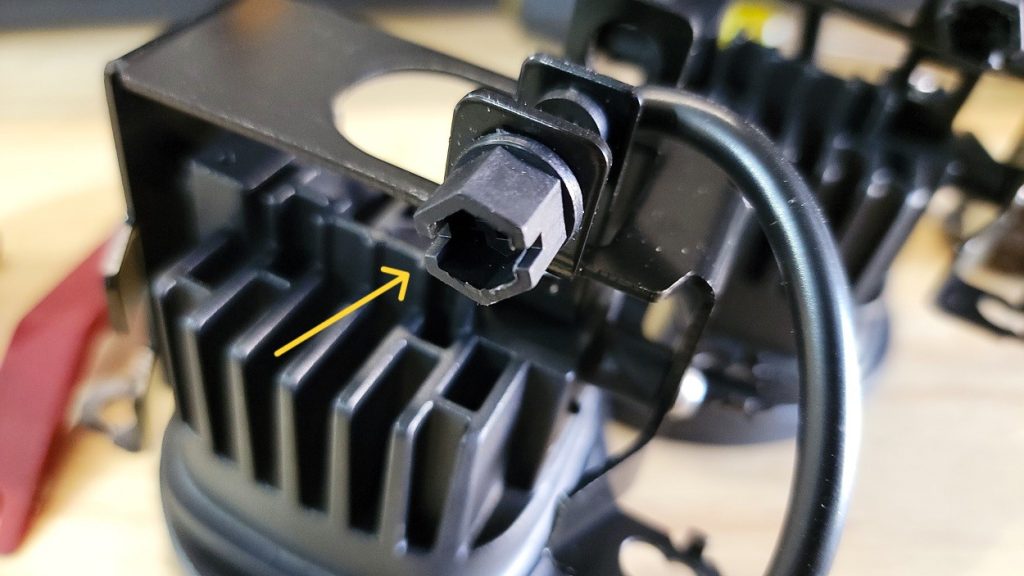
To find the right beam height, measure your fog light height from the ground to the center of the light and match that to the light projection on a wall, with about a 2″ to 3″ drop from 20 to 25 feet. Ensure you’re on a level surface while adjusting.
Lightwerkz gives excellent instructions on adjusting your lights here.
On Road Comparison

Factory Headlights
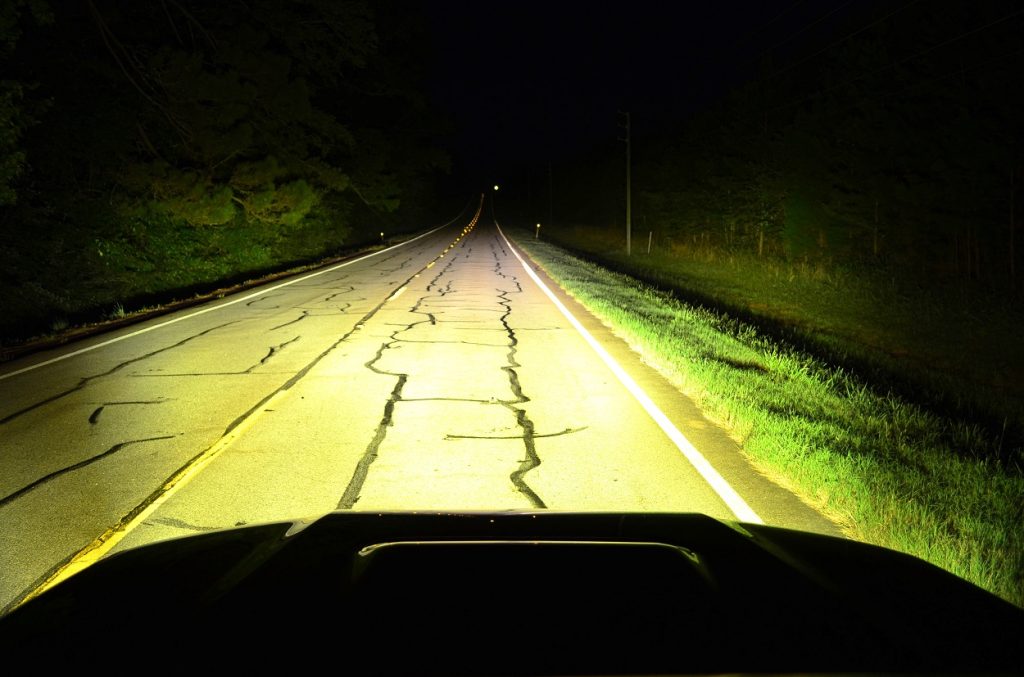
Factory Headlights + Cali Raised
I daily drive my 4Runner through a rural area in the early morning darkness. With these upgraded lights, I can see the tree lines on both sides of the road for any deer or other wildlife that may dart across my path. Being able to see that far over allows me to confidently drive along these back roads.
Off-Road Comparison
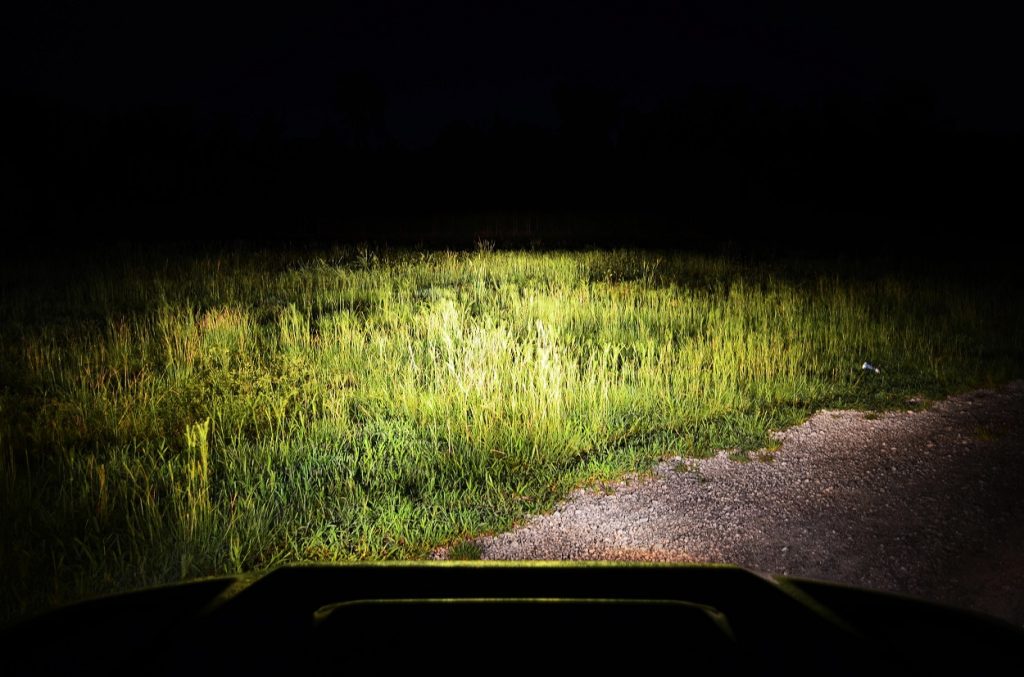
Factory Headlights
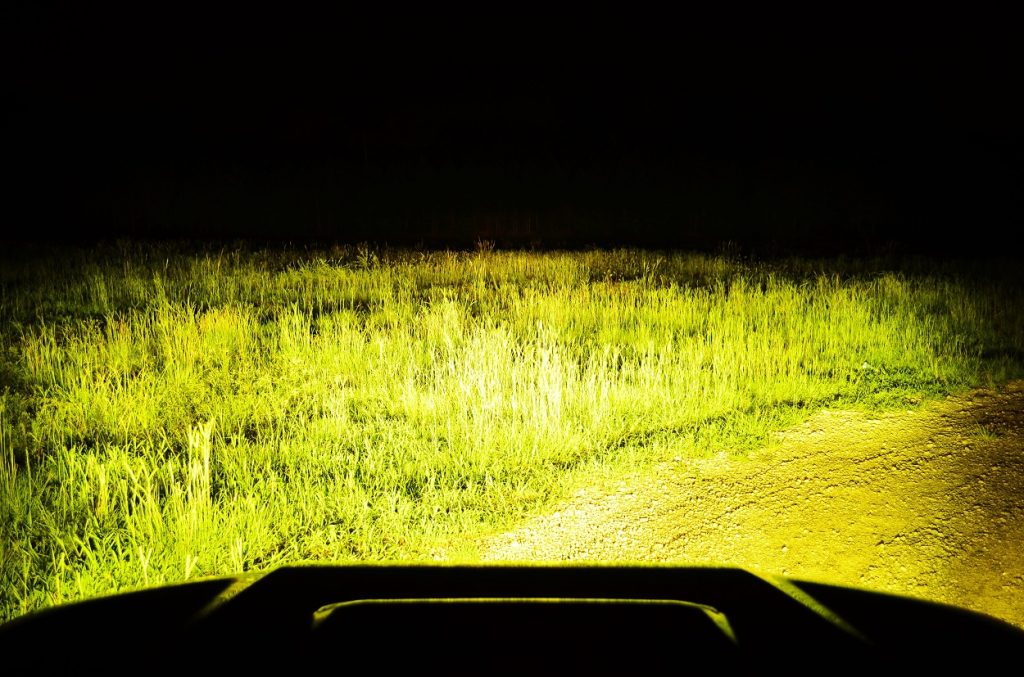
Factory Headlights + Cali Raised
The real payoff is firing those bad boys up while crunching along a trail at night. The light output is huge and the quality of the light is outstanding. These perform well and look slick. Cali Raised has managed to keep costs low and still provide both form and function.
Final Thoughts
Most of us are hesitant to drop major dough on high-dollar parts. Even though the factory lighting is sub-par for our treasured trucks, upgrading them isn’t always financially feasible. You can easily spend $350 to $500 for quality lighting.
Cali Raised offers a welcomed and affordable option with their latest fog lights. Pound for pound, they provide amazing output and still let you afford to eat, it’s a win-win!

I have a 2024 4Runner Limited. I don’t see how these will fit due to the different style of foglight. If they do fit, is the install process the same?
That’s a good question for Cali Raised. Not sure. I would just shoot them a message on their site, they have a little chat window that someone watches during business hours. They can help you out. I would think Toyota didn’t design a fog light just for the limited, it sounds like a lot more work than it’s worth.
I took that stupid bumper cover stop off years ago when I replaced my fogs. Never put it back on, it serves zero purpose.