
Not all rooftop tents are created equal. To stand out in a saturated market, creativity is balanced with practicality. Due to that balance, some design features never make it to production. Although there are general benefits of a rain-fly, it can sometimes feel like a gamble.
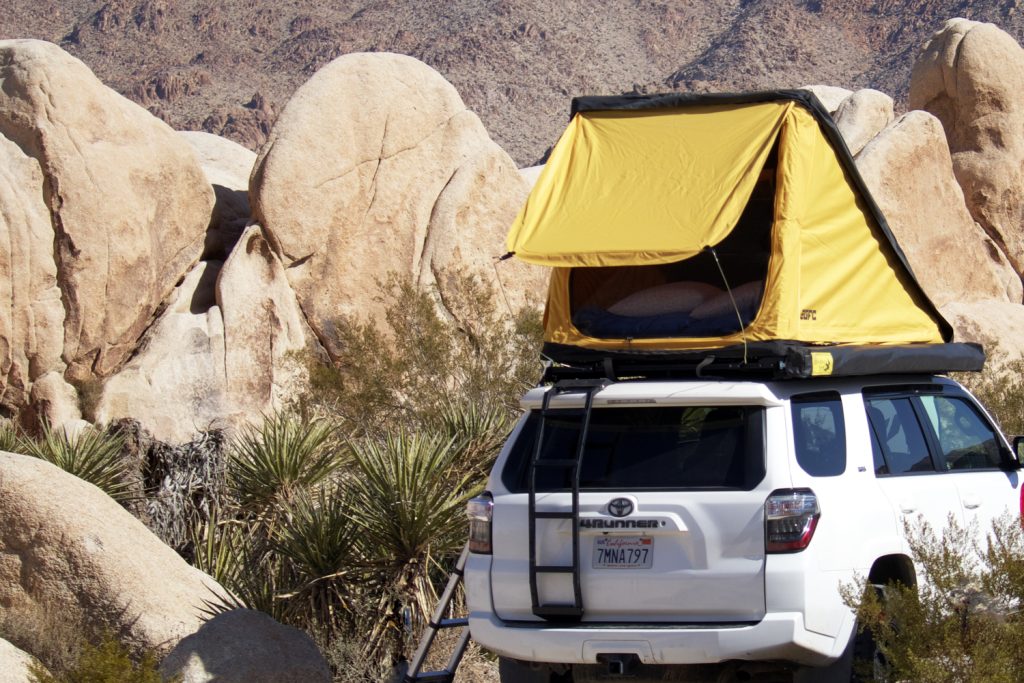
I love my GFC Superlite. Compared to other tents on the market, however, GFC does limit your options for using the Superlite’s rain fly. Your only options are fully opened or fully closed; that’s it, and there is no in-between. It is one drawback to an otherwise great tent and one that is critical on trips where the weather takes an unexpected turn.
GZila Designs rain-fly pole holders fixed my one gripe with the Superlite. I put the pole holders to the test in Joshua Tree on my tent’s various rain flies. We tested under the bright sun, full moon, and desert winds.
In this article, I’ll cover a few lessons I learned during the installation as well as adjustments I made to the hardware to make it work on my Prinsu rack. These adjustments should also be helpful for any extrusion-style rack, as well.
Find It Online:
- GZila Designs Rain-Fly Pole Holder: Check Price
Note: The website offers many options. Depending on your tent, you can buy enough for up to three (3) windows with two (2) holders required per window. There is also an option to include poles, which I recommend.
Table Of Contents
Overview

Installing the pole holders is easy and only takes a couple of minutes. My Superlite has three rain flies: two wedge-style flies on the sides and one square fly on the back. I started with just one window, and quickly realized during testing that I needed another, as having multiple rain flies held up makes for a much better camping experience.
When mounting to the extrusion on a roof rack, slide the T-nuts into the crossbars and align the socket heads. Be careful not to tighten the bolts fully before you check clearances (more on this later).
If you’re mounting to the side rails, you have two options: mount on the outside, or hide the pole mount behind the side rail using a different style of screw. The economy-style T-nut features a tiny raised edge, making it easy to align with the rail; essentially, the T-nut stays in place while you tighten.
Side Rail Mounted

This only requires one pole holder for my tent and works great without blocking access to my ladder. On the last night of the trip, there were gusts of wind up to 20 miles an hour for a solid two hours. Yet, this setup held up to the test and stayed steady.
The bend on the spring rods kept the rain fly in place, eliminating the usual flapping that occurs in a normal tent. On the other side of the tent is my awning. I may ultimately fabricate a bracket to attach to the extrusion on the awning itself, but for now, that window stays zipped closed.
Extrusion Mounted

The back window requires two mounts, one for each corner. On a 4Runner, placement matters; if too close to the edge, you might bend the poles past their ability to flex, making the damage permanent. Too far from the edge, and the poles get in the way of the hatch opening fully.
Fitment Issues
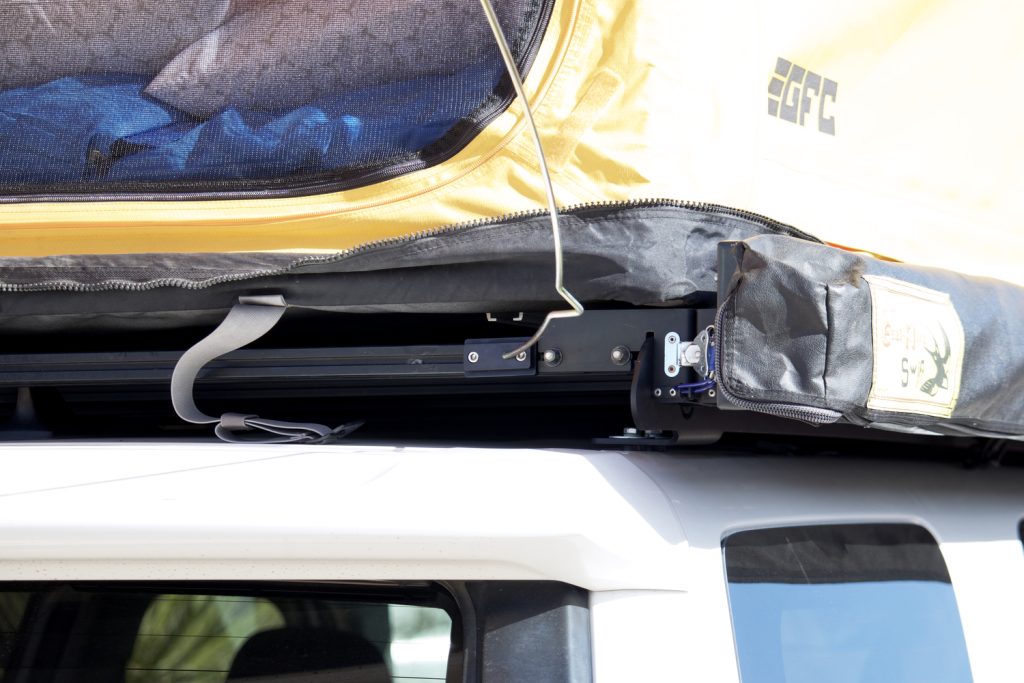
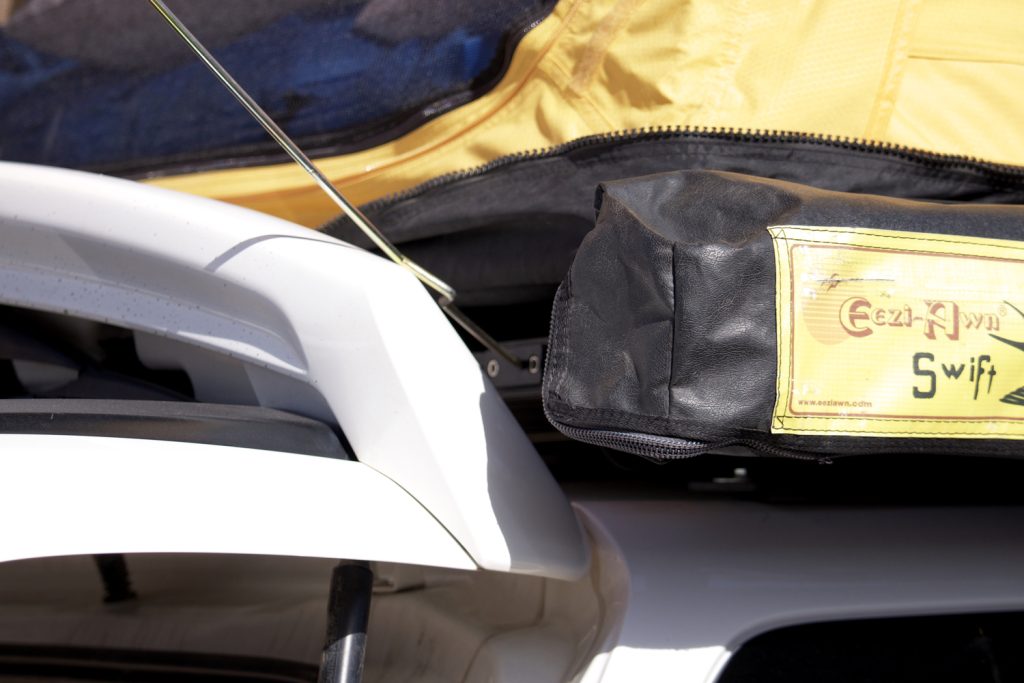
Specific to my setup, I realized that the furthest back crossbar is pulling double duty, holding my Prinsu Quick Release Awning Mount; the Eezi Awn Swift requires the widest mounting points possible. This means I can’t use the crossbar for the awning and rainfly without limiting the distance I can open my hatch.
My workaround will be to place a small 1” x 1” section on one of the 1-series extrusions below the crossbar, to mount the rain-fly pole holder below.
Hardware Substitution & Spare Parts

The hardware included is specifically made for the GFC Camper and RTT. So, if you have the GFC RTT, you can go with it without needing to use different hardware. If you have a different tent or one with no exterior extrusions, you’ll need to make some adjustments and aim to mount everything to your roof rack.
The two components of hardware are the socket head bolts and the T-nut. I recommend purchasing some new socket heads in 3/4″ length (1/2” is the standard length included with your order). For the T-nut, you have a fair number of options; ensure that you match the thread of your socket heads. I went with the economy slide in T-nut. Double-check the style of your extrusion. I believe the majority of these roof racks on the market use a 10-series, but you’ll confirm.
8020 offers a wide range of options for T-nuts and socket head cap screws.
Spare Parts
When you’re worried about plastic and spring rods, it’s just a matter of time until you snap a tarp clip or accidentally overextend the spring rod to the point of no return. Fortunately, these are readily available.
It is slightly more challenging to find a spring rod online. I came across the ARB tent window rod, but I couldn’t say with certainty that it would work. Try to bend the rod back into place and reach out to Greg at GZila to see if you can purchase replacements if they’re bent.
Final Thoughts
The GZila Designs Rain-Fly Pole Holders are awesome. They get the job done and further elevate your tent’s functionality. I started by buying only one set. After thorough testing, I realized I needed a second set to keep multiple rain flies open.
With a little DIY effort, these should work with most situations and setups. If you have a Gobi or another tube-style rack, GZila Designs also has you covered, offering various tube-style mounts.
Check out Colin Belisle (@colin.belisle and @fred__runner) for some custom side mount fly pole holders specifically made for the superlite.
https://cbelisle.exposure.co/fly-blocks