How to Remove old Dirty Protective Film and then Apply new Lamin-X Protective Films for a Cleaner Look and Better Protection
Protecting your paint is one of the best ways to keep your 4Runner looking good, but it doesn’t take much to chip or scratch your paint. One of the most cost-friendly ways to protect your paint is with invisible, adhesive film-like door edge guards from Lamin-X.
New Paint Protection Film
- Door Edge Guards (universal): Check Price
- Door Cup Protection Film: Check Price
Lamin-X Protective Films Overview & Install
Factory Edge Guards

Toyota does offer their own line of paint protection film, but their products are stupid expensive, and I could not justify paying $200 for some plastic film.
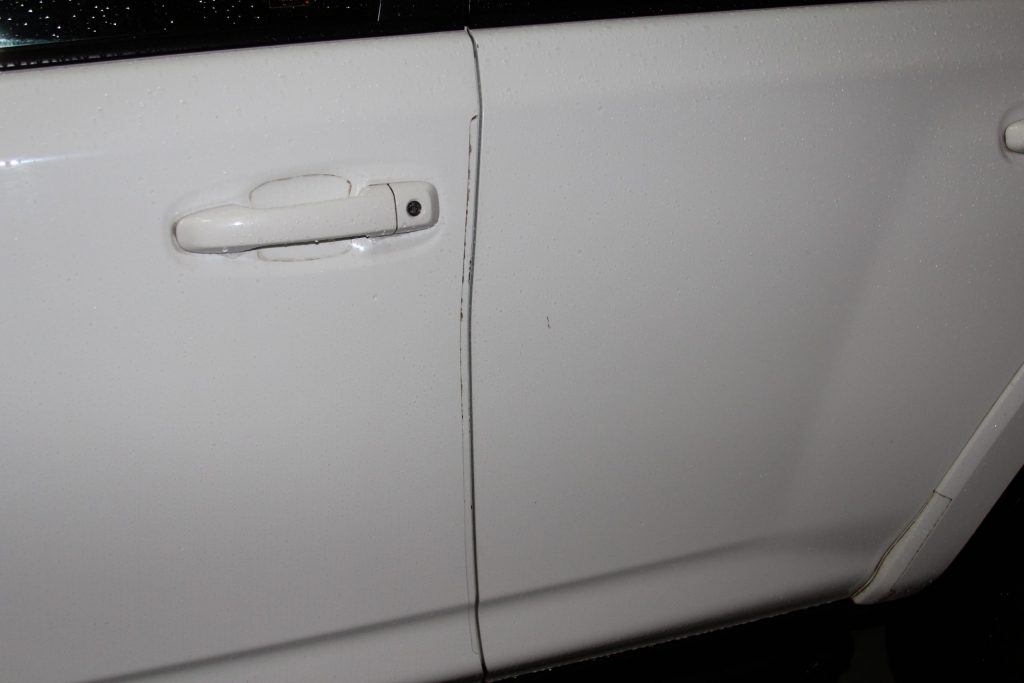
I bought my 4Runner used from a Toyota dealer and it came with door edge guards and cup-guards, but they had obviously been on there for a while because dirt had built up underneath the adhesive so it just looked crappy. I was going to remove them and be done but I came across the door edge trim guards and door handle cup protection film on the Lamin-X website for a super low price so I thought I would give it a shot. It turns out Lamin-X is incredibly high-quality stuff, easy to apply, and much stronger than I had anticipated.
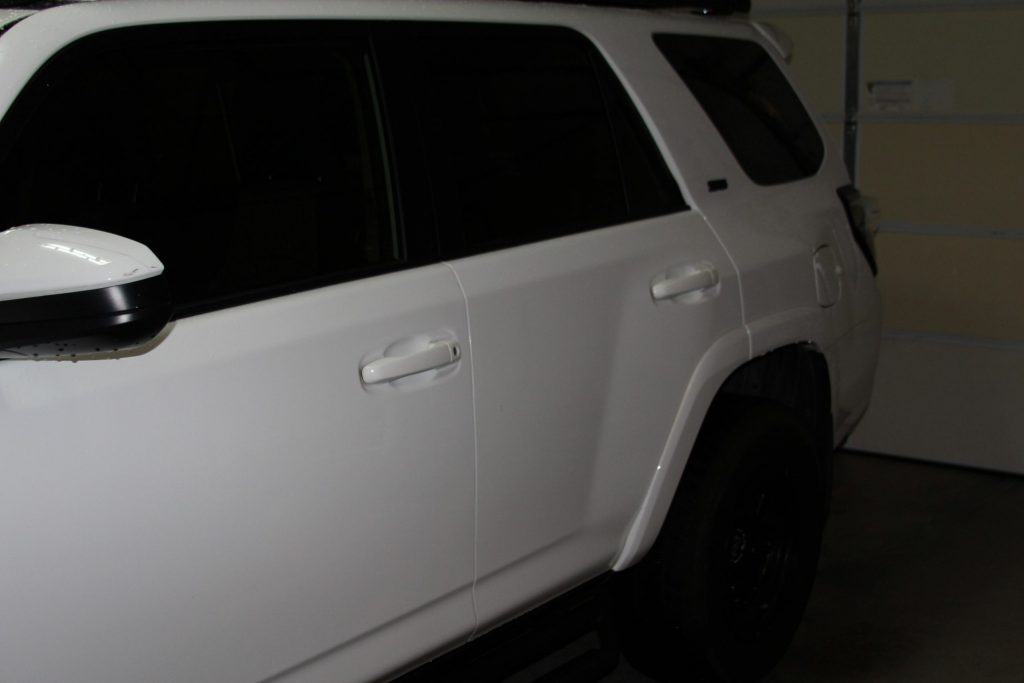
I should have taken off the old dirty edge paint protection film a long time and applied the new Lamin-X sooner. The look is factory and gives the 4Runner a much “newer” appearance.
Other Paint Protection Options

Pictured: Goat Truck Armor
There are some other options as to what you can do to protect your paint. You could wrap your 4Runner, but that comes with a cost, if you are offroading or hitting trails often that cost could be justifiable. Another option is GOAT Truck Armor, they make magnetic panels that attach to your exterior to protect your paint. Both of those options provide premium protection with a cost, the Lamin-X guards provide minor, but quality protection, for a lot less.
What Are Door Edge Guards?

Find them online:
- Comes in ½” x 24 universal strips
- High-strength 8 mil glossy film
- Easy to install
- Adhesive-backed
- Door Edge Guards (universal): Check Price
Find them online:
- Door Cup Protection Film: Check Price
Door edge guards are long strips of clear adhesive-backed film that attach to the edge of your doors. They cover about 1/4 inch of the outside of the door and a 1/4 inch of the inside of the door.
If you are in a tightly packed parking lot, you can accidentally open your door into other cars, shopping carts, etc., and you can scratch or chip your paint. Door edge guards create a protective barrier between the paint and any object the door could come in contact with.
What Are Door Cup Guards?

Find them online:
- Door Cup Protection Film: Check Price
Cup guards are ovular, clear film with an adhesive backing, they attach to the recessed cup behind the door.
If you have keys or long fingernails or anything sharp in your hands when you go to open your door you could scratch your paint. To prevent this, the door cup guards create a protective barrier between your paint and harm’s way.
Who is Lamin-X
Lamin-X is more commonly known for their automotive light films, but they also make paint protection films. Founded in 2002, all Lamin-X products are made here in the USA. They come highly recommended for things like fog light covers; their site had in-depth install videos, and their paint protection products come with great reviews.
Removing & Applying Film – Overview

The install took me about two hours. In that time, I removed the factory guards, cleaned off the surfaces, and attached the new guards. If you don’t have to remove the factory guards, your install should go faster than mine.
Make sure you have a blow dryer or heat gun for this install, it is the quintessential tool for this install.
Tools and Materials
- Blow Dryer or Heat Gun (I used a blow dryer and it worked great)
- Dish Soap, or Carwash Soap
- Rag
- Scissors
What’s Included
- Door Edge Guards
- 2x 36″ clear strips
- 2x 12″ clear strips
- Door Cup Guards
- 4 clear guards
- Mini Spray Bottle
Step 1. Remove Factory Edge Guards

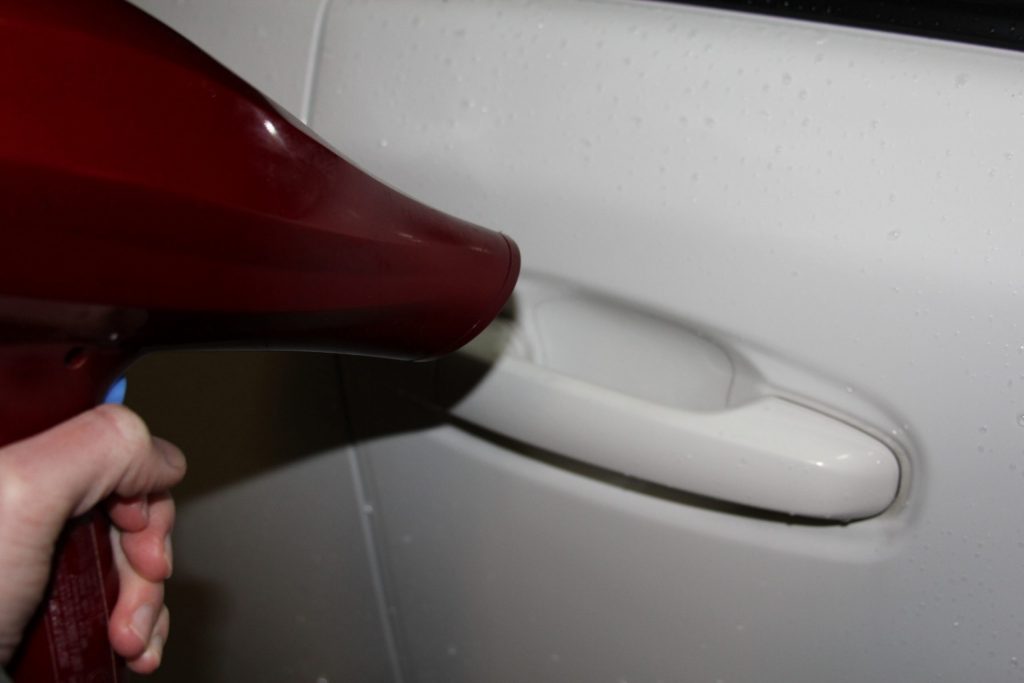
Using your blow dryer or heat gun, heat up the film. This loosens up the adhesive backing making it easier to pull off. The longer you use the blow dryer, the easier it is to remove.

Next, carefully pick at one of the corners so that you have a handhold, but don’t scratch the paint. Then just slowly pull off the adhesive. If you notice that it is getting hard to pull, just use the blow dryer again. Once you have the edge guard removed, throw it away and remove the other three pieces of film.
Step 2. Clean Surface

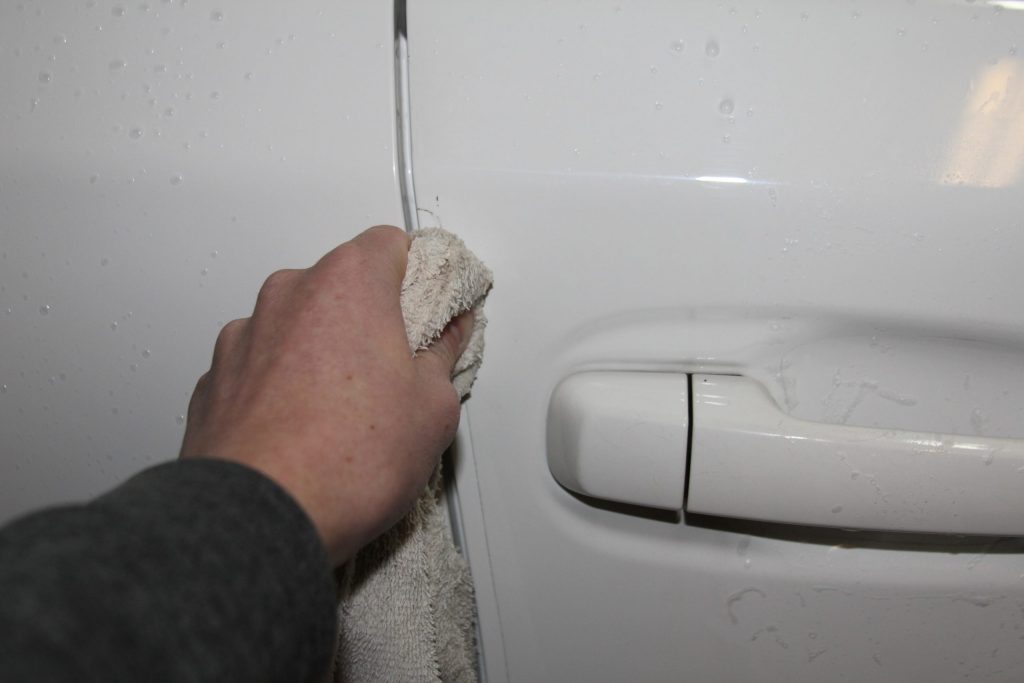
Mix water and soap in a bucket and wet the rag with the water. Then thoroughly clean off the edge of the door. For me, this was the longest part of the install because the door edges on my 4Runner had a lot of dirt that had gotten under the film and strongly adhered to the door. Take your time and clean as much as you want; once the strips are attached you won’t be able to clean under them. So, I suggest doing the best you can to make it spotless.
Now take a clean rag and wipe off the door making sure that it is dry.
Step 3. Measure & Cut New Strips

The strips from Lamin-X are not specially designed for the 4Runner, at least not to my knowledge. So they were a little bit longer than desired.
Place the strips up to the edge of the door; if they are too long, cut them to your desired length. Regular scissors are just fine for this, just make sure your cut is perpendicular to the strip.
Step 4. Attach Edge Guard to Door

Remove the backing from the edge guard. The clear strip is the guard the opaque piece is the backing. I did not pay attention to this so, when I went to attach the first guard, I was actually trying to attach the backing.
Once the backing is removed, line the strip up with the door edge so that 1/2 the strip is on the outside and the other 1/2 is hanging over the edge. Starting at the top and working your way down, press down on the strip so that it will adhere to the paint.
If you mess up, just pull the strip off and start again. Now, wrap the rest of the strip around the edge to the inside and press down. Patience is key—just make sure you get everything lined up as best you can.

Two important tips for this step…
First, wet the fingertips of one of your hands. Use the wet fingertips to press down on the strip. This allows you to easily move your fingers up and down on the strip while attaching. It also prevents you from leaving prints in the adhesive.
Second, if you’re having trouble getting the strip to conform to its new shape, use the blow dryer to heat up the guard for a minute or two, then try again. If you can’t tell yet, the blow dryer is the most important tool for this install.
Factory Cup Guards Install Overview
Step 1. Remove Factory Cup Guards

Using the blow dryer, heat up the film behind the door handles.

Then, slowly pull up from an edge and remove the guard. The longer you use the blow dryer, the more the adhesive loosens and the easier it is to remove the film.
Step 2. Clean Surfaces

Using soapy water, wet your rag and begin cleaning off the surface where the factory guard was. This removes any dirt or grime that could interfere with the new guards’ adhesion to the surface.
Step 3. Attach New Cup Guards

Remove the plastic backing from the guards. Next, take the spray bottle(filled with water) that Lamin-X provides, and spray the backside of the guard. Wet your fingertips with the bottle as well.

Then, line up the guard in your desired location and press down. Now, taking your wet fingers, push the water out from underneath the guard, removing any water bubbles underneath it.
Final Thoughts

So far, so good, I’ve had these on my 4Runner for about two weeks now. I can’t even tell that they are even there; that might sound dumb, but because of all the dirt, it was very obvious where the factory edge guards were.
Overall, I am pleased with these guards from Lamin-X and would recommend them to anyone who is interested.
