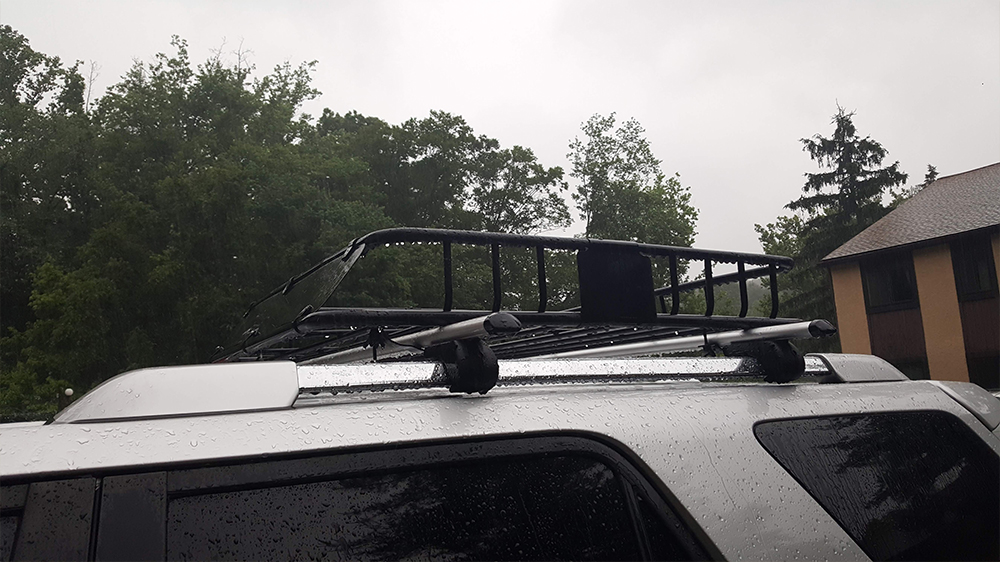
The 4th Gen 4Runners came standard with very sturdy crossbars. With the 5th Gen 4Runner, it’s an option. At first glance, the crossbars from Amazon didn’t look sturdy enough to hold up two kayaks. But they are made up of high-quality aluminum with a 150-pound load capacity, and they are lockable. When I got them, they looked very sturdy, stable, fit perfectly, and looked good for generic crossbars. It’s a bargain for under $50.
The length of the CargoLoc cross bars is 52″; however, they fit any factory roof rails with a maximum gap of 46″.
The only issue is the tunnel on the bottom side of both the crossbars that allows the clamps to slide, creating a whistling noise at any speed. To fix this, I just used some waterproof duct tape on the underside of the crossbar, and it solved the issue.
Find It Online:
- 5th Gen 4Runner Factory Crossbars: Check Price
- CargoLoc Aluminum Cross Bars Check Price
Table Of Contents
Step 1. Unlock both ends of the crossbar

Use the two keys to unlock both ends of the crossbar to insert the Allen wrench. This makes it easy to work with when both ends of the cross-bar clamps are open. Don’t loosen the screws of the clamp all the way. Just loosen them a bit so they can open up enough to fit over the factory roof rails.
Step 2. Tighten the Cross Bar Clamps

Now that the crossbar is sitting securely on the rail, tighten the screws on both the clamps. Don’t tighten too much, you will need to get the crossbar off the roof. Just tighten enough that the crossbar doesn’t slide along the length of the rail, align the crossbar to be straight, and the clamps are equal on both sides. It is paramount that the clamps are equally spaced so that it does not damage your rail or roof when you add cargo.
Step 3. Mark the Cross Bars

Mark the underside of the crossbar between the clamps. Don’t worry about the outer ends of the clamps. Loosen the screws on either end. Take the crossbar off the roof for step 5.
Step 4. Waterproof Duct Tape

Get a waterproof duct tape from any hardware store.
Step 5. Tape the underside of the Cross Bar

Take the crossbar off the factory rails, and tape the underside of the crossbar between the clamps. The idea is to seal the tunnel.
Step 6. Remount and Tighten Cross Bars

Remount the crossbar. Tighten the screws not too much that they damage the clamps. Just tighten enough that it sits firmly, securely, and does not move.

Repeat the same steps for the second crossbar. We tested these out by driving at various speeds with the sunroof open all the way, and the roof basket had no whistling noise. The 5th Gen Toyota 4Runner is taller than the 4th Gen, and in addition, the crossbars add an extra height.
So whatever you put on top, be careful of low overhangs.

I left my cross bars on for 9 months. The hex wrench wont bite anything inside the opening to unscrew Can’t see in there Is it plastic in there and maybe melted? The hex wrench not finding any thing to seat in? Thanks