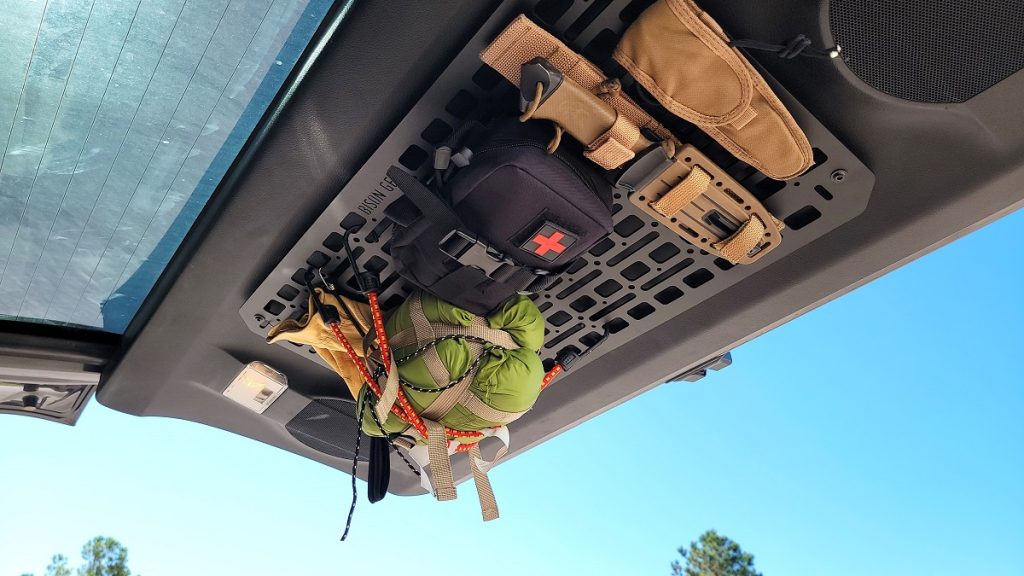
In the off-road and overland world, we love our gear. Eventually, we accumulate quite a bit and it becomes impossible to keep it all organized. While the 4Runner has ample rear cargo space, we quickly run out of places to mount gear securely.
Bison Gear has heard our cry and delivered a solution for us to expand our organization and mounting options in their rear hatch MOLLE panel.
- Make sure you check their site for Black Friday pricing!
Table Of Contents
Overview
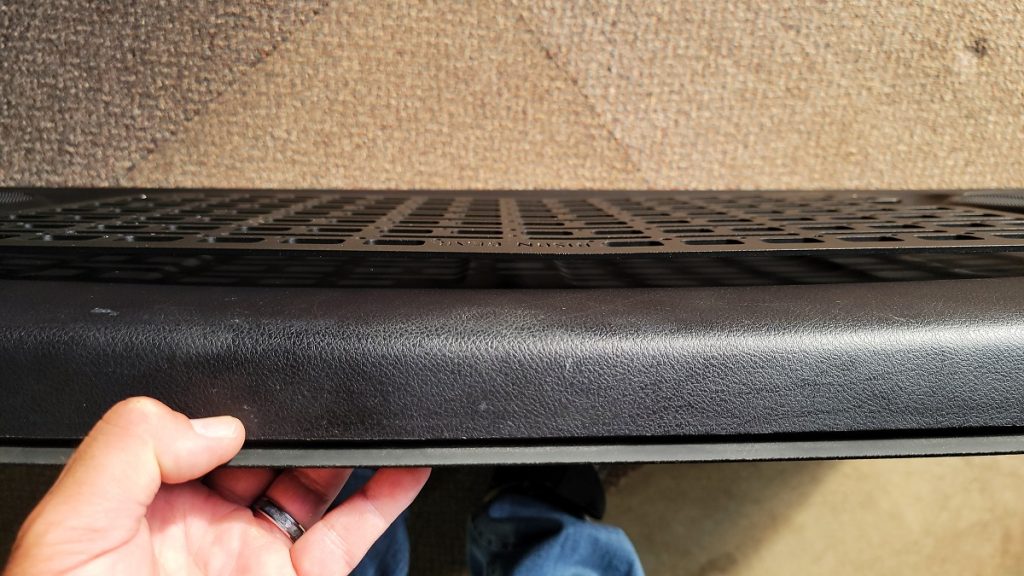
Made from aluminum and approximately 3mm thick, this lightweight, black powder-coated panel covers the center of the 5th Gen 4Runner’s rear hatch (about 26″x14″).
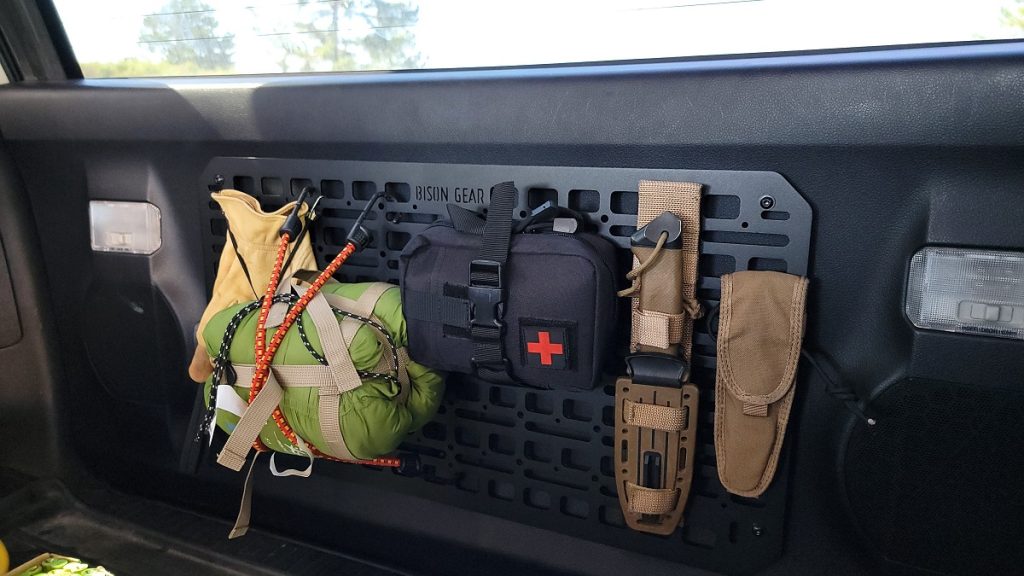
The panel has plenty of slots and openings for MOLLE-style attachments. Bison Gear’s version also boasts holes specifically for rivet-nut use, a cool option not often found on other panel systems.
Installation
Tools Required
- Pry Tool
- Panel Removal Tool
- Ratchet and 10mm Socket
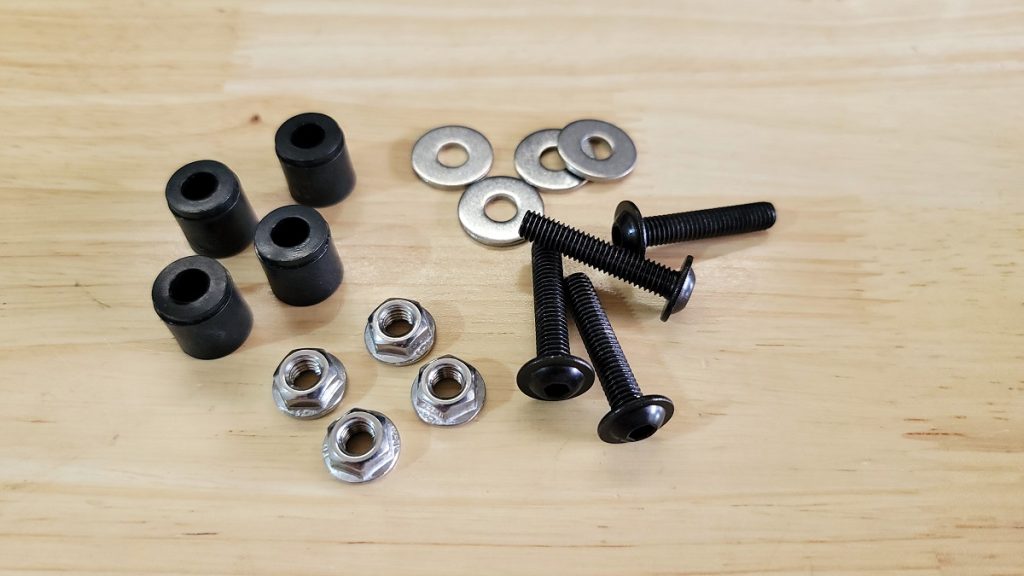
Included is all the necessary installation hardware, set these aside until you finish getting the factory rear hatch panel off.
Step 1. Remove Lights & Strap
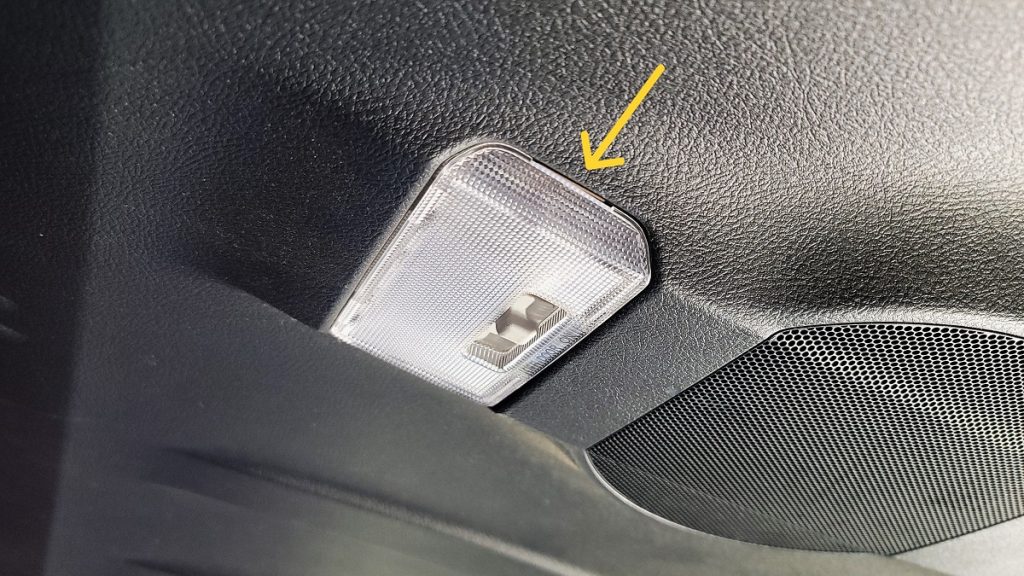
First, open the hatch and remove the courtesy lights. Insert a pry tool or flathead screwdriver in the slot on the driver’s side of the light. Once they’re popped out, disconnect the wires and set them aside.
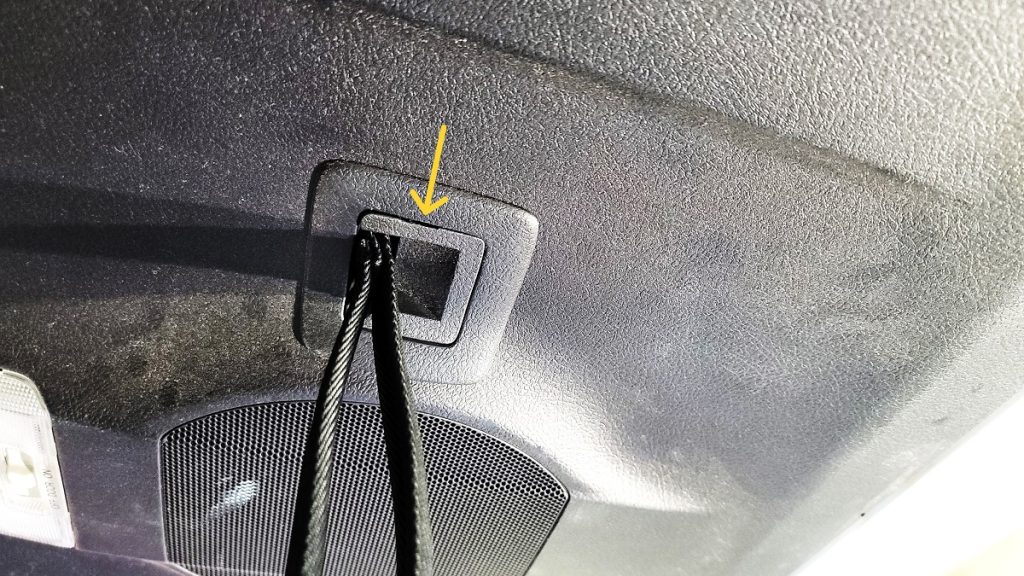
I removed the rear hatch pull-strap by inserting a pry tool and popping off the bolt cover, exposing the bolt inside. Next, use a 10mm socket and ratchet to remove the bolt and strap. Set them aside for reinstallation later.
Step 2. Remove Hatch Panel
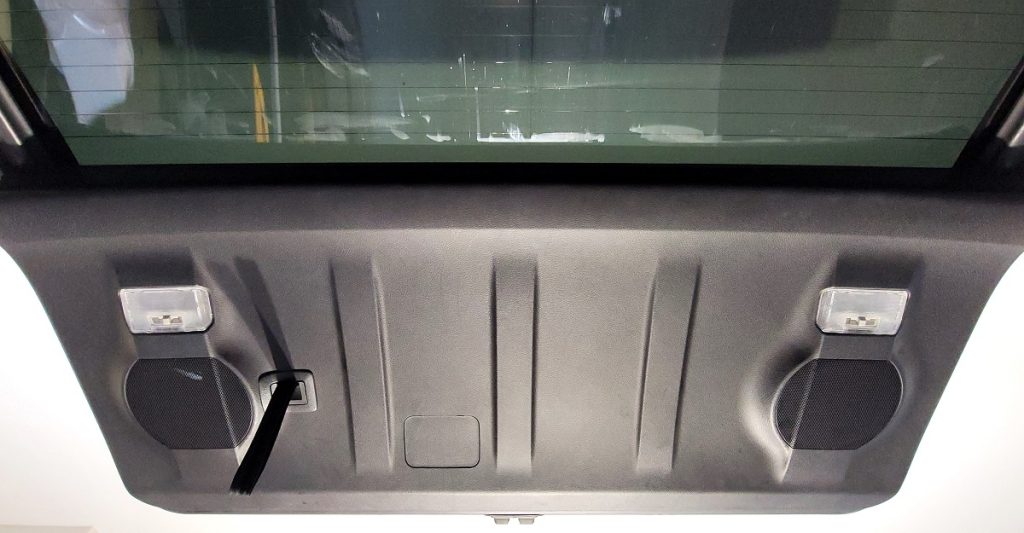
Using a non-marring panel removal tool, I found a spot along the edge of the hatch panel and inserted the tool between it and the hatch. I had to create a small gap a the very bottom of the panel with my fingers and work the pry tool underneath.
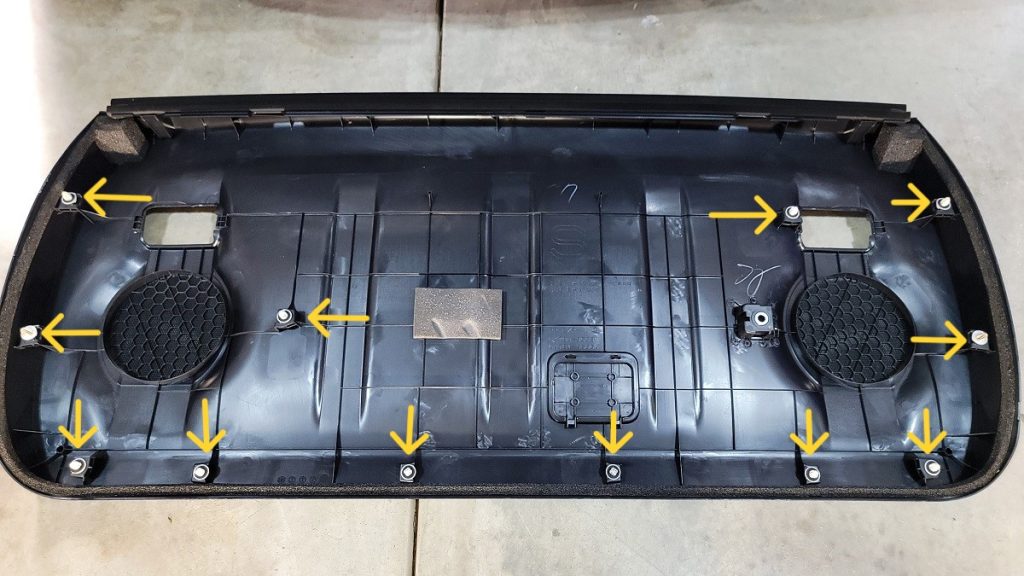
Then, I slid the tool along the edge until I could feel it hit a fastener and gave the panel a quick tug to release it. Continue working around the panel until all (10) fasteners are released. There are (2) fasteners in the middle of the panel that you need to reach up to release.
While the top of the panel hangs over the edge of the window slot, work it up and over the window hang and set it on a workable surface.
Step 3. Align MOLLE Panel
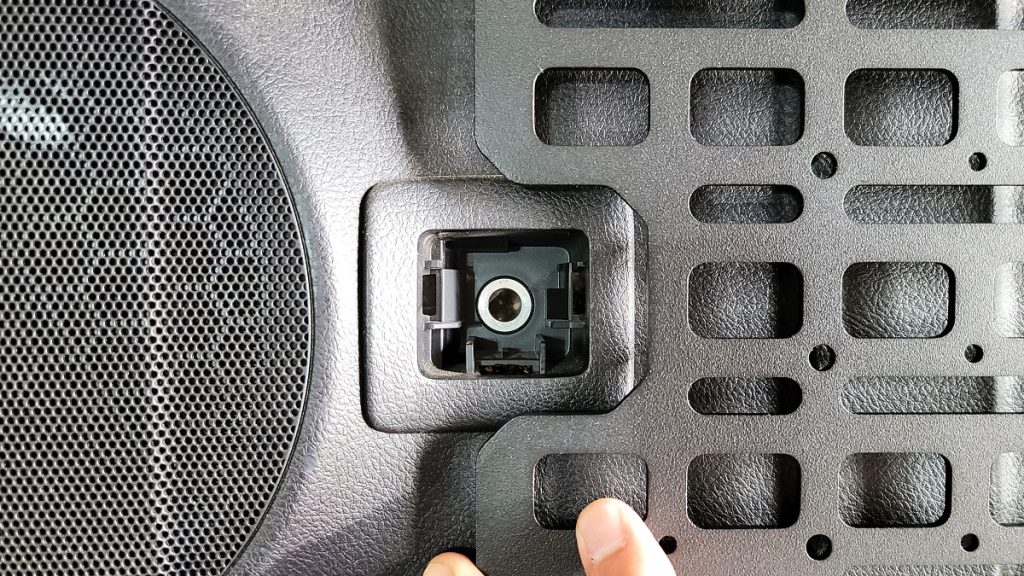
With the hatch panel lying down, I positioned the Bison Gear panel on top. There is a notch in the lower left corner of the MOLLE panel that aligns with the rear hatch strap I used as a reference point.
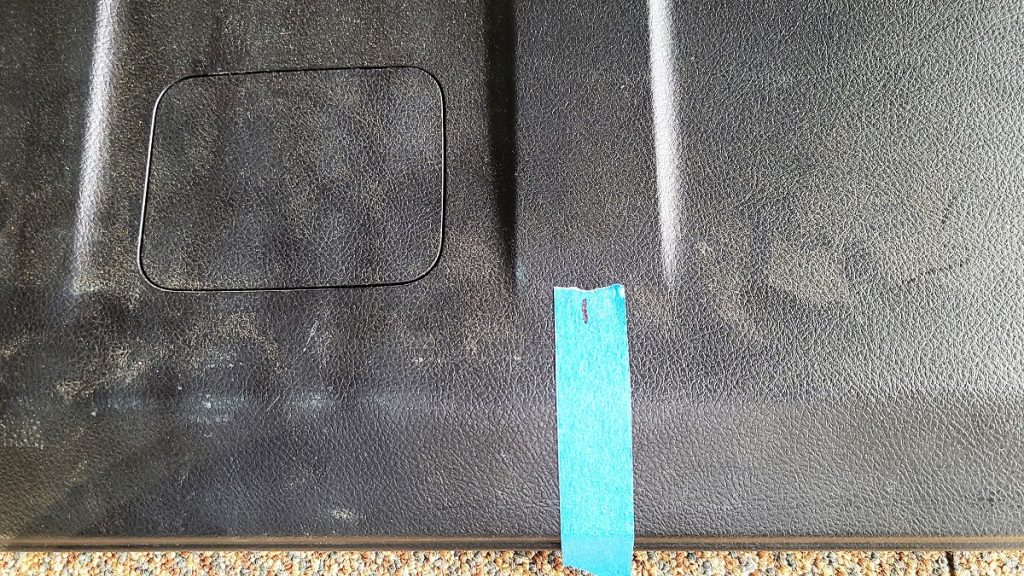
The 4Runner’s hatch panel is curved, preventing the MOLLE panel from sitting perfectly against it. This can be frustrating as you try to line everything up. To help with this, I measured across the hatch panel and found the center(ish) line. Then, I used blue painter’s tape and marked the positioning.
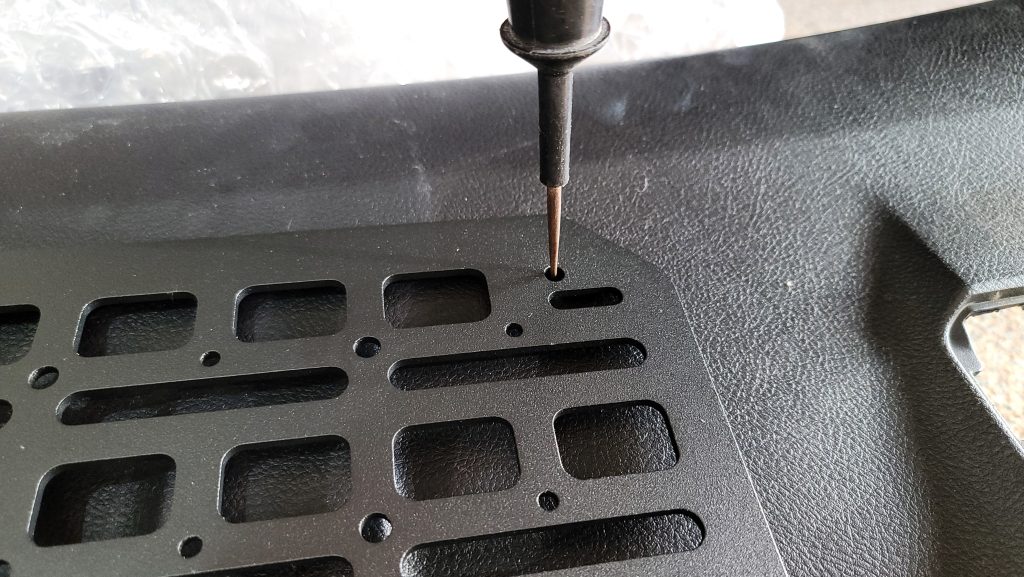
I used a combination of the “straight edge” on the lower panel, alignment of the MOLLE strap and hatch strap cutout, and my painter’s tape center marks to find the best mounting position. Next, I used an awl (I couldn’t see Sharpie against the black plastic) to mark the hatch panel where my mounting screws would go.
Take your time as it’s very easy to bump the panel out of position.
Step 4. Drill Holes
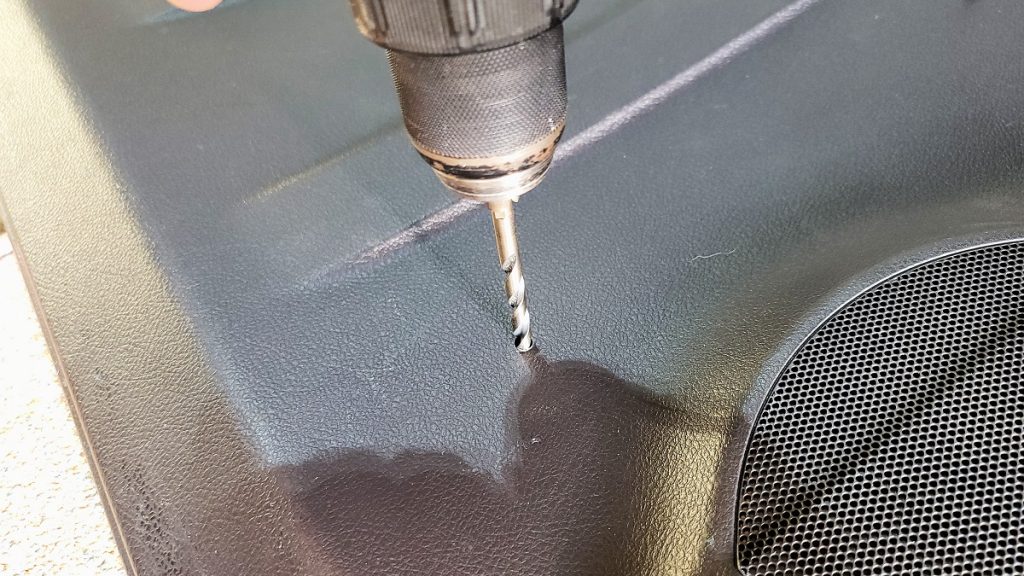
I carefully braced the panel to support it while I slowly drilled the mounting holes. This is a relatively soft plastic so your drill bit should eat through it with minimal pressure. Go slowly because when that drill bit gets through the plastic, it will bite and rapidly pull to the other side. Do not have your hand or coffee table supporting that panel as you are likely to accidentally put a hole in it.
To clean up the holes, put the drill into reverse and use a little back-and-forth action. Keeping the area clean and free from burrs will allow the screws and spacers to sit much better into position.
Step 5. Mount Panel
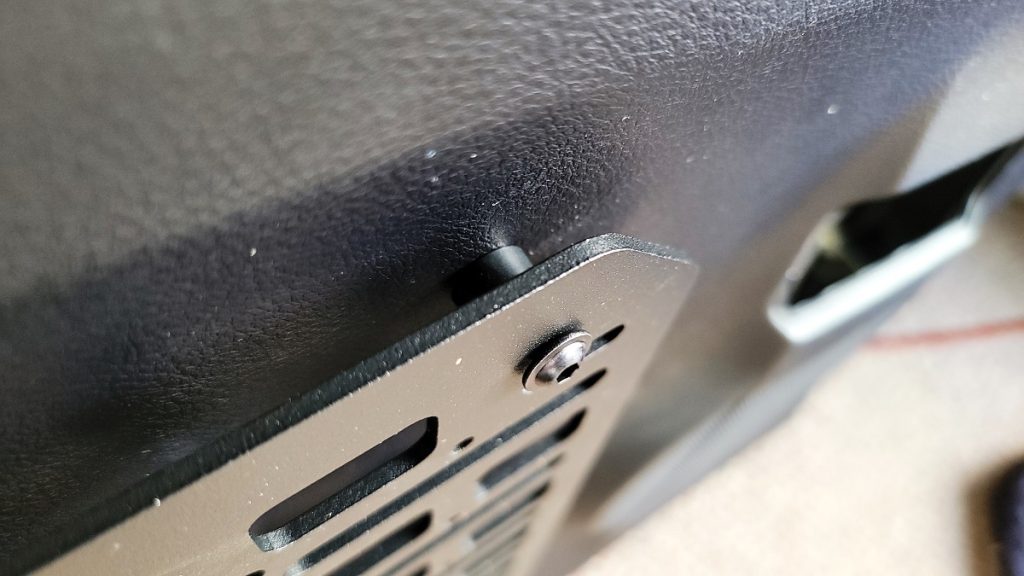
Slide the mounting screws through the MOLLE panel, place a spacer, and push it through the hatch panel where it meets a washer and nut on the backside.
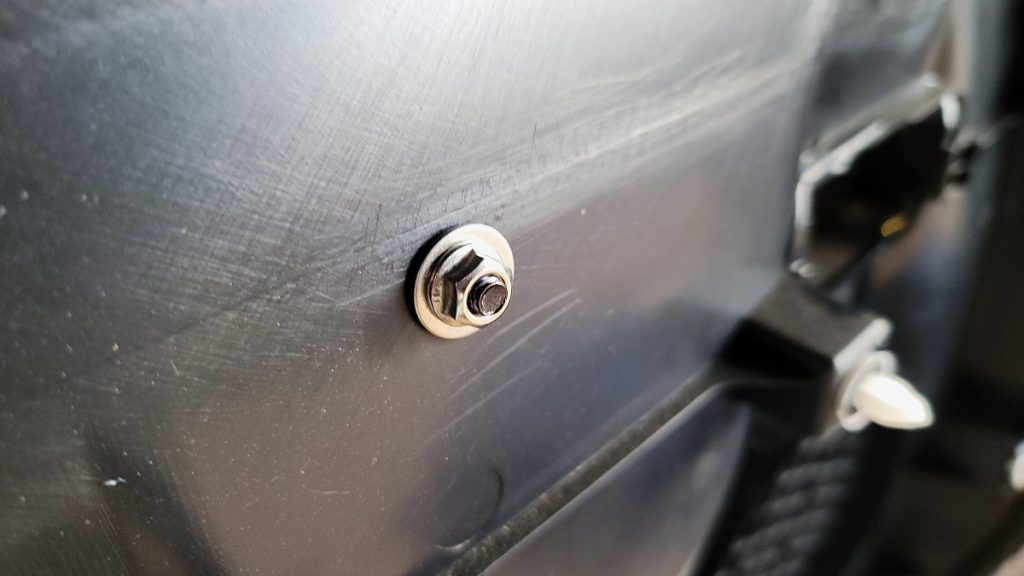
I tightened the screw with an Allen wrench and held the nut on the other side with pliers. Snug is all you need here, don’t overtighten.
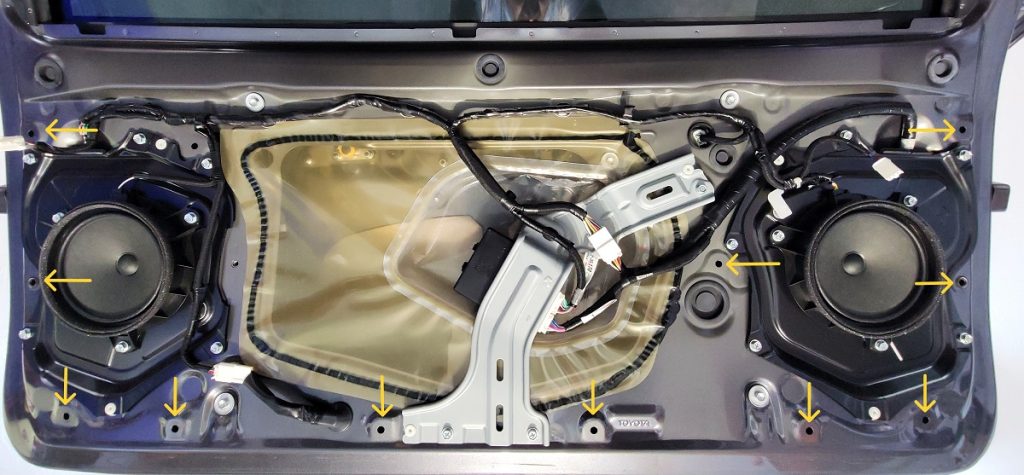
After you get all of the mounts snugged down, reinstall the panel to the 4Runner’s rear hatch. I found it easier to stand with my back to the inside of the truck and lower the hatch pulled down slightly. This allowed the hatch panel to hang over the window guide while I aligned the fasteners.
When you feel the fastener line up with the hole, give the panel a firm push with your hand to secure it. Once all (10) are back in place, your new system is ready to go.
Final Thoughts
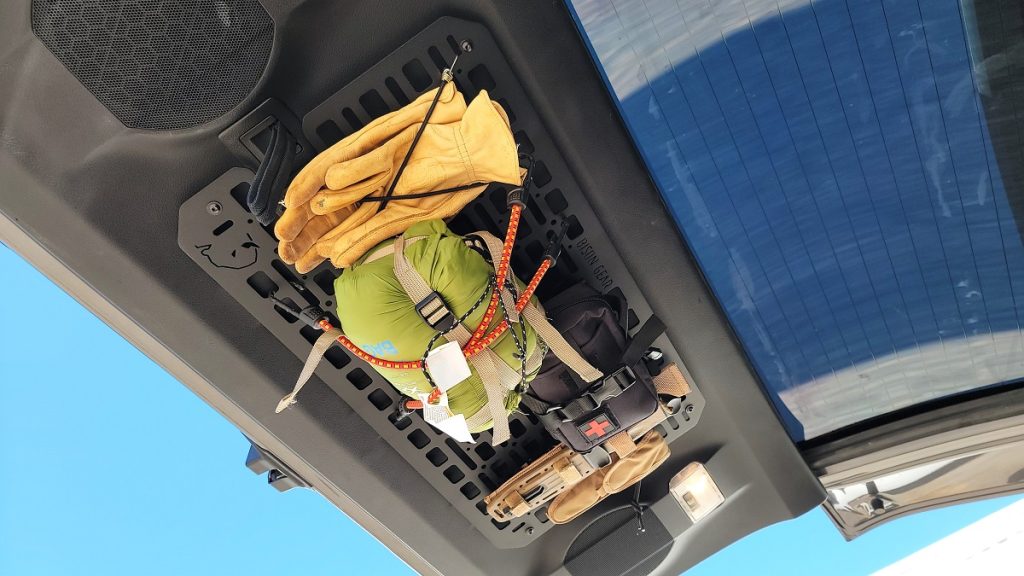
At first, I thought this panel was a bit of a novelty. However, after running it for several weeks, I really appreciate its utility. My 4Runner is a daily driver, mobile office, construction tool hauler, grocery-getter, and family hauler. This means it has to be highly modular and configurable. However, there are several staple items I like to have with me at all times.
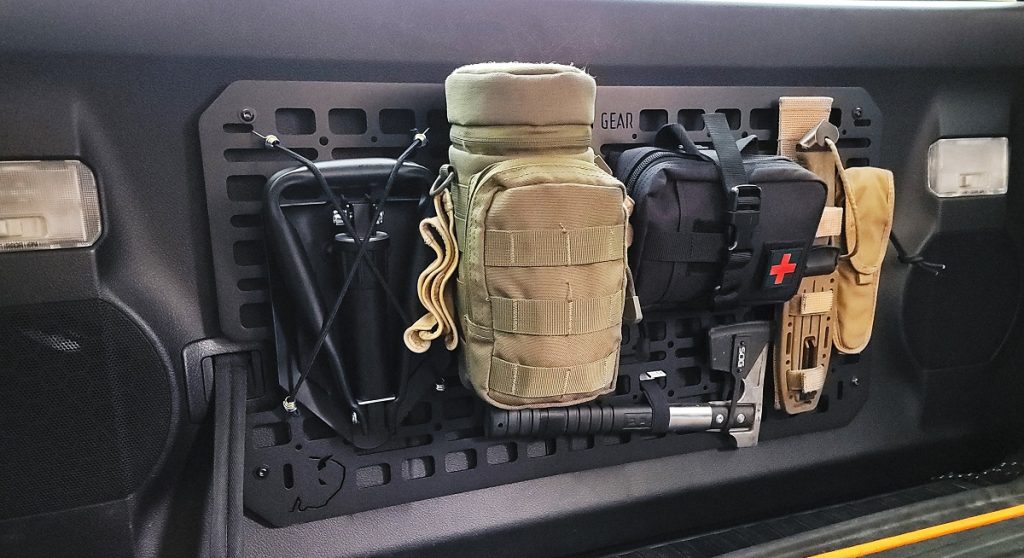
If you’re storing items like the small hatch pictured above, ensure that they’re strapped down well so that nothing falls and injures someone standing under the rear hatch when open.
Before the Bison Gear MOLLE panel, I would throw them in my door pockets or squeeze them underneath seats. This made gear difficult to access, not to mention highly unsecured while driving. This panel allows me to securely store my everyday items in an otherwise unutilized portion of my cargo area.
Everything holds secure with no signs of being overweight. Once loaded down though, you may need some heavy-duty rear hatch struts.
