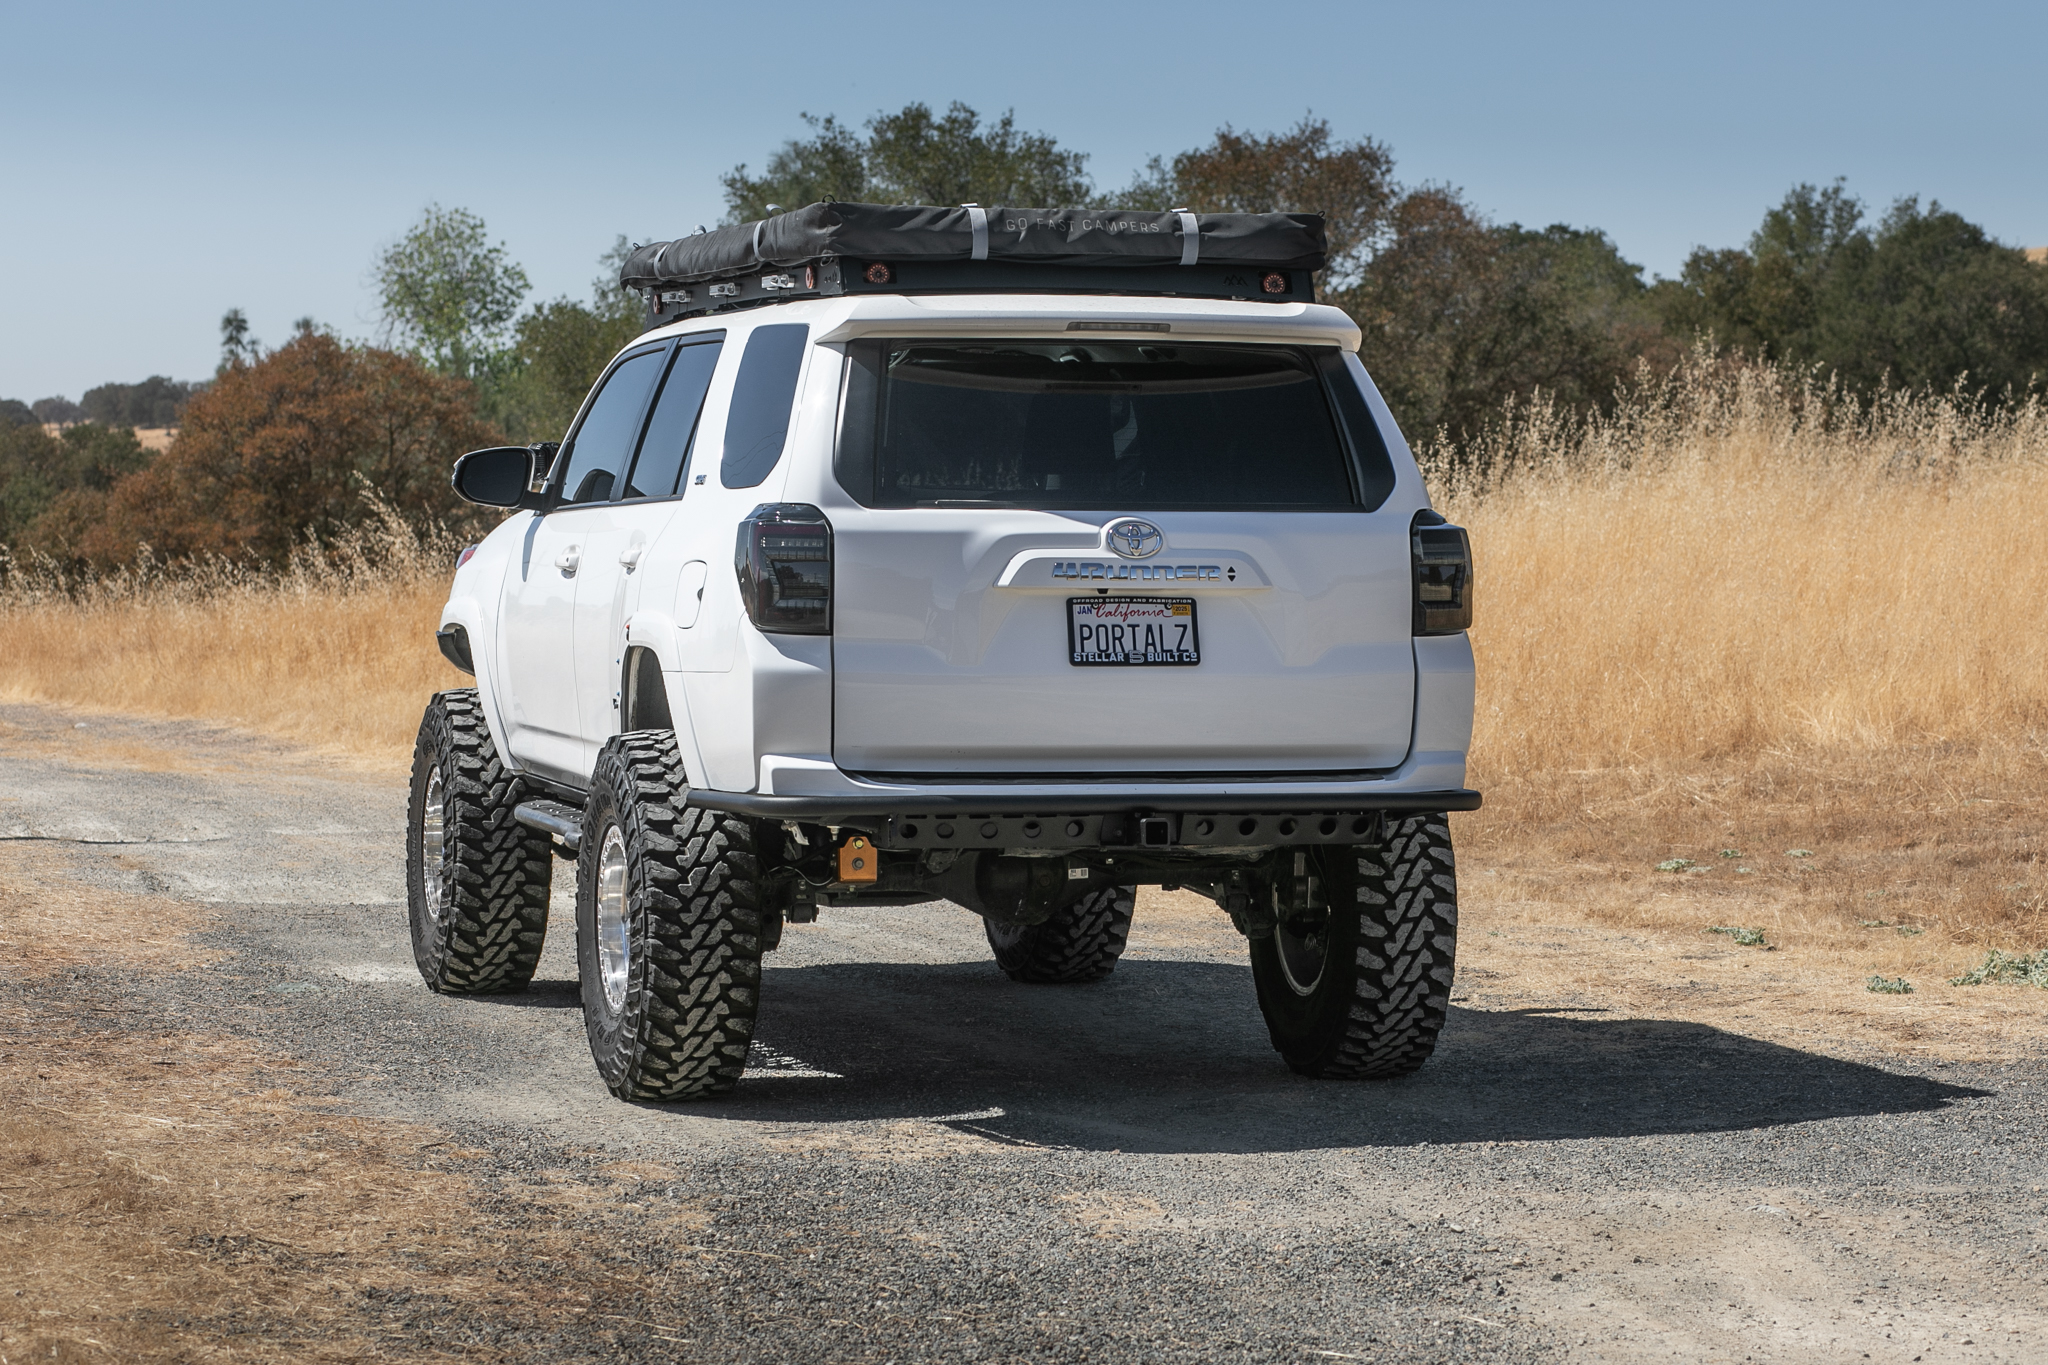
True North offers the bumper in a couple of configurations; with or without a swingout and welded or non-welded (DIY). It starts at $699 and can go up from there depending on what you option; swingouts, swingouts with MOLLE, powder coating, etc.
We are working on the DIY option today without a swingout welded together by the boys at StellarBuilt. Let’s jump into the installation and see what it’s all about.
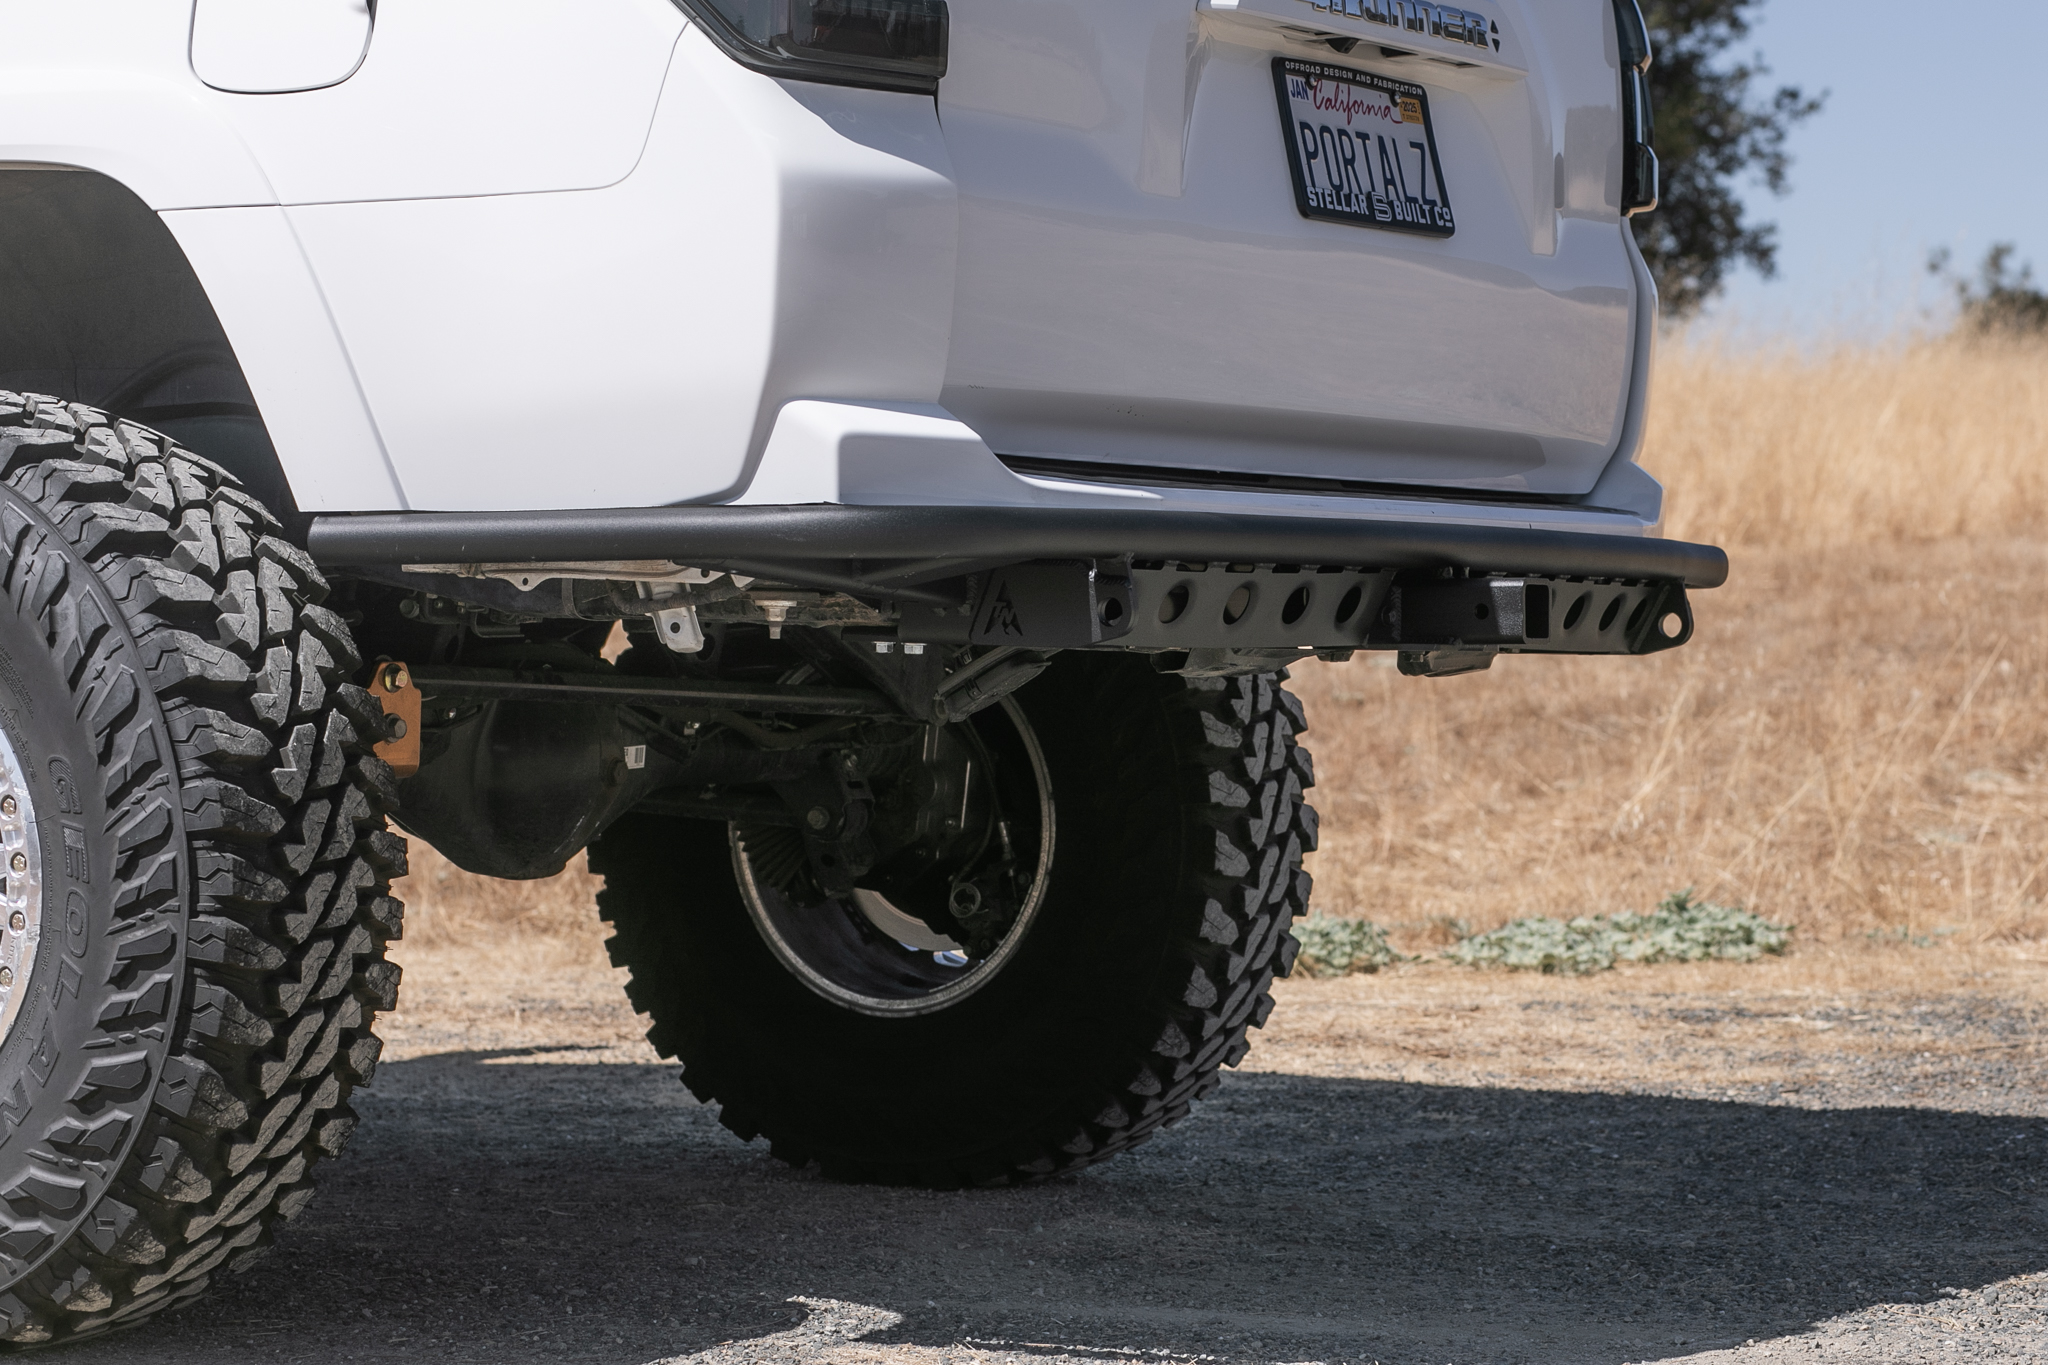
If you’re looking for the full review, check that out here.
Find It Online:
- Welded ($999+): Check Price
- DIY (Non-Welded – $699): Check Price
- Product Overview (CAD – PDF): View Online
Table Of Contents
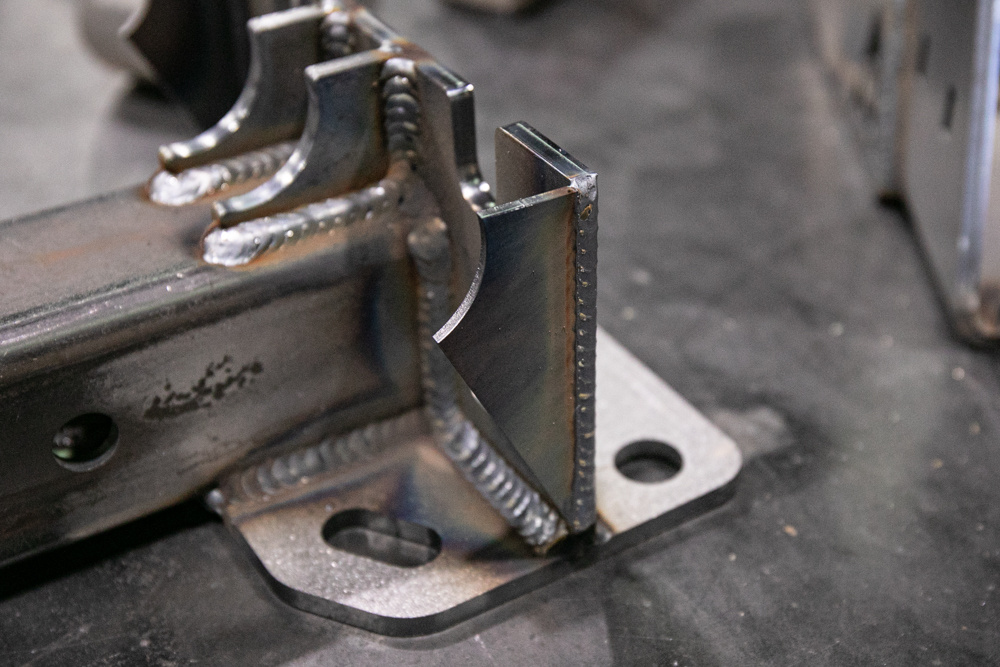
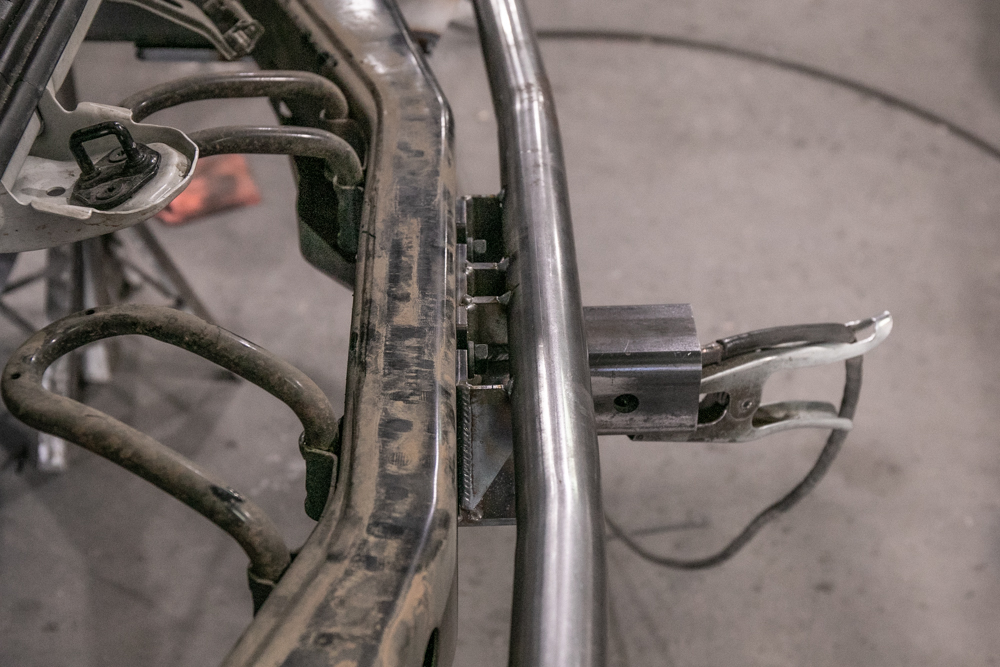
Step 1. Tack Weld Hitch Assembly
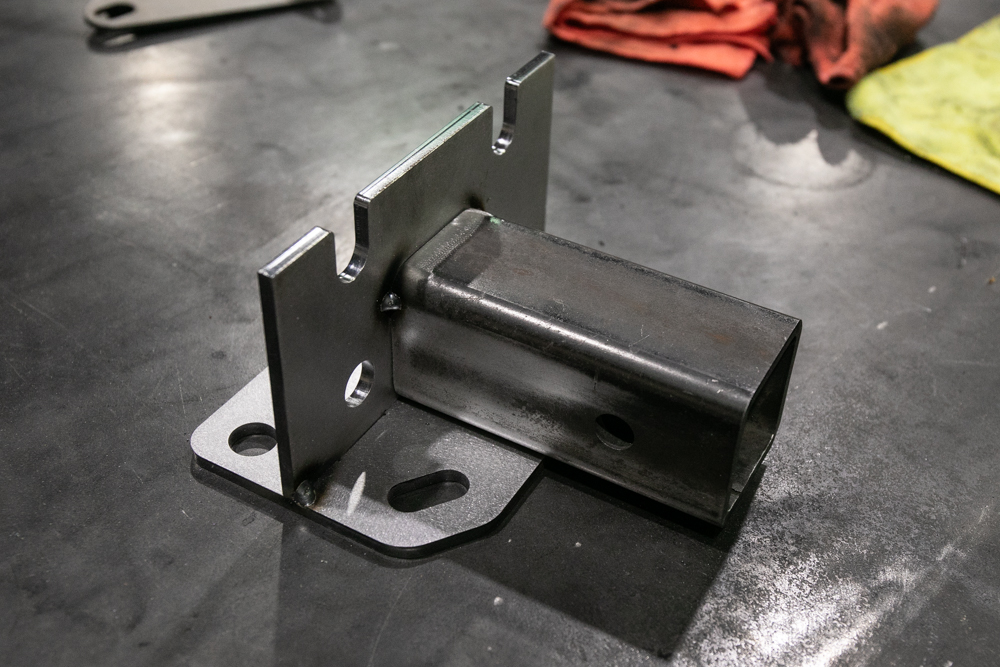
The hitch assembly is keyed for easy assembly. Everything slots into place and is ready to tack.
Step 2. Finish Weld Hitch Assembly
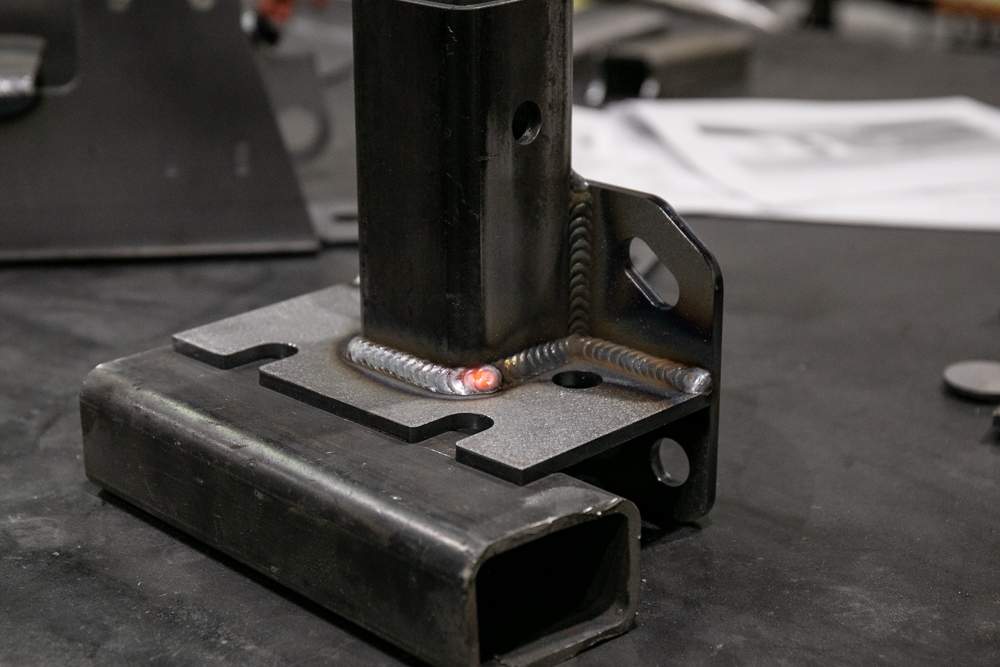
Step 3. Inner Hitch Tube Support
Once the hitch assembly is welded, mock up the inner tube supports.
You may need to sand down the inner tube supports so that they are flush with the hitch plate and receiver.
Step 4. Outer Hitch Tube Supports
Weld the outer tube supports to the outside of the hitch plate.
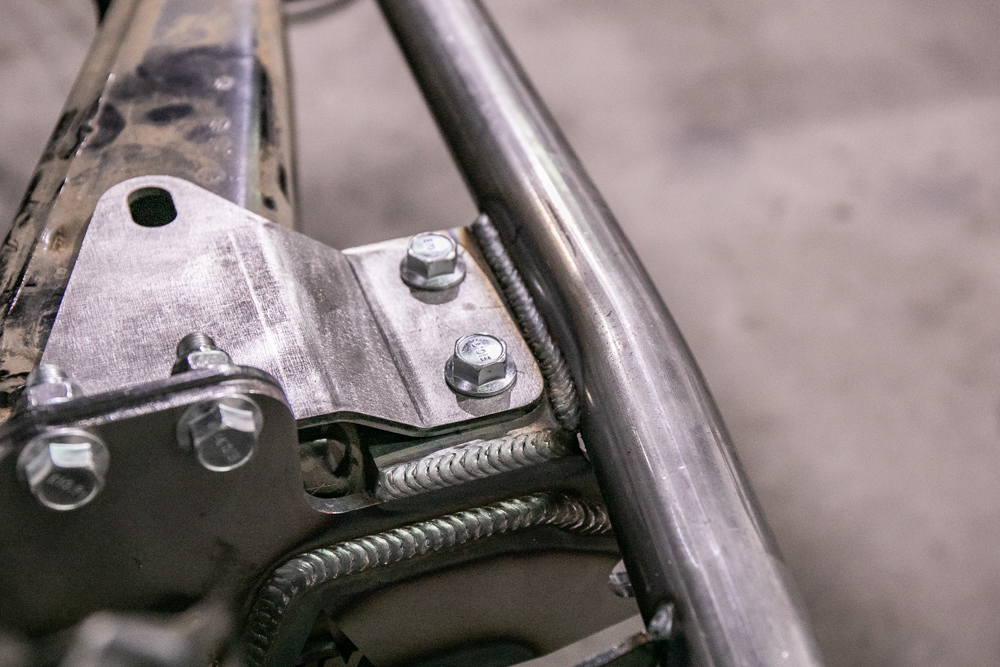
Step 5. Prep Frame Plate Assembly
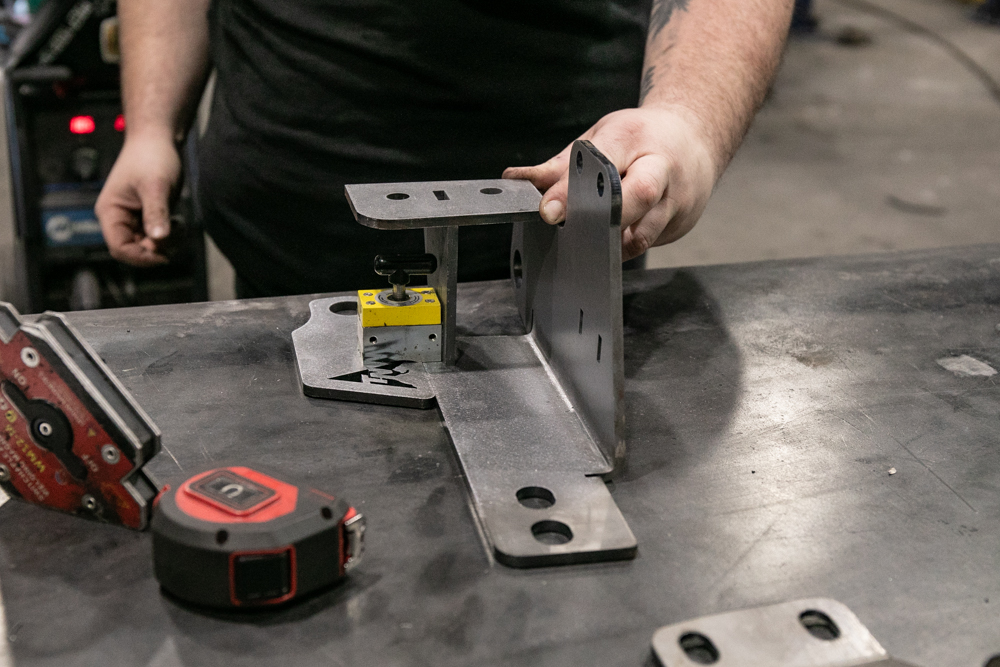
Now let’s mock up the frame plates. You will have a driver and passenger side frame plate.
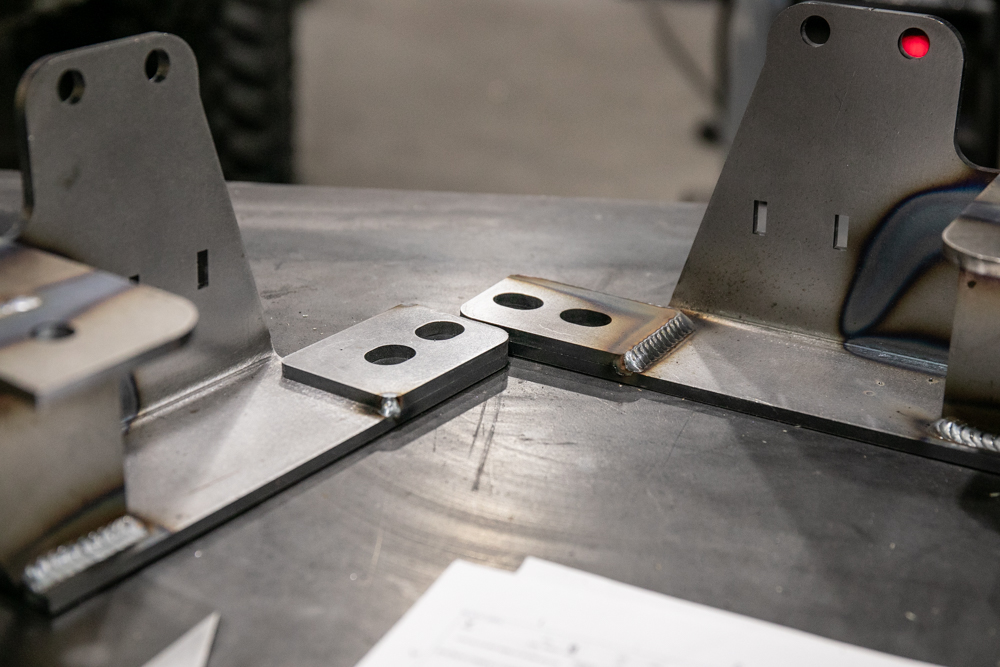
Step 6. Frame Plate Reference (Driver & Passenger)
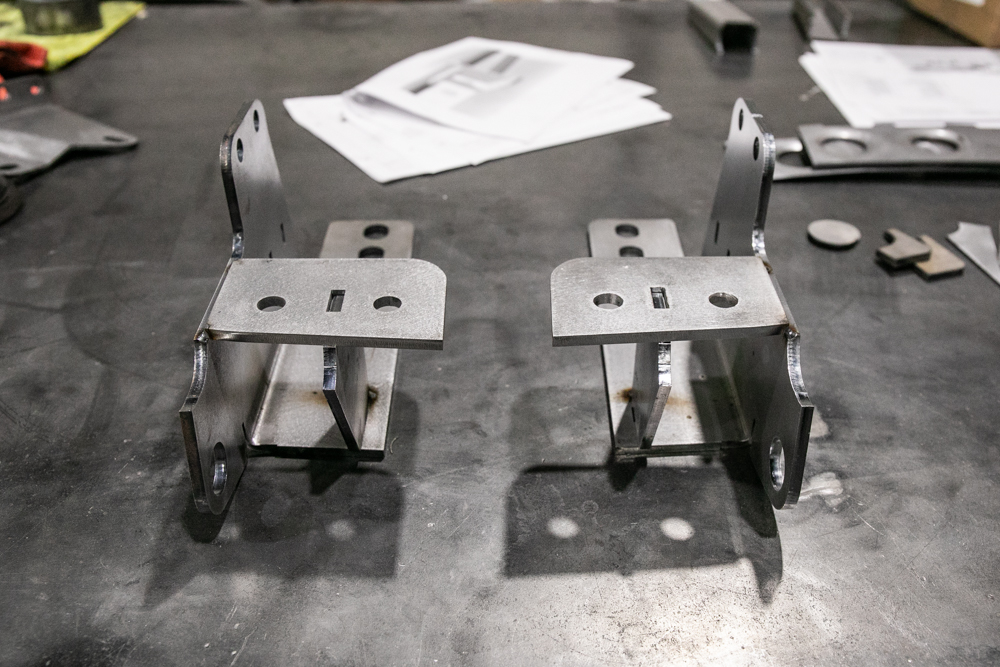
This is how both the driver and passenger side frame plates should look. The Frame Plate, Vertical Gusset, and Top Plate are ready for final welds.
The frame plates are made of 5 pieces:
- Frame Plate
- Vertical Gusset
- Top Plate
- Recovery Overlay
- Frame Spacer
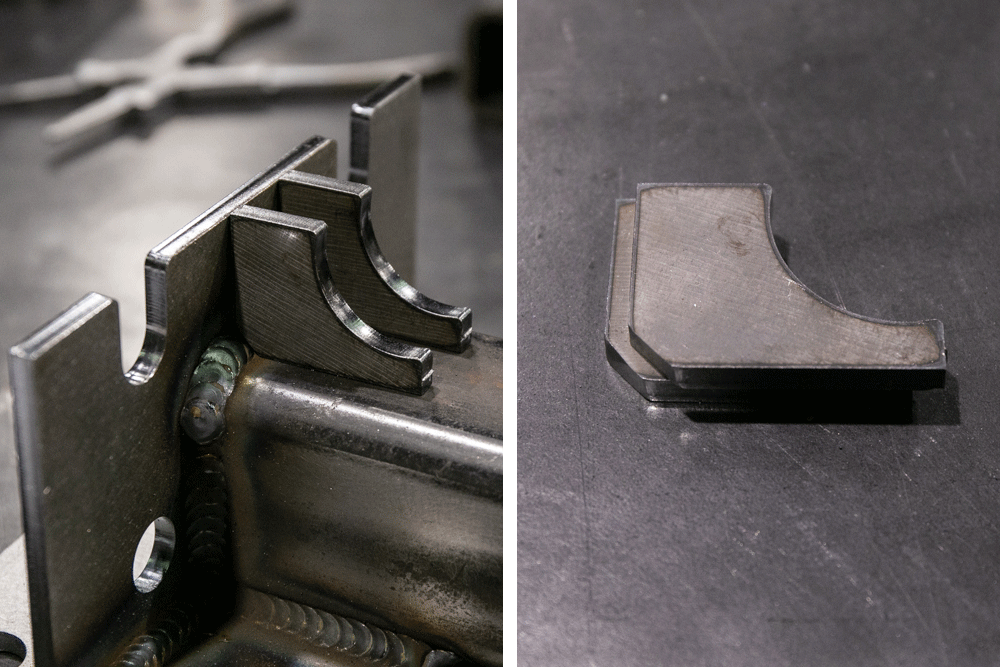
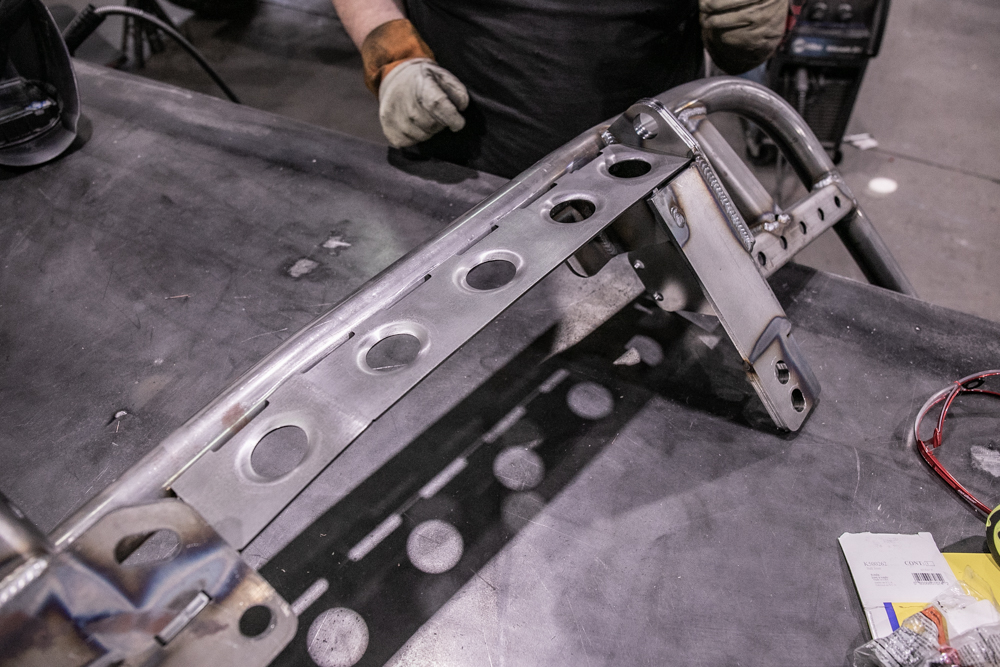
Step 7. Recovery Overlay
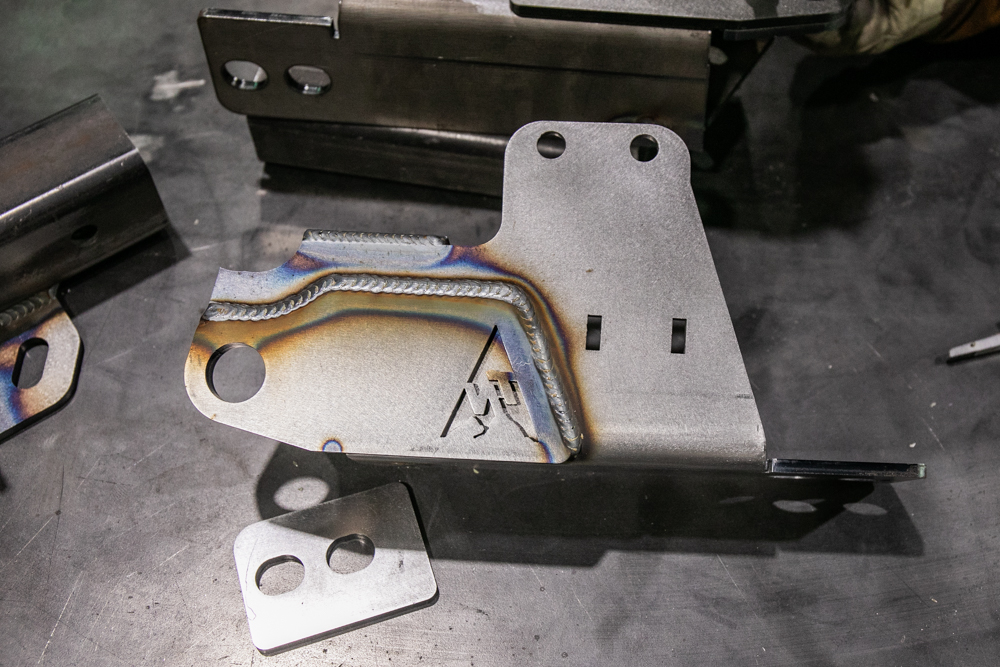
True North provides recovery plates with their logo for each frame plate. Line up the holes for the recovery point, clamp it together, and weld.
We got two driver-side recovery overlays. Not a big deal. It’s the same piece but the logo is now reversed on the passenger side.
Step 8. Frame Spacers
The last step for the frame plates is the spacer. Both the driver and passenger side get spacer plates.
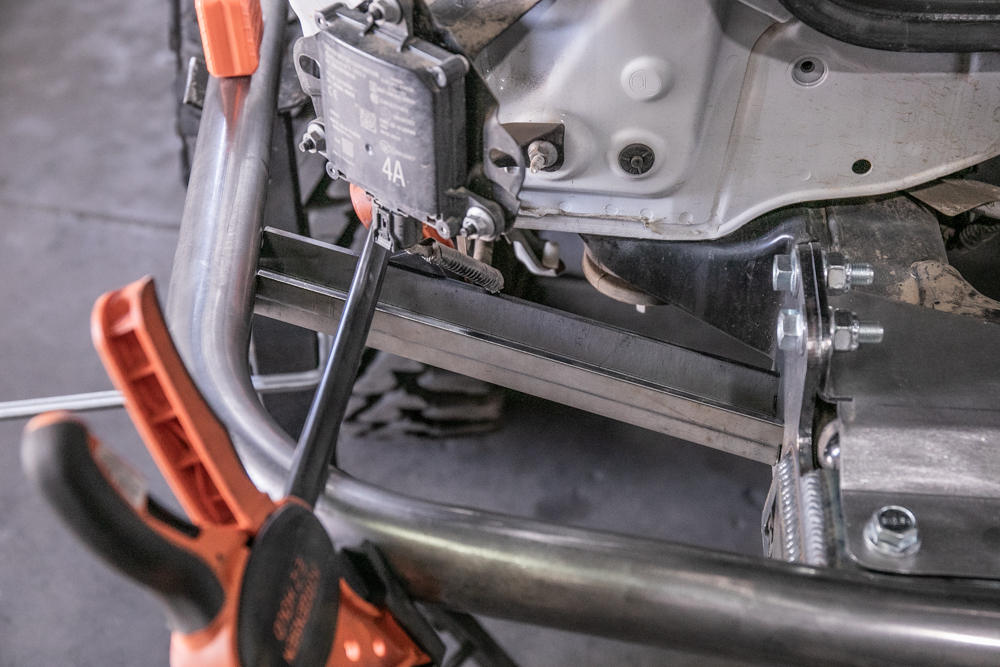
Step 9. Mount Frame Plate
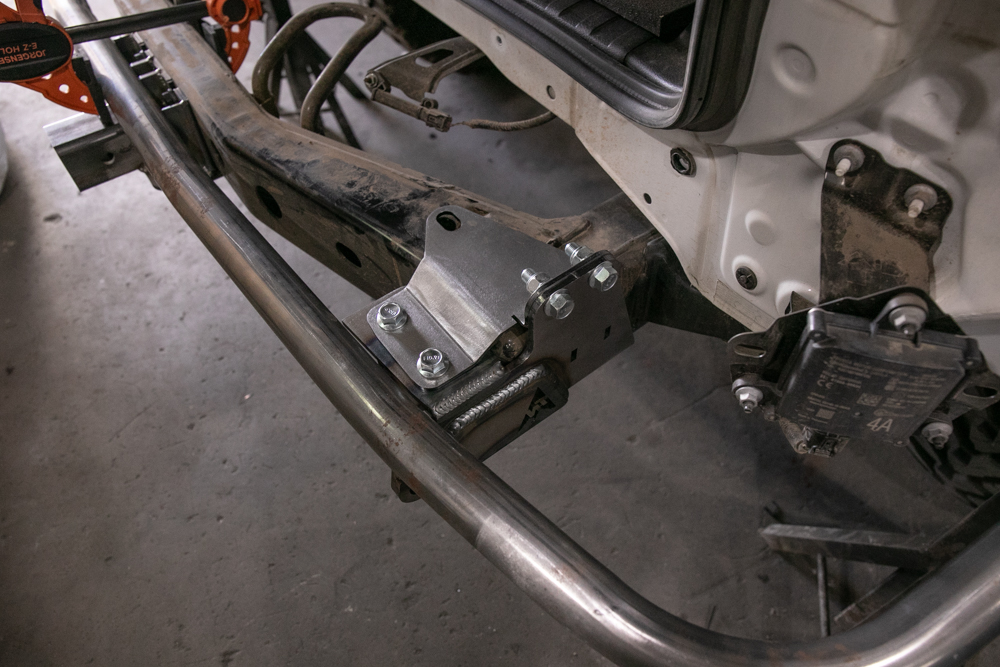
Now that the frame plates and hitch have been welded, bolt everything on and set the tube in place.
Step 10. Level Tube
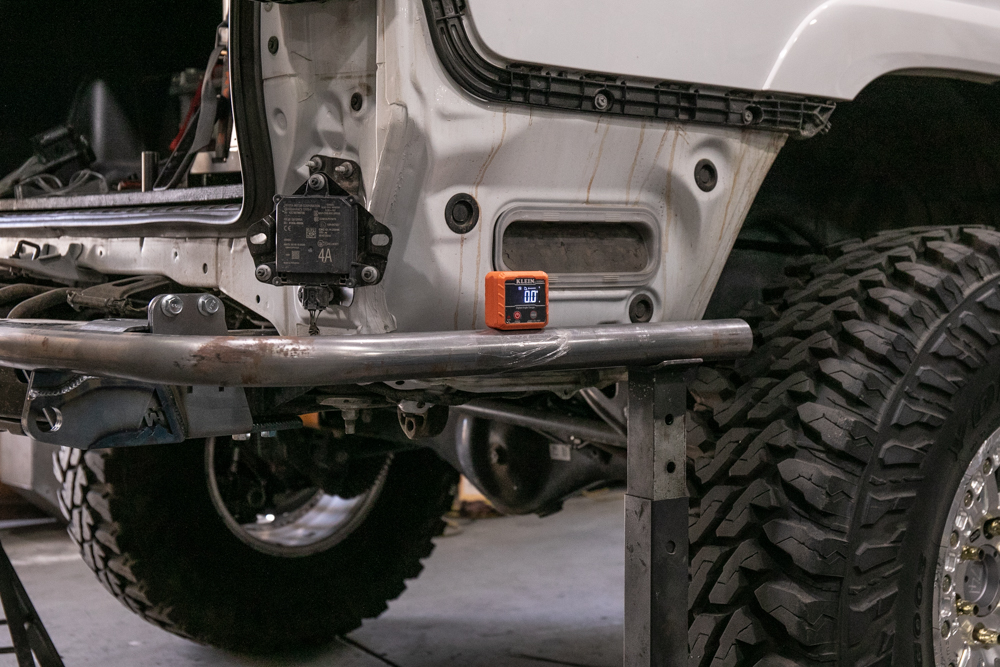
Roughly fit the tube to your desired position with a few clamps. Level out the side tubes on both sides.
Step 11. Measure Tube Offset
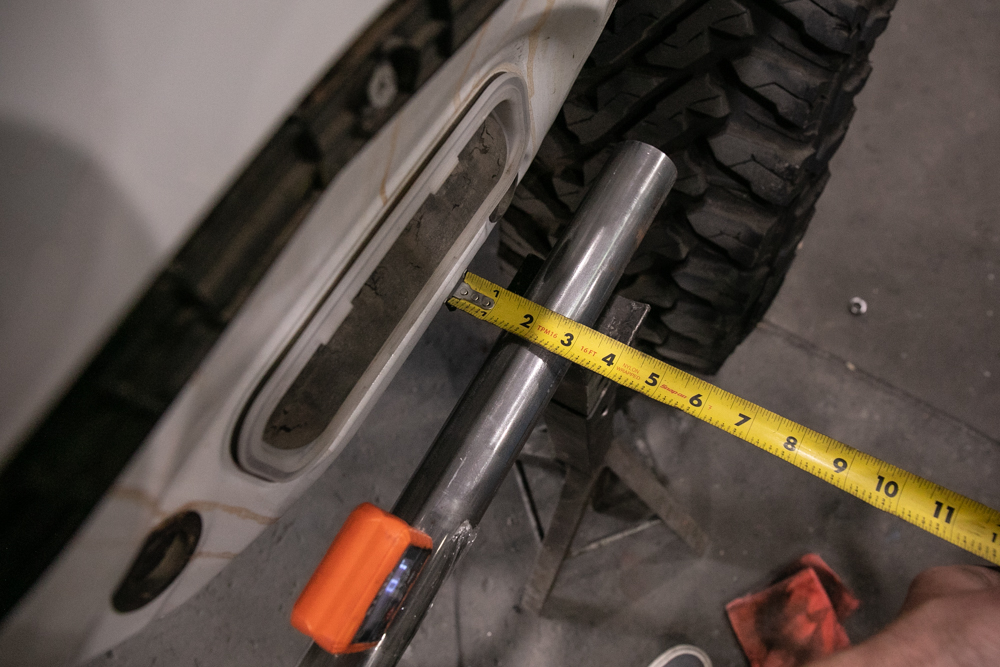
Finally, measure the distance from the body to ensure your tube has been centered.
Step 12. Primary Support Brace
Position the primary support brace in the slot on the frame plates and slide it into position along the tube.
Step 13. Secondary Support Brace

Slide the short brace in between the long brace and tube until it becomes tight.
Step 14. Tack Weld Center Tube on Hitch
Once all the pieces are in place, start tacking everything down. We started with the tube and hitch and worked our way to the outside.
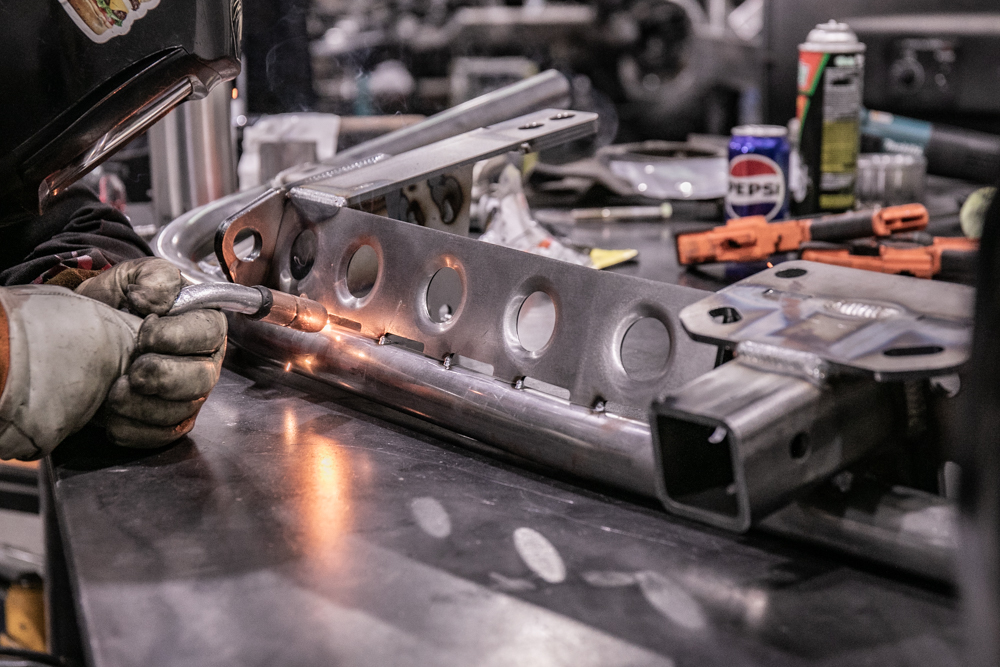
Step 15. Weld Frame Plate to Tube
You can weld the tube to the frame plates while mounted to the truck or pull it off and finish welding everything together.
Step 16. Remove Bumper – Finish Welding

For the hard to reach welds, we pulled the bumper off the 4Runner, and finished everything on the table.
Step 17. Dimple Plate
The dimple plates are welded to the recovery plates, frame plate, tube and hitch.
Step 18. Shave Frame Plate
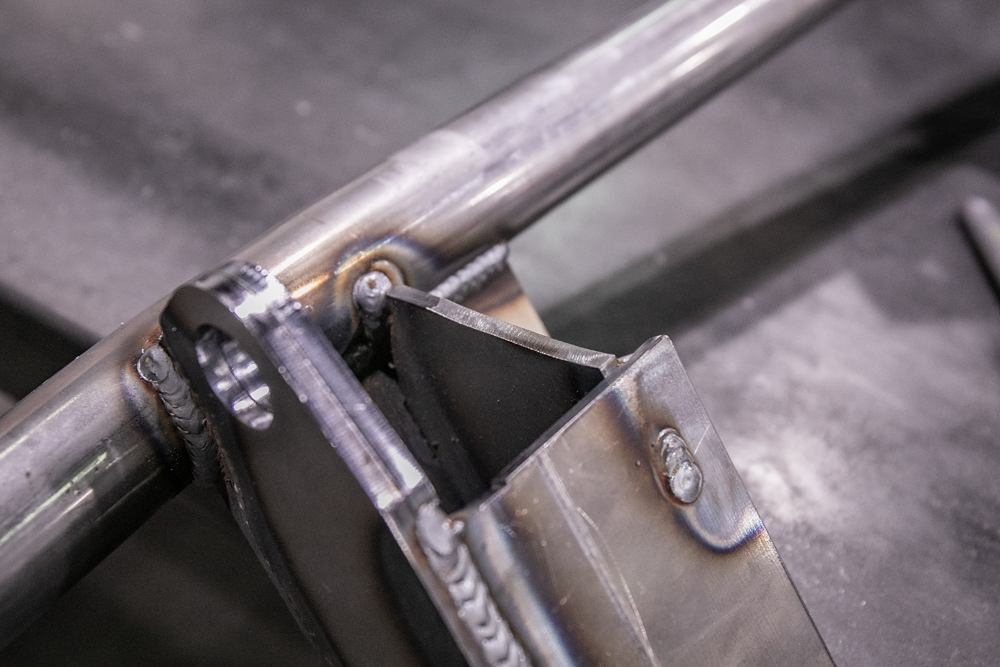
You may need to shave a bit of material off the frame plate for the dimple plate to seat correctly.
Step 19. Weld Dimple Plate
Once you have it tacked up, finish welding.
Step 20. Weld Tube Caps
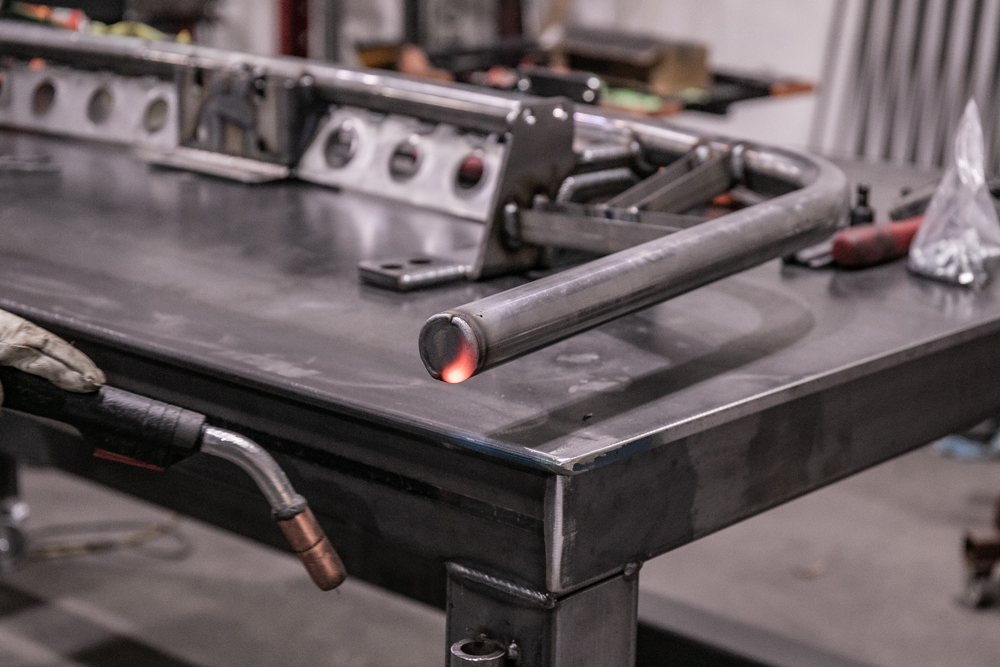
The last step for welding is the bumper caps.
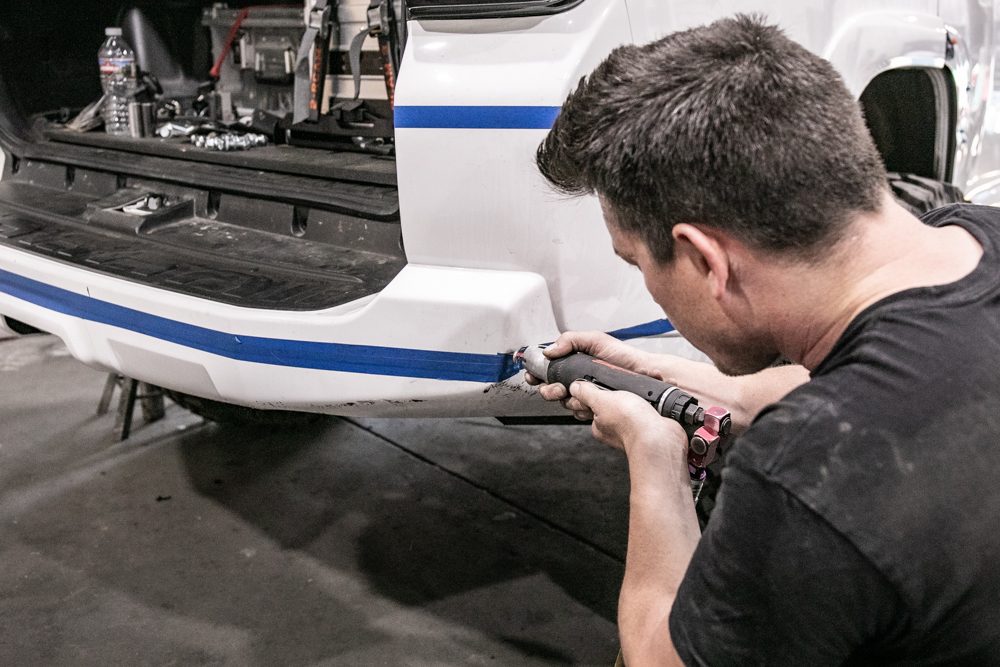
Trimming Side Bumper: 10 5/8″
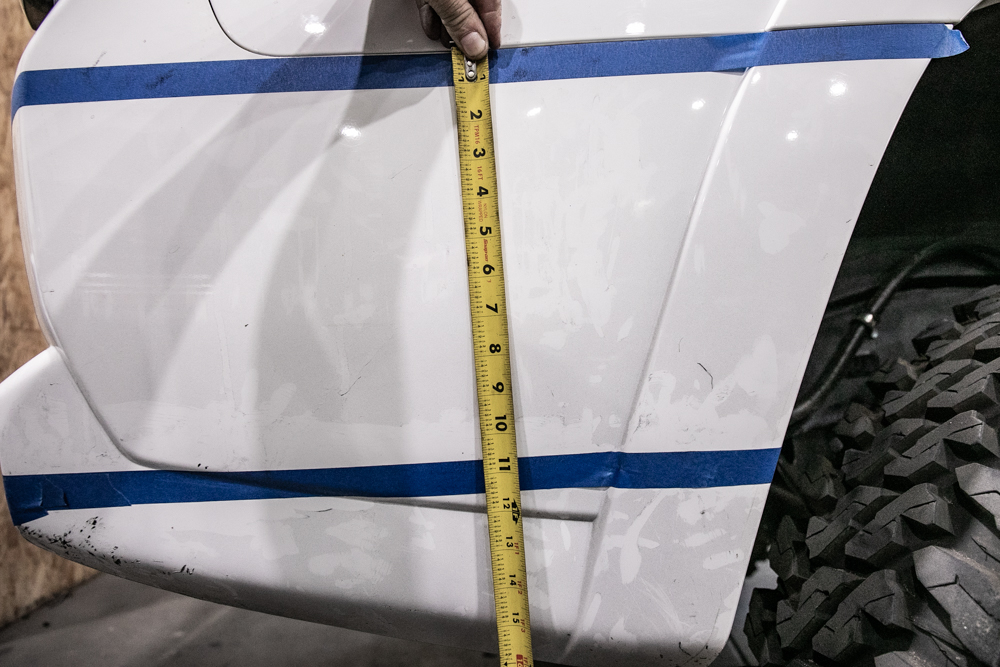
Please take your own measurements. These may be different for you depending on how you set your bumper.
Bumper Corner: 2 3/8″
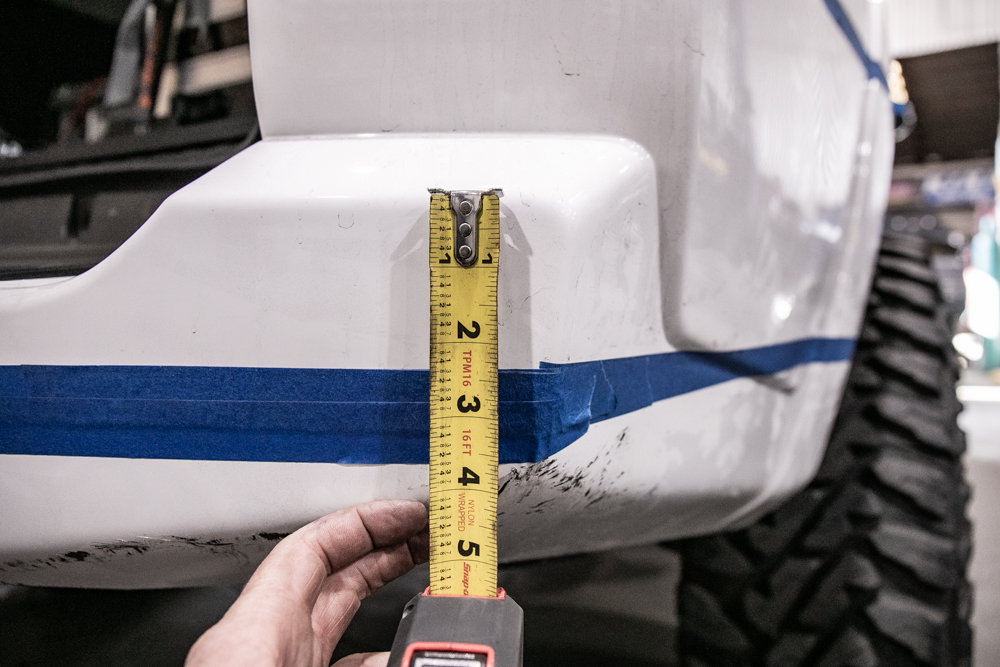
Rear Bumper: 1 3/4″
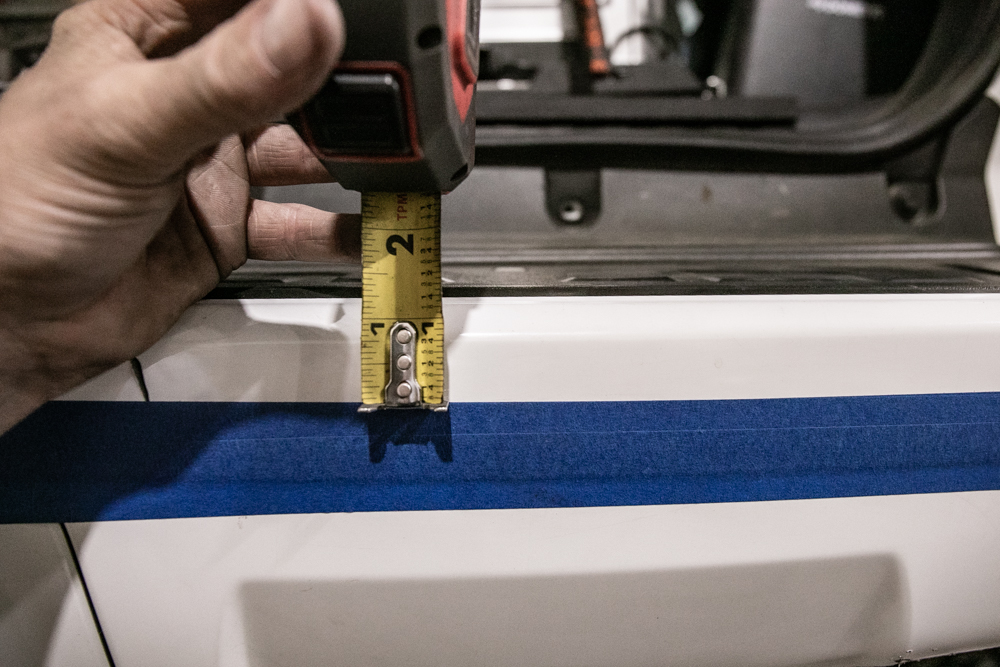
Measure Twice Cut Once
Weight: 46.7 lbs
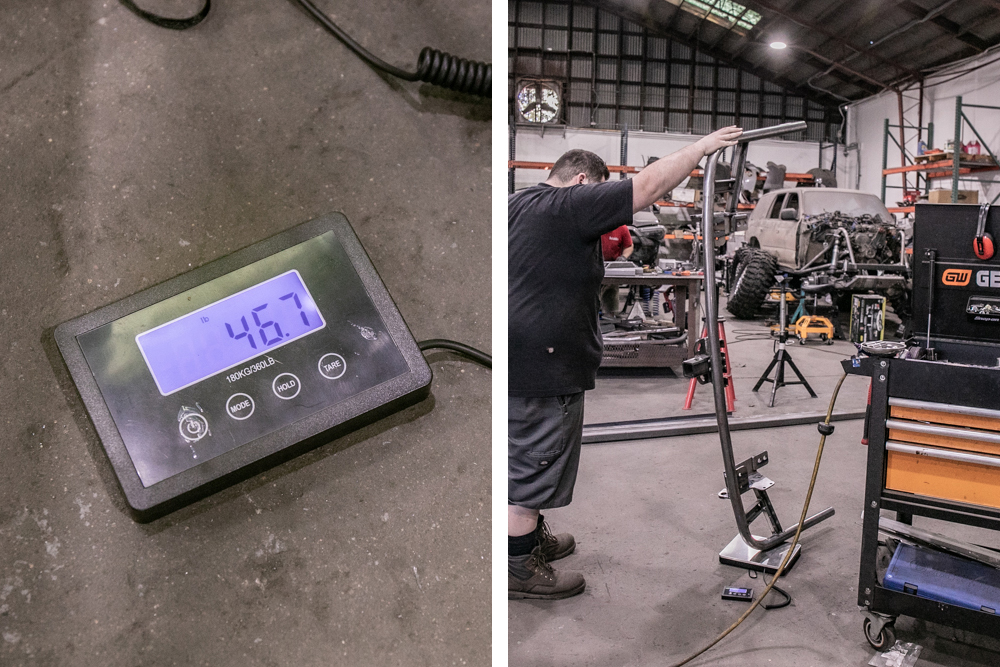
We weighed the bumper after everything was welded on and it came out to only 46.7lbs!! That’s wild. This has to be one of the lightest bumpers ever made for the 5th Gen 4Runner.
Final Thoughts
If you’re a beginner welder, this is a really simple project. This bumper took CJ (Stellar Built) about 4-5 hours to weld and I spent another hour trimming and fitting the bumper in place.
Here is the product review. In that post, we covered all the features, fitment, pros, cons, swingout options, and much more.
Cheers,