Anyone who has driven an early 5th Gen at night understands why its headlights are one of owners’ biggest complaints. They’re dim, they’re yellow, and it seems like there’s always a bulb out somewhere. Toyota heard these complaints, and installed LED low beams and fog lights in all trim levels of the 4Runner starting in 2021. However, for those of us with older 4Runners, we’re still left in the dark (literally).
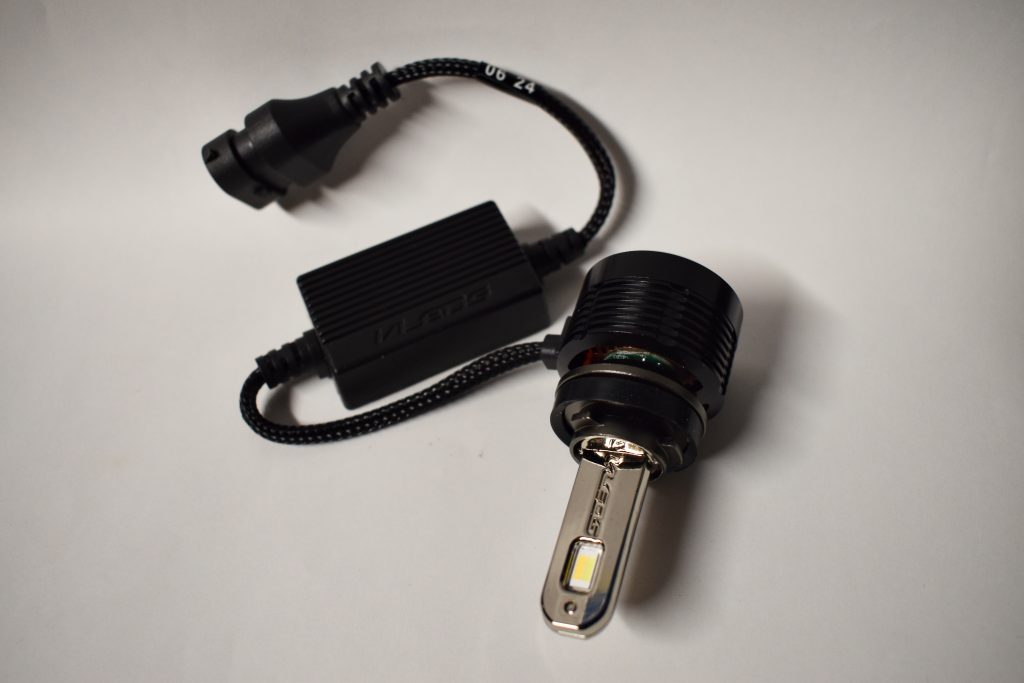
Several companies offer upgraded LED bulbs to bring you back into the 21st century, but VLEDS is known for having some of the highest quality kits on the market. In this article, we’ll install three different sets on my truck and compare their output to the factory headlights.
The bulbs covered in this post are not your average lights. These are the latest and best – the Monochrome Series. This new lineup is so nice, they may have reset the standard. Let’s take a look at why these are the LAST bulbs you’ll ever need.
Find it Online:
- 2010-2013
- V50 (High Beam): Check Price
- V35 (Low Beam): Check Price
- V35 (Fog Lights): Check Price
- V25 (Dual Color Fogs): Check Price
- 2014-2024
- V50 (Low Beam): Check Price
- V35 (Fog Lights): Check Price
- V25 (Dual Color Fogs): Check Price
- V35 DRL/High Beam Kit (2014-2021): Check Price
- BiLED High/Low Beam DRL Kit (2021-2024): Check Price
Table Of Contents
Why Buy VLEDS?
Located in Washington, USA, VLEDS specializes in one thing: making high-quality automotive LEDs. They make an LED replacement for just about every light in your 4Runner (and several other makes and models), from interior lights to amber turn signals. We’ve reviewed several of their products in the past and have been blown away by their quality, light output, and ease of installation. All of their products are developed in-house with fitment and reliability in mind.
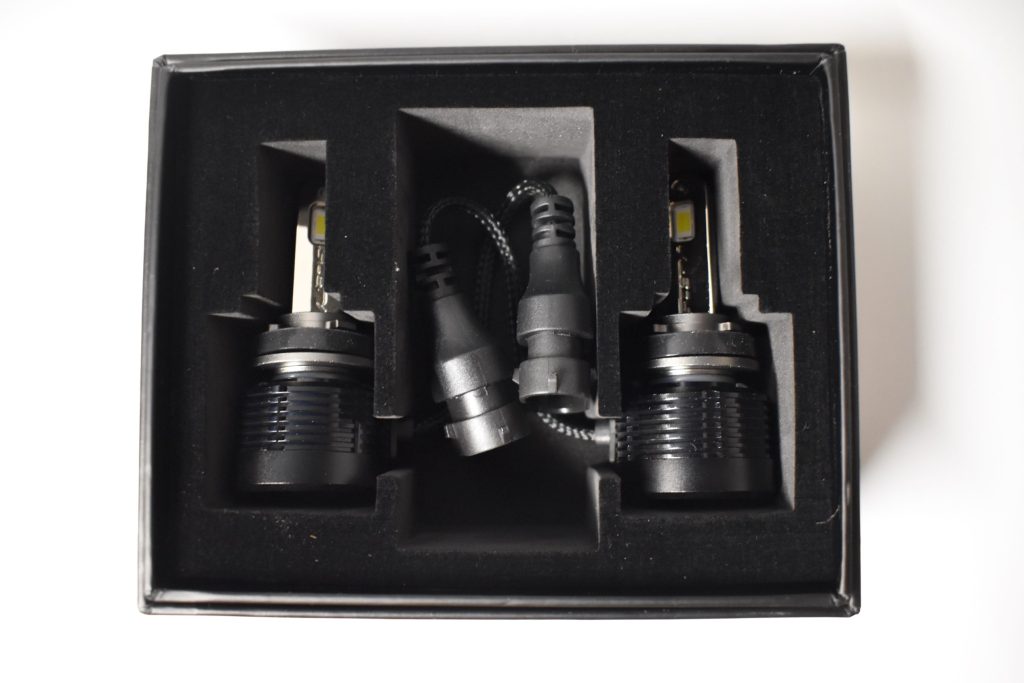
Immediately upon receiving the bulbs, the quality is apparent. Even the packaging looks as if it should be housing parts for a Mars rover, not a Toyota 4Runner (that gives me an idea… 4Runner Mars rover, anyone?). The bulbs themselves are equipped with numerous features to improve their longevity, including an internal heat sink, an adjustable collar, and a twelve thousand RPM Whisper Flo Cooling Fan. For reference, your 4Runner redlines at less than half of that.
Features & Specs
Let’s run through the different options within this line.
- V50
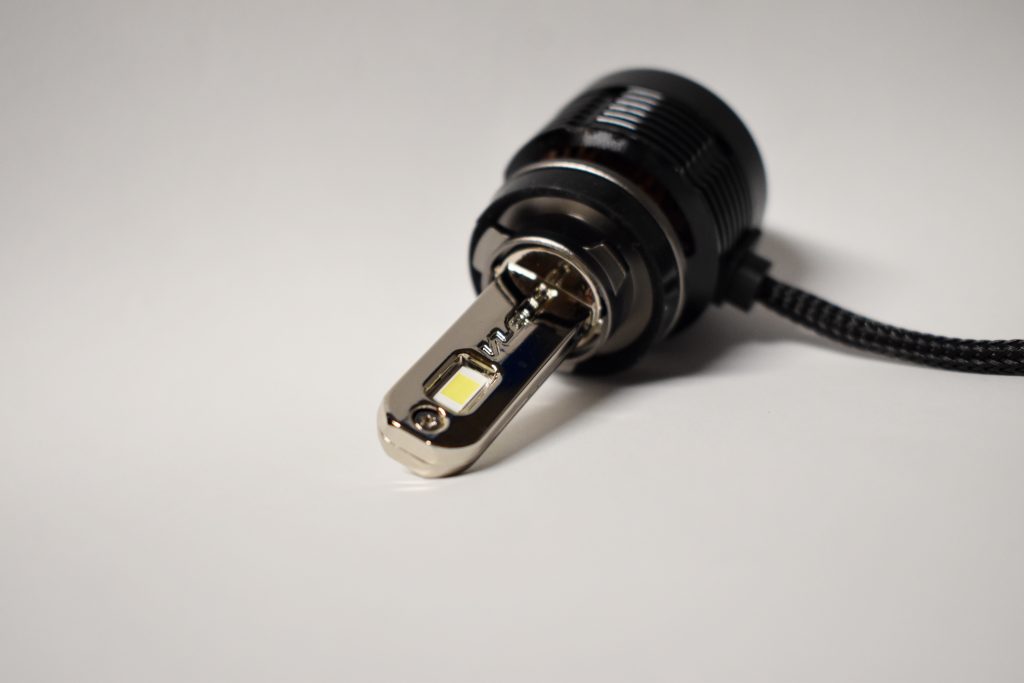
- 5,000 lumens, made specifically for high/low beam applications (I used these for high beams)
- V35
- 3,500 lumens, more universal application for low/high/fog (I used these for low beams)
- V25
- 2,500 lumens, dual color white/yellow fogs (I used these for my fog lights)
Now let’s go through what makes these special.
- high output lighting, significant upgrade over factory
- the best lights they have ever released
- HP 3570 chipset, small package with high optical density and less heat
- internal copper plated heatsink, improves conductivity and is thermally efficient
- square heat pipes made of copper increase contact area which helps with thermal management
- 12,000 rpm built in fan for optimal, quiet cooling, almost silent
- internal or external driver depending on model
- available for many popular bulb types
With all of that in mind, let’s hop into the install. Did I mention that you don’t need any additional tools or parts?
Step 1. Remove Factory Bulbs
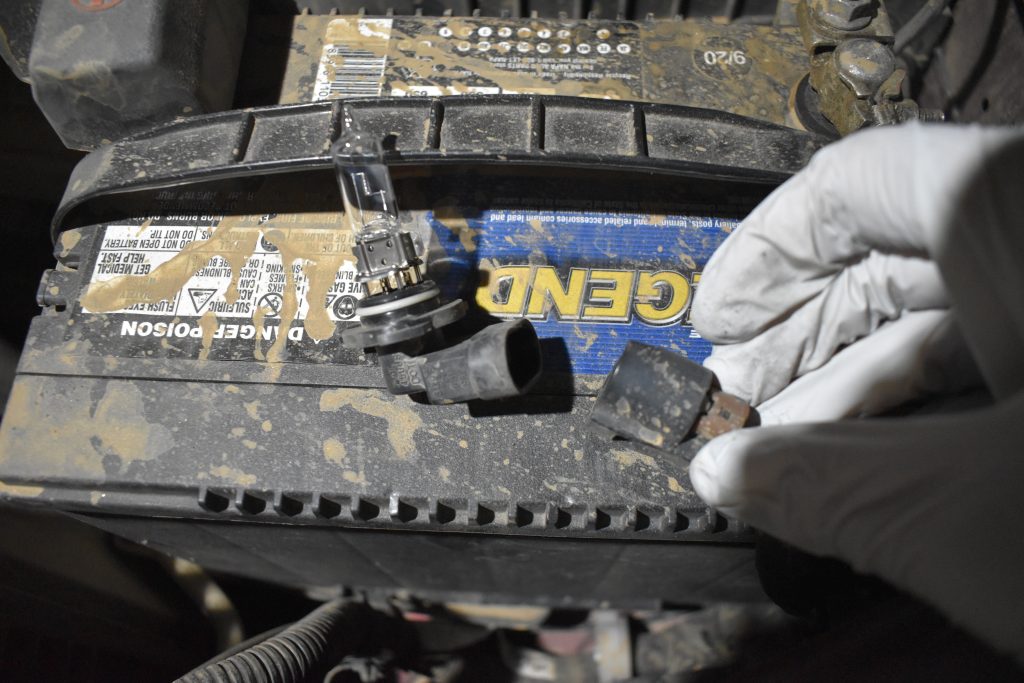
If you pop the hood and look behind your headlights, you’ll see two harnesses plugged into each headlight. The harnesses closer to the middle of the grille are the high beams and the further harnesses are the low beams. Let’s start with high beams since they’re the most easily accessible.
Locate the high beam harness and rotate it about an eight of a full turn. The harness will be released from the headlight housing with the bulb still attached. Unplug the bulb from the harness and discard it; you don’t need it anymore. Repeat on the other side.
Step 2. Install New Bulb
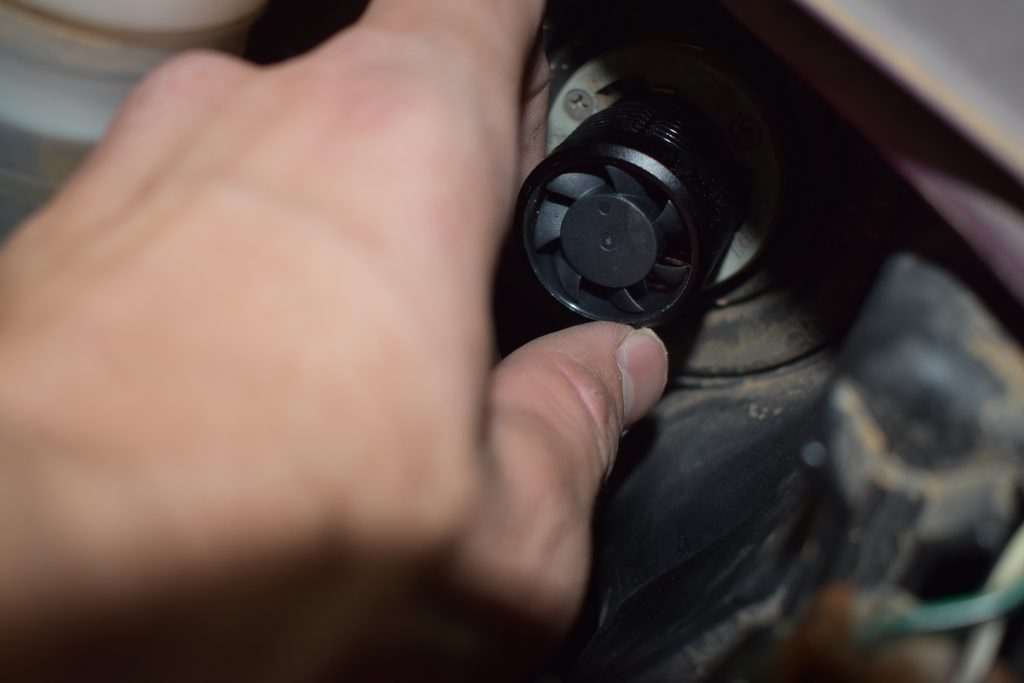
Remove the bulbs from their packaging and install them in the opposite order as removing the factory bulbs. I found it easier to first install the bulb into the housing, and then plug in the harness.
Step 3. Secure Loose Wires
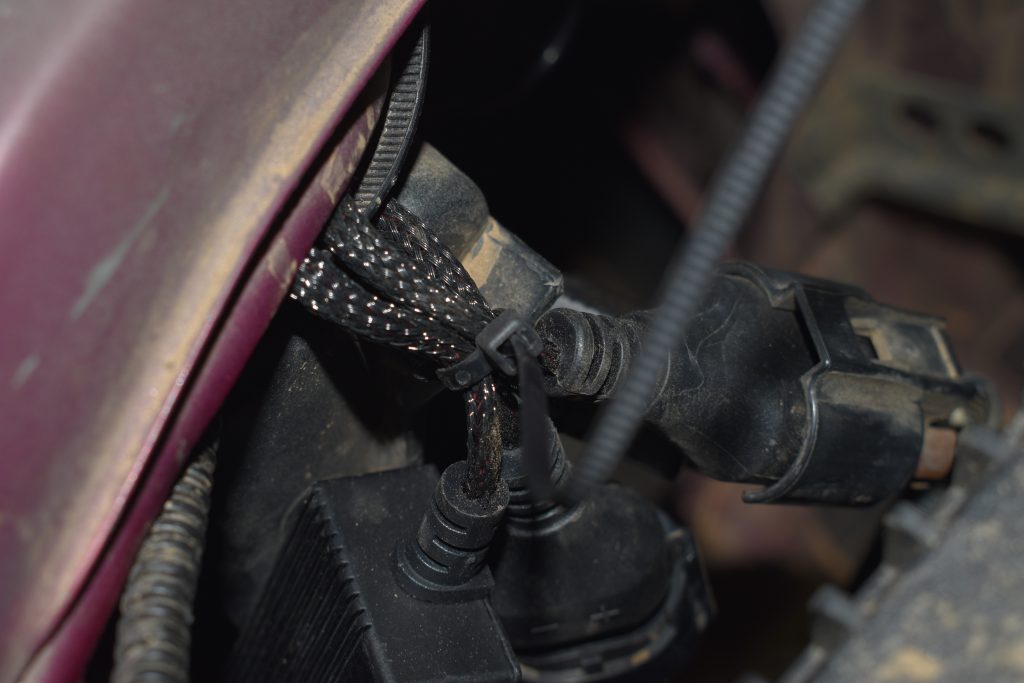
Instead of plugging directly into the bulb, the V50s have an external driver and wire tail that create additional play in the system. These need to be secured to prevent rattling. VLEDS provides both zip ties and an adhesive pad to secure the external driver. However, I had difficulty finding a flat area for the adhesive to stick to, so I ended up securing the wires with zip ties.
Step 4. Test Polarity
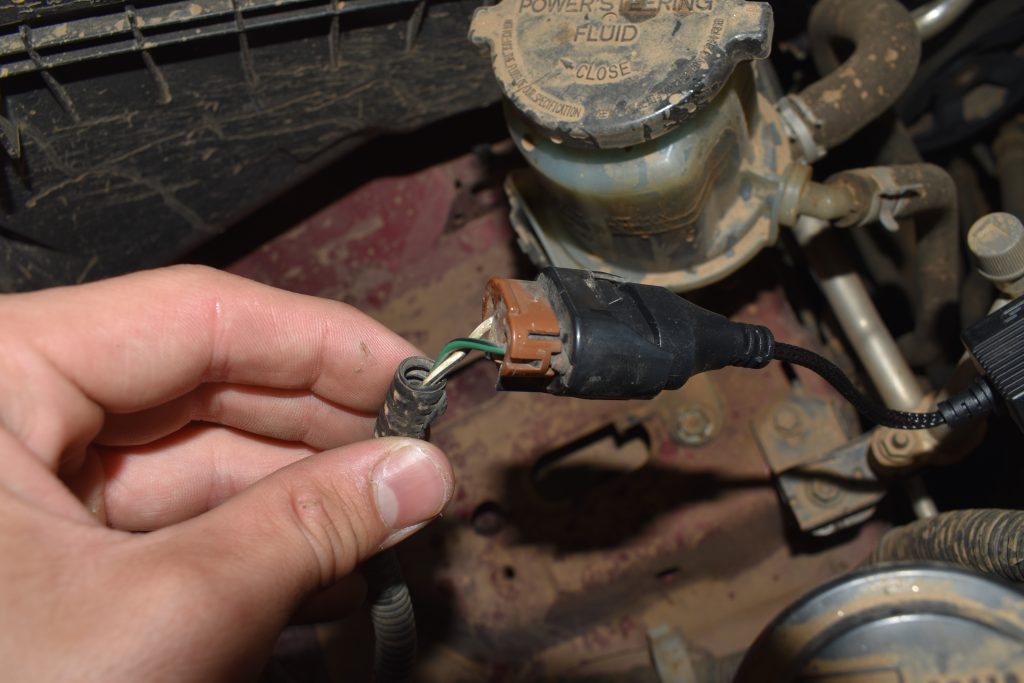
Once the wires are secured, hop in the driver’s seat and turn on your high beams. If either of the new bulbs doesn’t activate, don’t worry! The harnesses are polarity-sensitive, so all you need to do is flip them around and the bulbs will activate. To do this, simply unplug the harness of each non-functional bulb, twist one side 180 degrees, and plug it back in.
Step 5. Repeat Steps For Low Beams & Fogs
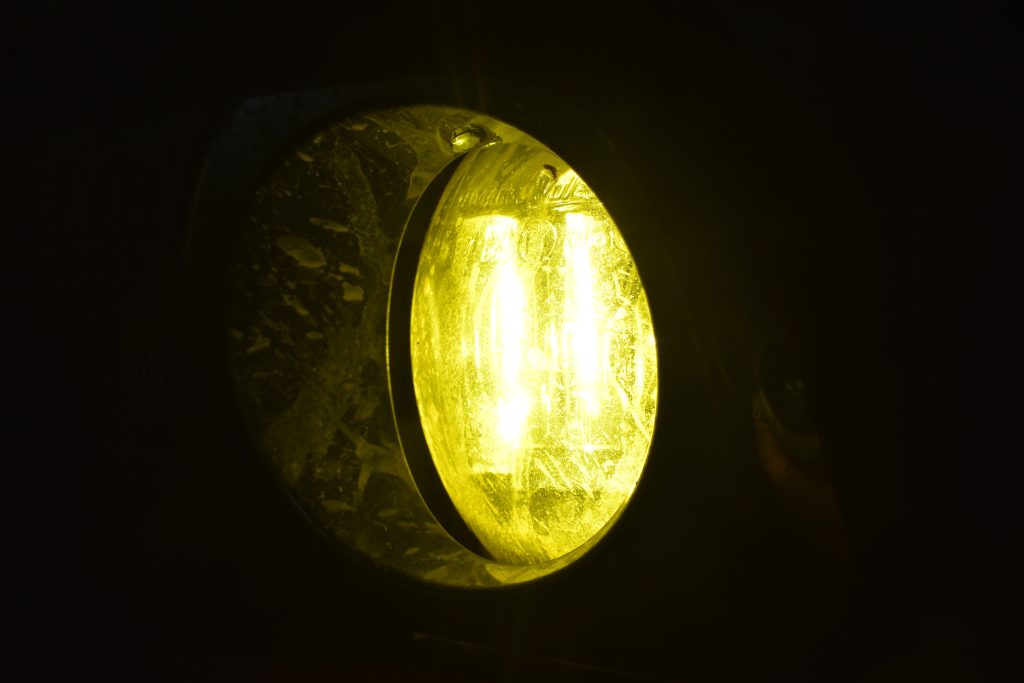
The process to replace the low beams and fog lights is the exact same; just remove the factory bulb, install the bulbs, secure the wires, and check if the harness is in the correct orientation. The fog lights can be tricky to access; I found that the easiest method was to remove the large plastic cover above the radiator by releasing the plastic trim clips holding it in place. With the cover removed, you’ll be able to reach down and access the fog light.
Light Output
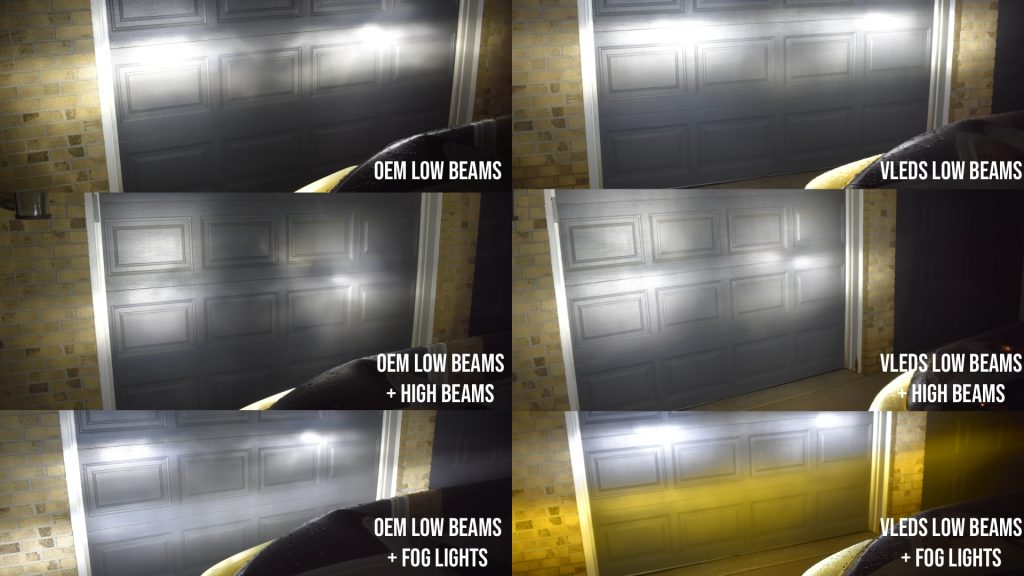
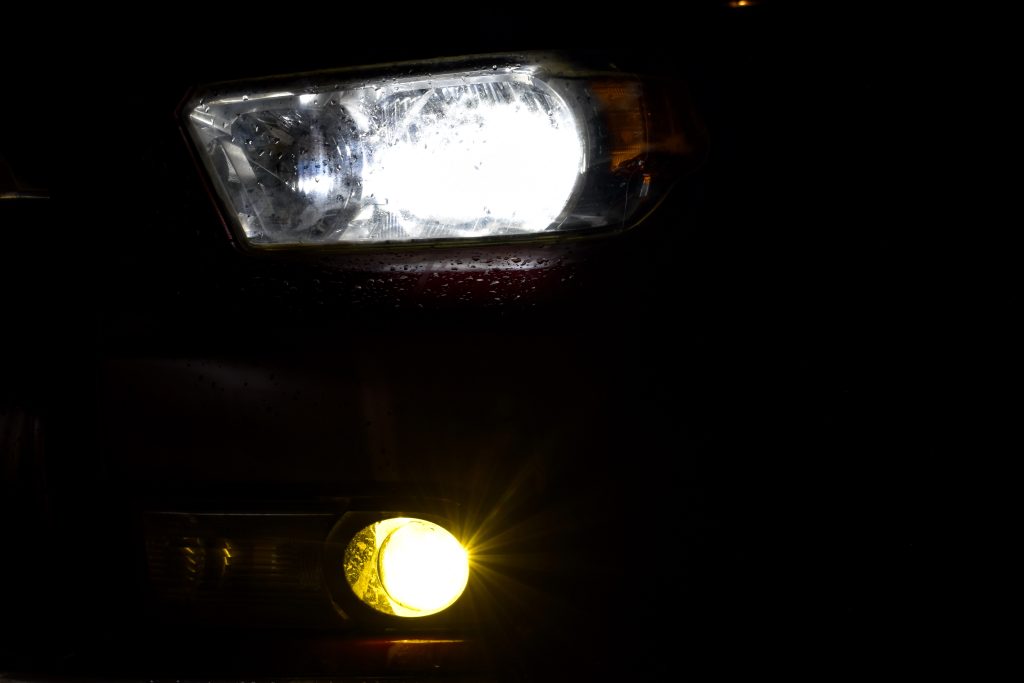
To give you an idea of how much of an improvement these headlights are over factory, I actually laughed out loud the first time I turned these on. Not only are they a massive improvement in brightness over stock, but the light pattern is also more evenly distributed. Above, I’ve included a comparison between all three of the VLEDS versus the stock halogens.
The part of this replacement I hadn’t expected was the effect it had on the 4Runner aesthetics. I was shocked by how much the yellow tint of the halogens ages a vehicle’s appearance. Simply swapping out the old bulbs with LEDs dropped years off of my rig’s look and I imagine a good polish to remove the oxidation on the headlight housing would have my 4Runner looking near new, with even better output.
Why Upgrade?
Swapping out all of your halogen bulbs with LEDs can quickly become an expensive upgrade. Realistically, if you live in an arid environment like mine where fog and heavy rain are rare, it might not be worth swapping out your fog lights. Same goes for your high beams; if you rarely leave the city and therefore never turn on your brights, the juice might not be worth the squeeze there either. However, spending the money to get a good-quality set of LED low beams is a worthy investment.
There have been so many times when I’ve found myself squinting to try and make out shapes in the stock 4Runner’s dim headlights; that’s no longer the case with these. The brighter lights have undoubtedly made my vehicle safer to operate at night and reduced eye strain substantially. The aesthetic improvement is also a welcome bonus. Upgrading your low beams will take only a few minutes at most and is really a no-brainer for any 4Runner owner, regardless of whether or not you take it on the trail.
Final Thoughts
No doubt, this is one of the most practical mods you can do, and it doesn’t add any weight or complexity to your rig. In fact, the LED bulbs’ greater longevity will help to increase your rig’s overall reliability in addition to its safety. VLEDS top-notch quality caters to those with the “buy once, cry once” mentality, and are sure to serve you well, whether you opt for a simple low beam replacement or a complete retrofit of every bulb in your vehicle.

I’m always grateful for reviews here. I’ve been a follower since 2018 when I bought my first 4Runner. I am not an accomplished home mechanic, but I can follow instructions, and have the time to learn. I purchased these VLEDS lights—high, DWR, low beams, fogs. TBH, this is not an easy install—for me. VLEDS install vastly underestimates the work involved. The fog lights? Yikes. Access is very difficult. And the wiring is not as straightforward as described. I’m $500 in to bulbs and will need shop help. I know, I could learn, and I will. But not everyone has the tools or skills often assumed here.
Valid points. But the wiring should be very simple. One plug on the VLEDS light that matches to the OEM fog light harness. And the same should hold true for all their replacement lights. The fog lights require that you pull back the fender liner. A few bolts to get it loose, and you should be able to pry it back. It can be a little tedious, but very doable. We have a few other guides on here to help for more step-by-step installs. YouTube should have some as well. Hope that offers some reassurance!
After lots of research and doing the full install myself the DRL and High Beams failed. The install took a full 2 hours (as opposed to the 15-20 minutes VLEDS posted). Waiting to hear from VLEDS about resolution.