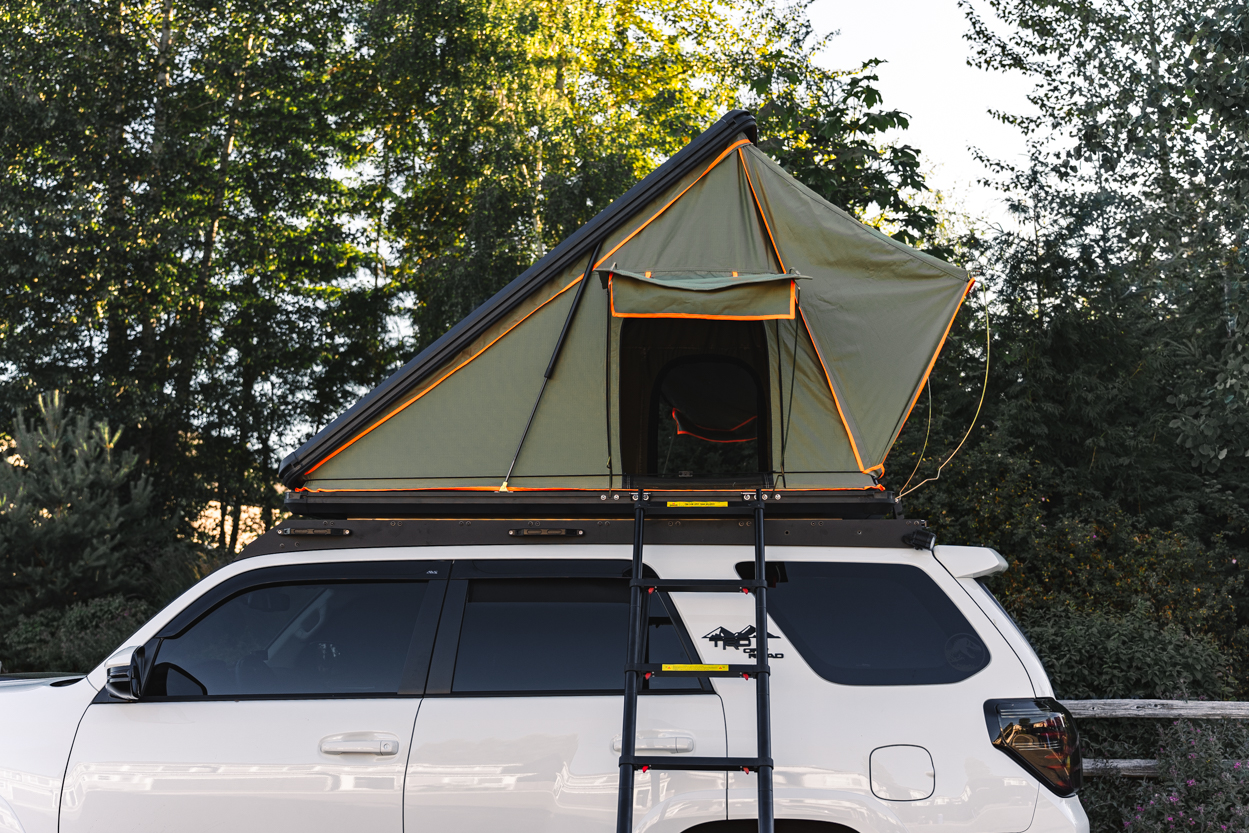
I’ll admit, I was never a big rooftop tent (RTT) guy. They tend to be bulky, weigh down your truck, and most importantly to me, costly.
That’s not to say they don’t have their place, though. After all, there has to be a reason why you see so many rigs rolling around with these massive things mounted to their roof rack or bed rack.
I’m more of a weekend warrior than someone who lives a nomadic lifestyle. With that, I don’t need a RTT that’s the best of the best, nor am I willing to pay the price that comes with it. However, I didn’t want something that would only last a season or two either. The GoTent comes in at a solid price point, but does that come with too big a sacrifice in quality and features? Let’s find out.
Specifications
- Measurements: 7’L x 4.3’W x 6.5″ H (5.25′ when open)
- Weight: 169 lbs
- Durable, waterproof Oxford fabric tent body
- Synthetic fiber floorboard
- 2″ Memory foam mattress
- Windows include zippered mesh screens
- Stainless steel hinges and gas-charged struts
- Integrated T-slot rails
Free Freight Shipping
Amazingly, freight shipping is free with the GoTent. If you’ve ever ordered armor that came via freight, you know that’s a healthy savings in itself. Just be prepared for a gigantic box to show up. If you thought your 70″ TV box was big, wait until you see this.
Table Of Contents
About RealTruck
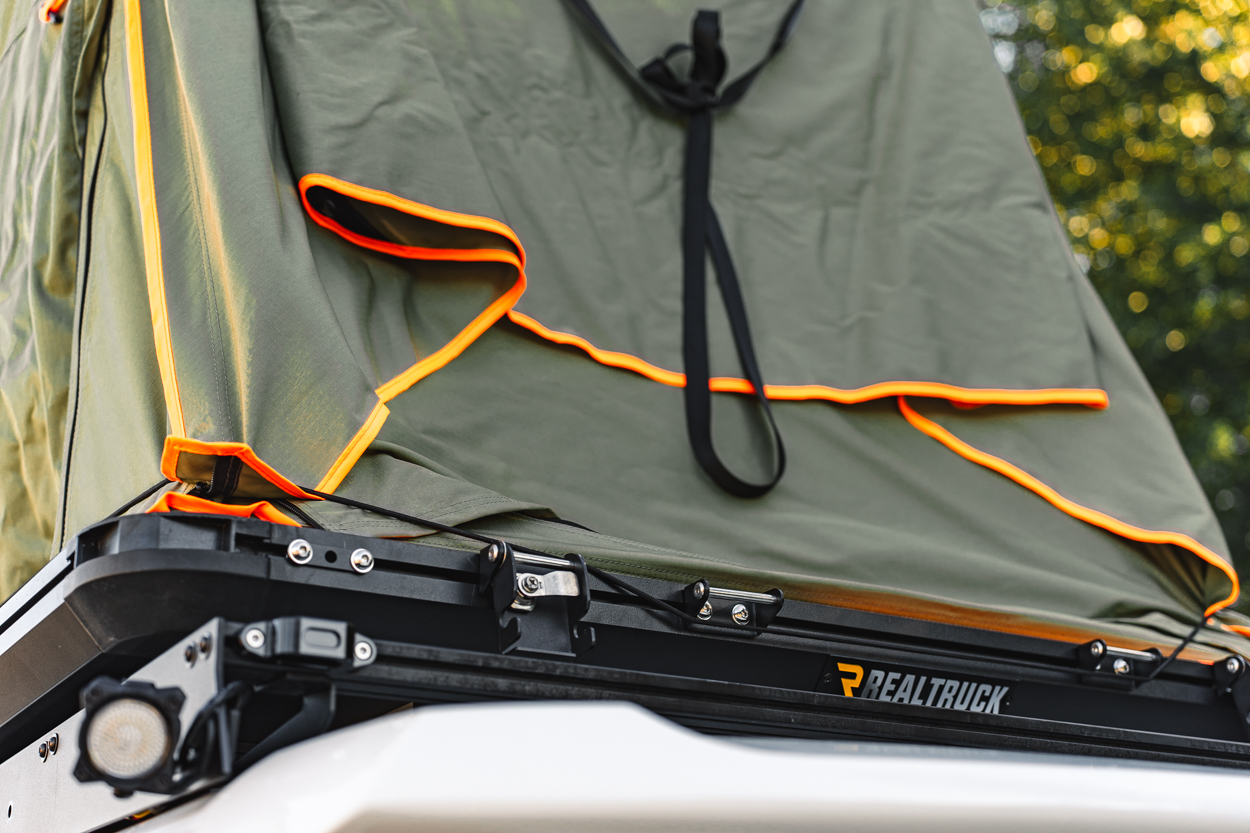
If you’ve shopped for truck accessories, you’ve probably come across RealTruck. If you haven’t, they are one of the largest online retailers for aftermarket truck parts and accessories. On their website, you’ll find countless products and brands ranging from recovery and camping gear to modifications like bumpers and wheels.
One of the unique aspects of their business model is their product lineup of in-house brands. However, this doesn’t equate to some generic product with abysmal quality (queue the Amazon specials). Rather, they’re solid options for the weekend warrior at a more affordable price.
This led me to their GoTent – could this be a good option for occasional use that didn’t require me to drop $3,000-$5,000+ on a wedge-style RTT?
Types Of RTTs
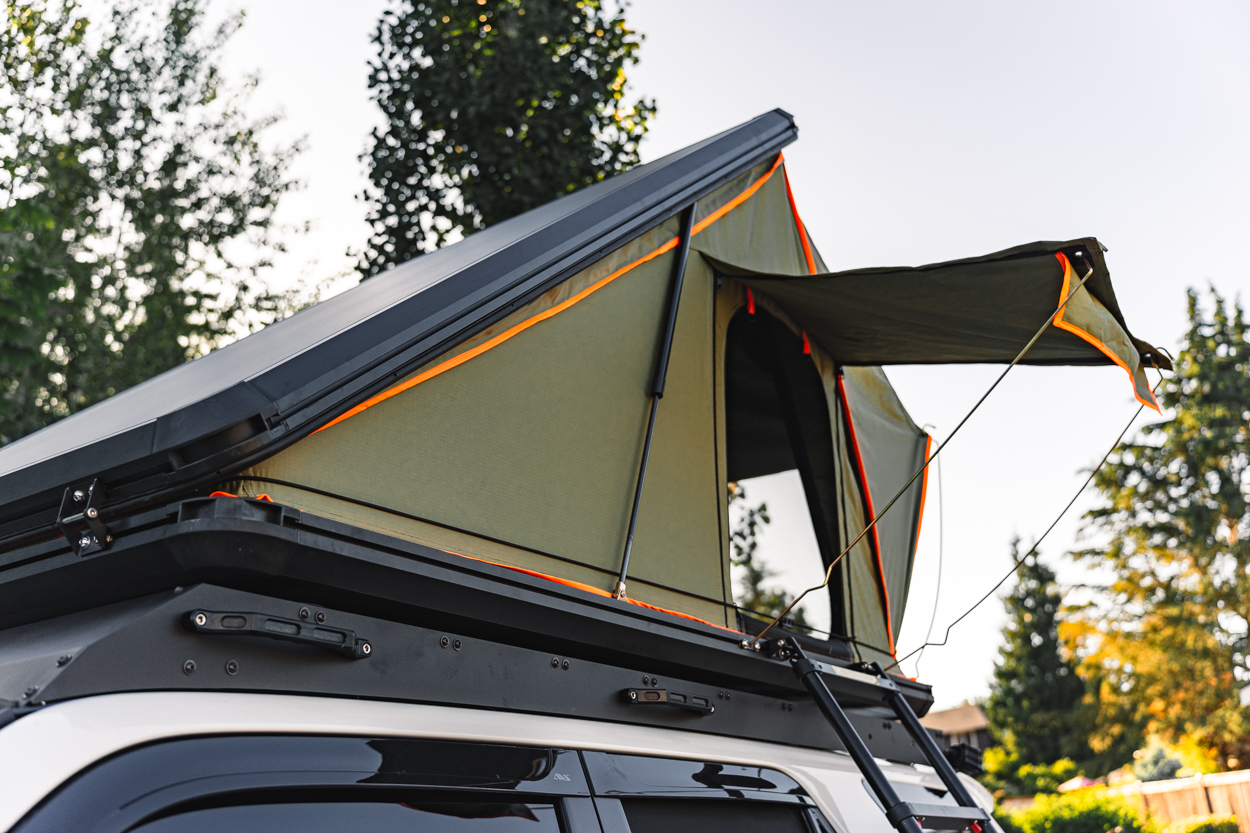
There’s no shortage of tent options on the market, but the main types of RTTs are softshell and hardshell. The former is the bulkiest but also the most affordable. They often open to the side of a vehicle and offer the largest sleeping area, albeit, with a slightly more involved setup process.
With a hardshell RTT, styles range from opening like a clamshell or wedge-style, like the GoTent. The biggest allure of these types of RTTs is their superior protection from the elements, sleek aesthetic, and setup that takes under a minute. That all comes with a higher price tag, though.
Features
At this price point, its main competition is brands like Ironman 4×4 and Overland Vehicle Systems. That’s factoring in frequent sale prices. Think middle of the pack in terms of quality, materials, and features, which isn’t necessarily a bad thing.
While it may not be made from space-age materials or make your breakfast, it’s enough for weekend camping in the summer. This tent is about average weight for the category and comes with everything you need to get started on your next adventure.
Included Accessories
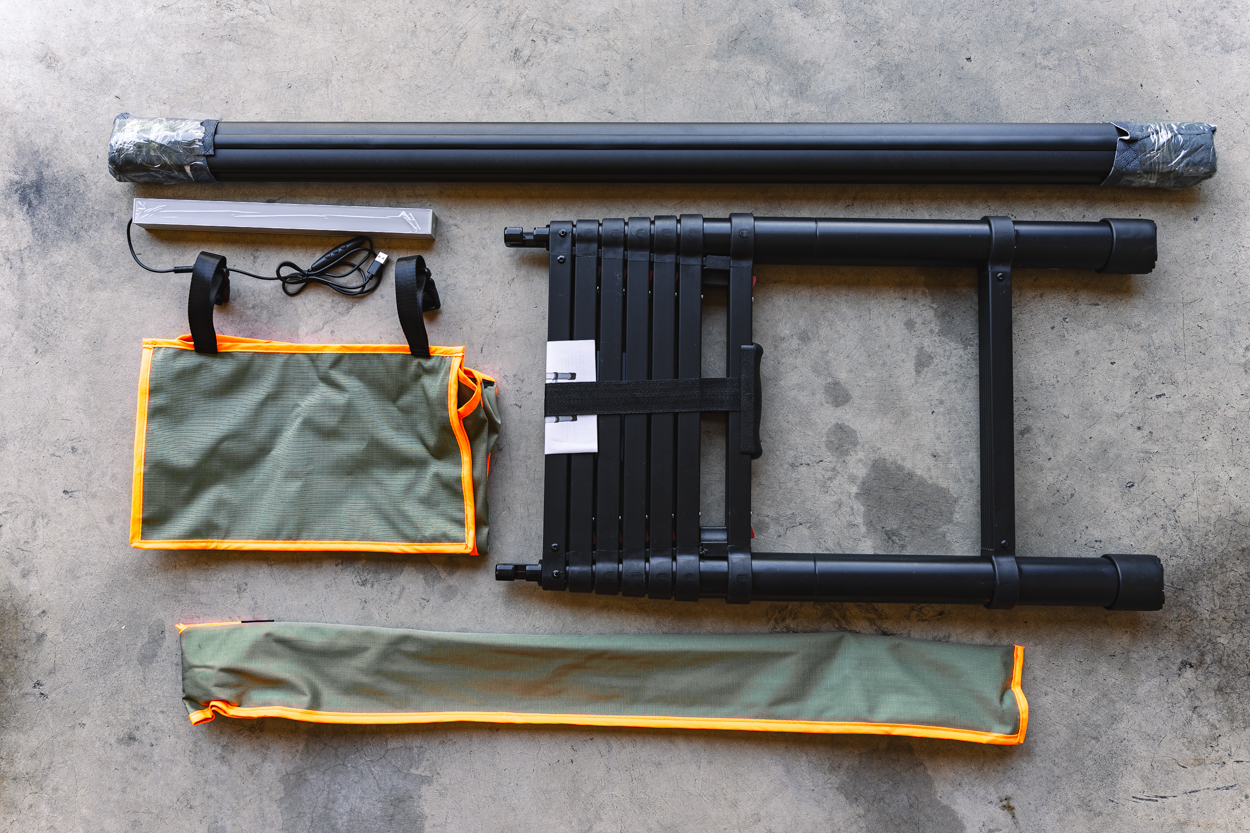
The contents include…
- Hanging shoe bag (so you don’t track dirt into bed)
- Small LED light bar
- Rain fly poles
- Optional load bars to mount gear to the top of the tent
- Telescoping ladder
- Optional load bars
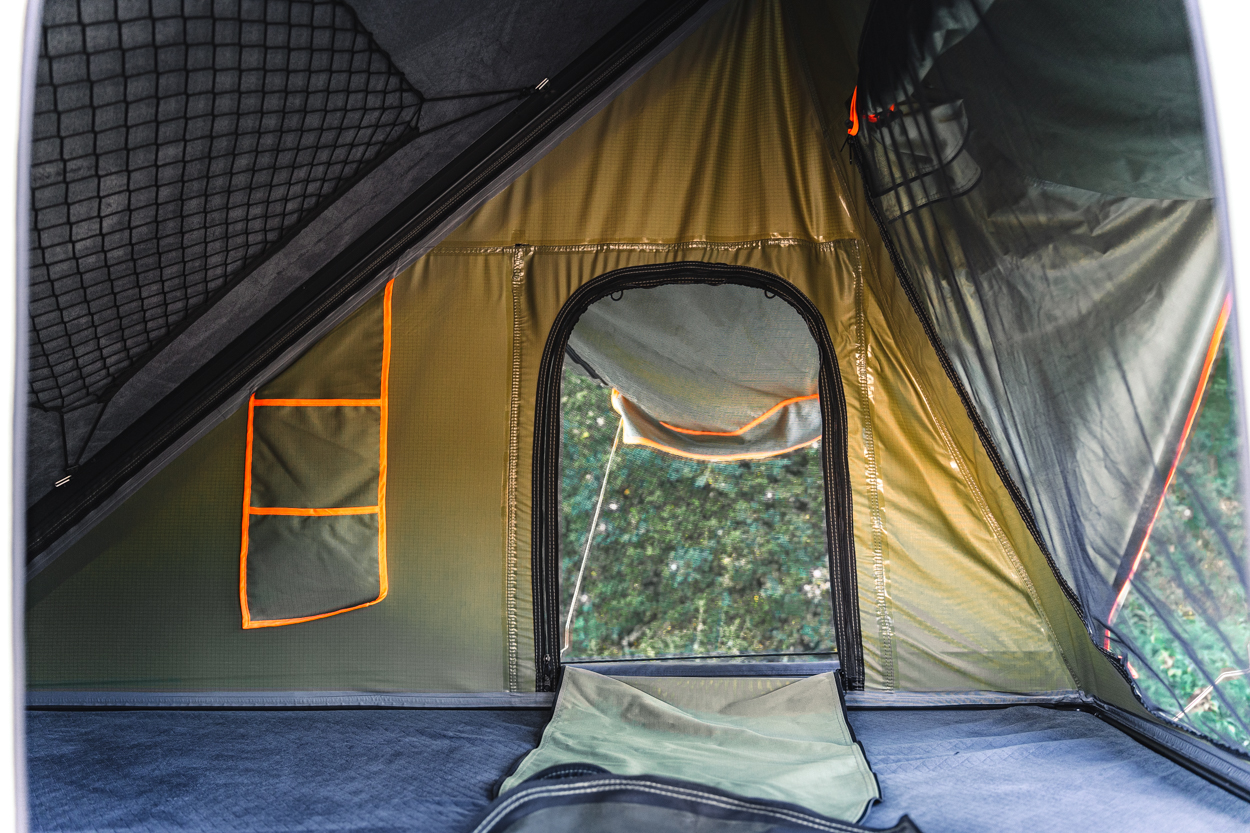
- Interior storage pockets
T-Slots
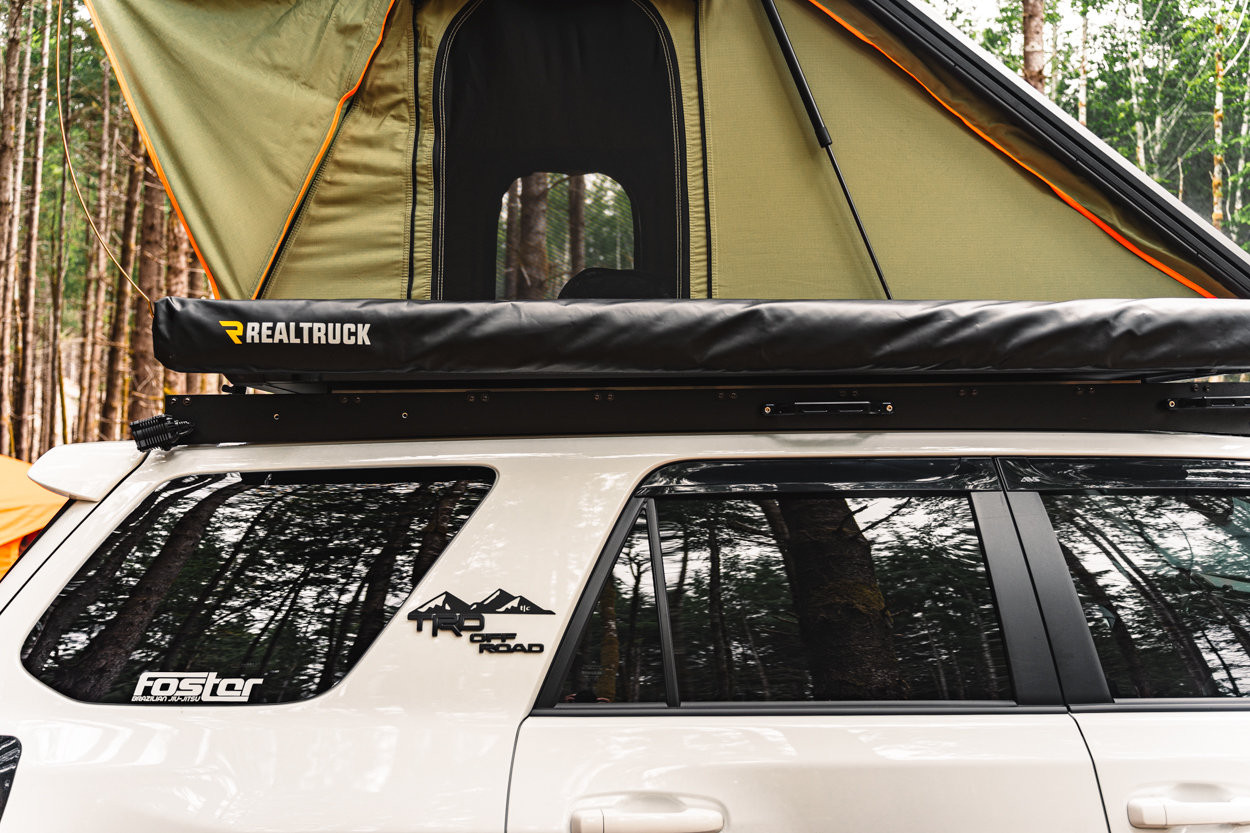
There are T-tracks along the entire exterior of the RTT shell to mount popular accessories like awnings, shovels, etc. It’s worth noting that there’s only a single T-track on the bottom half and top halves, respectively. So, if you have accessories that require two adjacent tracks for mounting, you won’t be able to mount them directly to the tent.
Gas Struts
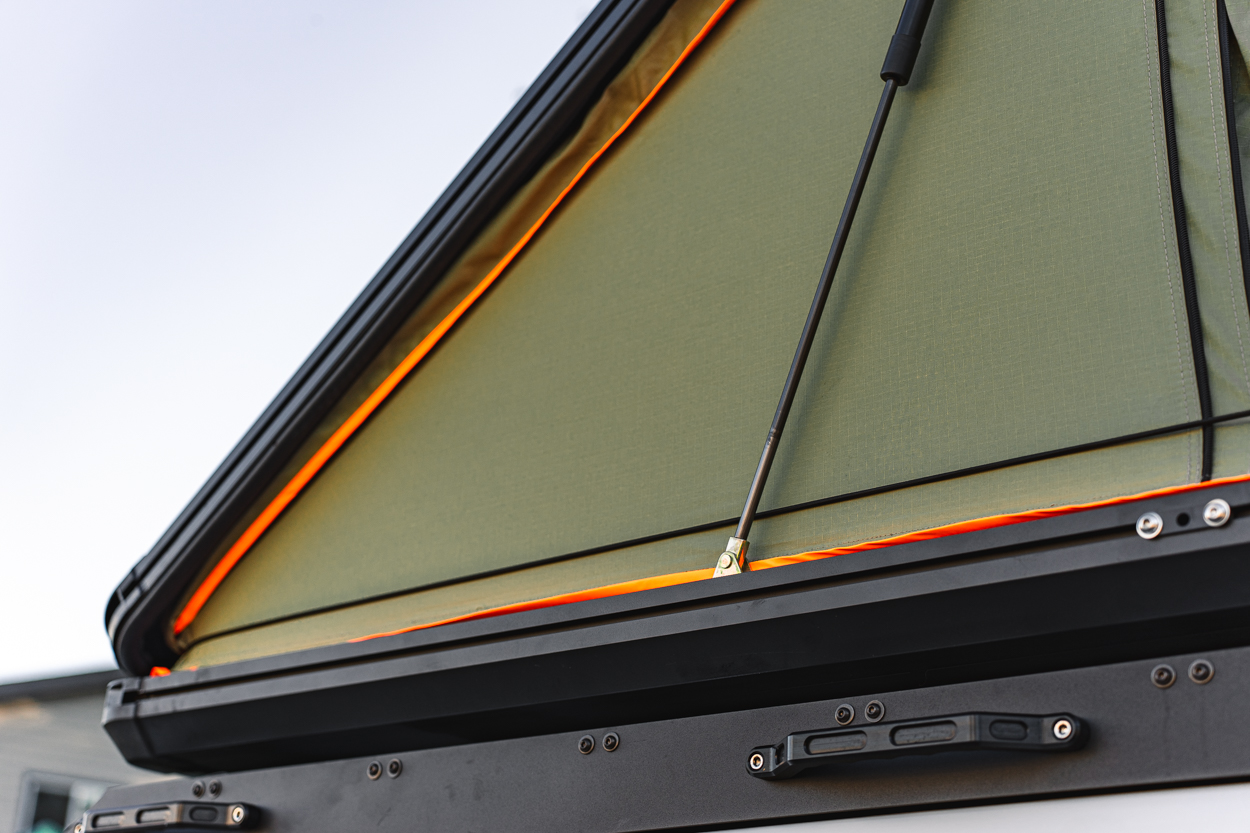
One of the best aesthetic features of the tent is that the gas-charged struts to assist with opening are confined within the walls when closed. This helps keep them out of the elements and prolongs their service life. Plus, I’m not a fan of the RTTs that leave them exposed on the exterior. More stuff to get caught on trees, etc.
The mattress is 2″ thick memory foam, which I find fine for back sleeping. If you’re a slide sleeping, an additional topper or 3″ mattress may be a better option. Moving to the tent material, the canvas walls are coated to be waterproof and have good seam taping from what I can see. However, this tent does not have true black-out walls. So, if you like to sleep well into the morning, this may not be the best option for you. I’m an early riser, so this isn’t a deal-breaker.
Overland Awning
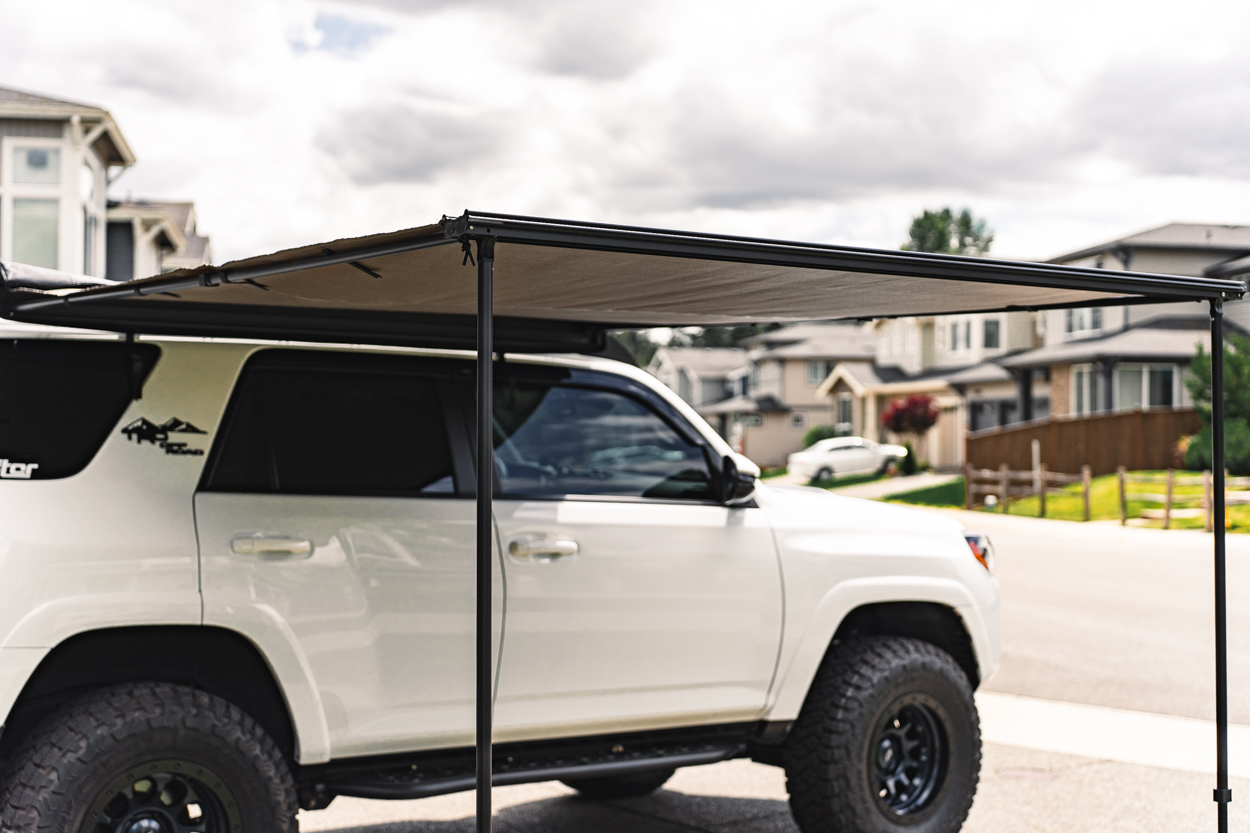
A popular accessory is RealTruck’s Overland Awning. This is a simple 90-degree awning that spans the entire length of the 4Runner’s cabin. Similar to the theme of the RTT, this is extremely simple to set up and only takes a couple of minutes.
With a coverage area of 6.5′ W x 8.2′ D once deployed, this awning should provide ample shade for my family this summer.
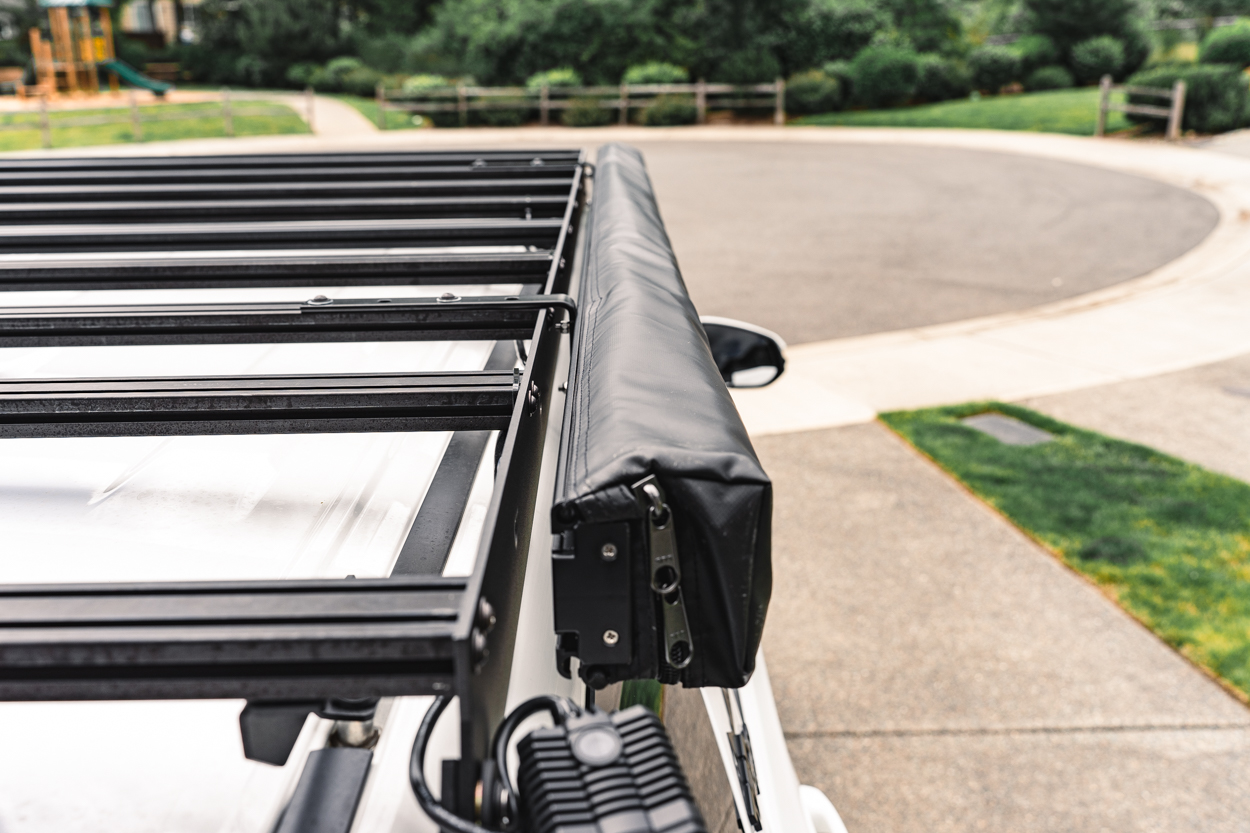
The awning is pretty compact for a 6.5′ foot awning once packed up. I’m not a huge fan of the mounted awning aesthetic, so this was a pleasant surprise.
I elected to mount the awning to my roof rack before the RTT as I figured I couldn’t reach the mounting bolts after the fact. RealTruck includes universal L-brackets that should be compatible with most roof racks. With my Cali Raised roof rack, I had no issues mounting the awning with the brackets and standard T-slot inserts/bolts.
Installation
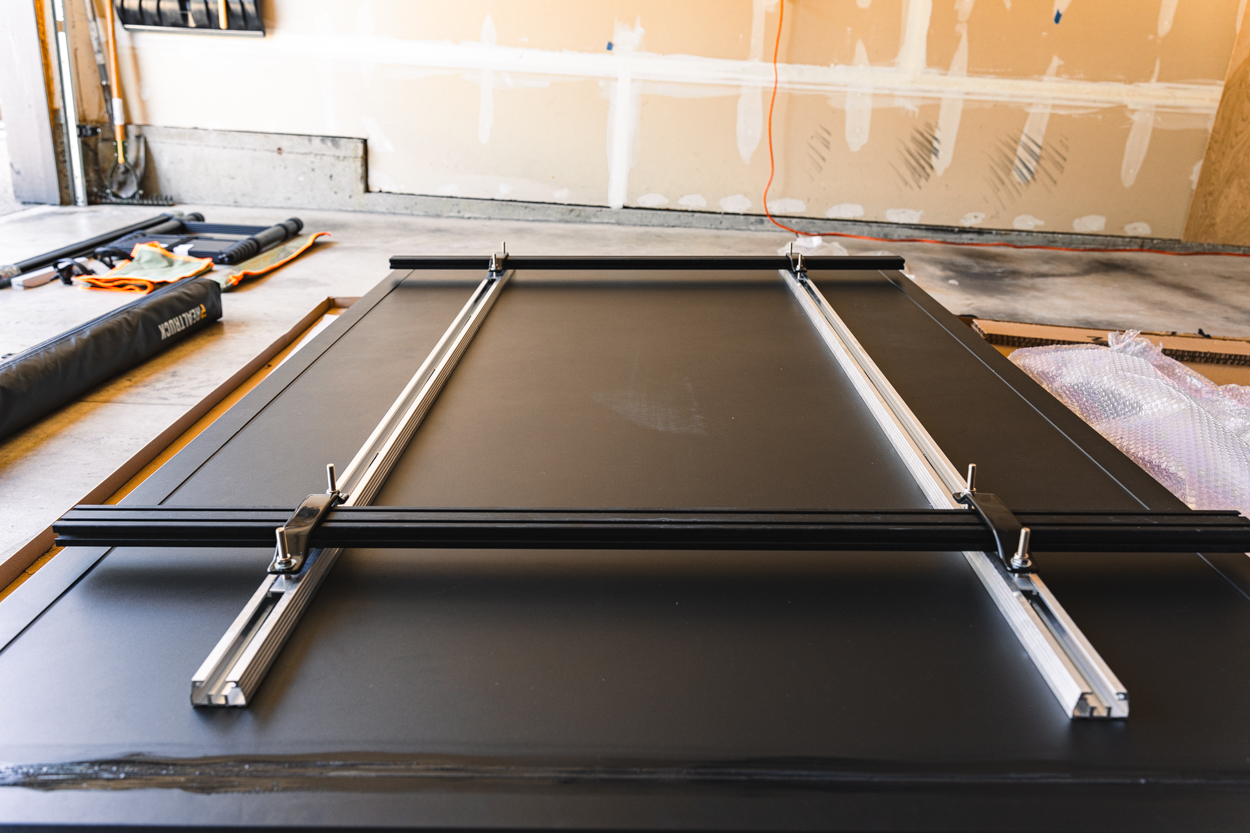
There isn’t much to install (with wedge-style RTTs in general). This will vary slightly depending on your roof rack, we’ll be looking at the process on a Cali Raised variant. Setting up the mounts is simple and should take you under an hour, but two to three sets of hands are highly recommended as the tent is fairly large and unwieldy to handle solo.
I didn’t install the optional load bars (I can barely reach my roof as is) but if you want to, RealTruck has a great installation video.
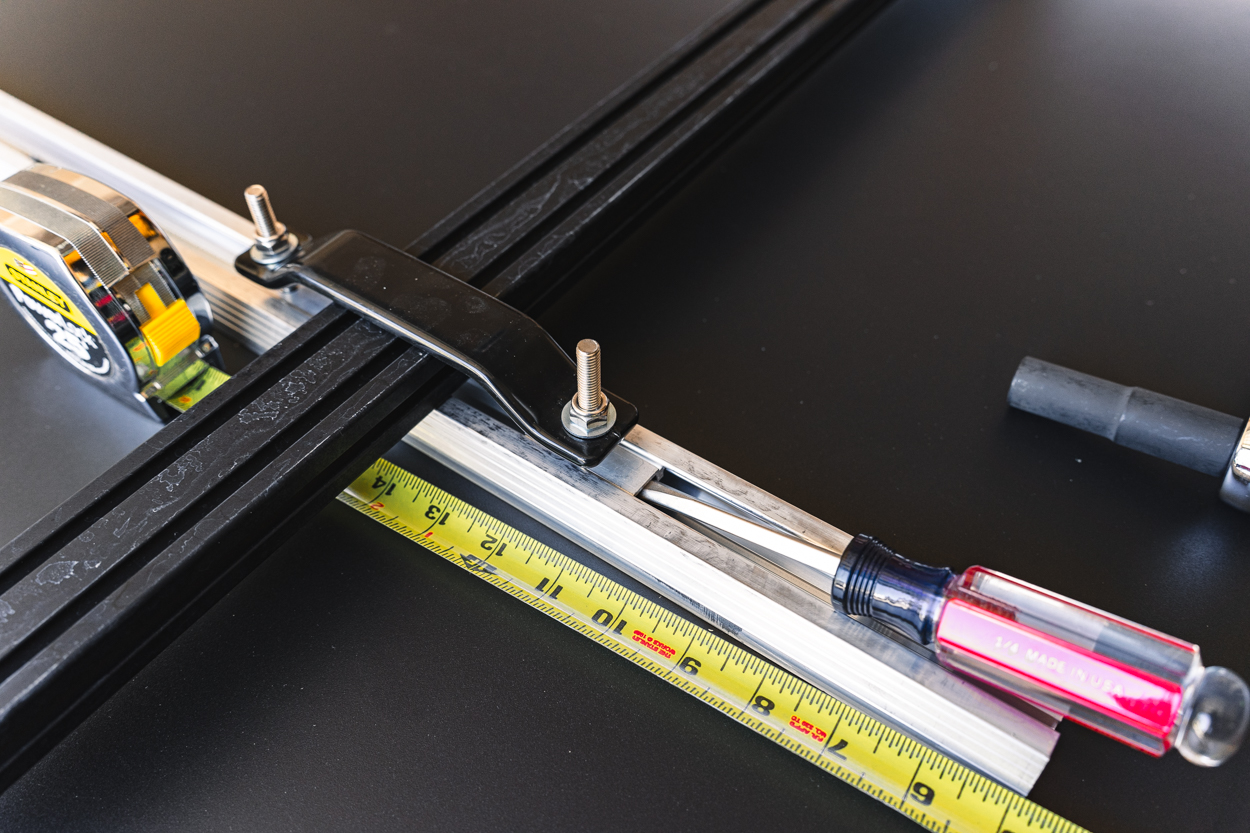
Rather than throwing the tent on top of my roof rack and trying to squeeze my arms between it and my roof rack to attach the mounts, I installed the mounts first. To do this, I measured my roof rack and determined which crossbars my tent would mount to (the second to frontmost and rearmost bars). Fortunately, the GoTent comes with the mounting track pre-installed. This saved a lot of installation time.
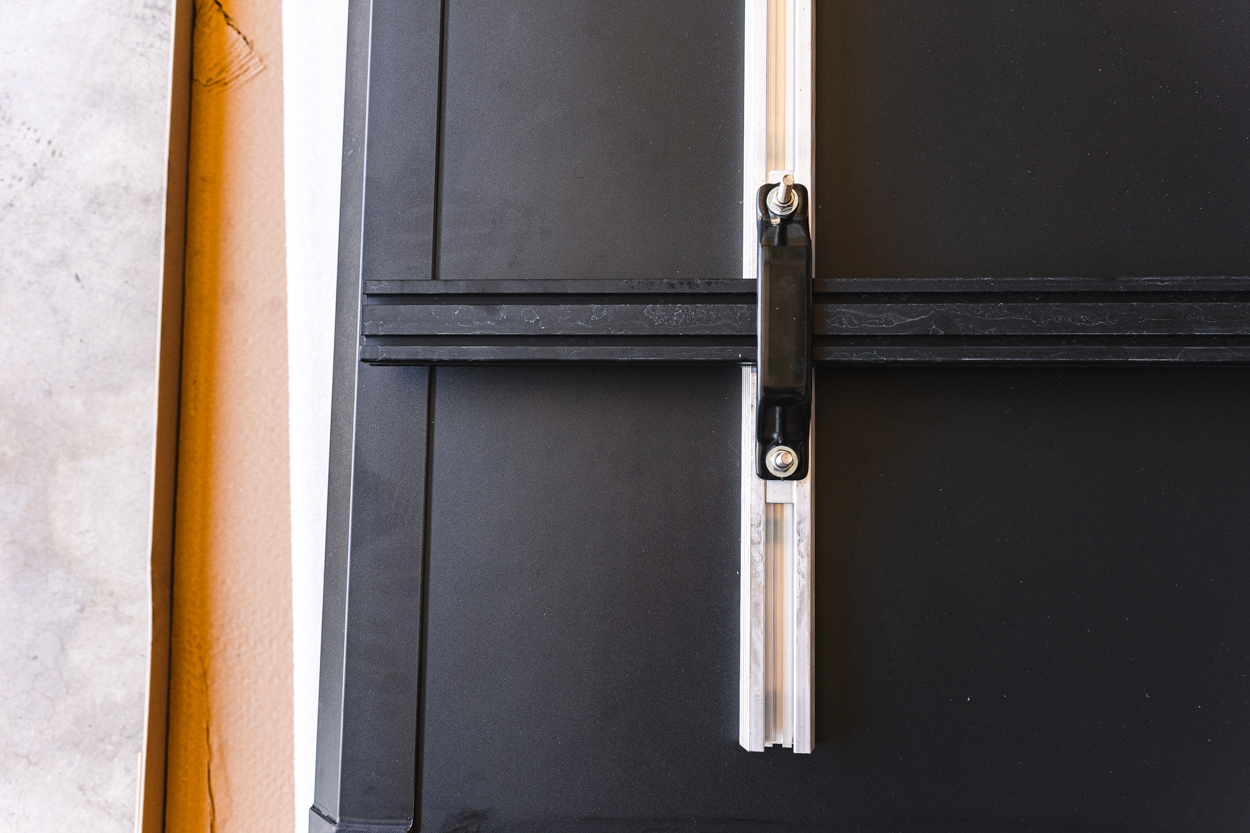
Next, I removed those crossbars from my roof rack and attached them and the mounts to the bottom side of the tent. I measured three times before fully tightening the mounts, knowing that I wouldn’t be able to easily adjust them once the tent was on top of my roof.
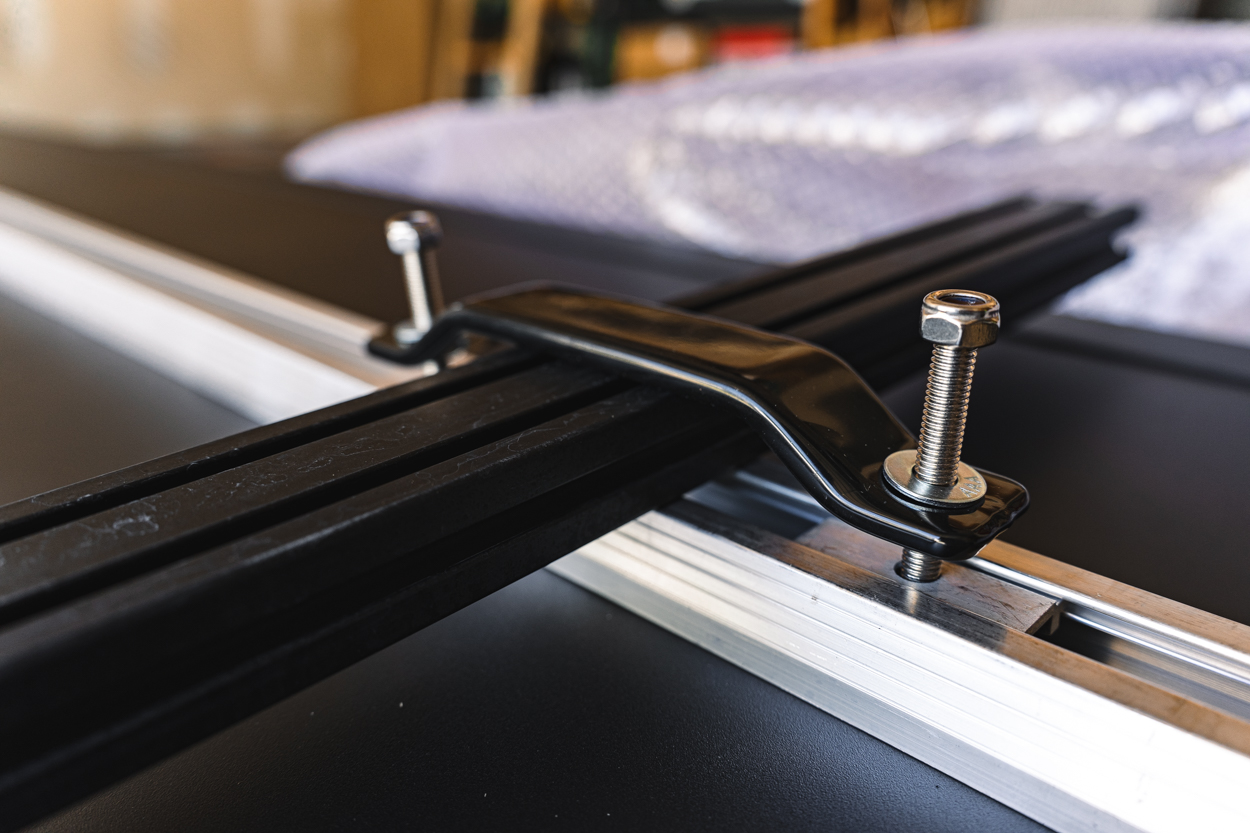
One small detail I noticed is that they updated the mounts from the standard flat metal ones used in their installation video. Instead, they included much nicer angled brackets covered with thick polyurethane to help mitigate vibration and protect your crossbars’ powder coat.
With a neighbor, we put the tent on top of my roof rack from one side and pushed it across to the other. Fortunately, my obsessive measure paid off and the crossbars attached to the tent re-aligned with their mounting holes on the roof rack’s side rails perfectly. All that was left to do at this point was reinstall the bolts attaching the crossbars to the side rails.
Set Up & Takedown
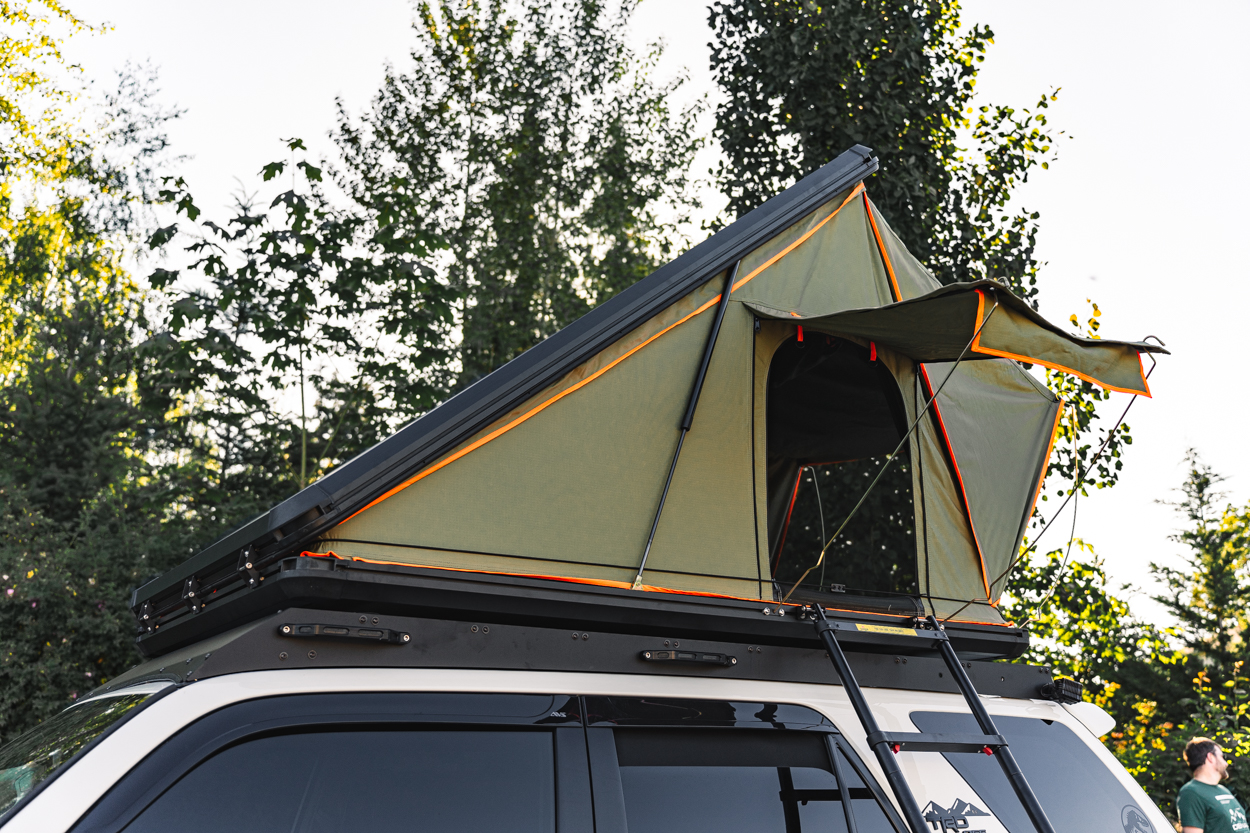
Setting up the tent takes under a minute, and that’s being generous. All you need to do is unlock the latches with the included key and push up. The gas struts do the rest and your tent is ready to go.
All that’s left to do is pull the bungee cord down to the base so it’s out of the way and set up the ladder and windows.
When you’re ready to pack up and head out, pull the bungee cord back up to the middle of the tent so that it can suck everything in as you close it. Before fully latching it shut, tuck in any excess canvas material that might be sticking out.
Final Thoughts
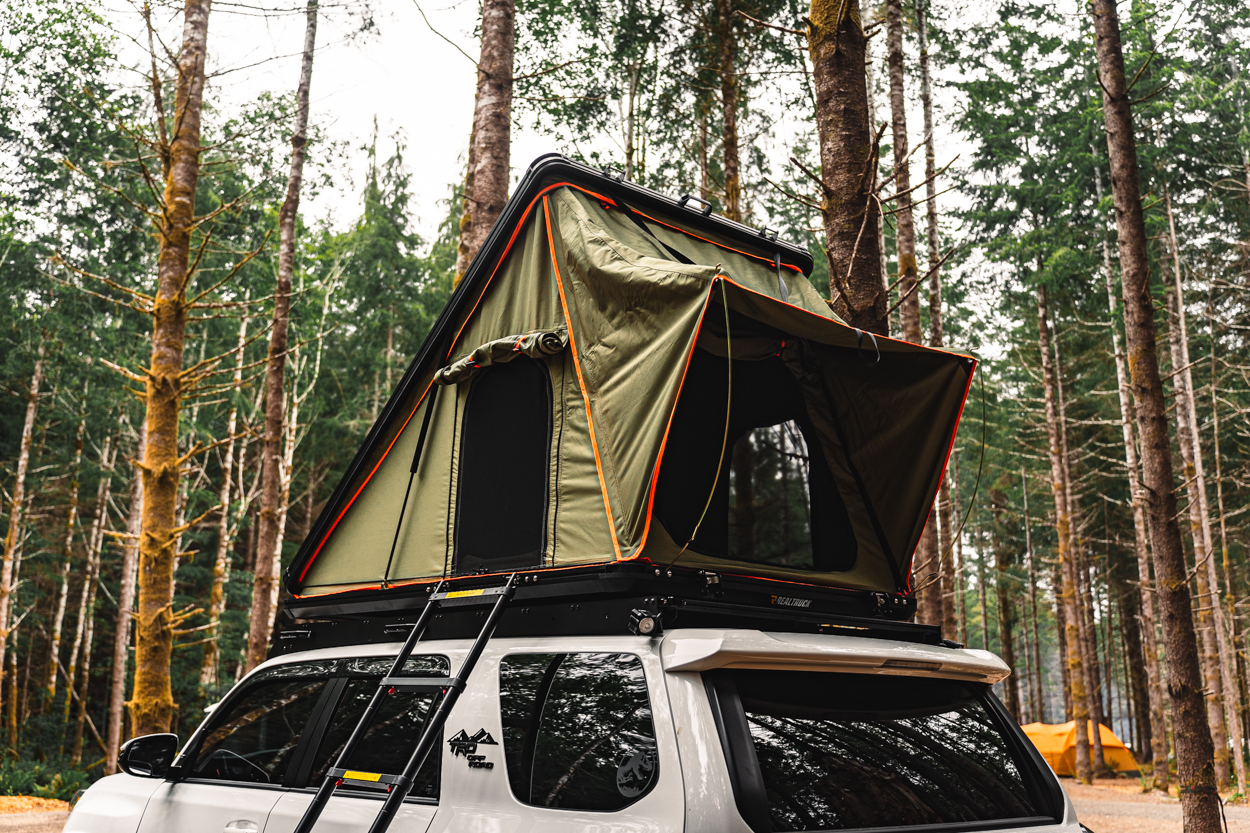
So far, the GoTent feels plenty sturdy and my family should be able to enjoy it for years to come. I don’t hear any creaking or rattling when laying in it, which was one of my biggest concerns with being way up on my roof.
With the tent installed (and closed), the tallest point of my 4Runner is right at 7 feet. I’m currently on the ARB OME MT64 with light-duty coils and 34″ tires. Our house has an 8-foot garage door, so I’m still able to park in the garage, fortunately.
If you’re in the market for a RTT that’s going to see seasonal use and one that you don’t need to sell a kidney for, this is a solid option. It’s everything you need and doesn’t add a bunch of features you don’t, with cost savings that are passed along to the customer.

Nice review. I have the RT gotent and gorack on order. Looking forward to setting it up!
Not bad dude… for the price and support of a bigger brand like RT, this is a great choice!
Great post! I snagged the RealTruck awning (have a post on the install and review) and have been very impressed with the quality of it. I’ll have to look into the RTT at some point, but seeing some that are 70-85 lbs, it’s a touch choice. It sure would be nice to take it off when I’m not using it.
This tent looks awesome, Real Truck has come a long way.