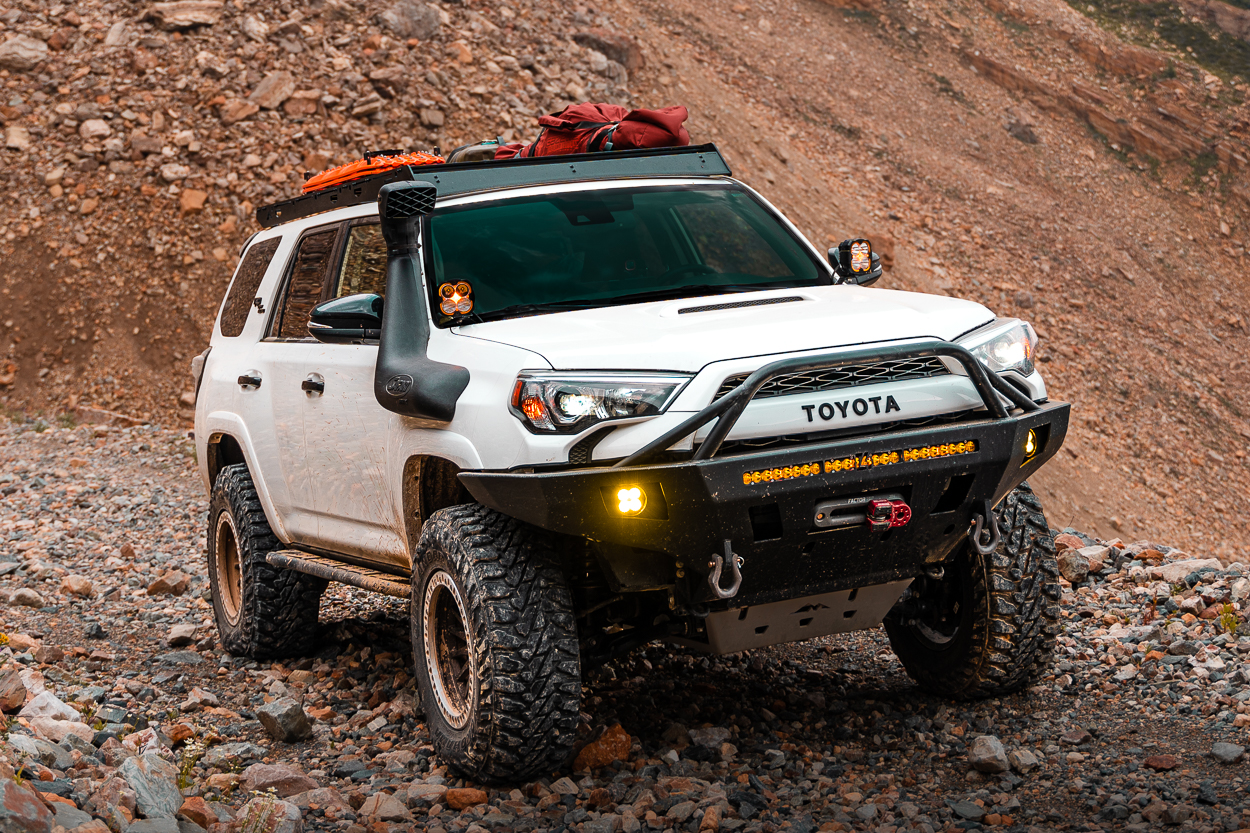
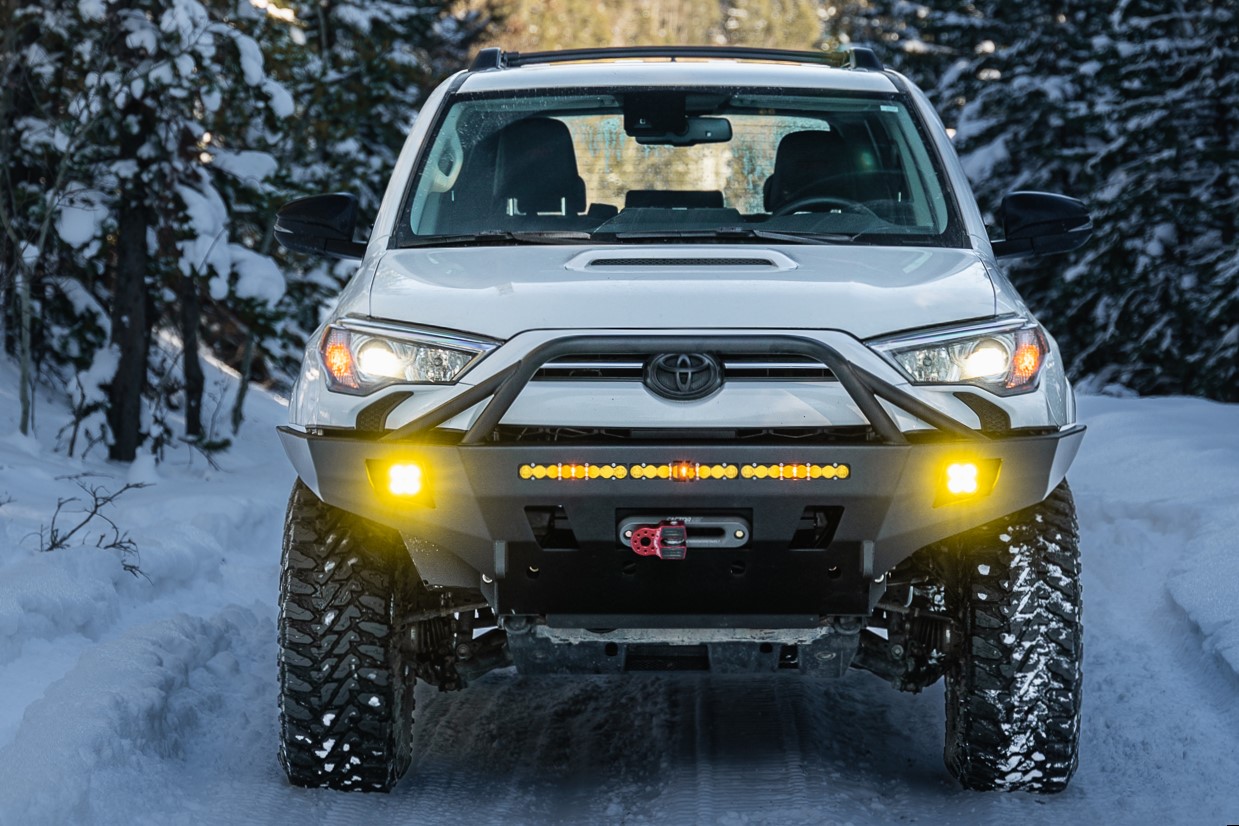
The Toyota Heritage grille on a 4Runner holds significant appeal for many enthusiasts. In my opinion, it outshines the standard Toyota emblem grille. There are a lot of aftermarket options, but I decided to try out Trail Standard Offroad’s (TSO) unique TRD Pro-Style Grille offering.
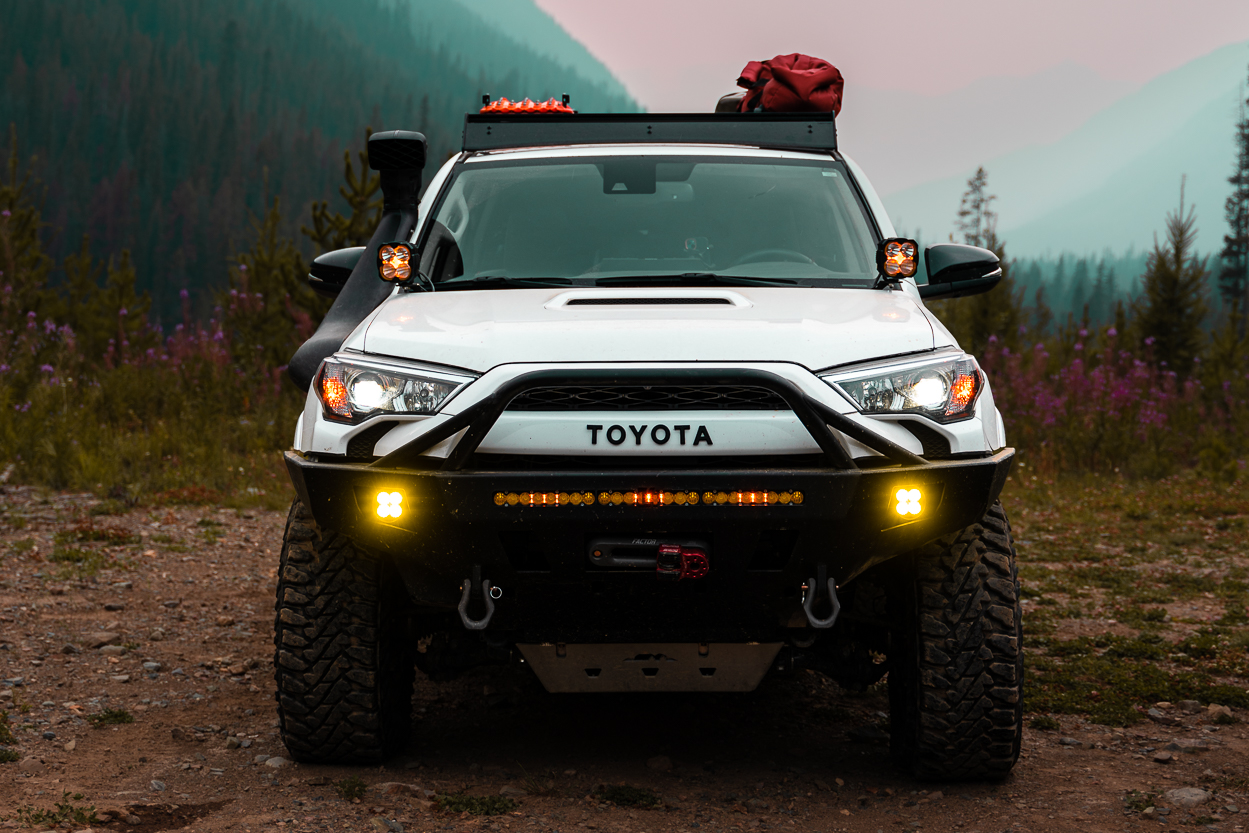
What sold me was the option for a white grille, a departure from the standard black variant. In addition, you can also choose from three different lettering styles: “Toyota”, “4Runner”, and “Trail”.
Here are some reasons why you might consider upgrading:
- Aesthetics & Personalization
- Homage To TRD Lineage
- Community & Enthusiast Connection
Note: These are TSS compatible.
Table Of Contents
Installation
Tools Required:
- 10mm & 13mm socket
- Pry tool
- Screwdrivers
- Soapy water spray
- Rags
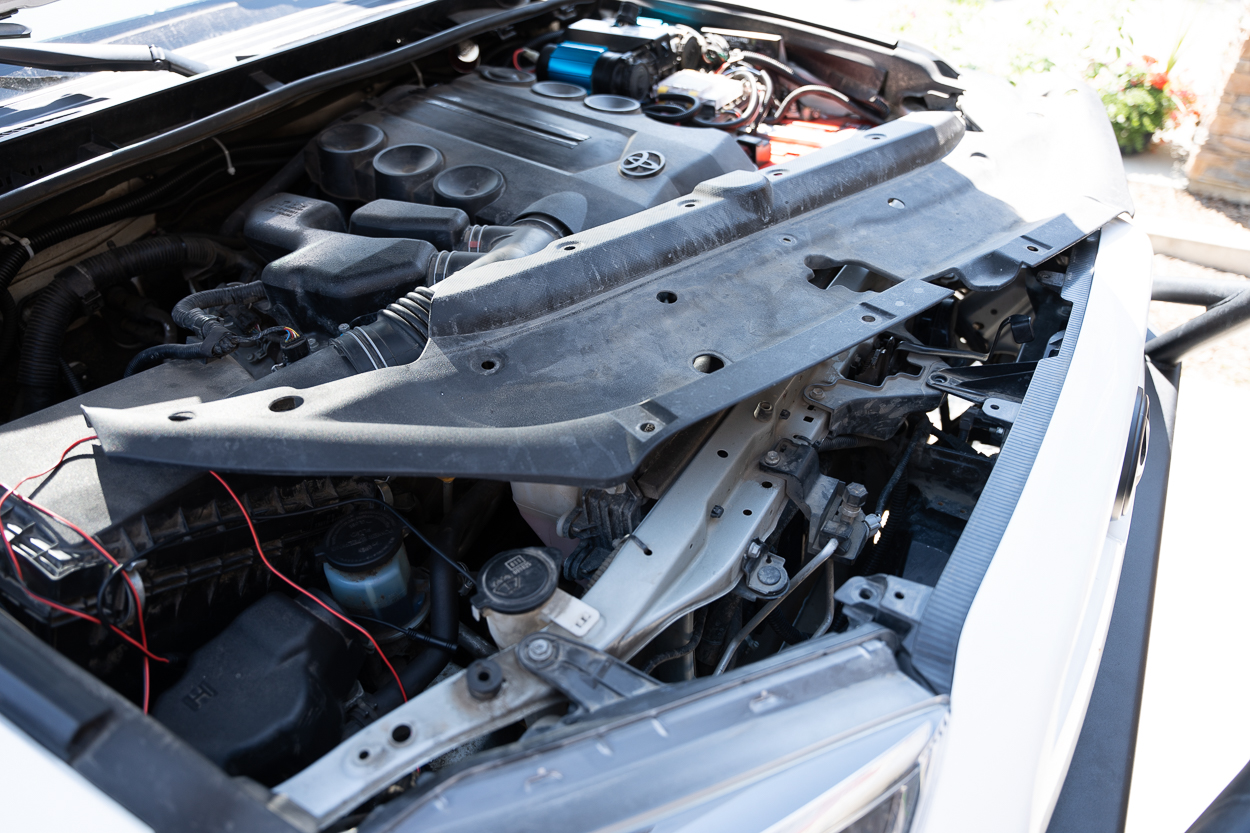
To start, you’ll need to remove the radiator cover. This cover is held on by push-on retention clips (13 total). Simply push them in and remove them with your fingers or any pry tool.
Step 1. Remove Upper Grille, Garnish & Lower Bumper
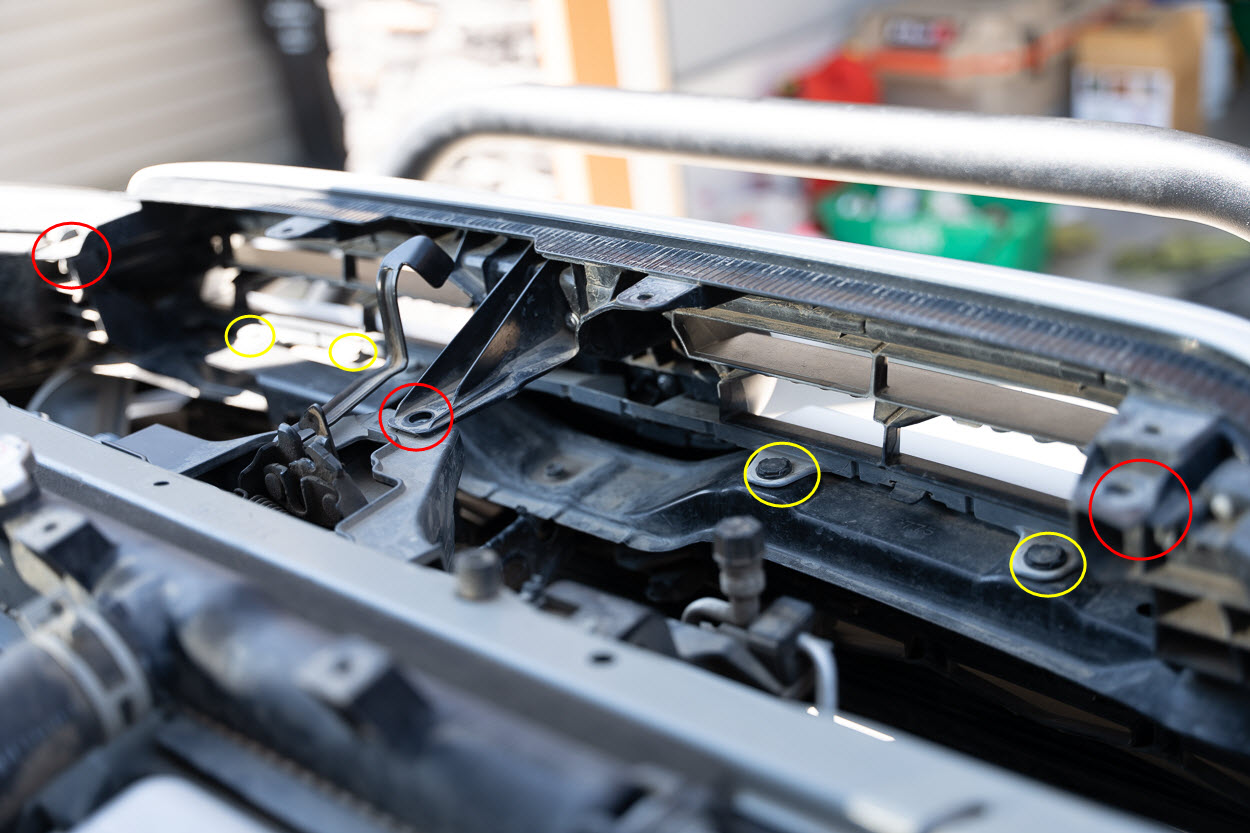
The upper grille/garnish is held in place at three locations on the top as seen above in red. Remove the 10mm bolt and, with the help of a screwdriver, pry the heads out of plastic tabs and simply pull the retention clips out.
Next, remove the four plastic retention clips in the lower section of the grille seen above in yellow (Don’t forget to disconnect the TSS sensor harness). My setup also has the C4 Fab TSS relocation bracket installed, so with the help of a 13mm socket and wrench, I removed that as well.
If you have the stock front bumper, read Ryan’s article on installing an aftermarket grille.
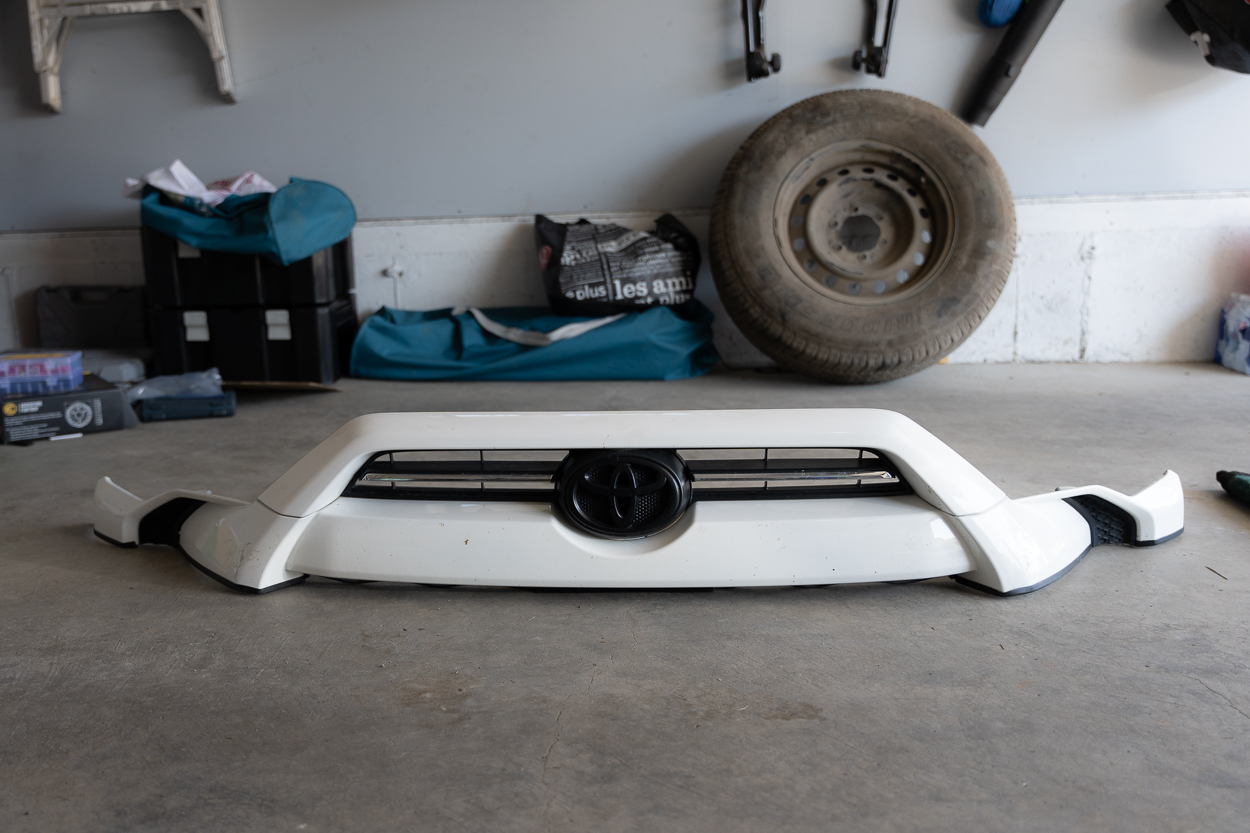
With the top three and lower four clips/bolts removed, wiggle the entire front bumper out and set it aside.
Step 2. Assemble Letters
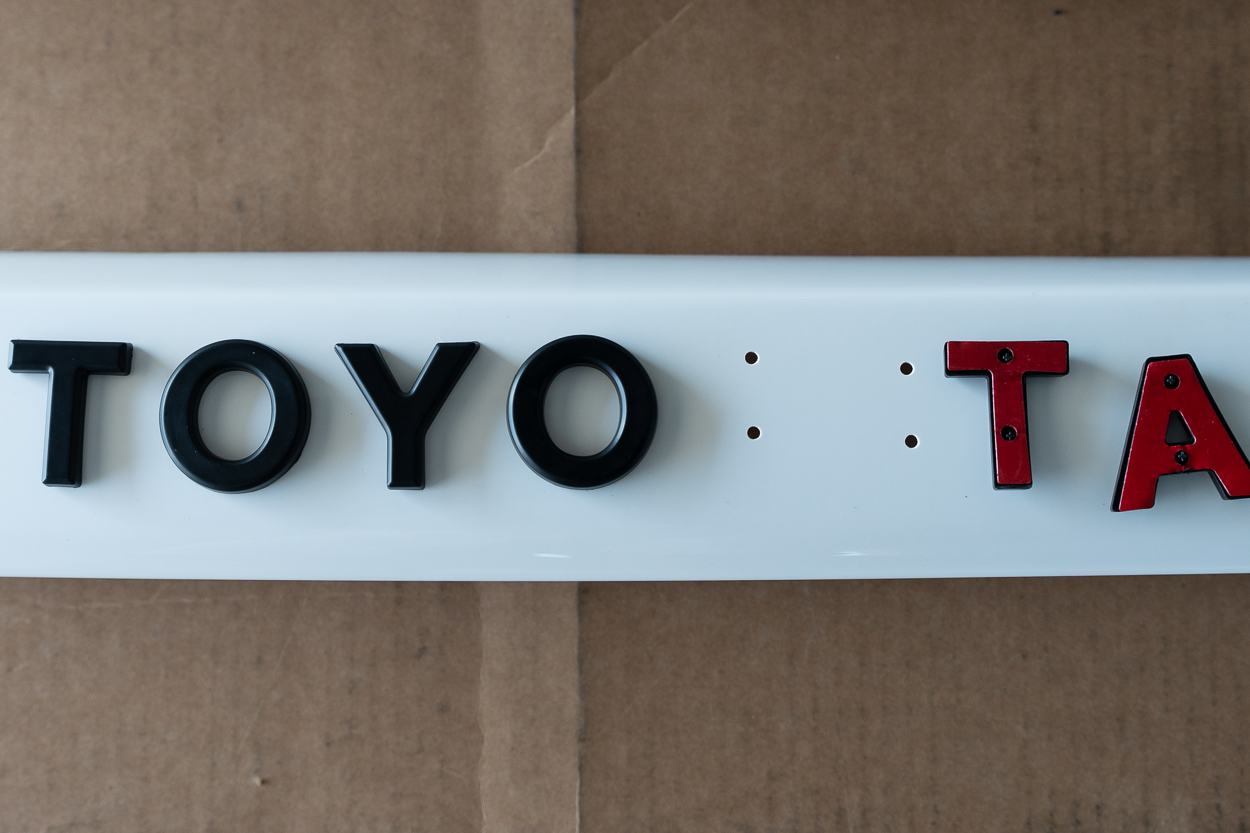
After cleaning the OEM grille thoroughly, place the letters carefully on the grille. Align the letters on the indentations and hold them in place for some time for proper adhesion.
Step 3. Assemble New Upper Grille/Garnish
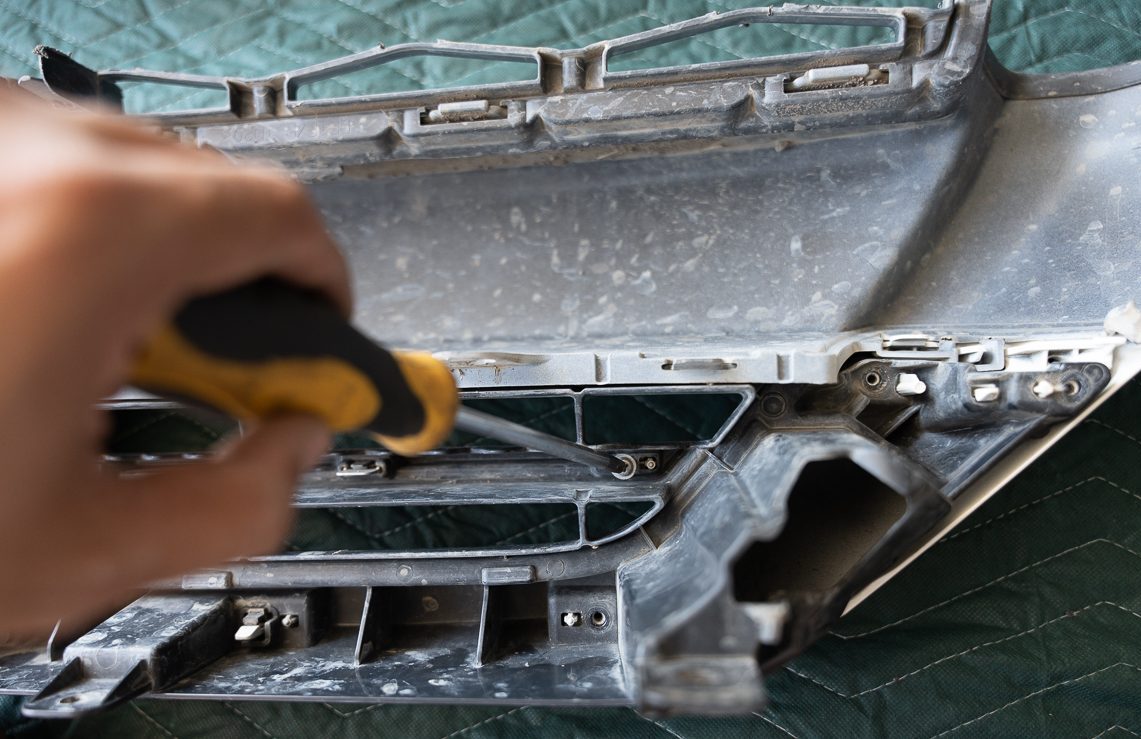
Remove the eight Philips head screws and locking tabs on the side to remove the Toyota emblem part from the OEM top grille.
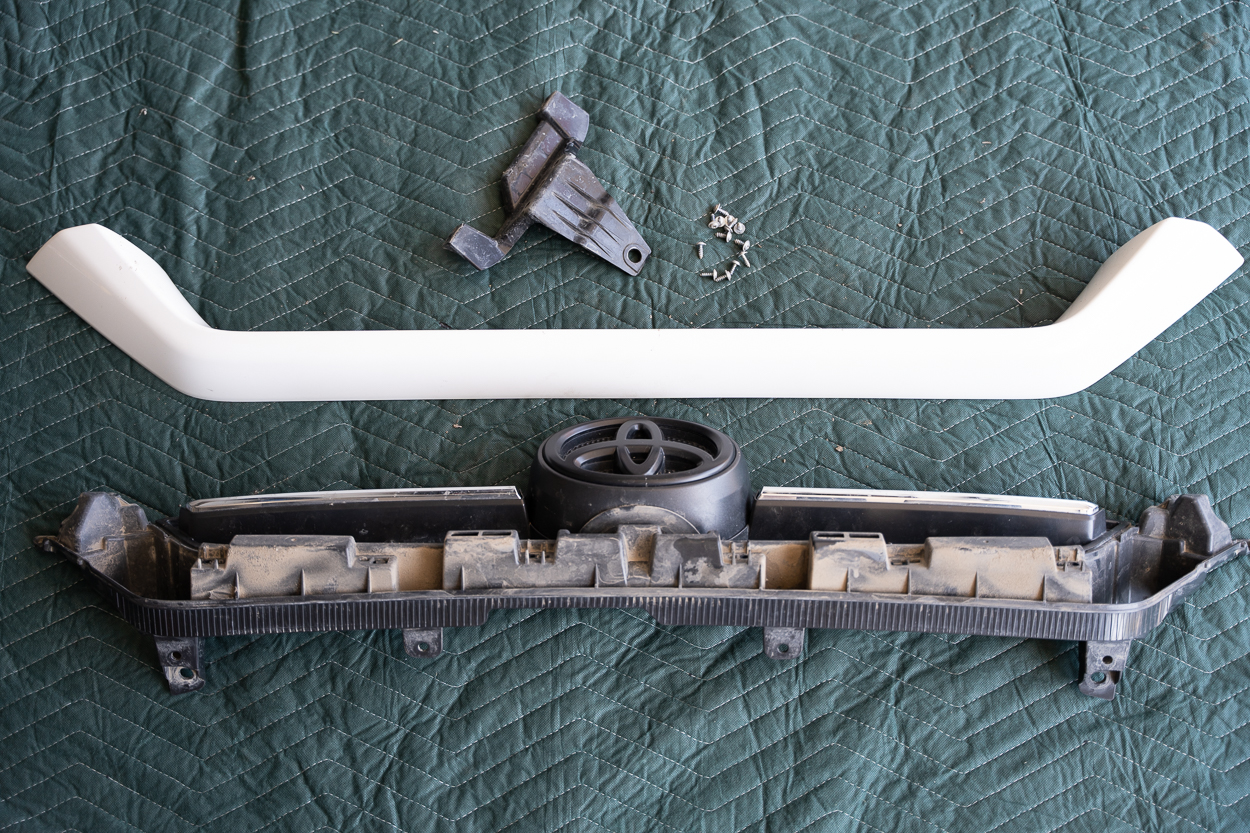
Next, screw the top portion on the TSO-provided upper grille part and snap it in place.
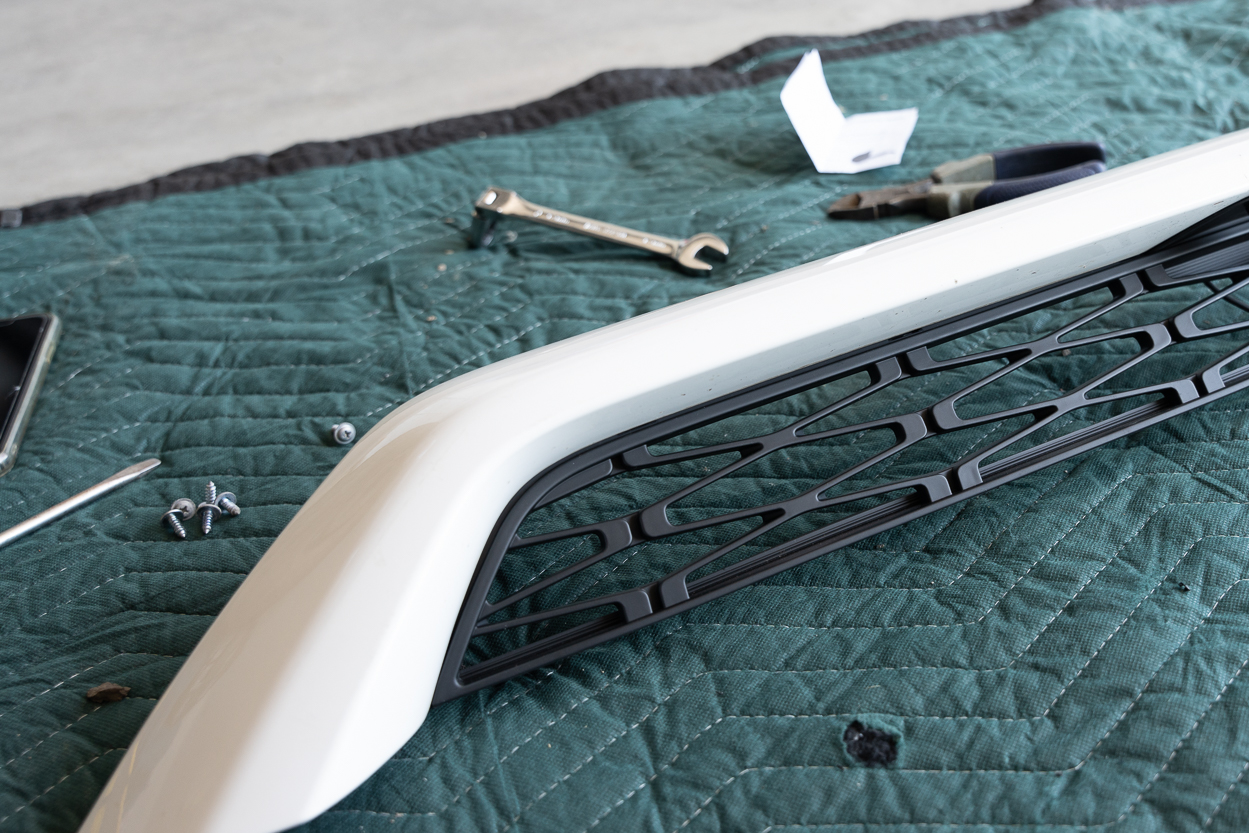
This is how the final product should look with the new TSO grille/garnish attached to the factory top part.
Step 4. Install TRO PRO Grille Overlay
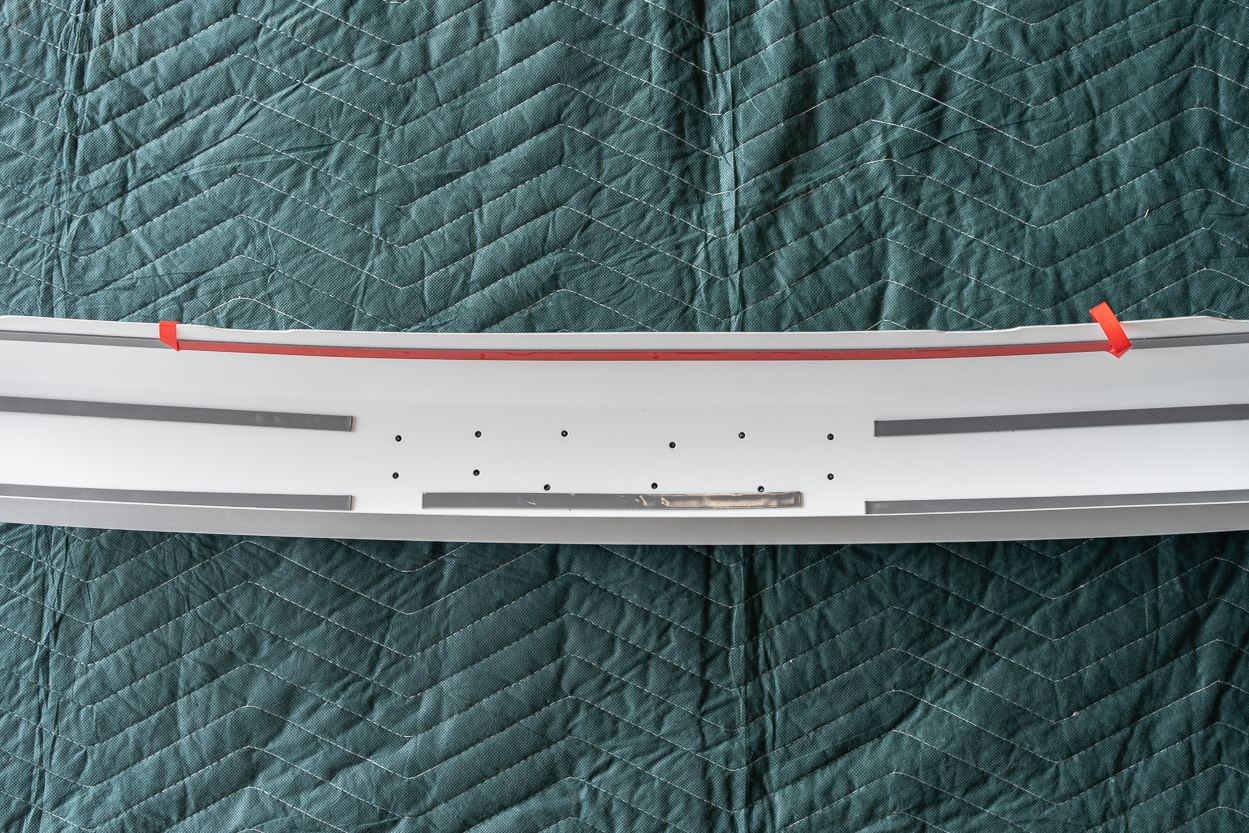
The new overlay will lay on top of the OEM grille portion with the help of double-sided tape. Peel the tape completely from the center section of the overlay and only peel the ~3-4 inches of tape from the sides for the top portion of the overlay.
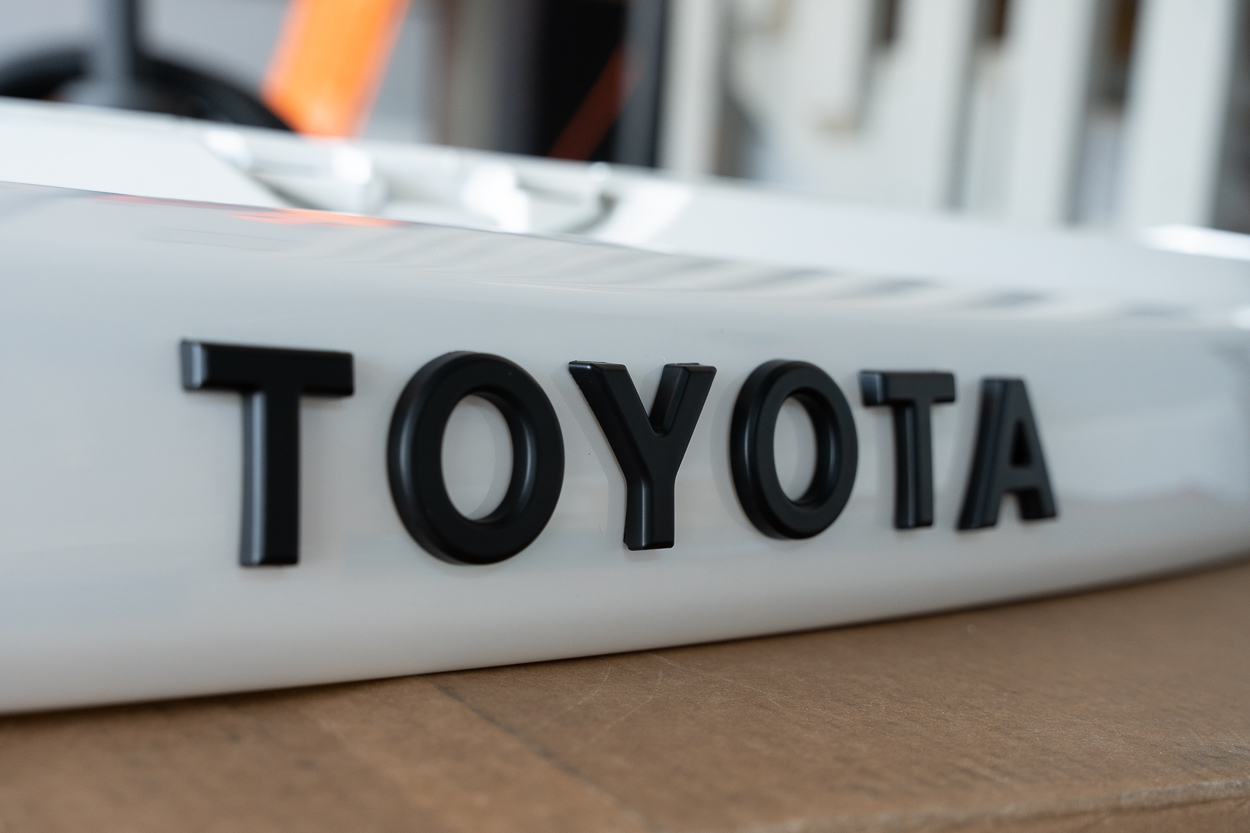
Tilt the overlay towards you, slide it over the top of the OEM grille, and firmly push the overlay on top of the OEM grille. Hold it in place with firm pressure so that it can bond properly. Now, with the overlay in place, gently peel the rest of the double-sided tape and apply pressure from the top so that it can bond as well.
Step 5. Install New Upper Grille Insert
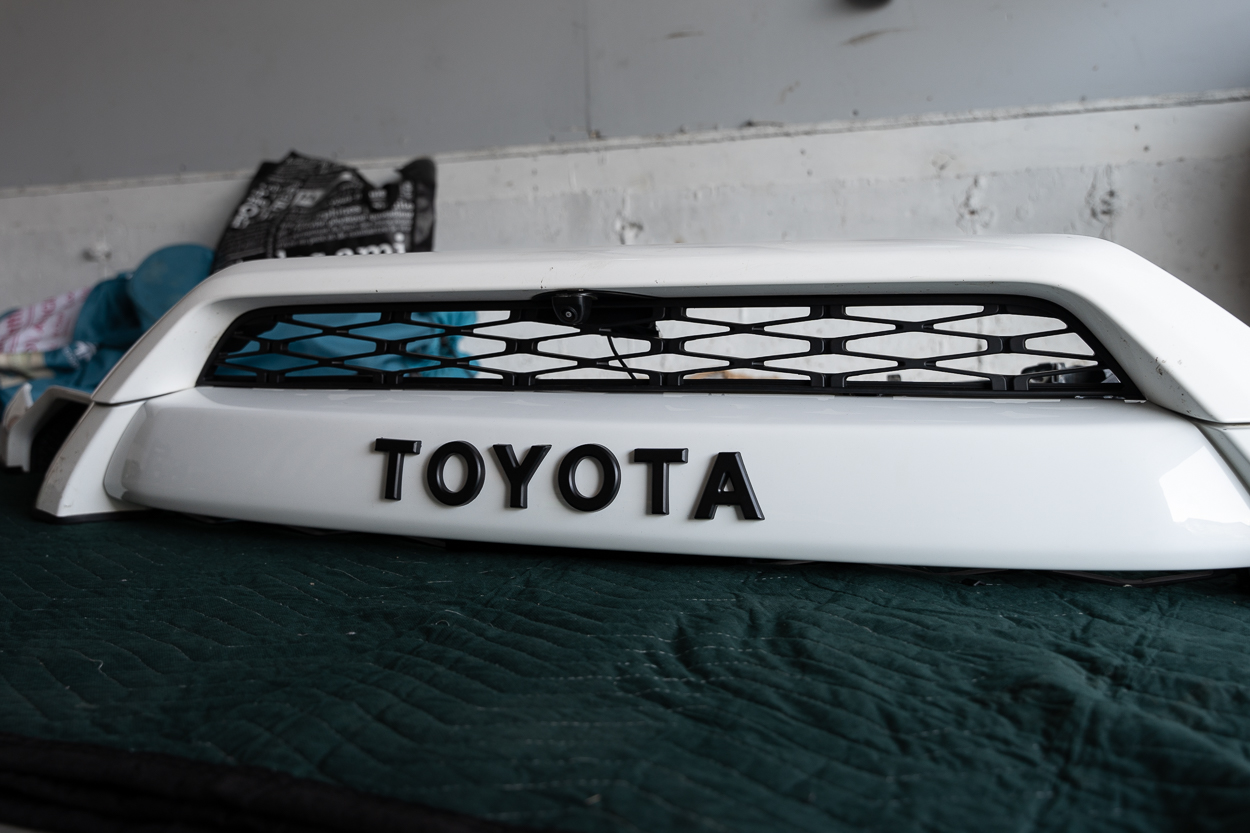
Next, snap the new upper grille/garnish in the TRD PRO overlay assembly with the four retention clips.
Step 6. Install New Grille
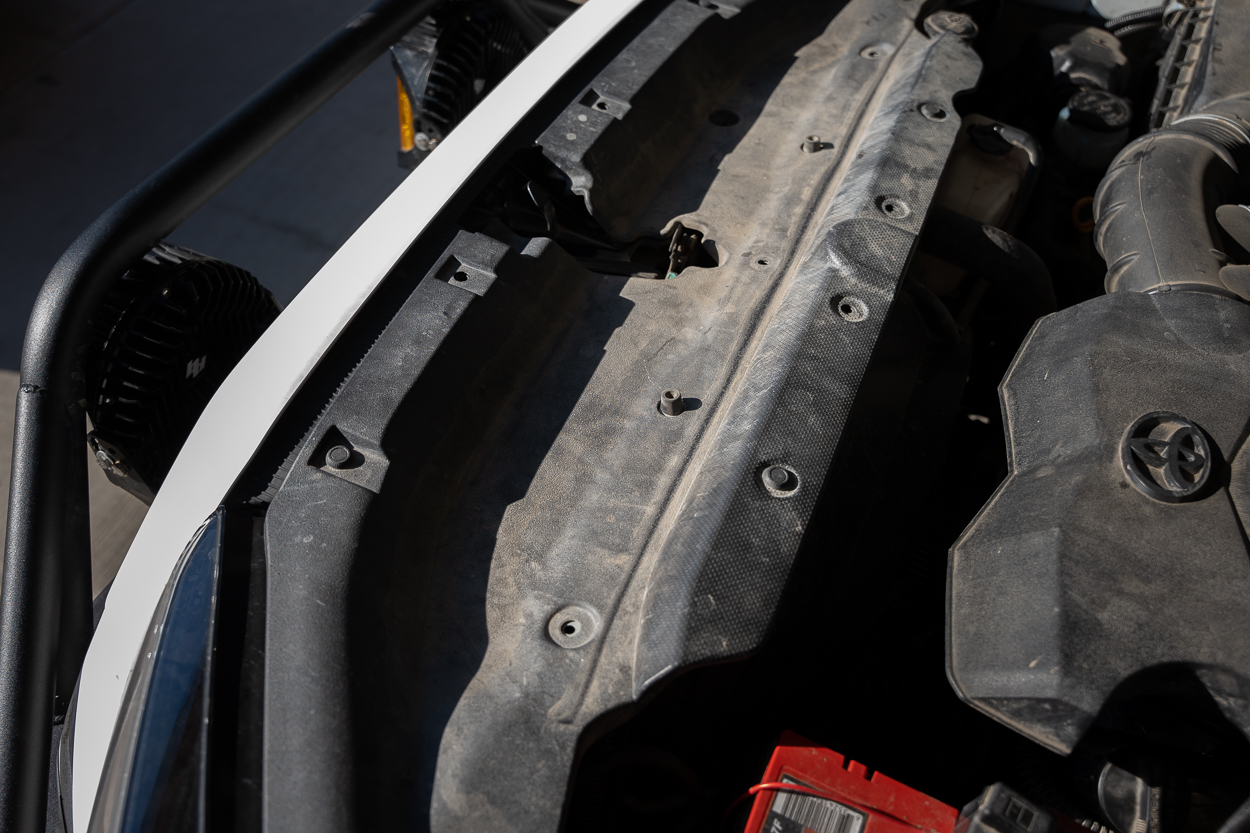
Wiggle the full assembly in place and secure it using the two retention clips and one 10mm bolt on top. Next, line up the retention clips, reinstall the 13mm bolts, and secure the lower part in place. Don’t forget to plug the TSS sensor harness back in as well.
Lastly, secure the front engine top cover back into its place and you’re done!
Before
After
Final Thoughts

My strong preference for the clean heritage look on a 4Runner led me to choose TSO’s product, which impeccably captures this aesthetic. The standout feature that sets TSO apart is its unique white color option, harmoniously blending with the vehicle’s other components. Another crucial aspect of this grille is its compatibility with the Toyota Safety Sense (TSS) system and C4 Fab TSS Relocation kit.
I couldn’t be more pleased with this choice, and I’m eager to hear your insights on how TSO’s white offering compares to the standard black option in the comments below!
