
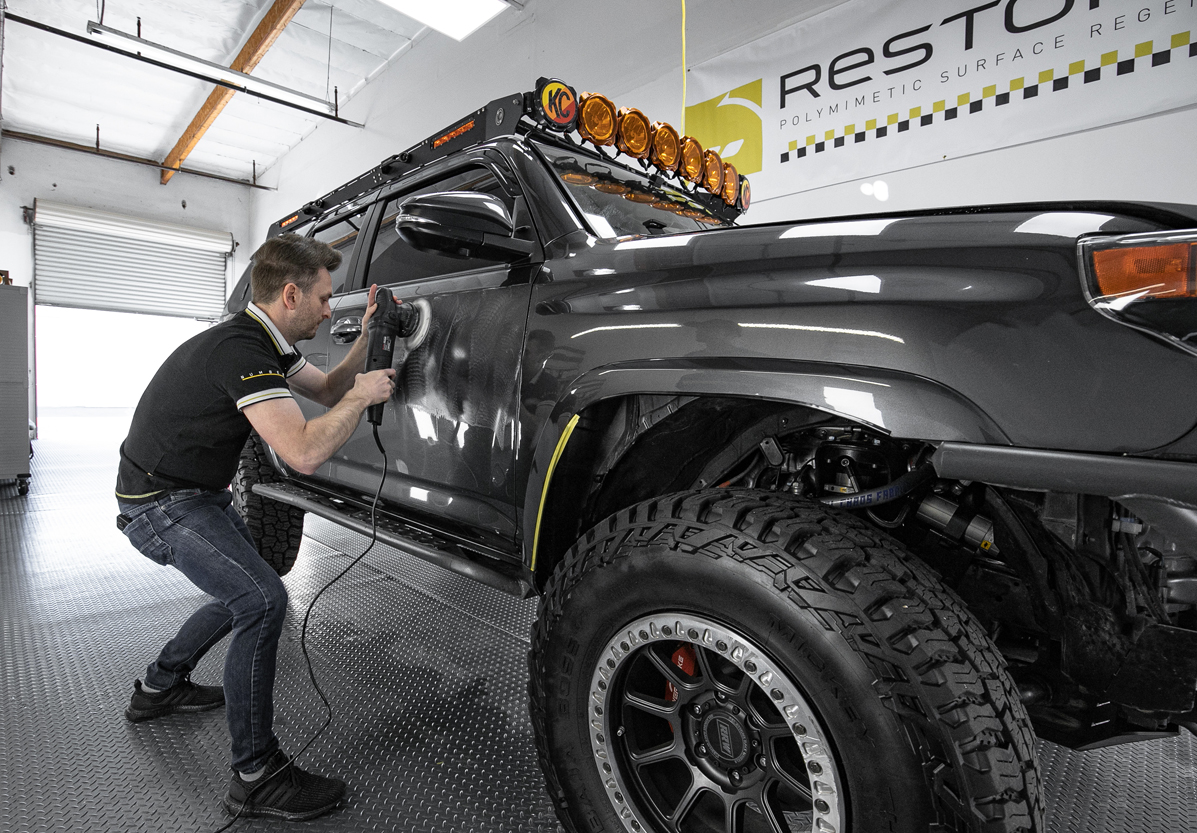
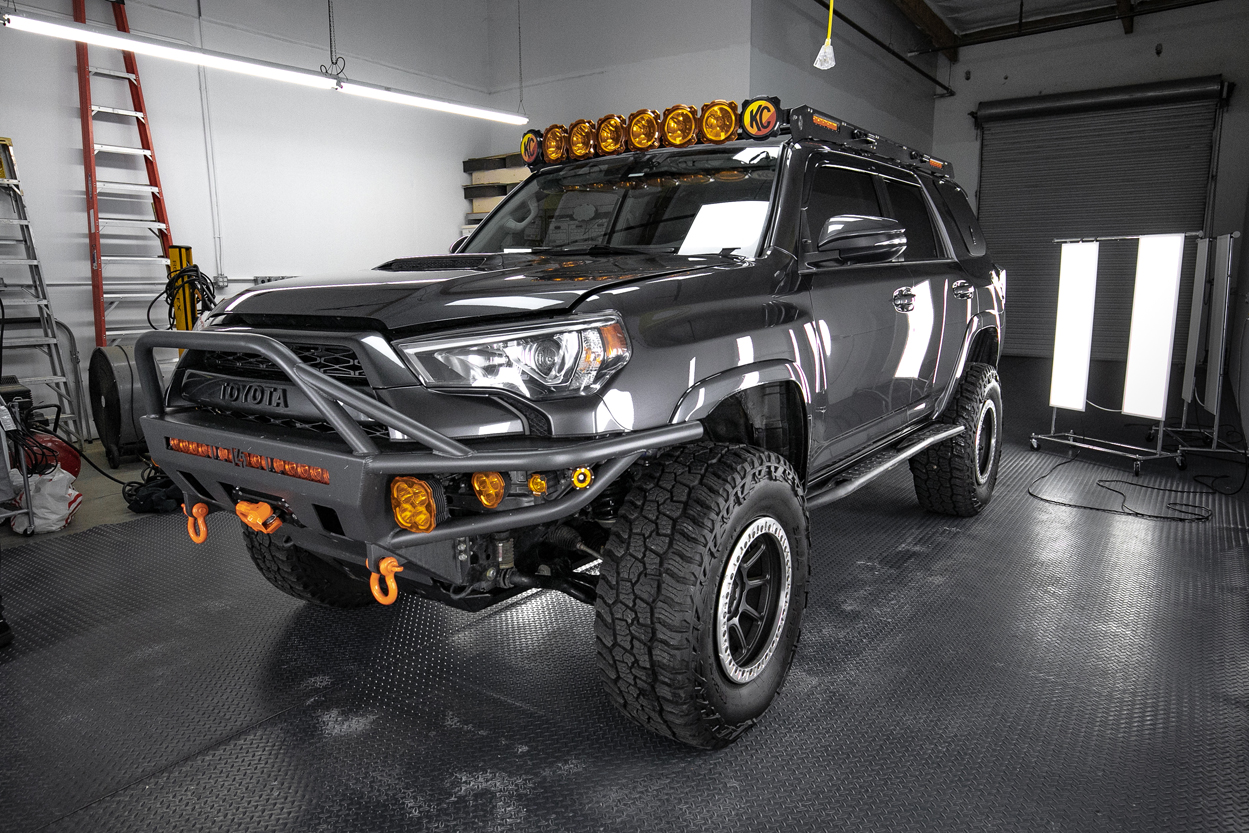
Pictured: Jade fresh after a full RestorFX & ClearFX from RestorFX in Sacramento, CA
The detailing industry is jam-packed full of products that allow you to detail your rig in the comfort of your own garage. I, too, own countless Adam’s Polishes along with Chemical Guys products that line the side of my toolbox. When I take Jade out (my 2016 Trail Edition pictured), she can get pretty dirty depending on where I go and the season. Northern California is especially known for its tight trails, lined with thick manzanita, dense pines, and even stringy hardwood creek brush.
I depend on my cleaning supplies to take off all the dust, dirt, and grime that builds up after a long weekend on the trail or weeks on the road – but the pinstripes remain. I’ve even tried to fix some of the pinstripes with an Adams Swirl Killer, and some of the minor scuffs will come out, but the deep ones resurface over time. Without a professional detail and years of experience, it’s hard to get all the pinstripes and swirls out on your own in the driveway.
Table Of Contents
Washing the Paint

Typically, I use a two-bucket wash with microfiber car wash mitts, along with my foam cannons, to remove the larger debris. Although this method works, it’s continuing to scratch my 4Runner even more after I come off the trails. Even with a pressure washer and 2000 PSI from the foam cannon, there is still dirt residue left on the rig. It has to come off somehow, so what do you do? Hand scrub it, that’s how.
The problem with hand scrubbing (even with the highest quality scratch-free mitt) is that the built-up dirt continues to rub into the clear coat, and over time, the sun’s presence becomes noticeable, and degradation takes effect.
After years of cleaning the 4Runner like this, eventually, the finish started to fade. Jade began to show swirls and spiderwebs, really exposing all the manzanita and pinstripes along the entire side of the 4Runner. This has been increasingly more noticeable to me on Jade’s MGM paint over my last super white build.
Options For Keeping Paint Clean

You have two options: continue washing your 4Runner by hand and watch your paint fade away, or avoid hand washing and protect your paint through ceramic coating.
Before you dive into ceramic coating, however, you need to understand what it entails. If you have a brand new 4Runner off the lot, by all means, get a ceramic coating as soon as possible. Companies like Gtechniq offer some of the highest-quality ceramic coating products on the market. Outside of that, Ceramic Pro has been in the game for a while, but browsing some forum threads reveals that haters are quick to put them on blast.
How Old is Your Paint? 2-5 Years+

Scuffs and Scratches after wheeling and general Sacramento sun abuse
Before you apply a ceramic coating to an older rig with scratches, you need to fix or “correct” the paint/appearance by first addressing those scratches in the clear coat, given you have clear coat left to work with. We only have so much clear coat that we can work with from the factory, and Toyota is known for having some of the softest clear coats in the automotive industry.
With that said, most paint correction “professionals” will remove your scratches by sanding down your clear coat with a series of grits (2000/3000/5000) until the scratches have been removed, and then they finally polish the paint/clear with a series of pads and compounds.
A reputable paint correction shop can be expensive. Paint correction with ceramic coating can range anywhere from $2000-$4000+, but this all depends on the current shape of your 4Runner, location, color, scratch depth, and many other variables.
The most important thing to consider with paint correction is that you can only paint correct your rig 2-3 times (depending on many factors) before you burn through your factory clear coat.
What is Paint Correction?

Paint correction is a process in which a detail professional removes scratches in your clear coat through a series of industry-trained techniques that utilize high-end polishers, along with a variety of buffing and polishing pads.
Paint correction removes scratches in your clear coat by literally cutting down the clear coat until the scratch’s depth is reached. Once the depth of the scratch(s) is met, the polishing begins to bring back that beloved factory shine. As mentioned above, you can only correct paint so many times before you run out of clear coat. Then once the clear coat is gone, you start scratching the paint, and at that point, you need to repair your actual paint.
What is RestorFX
RestorFX is a new way to maintain your vehicle. It is presented as a state-of-the-art paint treatment that will permanently repair your vehicle’s finish to new. They aren’t “hiding” scratche, they are actually repairing them and making sure they never show up again.
RestorFX is not a wax, cut and polish, paint sealant, or any other typical protective coating commonly found on the market today. RestorFX is a permanent solution that not only protects a vehicle but also has the potential to actually restore the paint. RestorFX actually repairs real damage without requiring repainting or cutting and polishing away clear coats using traditional, time-consuming, and outdated methods, such as visiting a local paint correction shop.
In technical terms, RestorFX is a two-part system that utilizes Polymemetic technology to actually repair your vehicle’s clear coat. It’s professionally applied to the surface and fills in the visible scratches, making them disappear permanently. Once completed, RestorFX actually adds 10 microns to the overall finish, making it more durable. A RestorFX finish will chemically bond to your existing vehicle’s paint finish and is guaranteed against peeling or manufacturer defects for the life of your ownership. In as little as 24 hours, it will permanently repair your vehicle’s finish without the need for repainting or accepting temporary results.
Compared to Paint Correction:
- Paint Correction is expensive when done by a proper professional
- RestorFX is affordable and permanent
- Paint Correction is time-consuming and takes days to do properly
- RestorFX is a 24-hour turnaround
What is Ceramic Coating?

Traditional ceramic coating is a liquid polymer that is applied by hand to the exterior of a vehicle. This liquid chemically bonds with the vehicle’s factory paint and clear coat, which creates an additional/stronger layer of paint protection. Ceramic coating is essentially a premium alternative to waxing your vehicle’s paint. Traditional ceramic coatings create a permanent or semi-permanent bond through a chemical reaction within your paint’s clear coat.
Many owners like to ceramic coat their 4Runner because it adds an extra layer of protection, helping to keep it looking new with minimal maintenance. Not only does it offer minimal maintenance, but it’s also extremely easy to clean.
Ceramic Coating Benefits:
- Prevent Scratches
- Prevent Swirl Marks
- Prevent Rock Chips
- Eliminate the Risk of Water Spotting
- Eliminate the Need to Wash
With extremely high-quality ceramic coating, your paint is more resistant to staining, rock chips, swirl marks, and etching from commonly found contaminants on roadways. This all sounds pretty great, right? However, you can’t completely prevent or eliminate all these potential problems, though. Wear and tear are inevitable over time, and the ceramic coating does lose its strength. Its average lifecycle of peak performance is about 2-5 years, depending on the quality.
What’s the problem with Ceramic Coating?
There are actually quite a few, but we’ll stick with the main one.
When a traditional ceramic coating is applied to a vehicle, the process involves removing a portion of the factory clear coat to smooth out scratches and then adding a layer of protection. Or “ceramic coating”. This isn’t good because your vehicle only has so much clear coat to work with.
What is ClearFX?
ClearFX is a little different from standard ceramic coatings.
First of all, it is a smaller molecule base. Most ceramics are “nano,” and ClearFX is “atto.” With this minor change, the ceramic absorbs into your paint finish, hardening it to provide protection instead of a layer on top.
ClearFX also offers a refresh program that will continue to add protection as long as you own the vehicle, ensuring it always works properly.
Another value ClearFX brings is being a reasonable price point. Since many ceramic companies charge for “paint correction,” their prices and costs can become unfriendly to the average budget.
By combining the RestorFX process with ClearFX, you can get a superior result in less time and at a lower cost to you.
The Application Process

The application process is somewhat proprietary to RestorFX and ClearFX. I was only able to take photos of the general process, not every single detail of the application methods. In any case, the steps provided below will give you an idea of what it takes to install this product on your 4Runner.
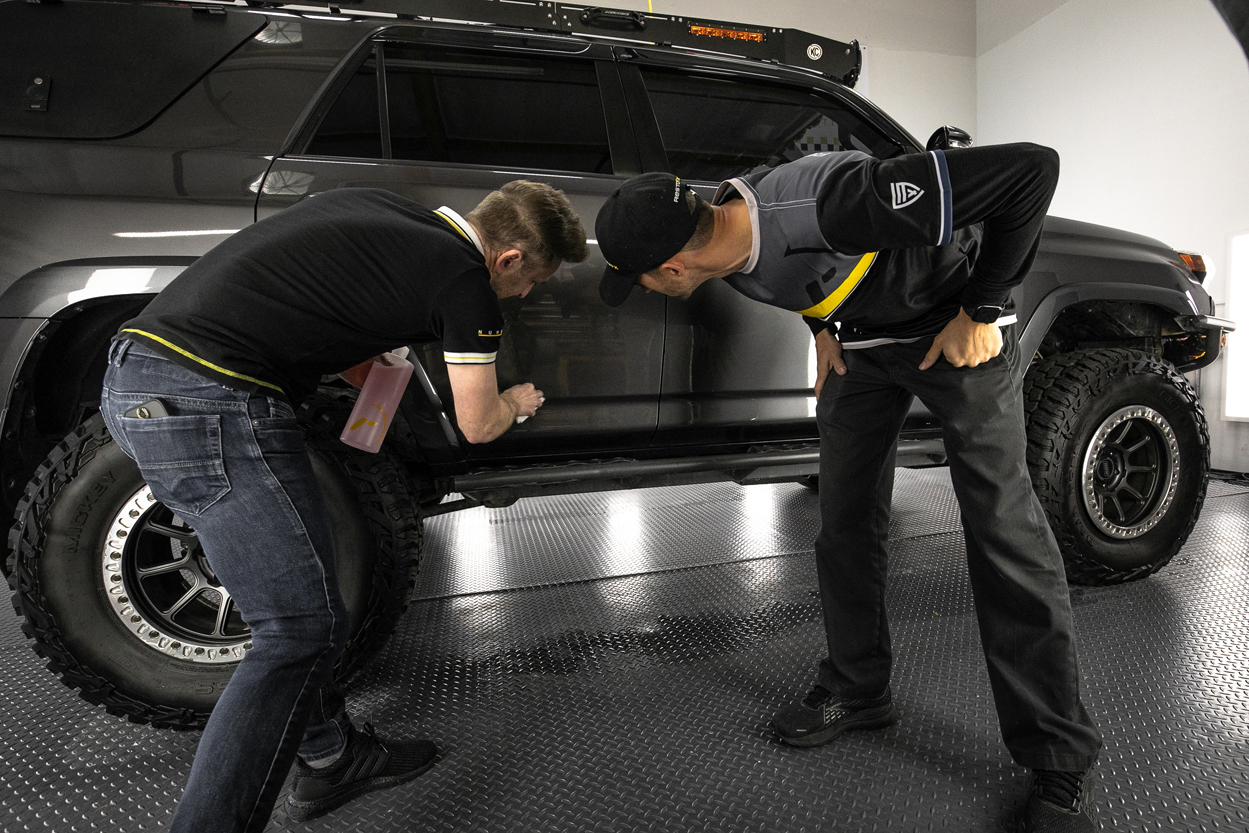
The level of attention these guys give to paint blew me away. They look at every single scratch, every blemish, faded spots, hotspots, and everything in between. These guys have a level of attention that far supersedes my everyday OCD.
I actually thought my paint was in pretty good shape until they pointed out every single area that needed attention. They actually pointed out a couple of areas on Jade that have been repainted, which was news to me. I suppose the previous owner had a repair done, and, needless to say, some repainting has been done.
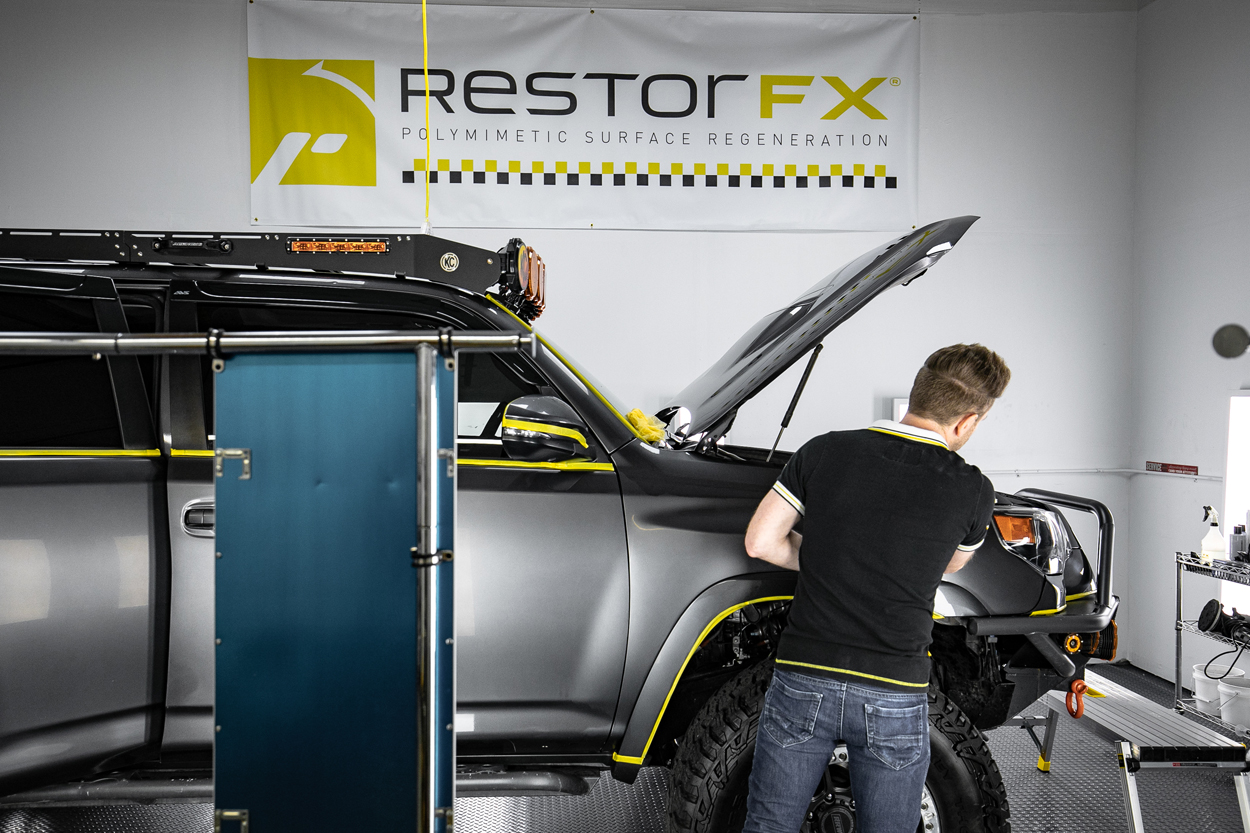
General Walkthrough

Before any actual work begins, the guys walk through the entire exterior of the vehicle. Call this the initial “consultation” or a general paint “audit”.
At this stage of the process, the technicians will identify major scratches, paint swirls, faded spots on the paint, and any specific areas that need attention.
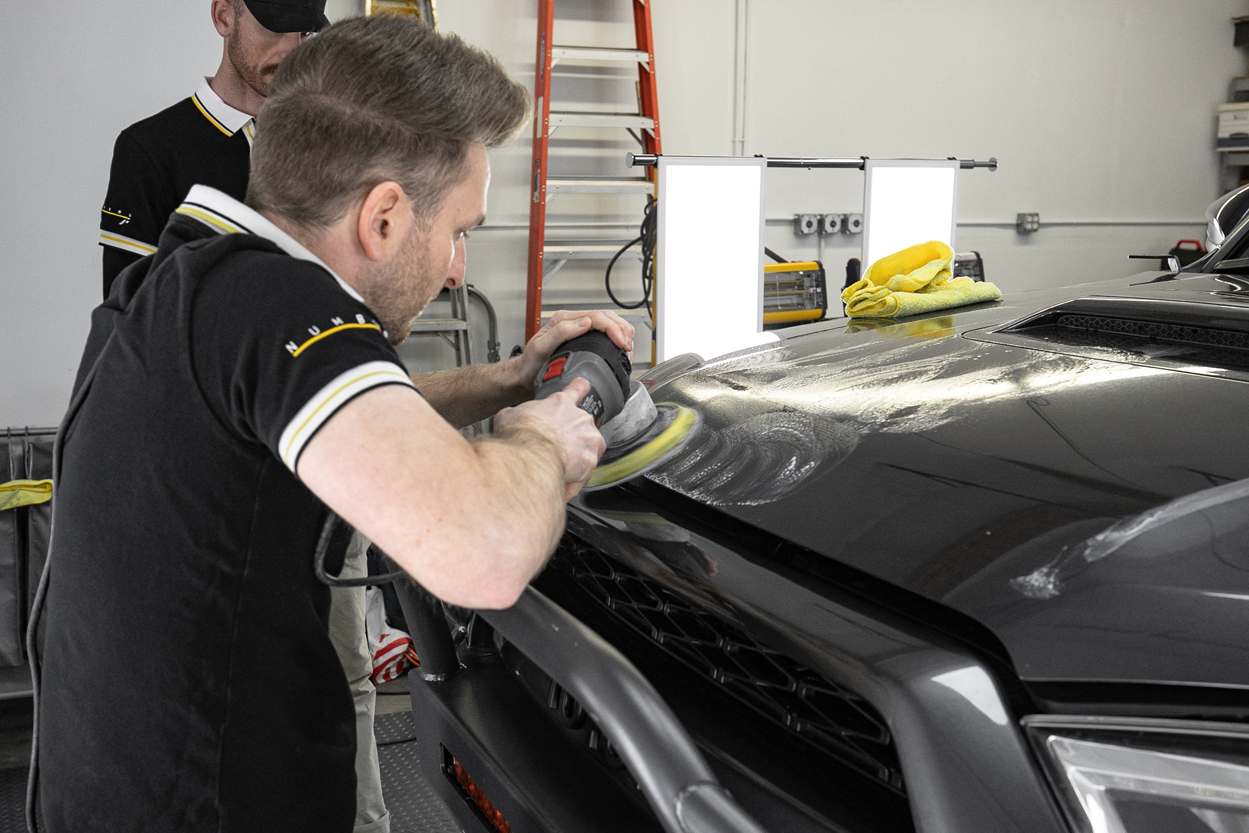
Some of the most important and notable areas that require the most attention are the hood and doors. These areas are prone to the most abuse from common weather elements, so they are usually addressed independently of the entire paint overall.
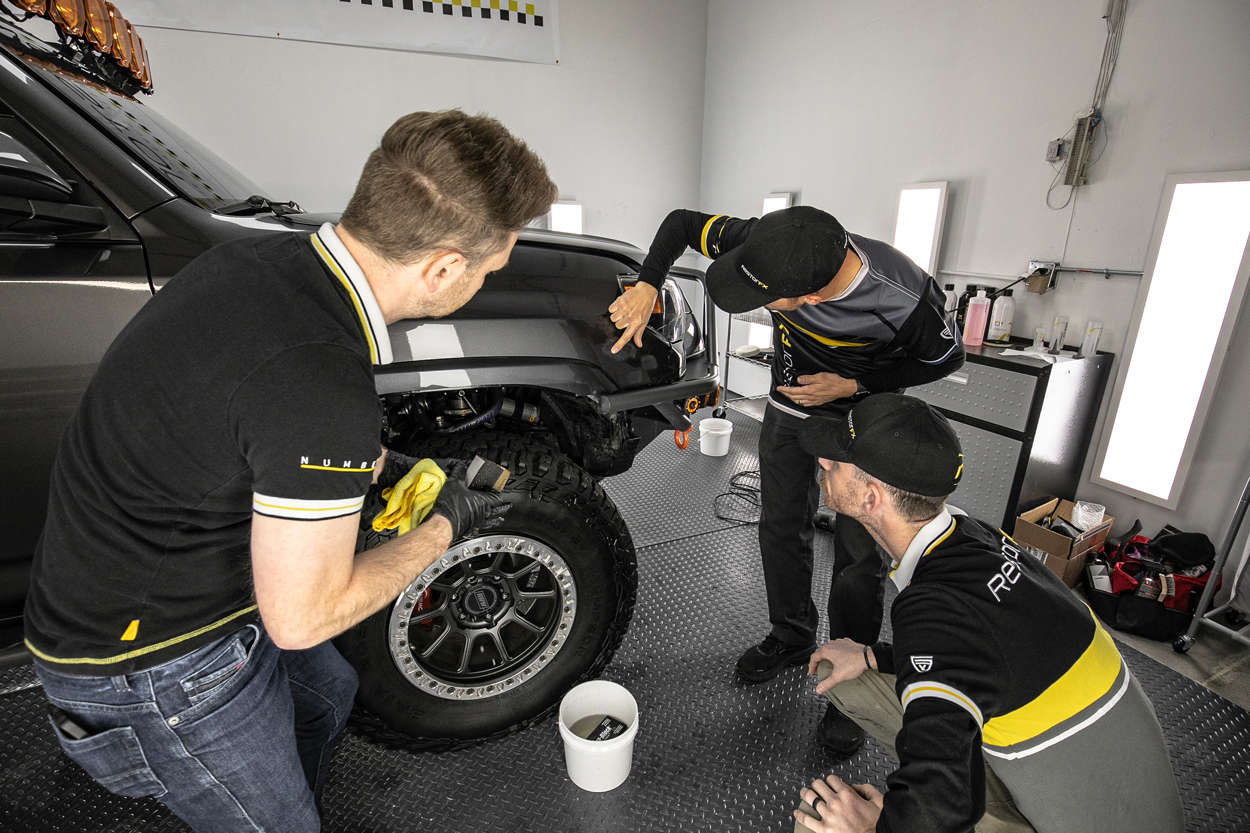
The vehicle is usually broken down into many different sections that are handled with a unique approach, specifically for the problem items that need to be addressed. Every vehicle is different, so this is a very important step in the overall RestorFX process.
Debadging & General Prep
When beginning any RestorFX project, the larger/deeper scratches are addressed first. What needs to be determined is whether or not the deep scratches have cut all the way through the clear coat.
RestorFX is not able to repair paint; however, it’s designed to restore clear coat. If the scratches are all the way down to the color coat, you may need to go to a paint repair facility.
That said, most of your average scratches found throughout the paint can be restored through RestorFX. They were able to address some pretty large/deep scratches on Jade, and to my amazement, they were able to repair them, leaving Jade with an incredible finish and zero scratches on the entire paint surface.
General Cleaning

Before starting the sanding process, it’s important to clean the vehicle thoroughly.
This is also a very important step in order to understand the vehicle that’s being worked on. At this stage of the process, the team ensures that they have correctly identified all areas of concern.
2000 Grit
For some of the deeper scratches, the guys started with a 2000-grit. The 2000 grit was only used in a handful of areas where the deeper, more pronounced scratches were visible.
3000 Grit
The team then moved on to a 3000-grit and sanded the majority of areas where swirl marks were present and minor scratches were visible.
5000 Grit
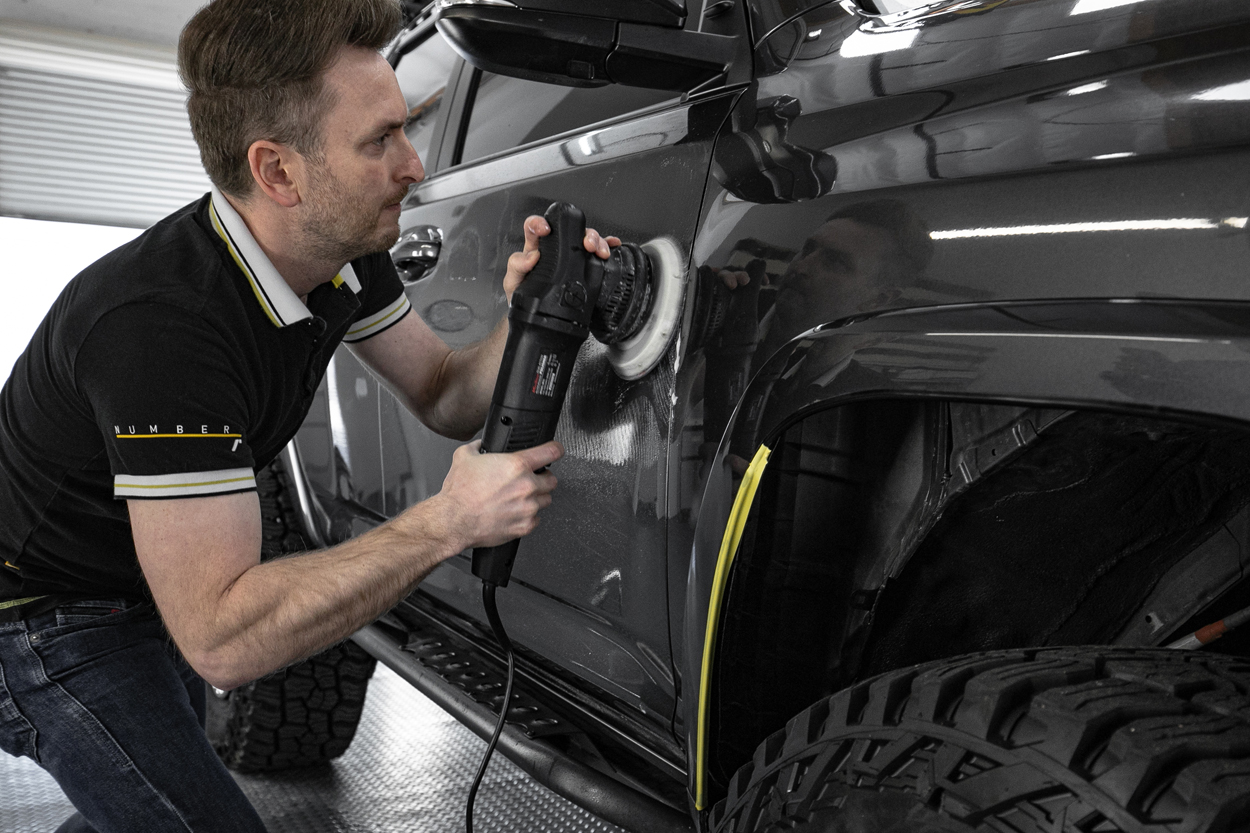
Finally, the entire 4Runner was hit with 5000 grit in order to take down every single scratch on the vehicle and to remove any environmental contamination that may interfere with the treatment.
Car Prep
Once the guys finished with the 5000-grit, they cleaned the sanding residue from the surface and then applied car prep, a liquid application that cleaned and prepped the 4Runner for the actual RestorFX product.
RestorFX
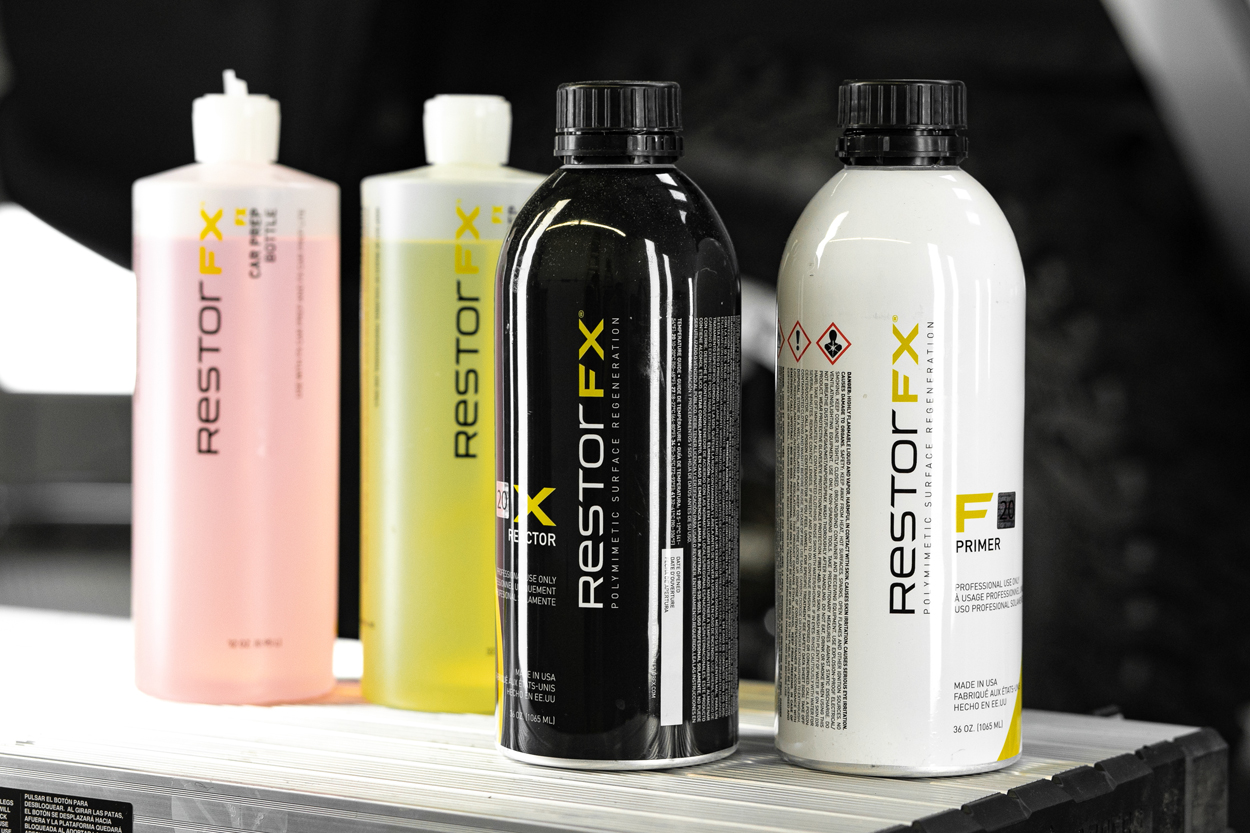
It’s in these cans that the real magic happens.
RestorFX Application
Again, I was only able to capture so much as the RestorFX application process is somewhat proprietary. I can tell you, though, that these guys know what they’re doing, and this process is very detailed.
ClearFX & Overnight Baking
Once the RestorFX was applied and settled in for the night, they moved to the ClearFX application.
Before Shots


After Shots

Final Thoughts

So how did it turn out?
Holy shine!!
The 4Runner has never looked so clean and pretty. I drove the 4Runner around town for a couple of months after the RestorFX and ClearFX application, and nearing the end of winter, I was blown away at how clean the paint stayed. I only washed the 4Runner once with a pressure washer and a foam cannon. That’s it, nothing else. To my amazement, the 4Runner was spotless again. I didn’t have to touch the paint at all… after all, that is the point. The ClearFX repels water with ease, and dirt definitely doesn’t like sticking to it either. If you’re sticking to the streets and around town, this stuff performs at a very high level. The paint seems to stay clean for unbelievably long periods of time… no matter what.
On the trail and off-road, however, is a different story.
I’ve taken the 4Runner on a few trails since installing the RestorFX and ClearFX application, and it’s definitely easier to keep clean; however, it won’t prevent mud from sticking. General dust doesn’t want to stick to the paint with ClearFX, but on wet dirt, it’s bound to get dirty, and the heavier wet dirt will stick.
The ClearFX wasn’t made to support guys wheeling through wet, dusty/and muddy conditions. After getting the 4Runner back home after a trip wheeling, I used the pressure washer and a foam cannon to knock all the big stuff down, but some debris remained. I got as much of it as I could, but there was still a tiny film of residue on the paint. I know you shouldn’t have to touch the ClearFX with anything but it had to be something, so I used a microfiber towel and it worked just fine.
It’s been well over six months since we had RestorFX and ClearFX applied, and Jade still looks stunning. The paint and finish still look amazing.
If you want to keep your paint looking clean, RestorFX and ClearFX are a great option when used together.
We used RestorFX in Sacramento, CA – ask for Cory. Cory also runs a dent repair shop in Sacramento, DentPro. Tell him Brenan with Trail4R.com referred you. RestorFX also has many locations worldwide that you can visit.

It’s odd they compare paint correction to wetsanding. Paint correction means removing defects. Wetsanding removes defects and is is essence paint correction.
I’ve seen this product and process before. It’s the same thing as ceramic coating with all the same process. They’re really splitting hairs and claiming it’s different. It’s really not.
You’re still correcting paint and applying something on top realistically.
Hello, Where Can I get the products?
i used Restorefx it’s been one year I wash the car and I have water spots do I have to wax the car since it has Restorefx on it
Interesting product, have seen them around on IG. Typically paint can be compounded/polished more than 2-3 times depending on the depth of clear coat you’re trying to remove. Ceramic coatings are amazing in my opinion, not sure what benefits this product has over them aside from skipping the step of paint correction. Can you apply any kind of LSP (last step protection – sealant, wax, coating) over the product if you wanted to? Does it bead or sheet water? Does it actually provide UV protection? Great article as always, just curious…. The 4R does look absolutely amazing!