How To Change The Startup and Off Screen in the 5th Gen 4Runner
Changing the startup screen on your 4Runner is an easy project that allows you to personalize your 4Runner. The startup screen is something you see every day when you get in your car. So why not make it your own?
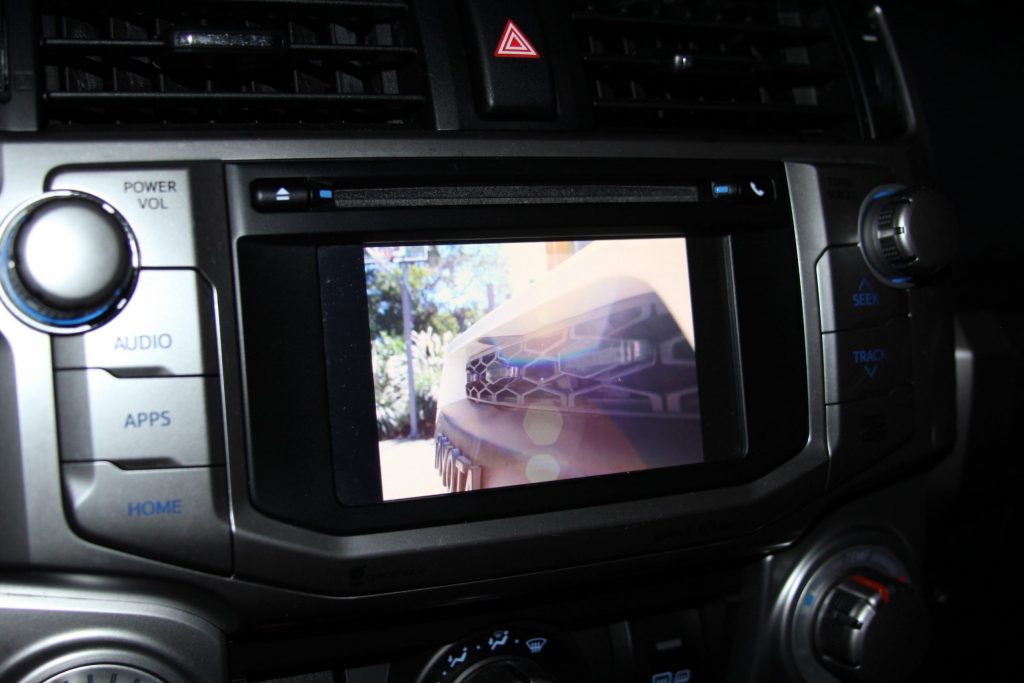
With this simple install, you will be able to add an image of your choice to both the startup screen and the off-screen
What do you need for the install?
- Flash Drive
Any flash drive will do, just make sure it is blank. That means no files or downloads on the drive. Any excess files could cause a malfunction in the process.
Step 1. Insert Flashdrive & Create Folders
Insert the flash drive you will be using into your laptop or computer. Check to make sure the flash drive is empty before you begin adding folders and photos.
Folders (Case sensative):
- StartupImage
- DisplayOffImage
Then, create two folders under the flash drive in your files. One should be called, “StartupImage” and the other, “DisplayOffImage”. You must copy those names exactly, with the same capitalization and no spaces. These should be the only two folders on your hard drive.
Step 2. Save Pictures
Determine what pictures you want to use. You can choose any picture you want. It could be of your 4Runner, family, pets, outdoor scenes, anything really. Once you have found the picture you want on your laptop, right-click and hit “save as.” Give the file a name, but don’t hit save yet. Next, select the hard drive file. Once you have the hard drive file, select the designated folder for your photo.
The process is the same for both the Startup Screen and the Display Image. You can use two different pictures or the same one for both displays.
Step 3. Insert Flash into 4Runner
Remove the USB drive from your computer and take it to your 4Runner. Place the hard drive in the USB Port. After that, turn on the ignition.
Step 4. Transfer Photos
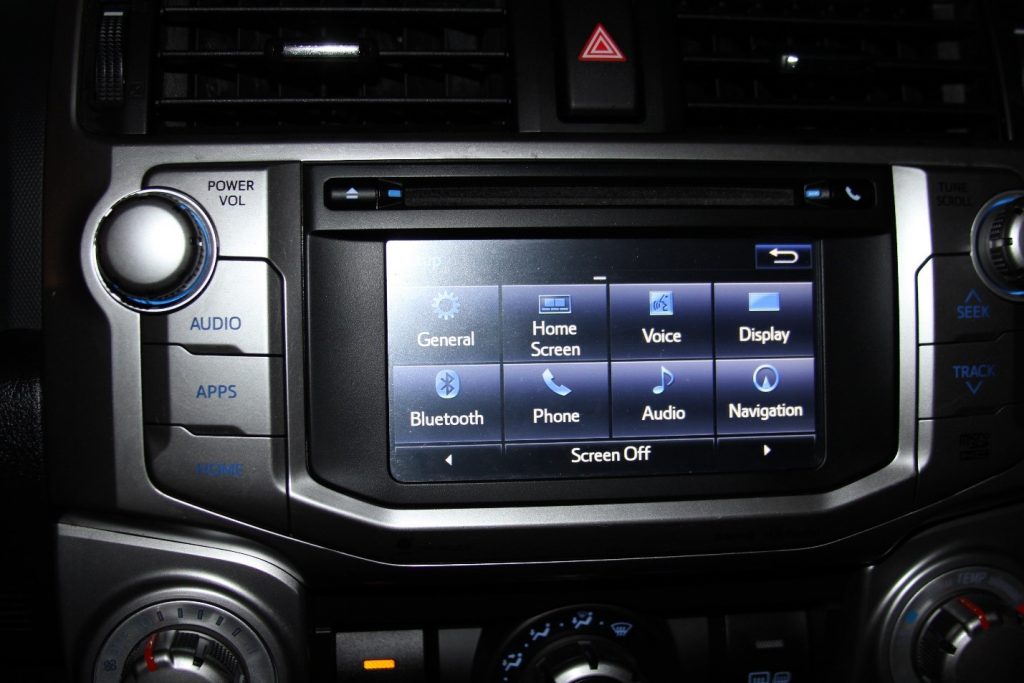
Click the “Apps” button to the left of the screen.
Next, hit “Setup” on the screen.
Then, click the button that says “Setup” with the gear image on the screen. A list of settings should then pop up on the screen.
Then, select “Customize Screen Off Image”
Scroll down until you see “Customize Screen Off Image” and click on it.
A default image will show up in the top left corner and there will be three other images that are empty and say “no image.” At the bottom of the screen, there should be a button that says “Transfer Image,” click it.
It will ask you to confirm the image transfer and you should click the button that says “yes.”
Your image will be located in the top right corner of the screen, press on it. It will ask you to confirm, click the “yes” button. Now click the back arrow in the top left corner.
Repeat the same steps as the Display Off Image, but instead of clicking the “Customize Screen Off Image,” click the “Customize Startup Image,” button. You are finished!
Step 5. Test Images
Turn the vehicle off if you still have it on. Turn the ignition on and your new image should pop up. If the image is displayed then the “Startup Image” is functional.
Now, to check the other display. Click the “Apps” button to the left of the screen. Then click the button “General” on the screen. At the bottom of the screen, there should now be a button that says “Screen Off.” If your image is displayed the “Display Off Image” works as well.
If either one of the images does not show up, rework the steps to make sure that the process was done correctly. If they both work, you are done!
Final Thoughts
This is a cheap, if not a free project that takes no more than 5 minutes to complete. I think it looks great and adds a personal touch to the 4Runner. I like the fact that I can change it at any time and the images can be whatever I want. My only complaint is that the image isn’t the first thing that is displayed when you turn on the ignition. The Toyota logo is displayed for 2 seconds and then it fades into my chosen image.
However, it is still really cool that I can get any personalized image on the screen at all! I don’t drive with my display screen off because I’m constantly listening to music and skipping songs on Spotify. So, the Display Off Screen Image isn’t a big deal to me.
Overall, this project was a simple personalization of the 4Runner screen that I highly recommend!


This does not work on our 2021 4Runner TRD Pro. The infotainment system layout is completely different than the one pictured and only allows for customizing the home screen layout and not the startup screen. Does not even have a shutdown screen. Turn tuns off abruptly when ignition is turned off.
I just did the little hack. It took some trial and error. One thing to note is that your file size for each image has to be smaller than 5MB. The resolution of the screen is so bad, that small file sizes work well here.
Also the extensions on the files need to be .JPEG or .JPG
Once I had those technical details on the drive it worked as described
Thank you! Works for my 2016
It works great, however, it only stays up for 2 seconds
2021 TRD Off Road Premium edition, does not have this function.
I don’t think this is available in the 2022. Anyone know?
its not …. I tried it on my 2022
Just went out and did this!
Thanks for the wonderful write up!
2021 4Runner does not appear to have this option
What file format does the USB drive/stick need to be? FAT, NTFS, EXT4.
hi Whe3zy,
Wanted to follow up as i found a solution. I read somewhere that the flash drive needed to have a storage capacity larger than 4 GB. I tried using a 64 GB flash drive and that did the trick. The 64GB flash drive is also 8 years newer than the 4 GB flash drive I initially used. Figured you could try both those options and it will work.
I’m also wondering this. I’ve uploaded two .jpeg files to the USB and it is saying wrong file format. Is the USB drive model what’s causing this issue? I’m assuming it’s not the actual file format?
This is not a option on the 2020. Maybe Toyota will have a update.
Very cool mod, Appreciate the write up.