The GSI Java Drip Pour Over Coffee filter holder – An overview and how to use this compact “pour over dripper” coffee maker
What is pour over coffee?
Start with a freshly ground coffee, a clean filter, and a filter holder, liks this GSI Java Drip. A pour over coffee filter holder at the most basic level, just means pouring water over and through the grounds to extract the coffee flavors into your cup or serving vessel.
If you’re like me coffee is a need regardless if I’m at home, at work, or on the trail. If you’re really like me, you may even have a little bit of coffee snobbery in your DNA and might prefer manual brewing opposed to kicking on the auto-drip machine.
My journey with coffee only stretches back about 10 years. Hard to believe, but other than the occasional jumbo sized caramel macchiato from the S‘Bux, I didn’t really touch coffee until I was nearly 30.
Around that same time “Third Wave Coffee” really started to explode as a new generation of Roasters and Coffee Shops such as Blue Bottle, Stumptown, Intelligentsia, MadCap, Oddly Correct, and Onyx Coffee Lab run by young thirty-somethings exploded and started stealing market share from the “Central Perk” shops that were birthed through the late 80s and into the 90s as well as the S’Bux.
These new roasters and cafes wanted to serve a more refined product compared to mass-produced mediocrity.
Anyhow, none of this really matters quite so much so long as you enjoy good coffee and want to easily make the perfect cup while at camp or on the trail.
Brew Method & Brew Tools
The Method
There are many ways to brew coffee: automatic drip, manual brew, percolator… but for the perfect cup while on the trail or at camp, a manual brewing method know as a “pour-over” is the method to try!
The Tools

There are also lots of options for making pour-over coffee, however, most of the options designed for the home or office are too fragile and bulky for camping and off-roading. Many home systems are glass or plastic and not very packable when space in your camping box is at a premium.
GSI Outdoors has made several coffee brewing contraptions but I really enjoy their Java Drip product which is basically a collapsable pour-over tool made out of silicone and plastic. The product is lightweight, very packable, and durable compared to homebrew systems.
This will make a solid 12 oz cup of coffee
- GSI Java Drip: Check Price
- Melitta #4 Paper Filters: Check Price
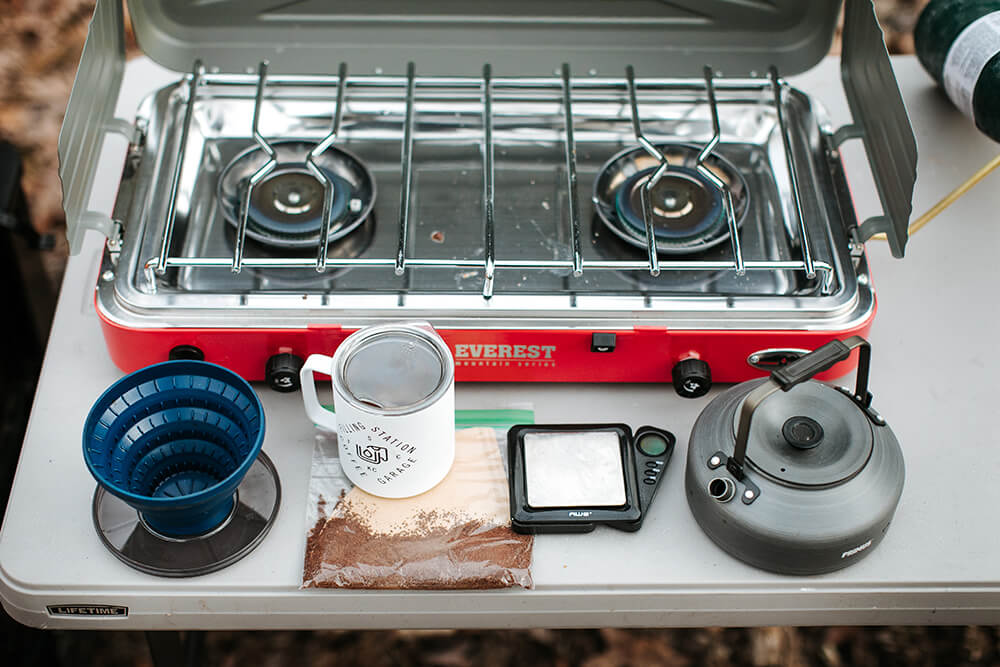
The basics of what you will need are the GSI Java Drip, a #4 Paper coffee filter, 20g of Coffee and 320g of water.
Other Items Required

It also takes hot water and some precision to make great coffee.
Here’s what else you’ll need:
- AWS Scale (not required, but suggested): Check Price
- Miir Double Walled Mug: Check Price
- Camp Chef Everest Stove: Check Price
- Coleman Propane: Check Price
- Primus 1L Camp Kettle: Check Price
Lets Brew some good coffee!
If you already do pour-overs, The recipe is simple. 320g of water and 20g of freshly roasted and ground coffee ground to medium.
I pre-grind my beans the night before a trip and pop them into a ziplock baggie with a #4 filter so they are still fresh and ready to go the next couple days.
STEP 1: Boil your water

There are many ways to boil your water at camp. I usually cook breakfast on my Camp Chef Everest stove in the mornings, so I stick with a 1L camping kettle as opposed to popping up a second heat source such as a Jet Boil.
STEP 2: Set up the GSI Java Drip, Filter, and Scale

While the water is heating up, pop up the GSI Java Drip, your scale, and insert the #4 paper conical filter.
Your mug goes on the scale so you can weigh how much grounds and water you are using, the GSI Java Drip sets directly on your mug, and the paper #4 filter sits in the Java Drip.
STEP 3: (OPTIONAL) Pre-wet the Filter

Before adding the grounds into the filter, pre-wet the filter by pouring 30-40g of water into the Java Drip making sure to cover the paper filter about half the way up the cone.
Let the water drip fully through into your cup and discard the brownish water once done. This is optional but it helps remove any loose paper fibers from the filter and helps prevent any “paper taste” from transferring into the coffee you’re about to brew.
STEP 4: Add your coffee grounds

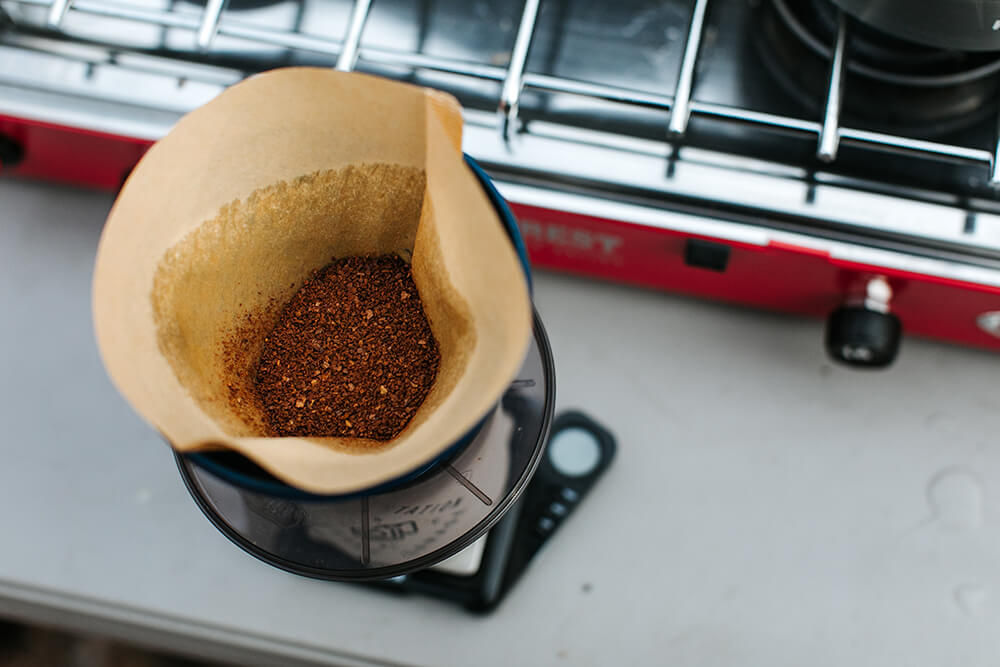
Once the pre-wet is done and the rinse water is discarded, be sure to tare your scale to zero and then add your grounds.
I recommend using 20g of medium ground coffee for a solid 12-14oz cup of coffee.
Once the grounds are added, tare your scale again back to 0g so that you can accurately measure how much water you’re about to pour in.
STEP 5: (OPTIONAL) Bloom your grounds

Blooming your grounds is optional, but is good practice when using very freshly roasted coffee roasted less than 10-14 days ago.
We’re getting into high levels of coffee geekery here, but its good to know even if you don’t care!
Blooming your coffee allows the grounds to release any remaining carbon dioxide (CO2) stuck in the grounds and it preps the grounds for extracting the best flavor possible!
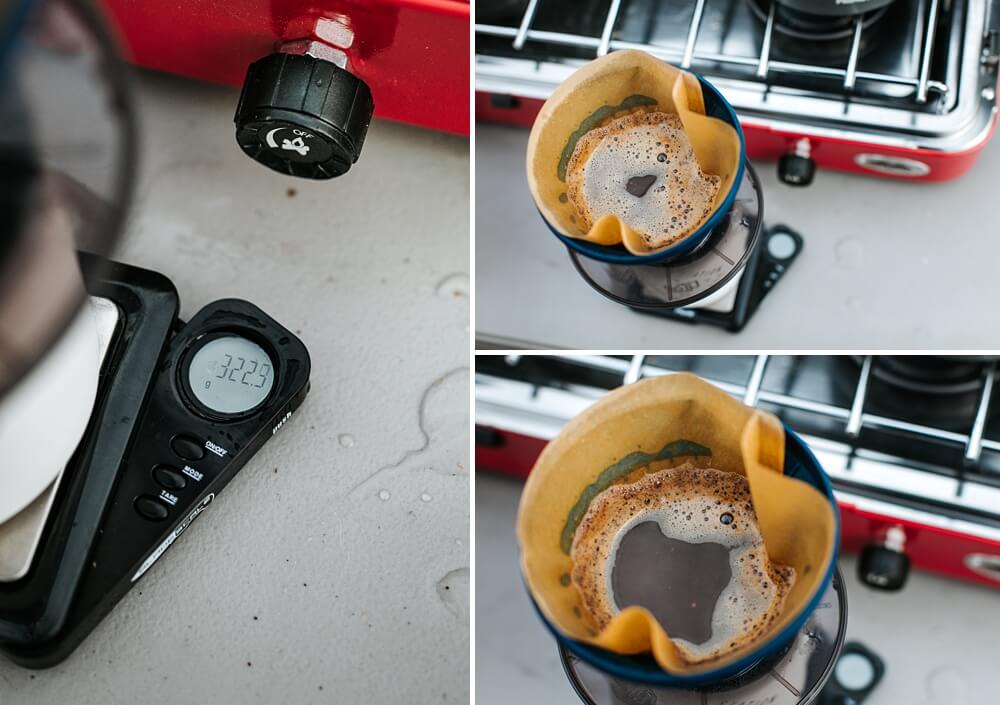
Simply pour about 30-40g of water on to the top of the grounds and the coffee will begin to “bloom.” Allow the coffee to bloom for anywhere between 30-60 seconds.
STEP 6: Brew the coffee

Begin pouring your hot water into the grounds slowly taking care to evenly wet all the grounds.
I prefer pouring in 70-100g of water at-a-time and letting the water drip mostly through until the coffee grounds look soupy, but never letting them fully contact the air. Repeat the process until you have poured approximately 320g of water!
STEP 7, Enjoy your coffee!
Final Thoughts
The GSI Java Drip is an excellent product. If you already do pour-overs at home or work, you will love this product.
If you are new to pour-overs, the Java Drip makes it simple and is very lightweight, easily collapses into a camping box or backpack, and won’t break like the glass or hard plastic options on the market.
Grab yourself a Java Drip and some #4 filters and have fun!
